Hiya sistahs
I hope you are having a great holiday, eating and spending time with family 🙂
Today’s Bellarific Friday challenge is a MOJOBELLA SKETCHYPOO
Let’s see what our baberoonis came up with shall we?
AliceWERTZabella used LEO the balancing STUFFIE
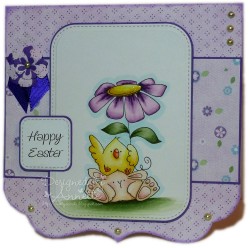
Angelabella used BUDDING CHICK
Danabella used GIGI the Giraffe STUFFIE
FAYEwynn-jonesABELLA used MERRY EVERYTHING
Kerribella used EDNA loves ICE CREAM and the matchin “CUT IT OUT ” die
Lesliebella used MEET EDNA and her matching “CUT IT OUT” die
Sandiebella used EDNA with a CUPCAKE ON TOP and our GROUND and GRASS stamps
Shelabella used EDNA WITH A CUPCAKE ON TOP
Stephabella used LEO the BALANCINGSTUFFIE
Tracybella used TINY TOWNIE BLOSSOM loves BALLOONS
TracyMACabella used MASON JAR of FLOWERS and it’s matching “CUT IT OUT” die
Seriously earth shattering no? Ok I know I am a bit dramatic but COME. ON. I cannot.
Now for our amazing SISTAHOOD!
Let’s see what was posted in our INLINKZ link for this challenge. You can find the entries at the bottom of THIS post.
and now for our EMAILED contributions 🙂
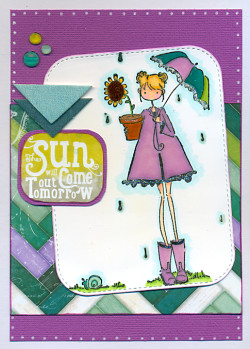
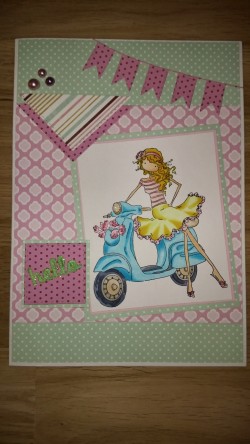
FREE FORM. all you need to do is use a CURRENT stamping bella image (one that is for sale on our website) and make any project you would like and submit!
you can use INLINKZ found below or you can email directly to me. I expect LOTS and LOTS of projects this week sistahs 🙂 cannot wait to see what you create!
MWAH
Em
Hiya sistahs!
I just wanted to do a little recap of what was posted on social media this week 🙂 I know that some of you do not go on Facebook or Twitter or Instagram so I thought this would be a good way of sharing 🙂
This week I decided to play with watercolors.. like splishy splashy watercolors. I have ALWAYS been enamored with watercolors.. I have also ALWAYS been scared to death of them LOL. Now I have decided to embrace the power of the watercolor and have fun with them.
I colored up our new image THE CHICK AND THE LADYBUG in this image… now to cut and put on a card 🙂
here was the first image
and then I went a little NUTS with colour LOL
will make a card and show you 🙂
I also worked on the BUNNY WOBBLE and the PEONY.. I just love this image
look how yummy watercolor is. like SERIOUSLY temperamental and delish (kinda like me LOL)
and the completed card
I also featured TracyMACabella’s UPTOWN GIRL CURLY CLARA needs your ADDRESS.. such a versatile stamp.. you can put the address in the bubble and stamp on happy mail envelopes, cut them out with their matching dies and put on gifts.. or on a card with your favorite sentiment! You can also use her in your journals and put your favorite quote or thoughts of the day in there 🙂 .. so much fun!
Christine Levison showed this card using our new SLICK CHICK in our FB SISTAHOOD GROUP.. I just had to share 🙂
And that’s our weekly inspiration 🙂
Stay tuned for Bellarific Friday tomorrow! It’s gonna be fun!
MWAH
hiya sistahs,
just a little post showcasing another one of Paulabella’s creations 🙂
Paula used MAKE A WISH HOPPY POPPY on this card. THE BOW? I CANNOT.
MWAH!
Em
I love Marker Geek mondays.. do you? If you do, just take a mo’ (i love that..) to leave a comment down below.. I’m sure it would make Elaineabella feel so good 🙂
Here we go!
There’s more than one way to skin a cat ahem… colour a bear! I’m here to share three simple ways to colour one of Stamping Bella’s adorable Stuffie images. Today’s Marker Geek Monday graphic features Harry the Stuffie Gets Happy Mail . I have coloured him using Copic Markers, but the techniques discussed should work for any alcohol based markers that you have. I have supplied the Copic marker combination I used in the graphic below for those of you that do have Copics.
The first example is, as noted, just coloured and shaded with markers as normal with no special techniques. There is absolutely nothing wrong with colouring your Stuffies or other similar images this way, they look just as adorable like this, but it’s fun to play right? 😉
The second example shows Harry the Stuffie coloured in the same way as the first example, then textured with colourless blender solution (I simply used a Copic Colourless Blender refill) on a piece of textured fabric. The technique is really simple, you apply the colourless blender to the fabric, test and dab off excess on a piece of scrap paper then gently apply to the coloured image.
The third example is quite therapeutic and uses just your markers to create a textured look that works really nicely for Stuffies!
That’s it! These are by no means the only ways to colour your Stuffies, but hopefully the examples shown will give you some inspiration to play! Have a go and let us know how you got on by sharing your work here in the comments section, over in the Stamping Bella Sistahood chat group on Facebook, directly on the Stamping Bella Facebook page or on Instagram by using the tag #markergeekmonday . We love hearing from you and sharing the enthusiasm for Stamping Bella!
MWAH!
~Elaineabella
and today’s theme was PAPER PIECING!
Let’s see what our amazing BABEROONIS came up with shall we?
AliceWERTZabella used TINY TOWNIE PEYTON loves to pretend. I just love that washi collage base! and of course the emotions from the little chicks staring at Peyton LOL
Angelabella used the CHICK and the BUNNY WOBBLE
Danabella used PETUNIA GETS A PIGGY BACK
and the INSIDE
FayWYNN-JONESabella (still testing names) used MARCHING CHICK
Kerribella used UPTOWN GIRL ISABELLE loves ICE CREAM
Lesliebella used UPTOWN GIRL CURLY CLARA needs your address AND the sentiment from UPTOWN GIRL SUNNY
Sandiebella used UPTOWN GIRL POSH has a PRESENT
Shelabella used TINY TOWNIE RACHEL loves the RAIN
Stephabella made a goodie bag using Uptown girl BUNNY has a DAFFODIL
Tracybella used UPTOWN GIRL BUNNY
TracyMACabella used SENIOR-ita MAGDA
All of these are JAW DROPPING (is that even a phrase? well it is now LOL) .. Amazingness… I wanna RUN to my craft room NOW.
And now for our AMAZING sistahood!
Check out our INLINKZ contributions at the bottom of THIS POST… magnifique!
And now for our EMAILED contributions 🙂
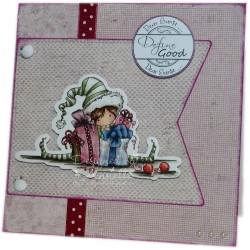
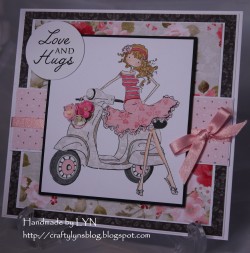
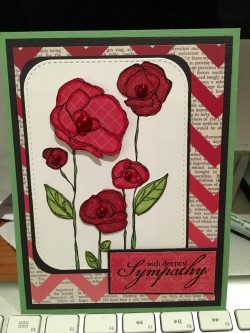
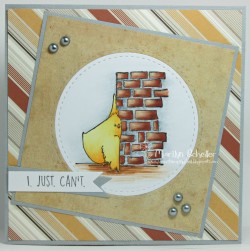
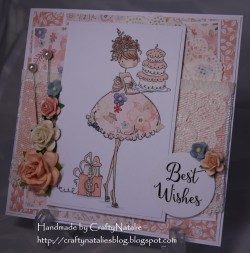
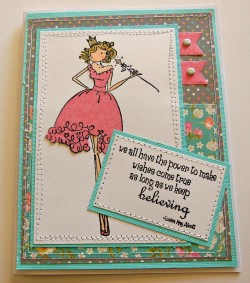
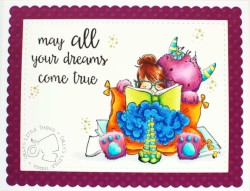
Now for next week’s theme?
A MOJOBELLA sketchypoo!!!
If you are new to our BELLARIFIC FRIDAY challenge, you can see HERE for our rules on how to enter
Mwah to da sistahs who love Bellarific Friday ALMOST as much as I do 😉
Em
Hiya sistahs! What a great start to the week DONTCHA THINK??
Welcome to Elaineabella’s AKA Markergeek’s blogpost today.. isn’t she awesome?
Last Monday we covered some Copic skin tone combinations and basic colouring tips, so it seemed logical to move on to hair this week! But before we get started, I’d like to say a big thank you to everyone for their lovely comments and enthusiasm following the first post! I really hope that these posts prove useful and inspire you to give those markers a good work-out. For those of you who don’t use Copic markers, do stay tuned, there will be posts using other brands and mediums that I have available.
Remember, we want to see your results too! Share your Stamping Bella colouring and cards here in the comments section of the blog, over in the Stamping Bella Sistahood chat group on Facebook or directly on the Stamping Bella Facebook page.
In the graphic below I’ve got some of my favourite Copic hair combos for you. The lovely Tiny Townie Heidi Loves Hugs was perfect for showing hair colouring as she has some really nice open areas of hair, plus she’s one of my favourites from the latest release – so cute!
Normally when I colour I tend to start with my lightest shade to lay a base down. With hair I quite often do the opposite, especially on images where the hair detail areas are quite small. With all of the combos shown above I worked DARK – MEDIUM – LIGHT, going back in with the medium and light shades as necessary. Keeping the layering and blending to a minimum in this way helps to prevent the issue of sticky ink which can result in patchiness when you try to correct it, or what is otherwise known as a hot mess (we’ll talk about ways to fix some of these issues another day).
With most of the Stamping Bella characters the hair areas aren’t very large, so sticking to two or three marker combos is generally the best approach. Keep it simple! As with colouring the skin tones, try and avoid doing too much layering and blending. With hair in particular you don’t need to blend out every line, the aim is to create some texture and to have enough variation in colour and depth to create interest.
The amount of layering you do, and the order in which you use the markers will affect the results you get. Play around, see what happens if you add an extra layer of your medium shade, or if you use a much lighter hand with the darkest shade. For example, the blonde combination shown above could be lighter if you use less E44, or if you start with E43 instead, and add in just a very small amount of fine detail with E44. It’s all in the experimentation!
Special Note: don’t be overwhelmed by images with curly hair as seen on the new EDNA stamps (and on Uptown Girls like Savannah has a Star), these can actually be the easiest and most fun to colour. Work with the lines provided by the illustrator to figure out where to put darker shading and be loose and a little messy, creating some variation and texture. Don’t try to create perfect uniform strokes, be a little squiggly and free, the overall effect will look great (remember, the recipient of your card isn’t likely to be analysing it up close with a magnifying glass ? ).
If you try out the marker combos in this post with your Stamping Bella stamps, be sure to share! We would love to see the results and hear how you feel about them. Show off your creations in the comments below and even better, share your own favourite hair colour combos with us. Let’s talk colour!
If you are posting your images using these combos, we would love to see them on Instagram and all the platforms mentioned above! To make it easier for us to find you , just use #markergeekmonday as a hashtag! If you have other favorite combos, we would love to learn from you! Leave a comment below 🙂
MWAH!