Hiya sistahs! This week feels like it was REALLLY LOOOOONGGGG.. did you feel that too? I really don’t know why! LOL
Stay tuned for our release date.. it’s coming.. it’s ready.. we just need to make sure we are well staffed :). This Covid thing.. I cannot. Will never. Also if you are waiting for an order to be shipped, please bear with us.. our sale was really crazy and we are trying our best to catch up. If we have mailed your item out.. please be patient with the postal service.. It’s EXTREMELY slow at the moment , but please know your order is on the way!
Now that we got that BIDNISS out of the way, let’s start with our inspiring Bellarific Friday!
Ready? Set? HERE WE GO!
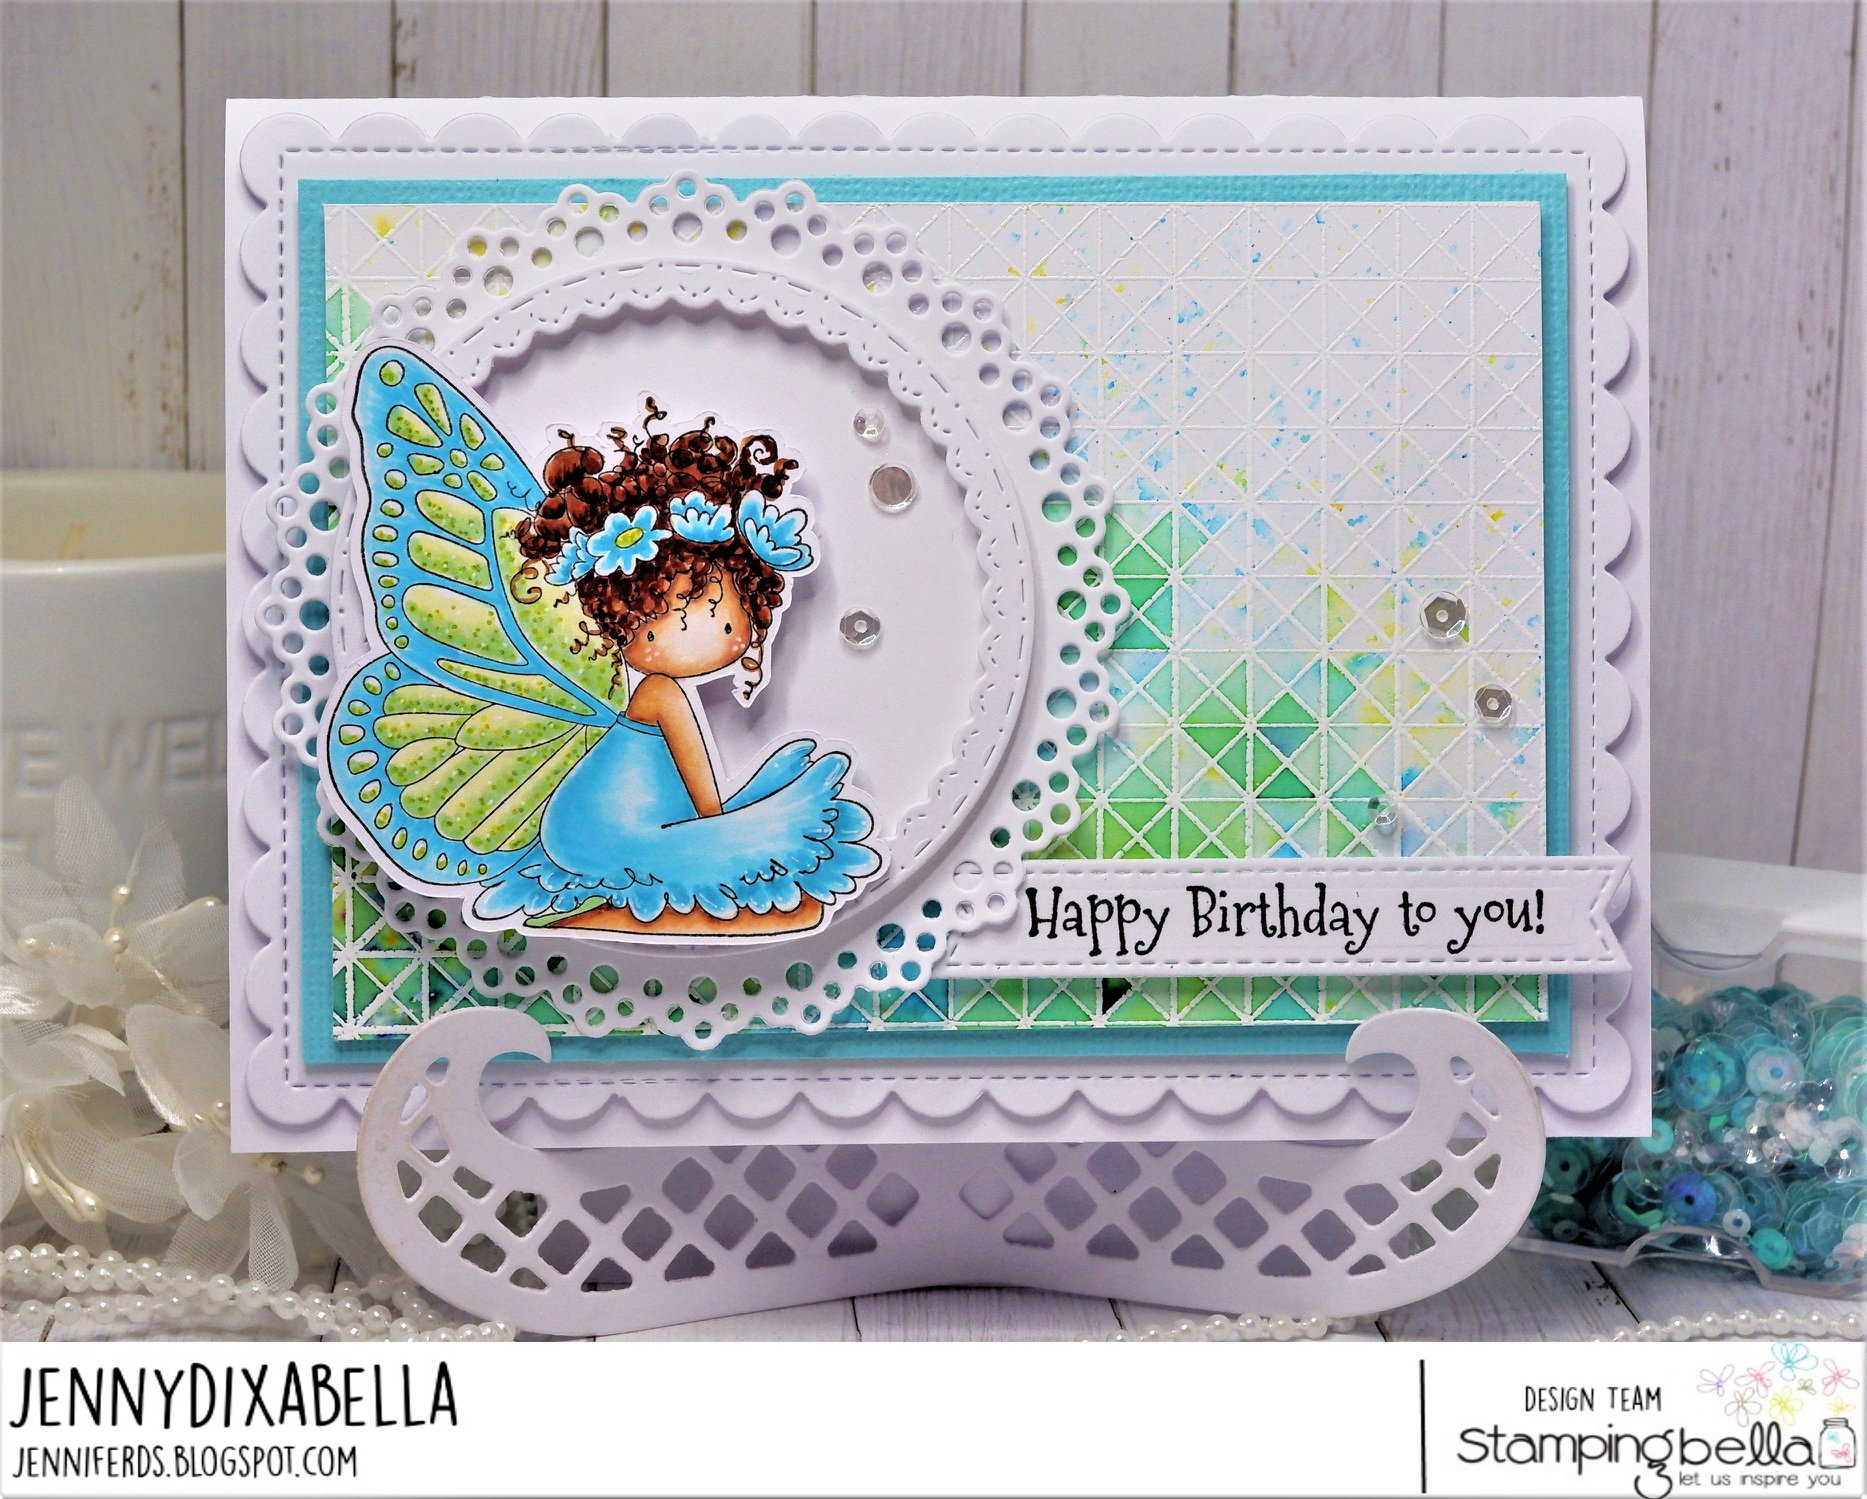
JennyDIXABELLA used our TINY TOWNIE BUTTERFLY GIRL BESS
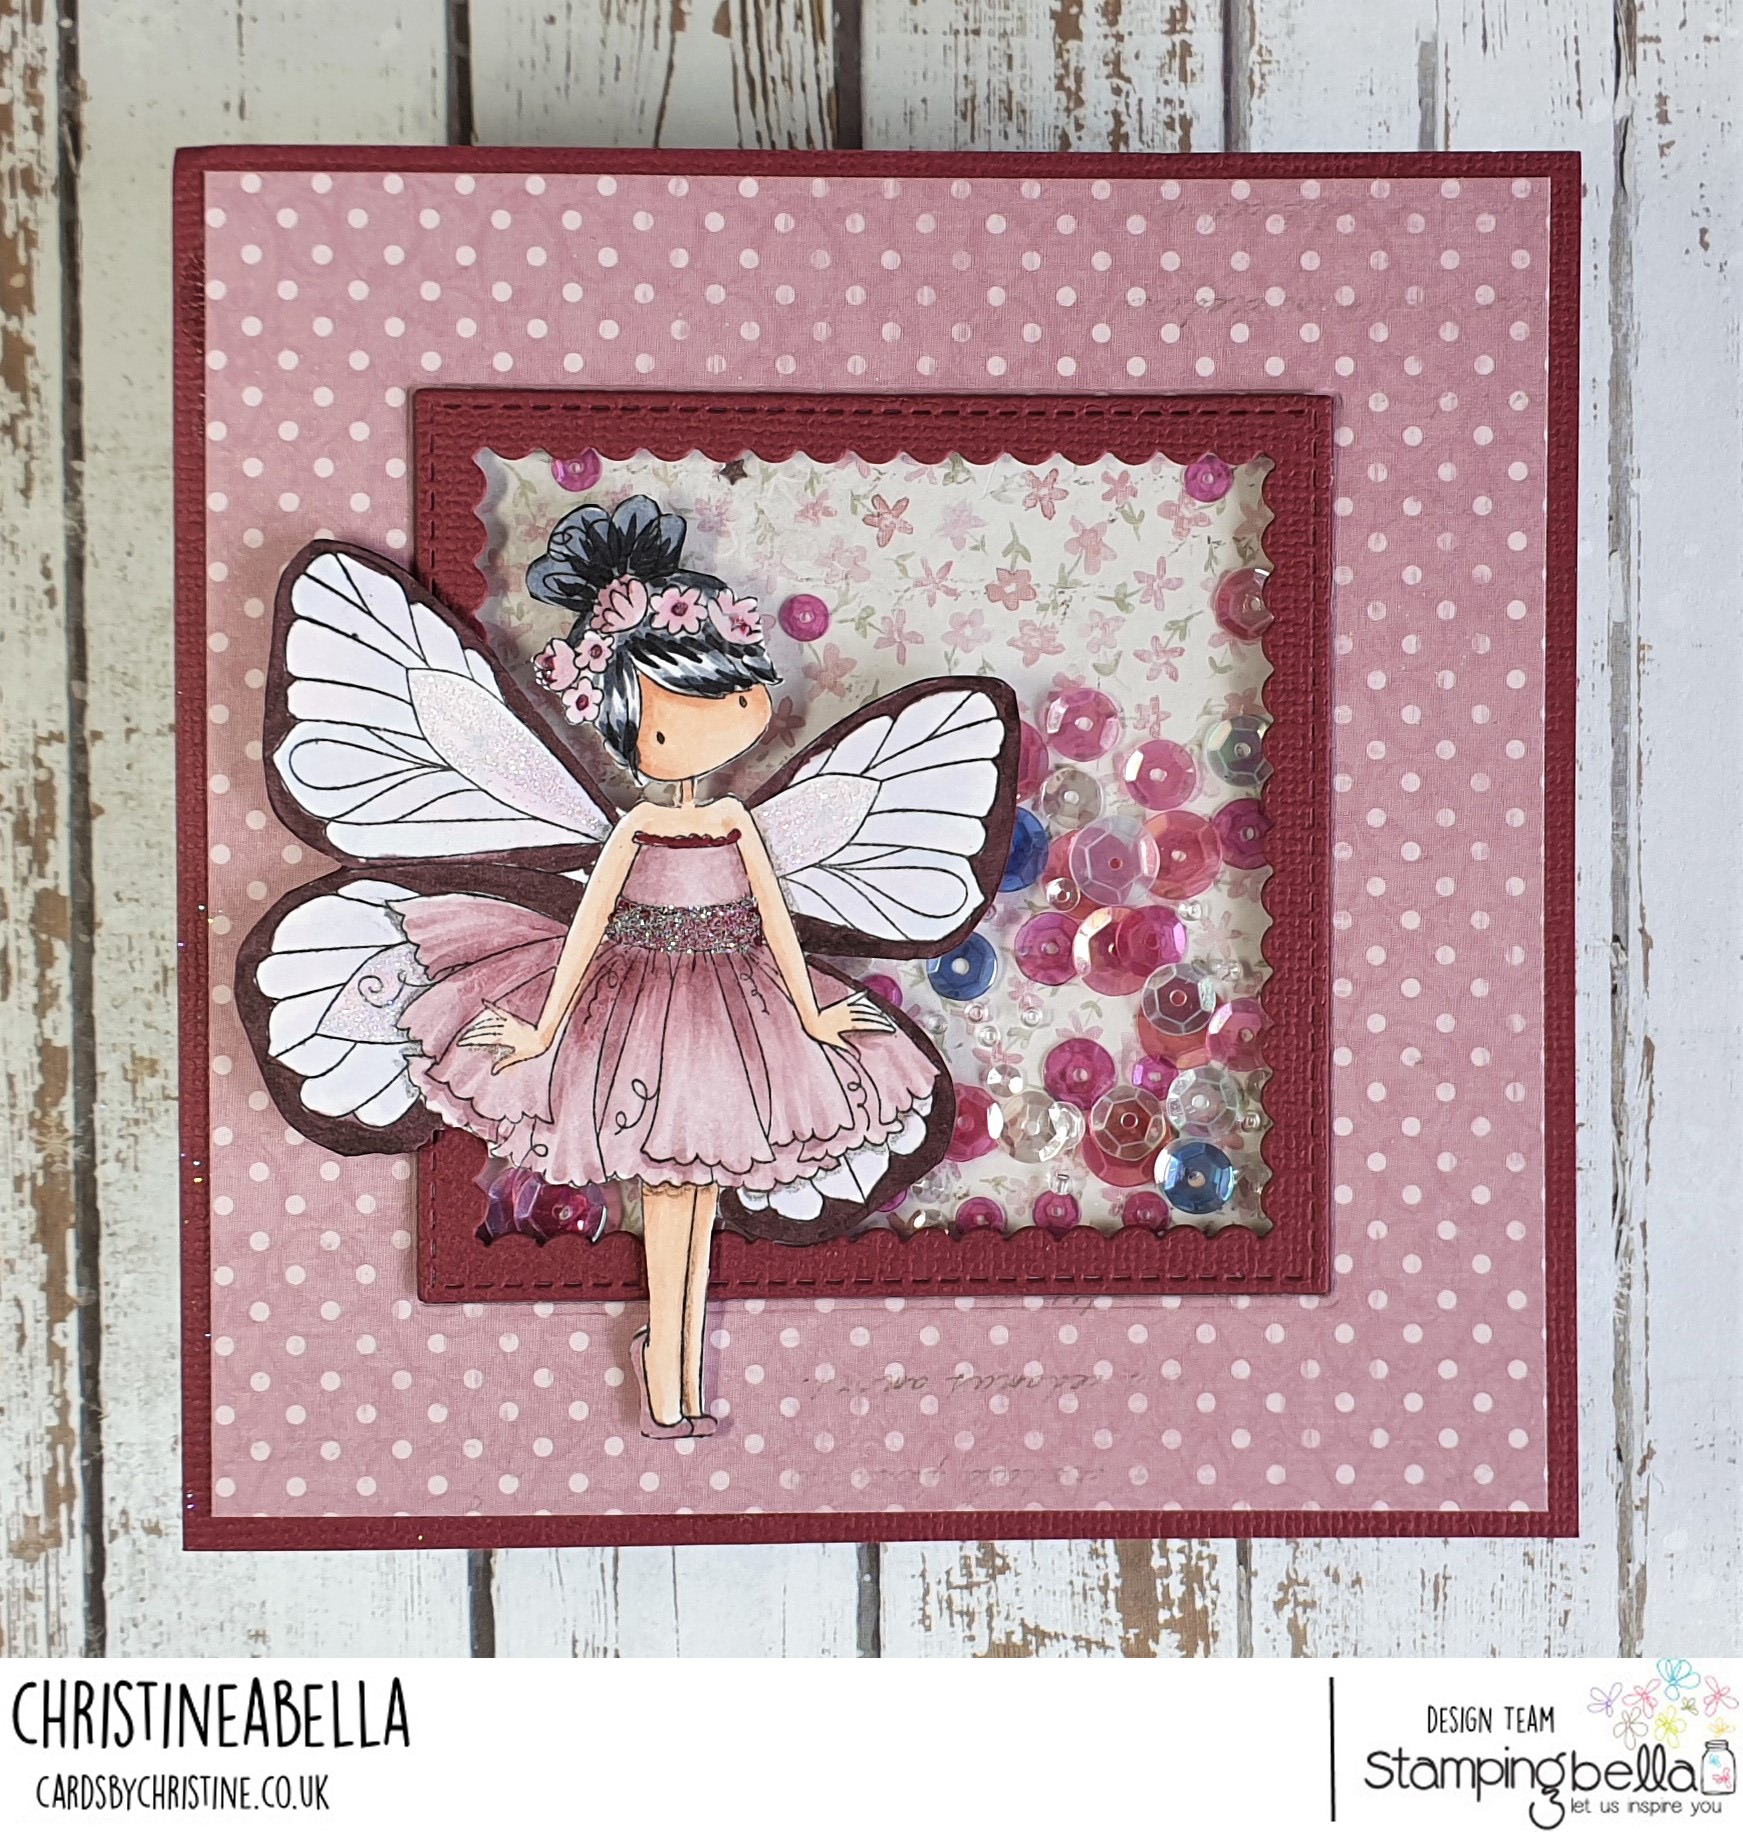
Christineabella used our TINY TOWNIE BUTTERFLY GIRL BLANCHE
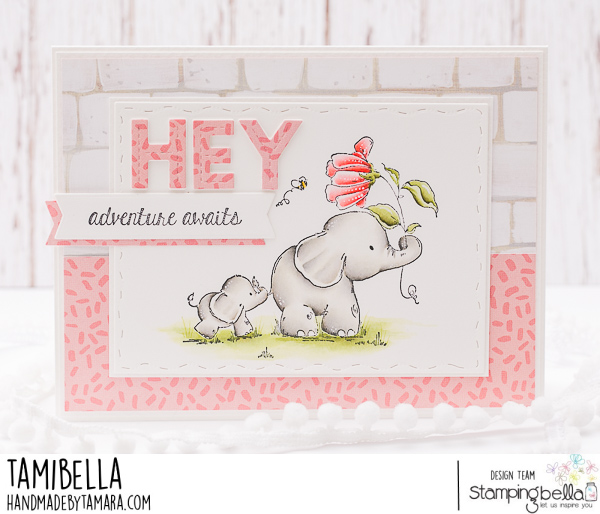
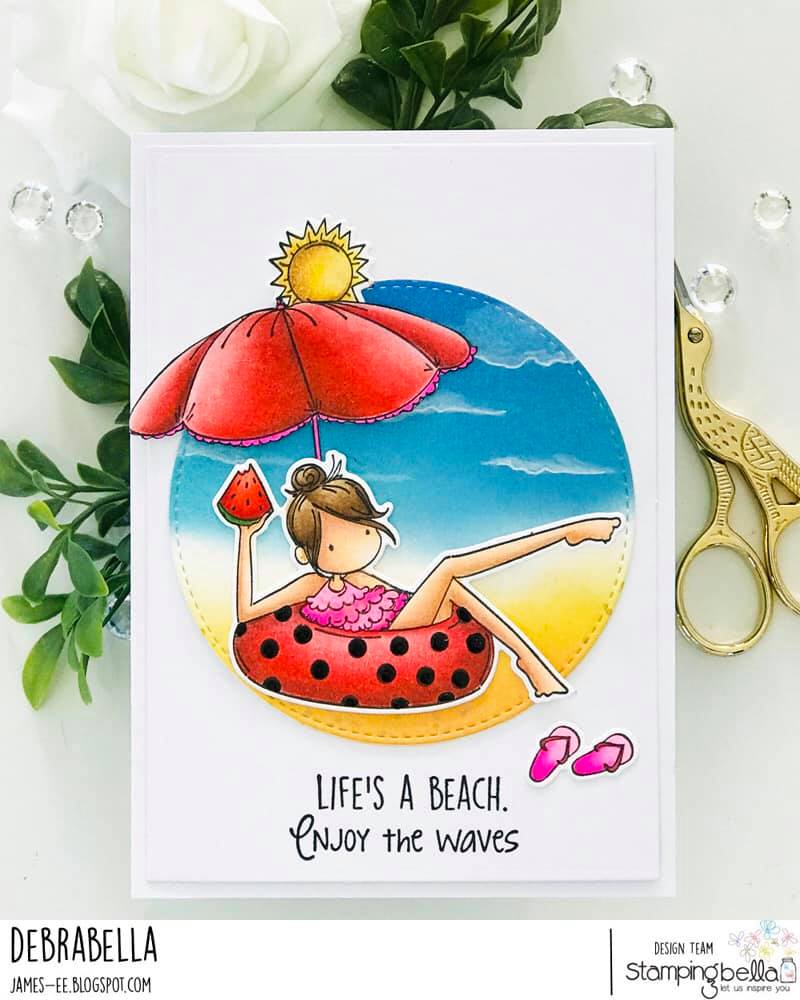
Debrabella used TINY TOWNIE FRANCES loves to FLOAT and our SUMMER SENTIMENT SET
Shelabella used our HONEYBEAR STUFFIES

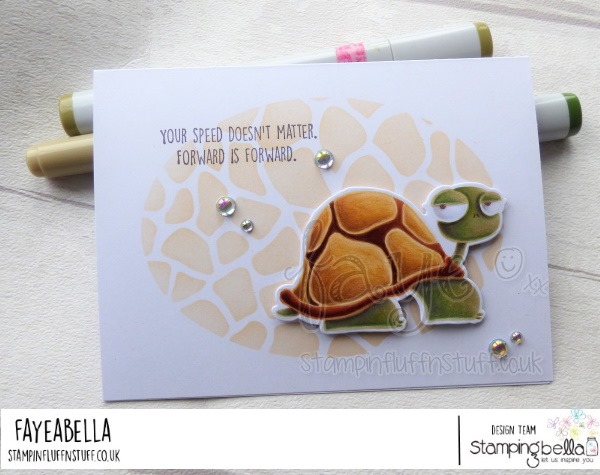
Fayeabella used our ODDBALL TURTLE
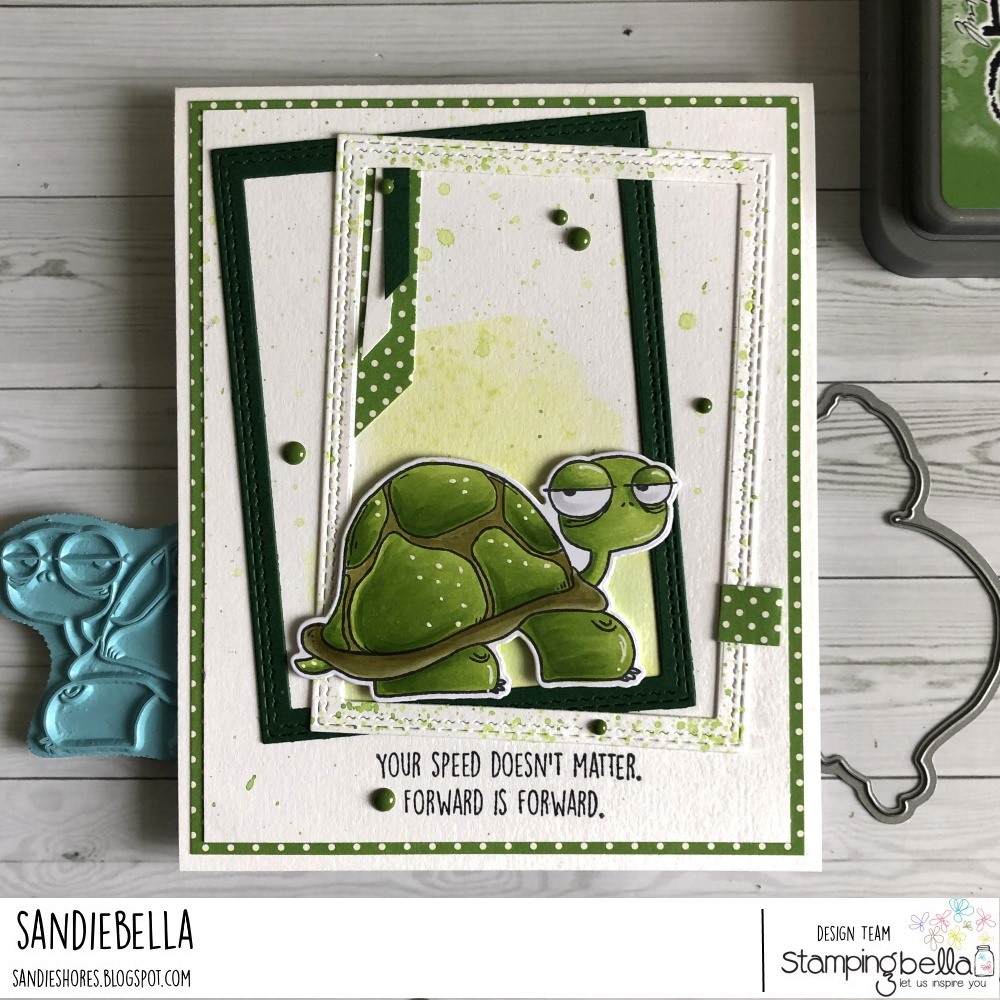
Sandiebella used our ODDBALL TURTLE
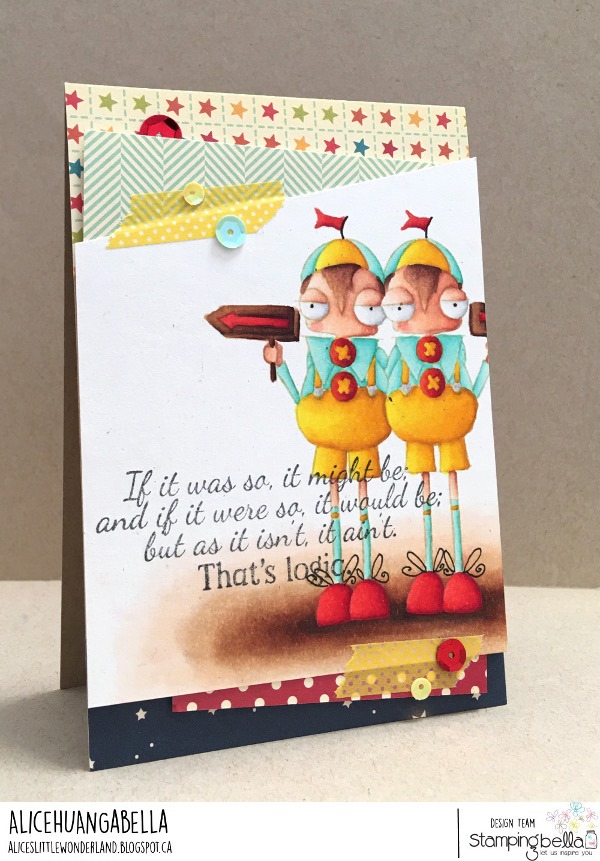
AliceHUANGabella used our ODDBALL TWEEDLEDEE and TWEEDLEDUM stamp
That’s it for today! I hope you are all safe, inspired, crafty, joyful, relaxed, and stampy!
MWAHMWAHMWAH
Em
Happy Thursday! Sandie’s got a beautiful tutorial for us again this week. Enjoy!

For the layers, cut a piece of card measuring 2″ x 6.5″ and another piece measuring 5″ x 3.5″

Cut a piece of paper measuring 5 3/8″ x 5 3/8″ and fold in half.

Adhere the paper to the card base and bend both sides upwards into a ‘v’

Take the 5″ x 3.5″ piece of card and create a curve by rolling it over your fingers. Fold the 0.5″ end sections back at the scorelines.
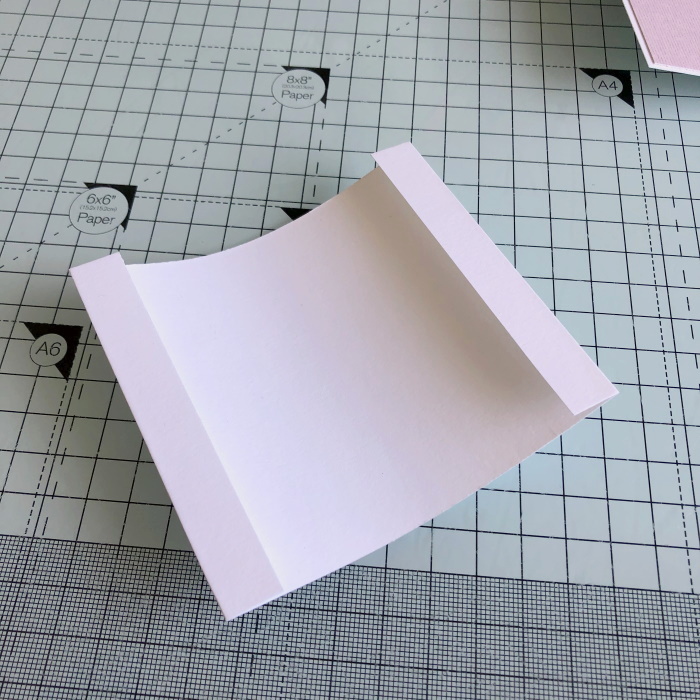
Cut a thin wedge from each end of the 0.5″ sections.

Flatten the card base and adhere the smaller panel in the centre, approx 1/4″ up from the bottom.

Cut a piece of paper measuring 3 3/8″ x 3 7/8″ and adhere to the smaller panel.

For the front strip, curl the 2″ x 6.5″ over your fingers and fold back the 0.5″ end sections.

Adhere a piece of paper measuring 1 7/8″ x 5 3/8″ to the front

Apply double sided tape to the inside of the 0.5″ sections.

Taper the edges of each end.

Adhere one end of the strip behind the card base, lining it up with the bottom

Bring the strip across the front and adhere the other end behind the card base.

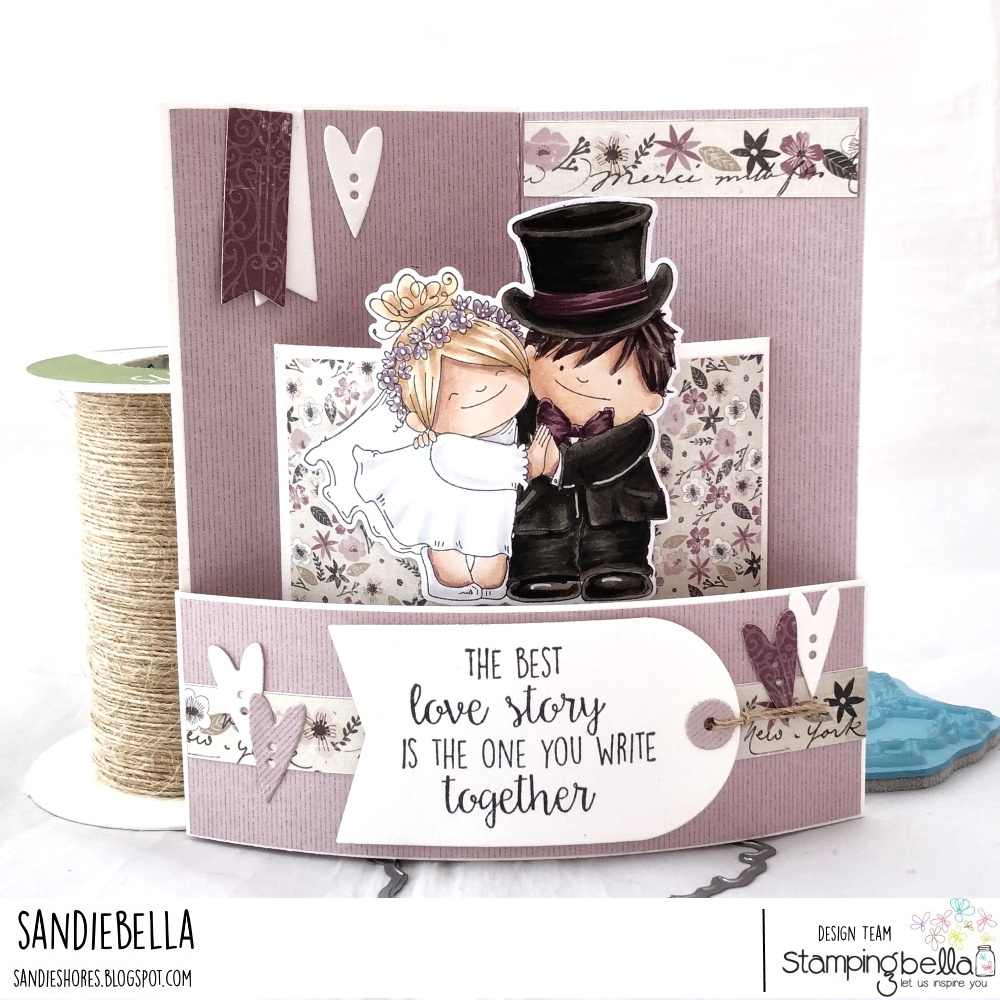
Stamp the Love Story Squidgies onto white card and colour using your desired medium.

Stamp the sentiment onto white card and cut out using a tag die.

Apply foam tape to the back of the Squidgies and adhere them to the middle panel, just above the front strip.

Adhere the tag across the front strip, and use the die cut embellishments to decorate as desired.

Share your personal favourite Stamping Bella creations with us. We LOVE to see what you’ve been creating with Stamping Bella stamps. Share a link to your latest Stamping Bella card in the comments below, or an old favourite you made a while ago. Tell us what your favourite stamps are. Are there any additions you would like to see to the range? Let us know!
Another way to connect is by joining us in the Stamping Bella Sistahood Facebook Group and share your pictures.
If you are posting your images online, we would love to see them on Instagram and all the platforms mentioned above. To make it easier for us to find you just use #stampingbella as a hashtag. Even better tag me @markergeek and Emily @stampingbella . We love it when you connect, so don’t be shy!
Until next time, HAPPY STAMPING!
MWAH
Elaineabella
I love how she looks on Kraft. Look out – I may have been bitten by the bug for colouring Curvy Girls on Kraft…

Stamps Used: Curvy Girl Loves Tea, Summer Sentiment Set
Watch me colour this stamp in the video below. If you enjoy watching please do like the video and subscribe over on my YouTube channel.
Skin: Aubergine, Salmon Pink, Granite Rose Hair: Umber, Chestnut, Cinnamon, Golden Ochre
Leaves: Emerald Green Cup & Saucer: Emerald Green, Raspberry Red, Rose Pink, Granite Rose
Dress: Raspberry Red, Emerald Green, Greyish Green, Jade Green
White Details: Brownish Beige, Light Beige, White Ground: Sepia, Brownish Beige, Light Beige
MWAH!
Elaineabella
This unlikely pair are adorable, and really don’t take that long to colour. Building up the textured look can be pretty quick, and it really makes them look more lively.
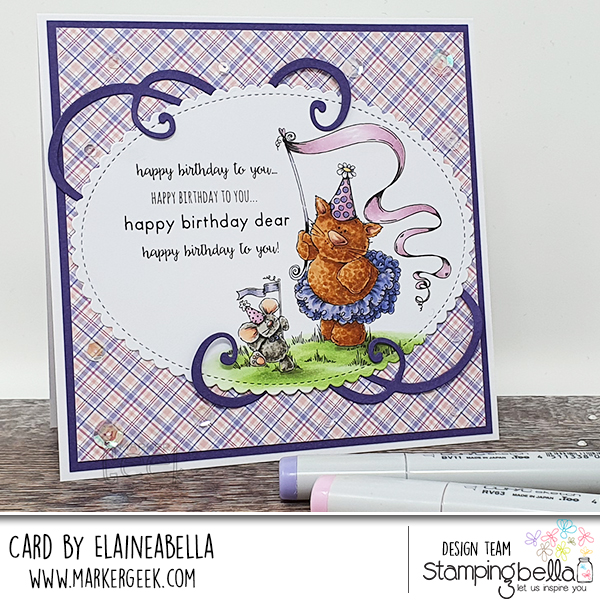
Stamps Used: Stuffie Kitty & Mousie Celebrate a Birthday set (incl sentiment)
Watch me colour this stamp in the video below. If you enjoy watching please do like the video and subscribe over on my YouTube channel.
Wishing you a crafty, colourful week!
MWAH!
~Elaineabella