Could she be more Christmassy?
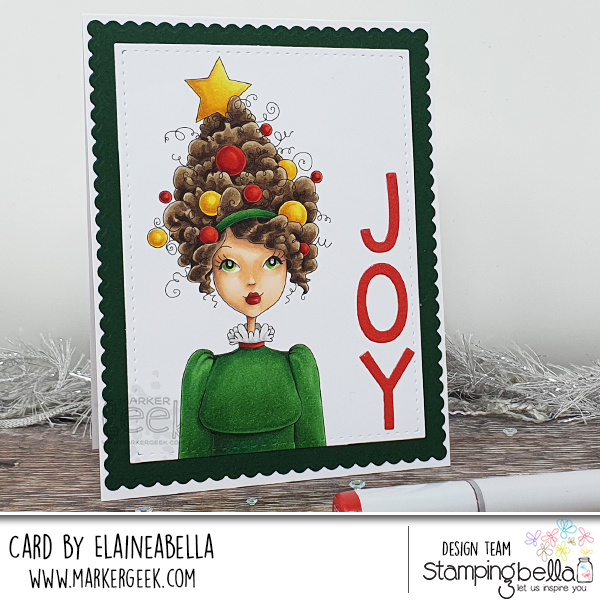
Stamps Used: Mochi Christmas Tree Girl
Watch me colour this stamp in the video below. If you enjoy watching please do like the video and subscribe over on my YouTube channel.
MWAH!
Elaineabella
It’s time to embrace all things festive and wintery, at least when it comes to card-making! Thankfully we have so many gorgeous festive and winter themed stamps to play with in the Stamping Bella collection.
Today I’m throwing the spotlight on two of my favourites:
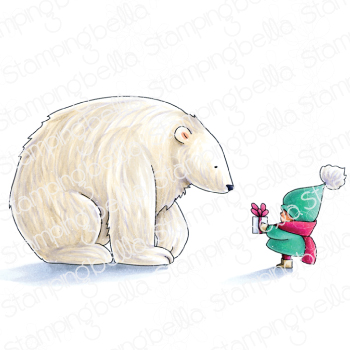
Watch me colour this stamp in the video below! If you enjoy watching please do like the video and subscribe over on my YouTube channel.
The penguin on the right just looks so cozy!
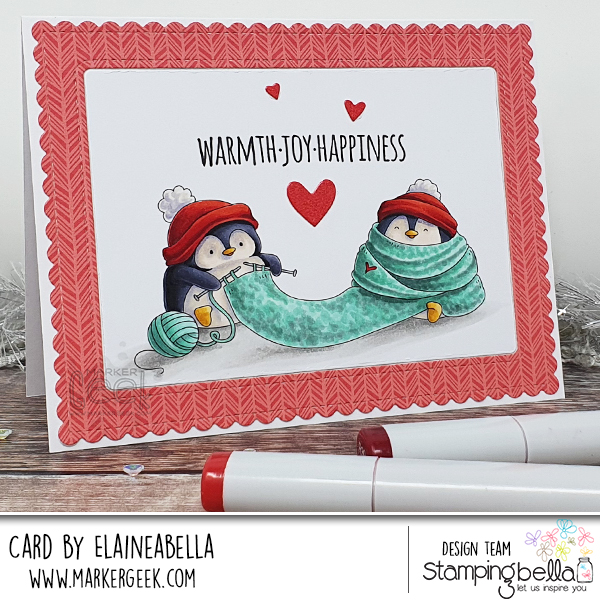
Stamps Used: Knitting Penguin, Holiday Sentiment Set
Watch me colour this stamp in the video below. If you enjoy watching please do like the video and subscribe over on my YouTube channel.
Have a great week!
MWAH!
Elaineabella
Hiya sistahs! Hope you had a great week!
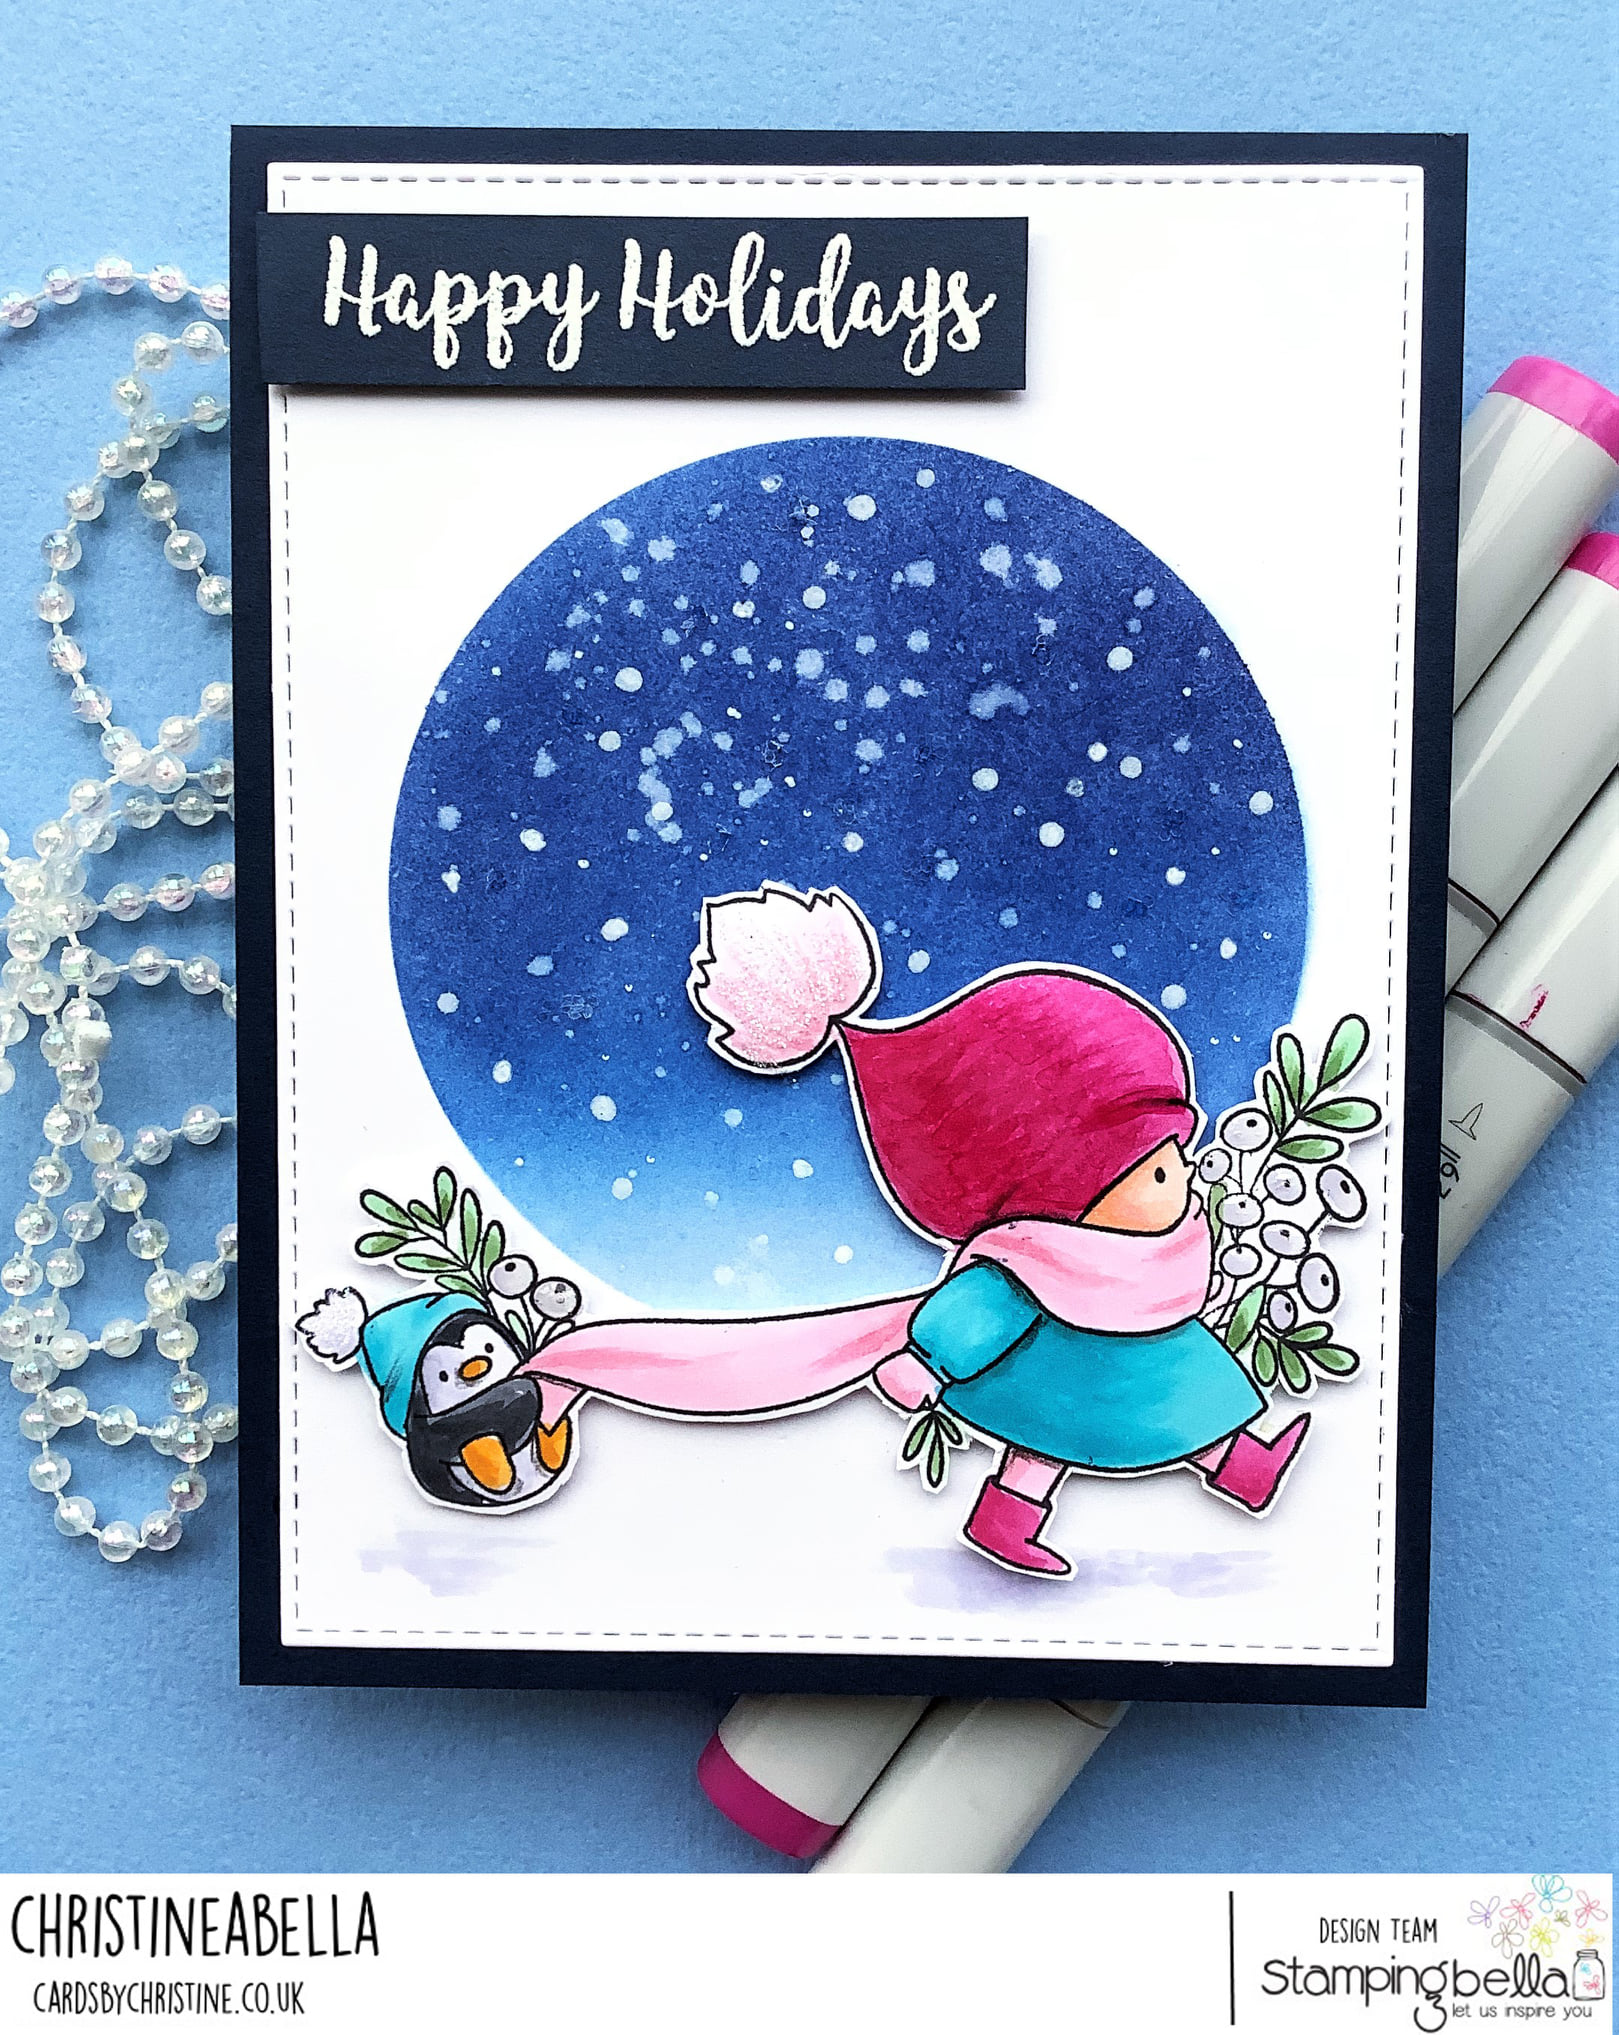
This week’s Bellarific Friday features our stamp of the month BUNDLE GIRL WITH PENGUIN.. she is 50% off all month long!
ready set HERE WE GO!
Here’s Christineabella’s card
Sandie has a stunning step by step for us this week (I know, what’s new? 😉 ). Check it out below!
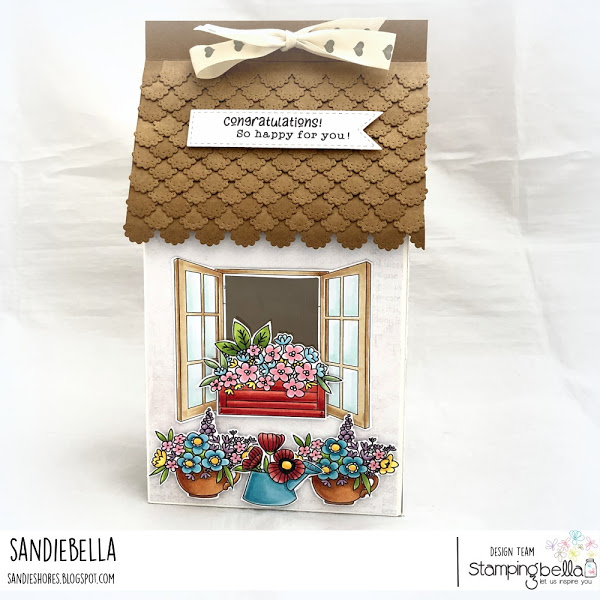
Stamp the Flower Pots and Window on to white colouring card/paper.
Fold and crease all the score lines. Cut on the 7.75″ on each of the scorelines, up to the intersecting score lines. On the 0.5″ end, remove the top and bottom section and taper the edges of the remaining centre section. On the 2.5″ end, taper the edges of each side to make the fold in tabs.
One ONE of the pieces, with 2″ section at the top, position the window as shown and draw a pencil line to mark the centre of the window
Apply double sided tape to the 0.5″ section on the back piece and adhere to the front to make the box shape.
On the 2″ section at the top, apply adhesive and position the roof section with the scallops on it. Let it overhang the front of the box by 0.5″-0.75″. Make sure it’s centered across.
Share your personal favourite Stamping Bella creations with us. We LOVE to see what you’ve been creating with Stamping Bella stamps. Share a link to your latest Stamping Bella card in the comments below, or an old favourite you made a while ago. Tell us what your favourite stamps are. Are there any additions you would like to see to the range? Let us know!
Another way to connect is by joining us in the Stamping Bella Sistahood Facebook Group and share your pictures.
If you are posting your images online, we would love to see them on Instagram and all the platforms mentioned above. To make it easier for us to find you just use #stampingbella as a hashtag. Even better tag me @markergeek and Emily @stampingbella . We love it when you connect, so don’t be shy!
Until next time, HAPPY STAMPING!
MWAH
Elaineabella