It’s that time of the week again! Thursday tutorial time!
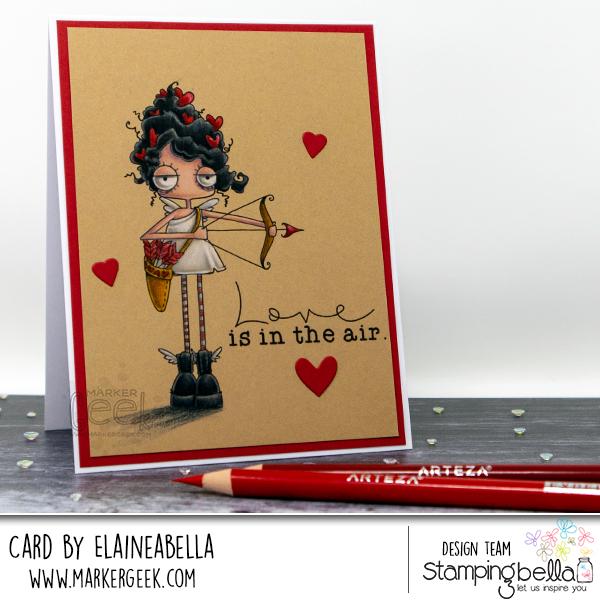
You know I love the Oddballs. That expression, it’s just so me. I coloured Oddball Cupid here using Arteza Expert coloured pencils and you can watch the process in the video below!
Oddball Cupid is the February Stamp of the Month offer with a huge 50% discount throughout this month. It’s the perfect time to add her to your collection.
Watch me colour this stamp in the video below. If you enjoy watching please do like the video and subscribe over on my YouTube channel.
Skin: Lavender, Earth Red, Apricot, Peaches & Cream
Hair: Noir, Onyx Black, Ash Black, Charcoal Grey, Elephant Grey (you could skip the onyx black and ash black)
Eyes & Dress: Elephant Grey, Dolphin Grey, White Quartz
Quiver & Bow: Raw Umber, Raw Sienna, Yellow Ochre
Hearts & Arrows: Garnet Red, Venetian Red, Rose Red
MWAH!
Elaineabella
It’s the first Tuesday of the month, which means there are THREE stamps on offer at Crazy Tuesday prices today and only for today! Check out the inspiration below to see why you need them, then click on over to the store to grab them before the prices return to normal (by midnight tonight).

Such a classic image.
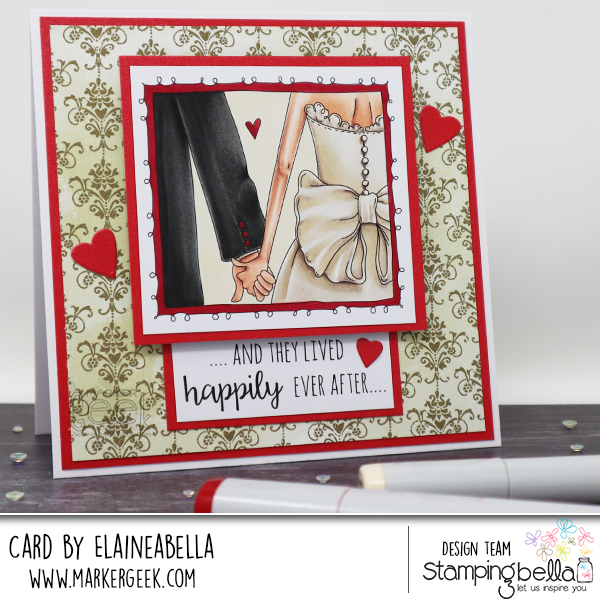
Stamps Used: Close Ups I Do (incl sentiment)
Watch me colour this stamp in the video below. If you enjoy watching please do like the video and subscribe over on my YouTube channel.
Have a great week!
Elaineabella
Hi!
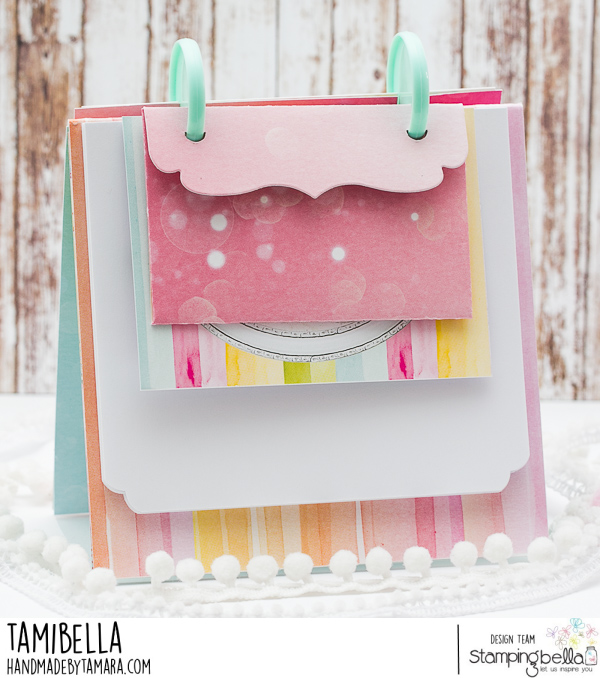
Tamara here with you with a Valentine’s Day project. I recently bought a few planner tools and embellishments and to test them out I made a Valentine’s Day table planner for my daughter. I used all kinds of different colours on this one, from yellow, pink to teal. Image used is called Marching Chick and it’s actually the first Stamping Bella chick that I coloured.For colouring I used Distress Ink pads. Image was stamped using Archival Ink – Jet black and watercolour paper used is 300g HP Fabriano.
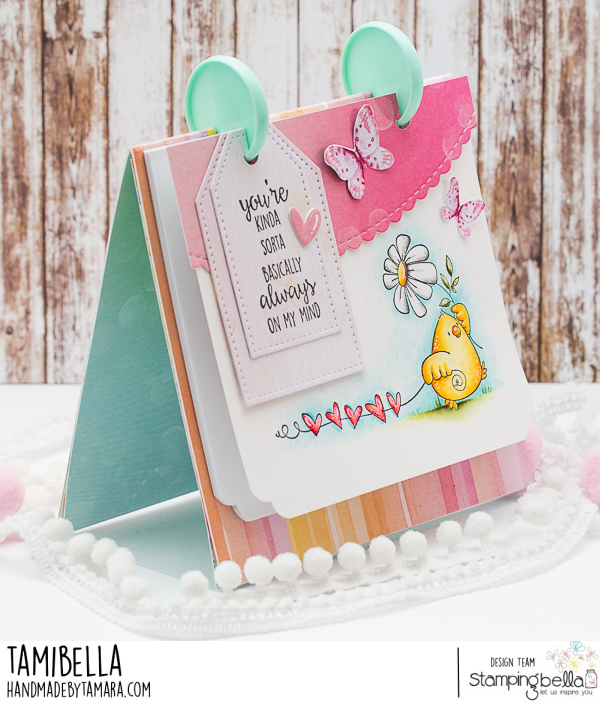
Distress ink pad colours used:
chick: fossilized amber, spiced marmalade
hearts: barn door, fired brick
daisy: fossilized amber, spiced marmalade, black soot, peeled paint, forest moss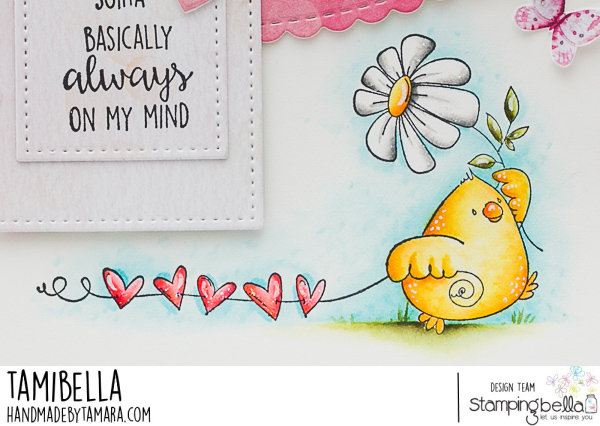
The design of the table planner is rather easy. I made a V shape base and connected it with acetate. then I cut different design papers and made holes with disc punch and connected it all with discs. I used teal discs because my daughter loves teal. I added a small envelope too.
Sentiment comes with the image. I stamped it on a small tag and placed it on the front.
Have a great Sunday! Stay safe!
Hugs, t.