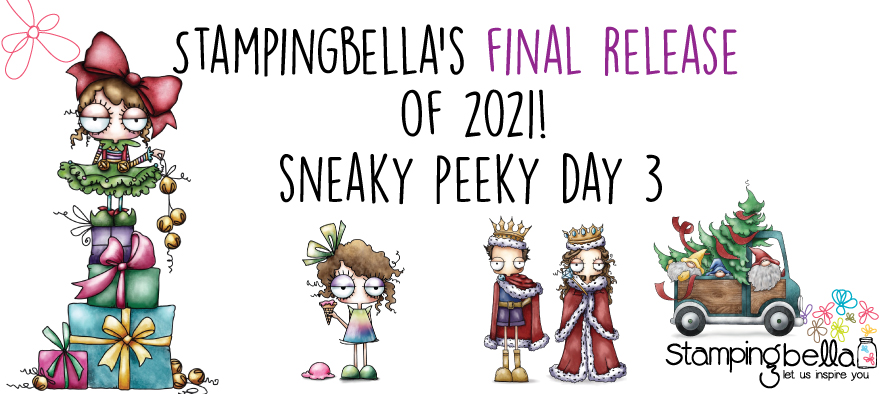
Hiya sistahs! I hope you loved yesterdays sneak peeks as much as I did! Now we have some more gorgeousness.. ready? set? here we go!
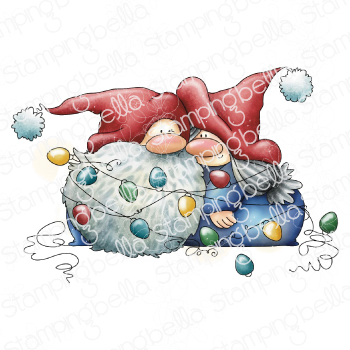
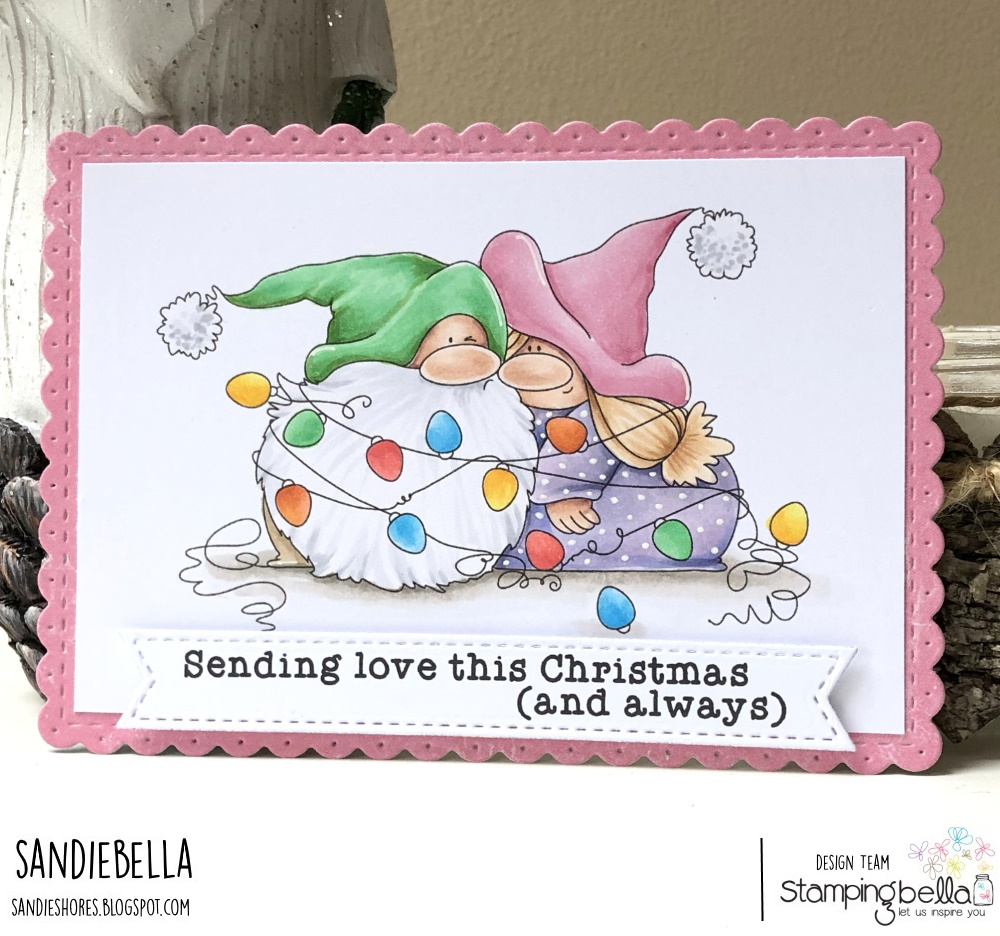
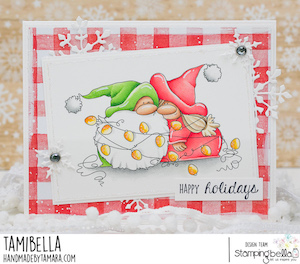
meet our TANGLED GNOMES
Hiya sistahs!
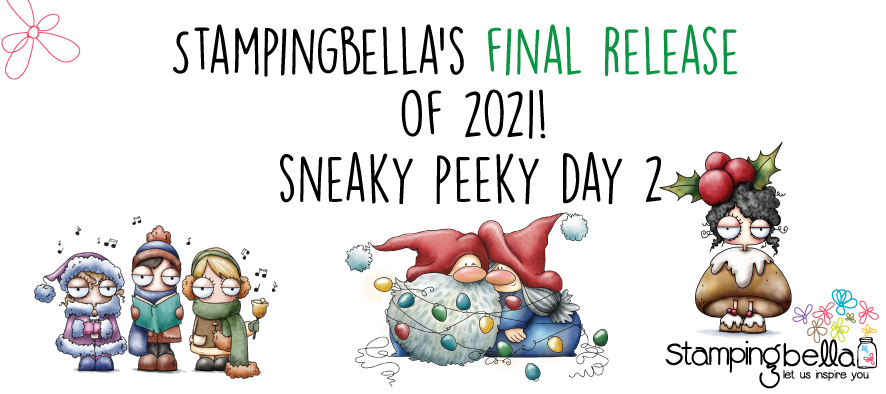
Are you allll ready for our sneak peeks? they are starting on Monday! SAVE THE DATE! you are gonna LOOOOOOOVE our new goodies! So please join us on our 3 day TorturePalooza and our release date is on Thursday! WOOHOO!
Now for our Bellarific Friday
Ready , set, HERE WE GO!
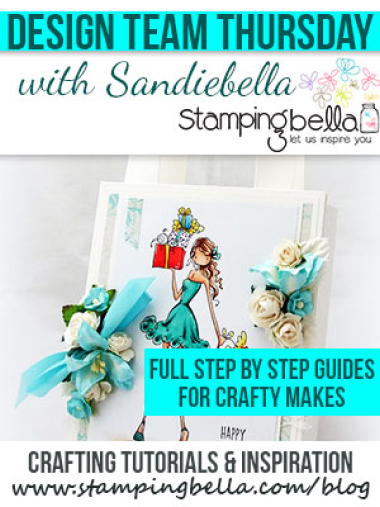
Sandiebella used A TALE OF TWO ROSIES
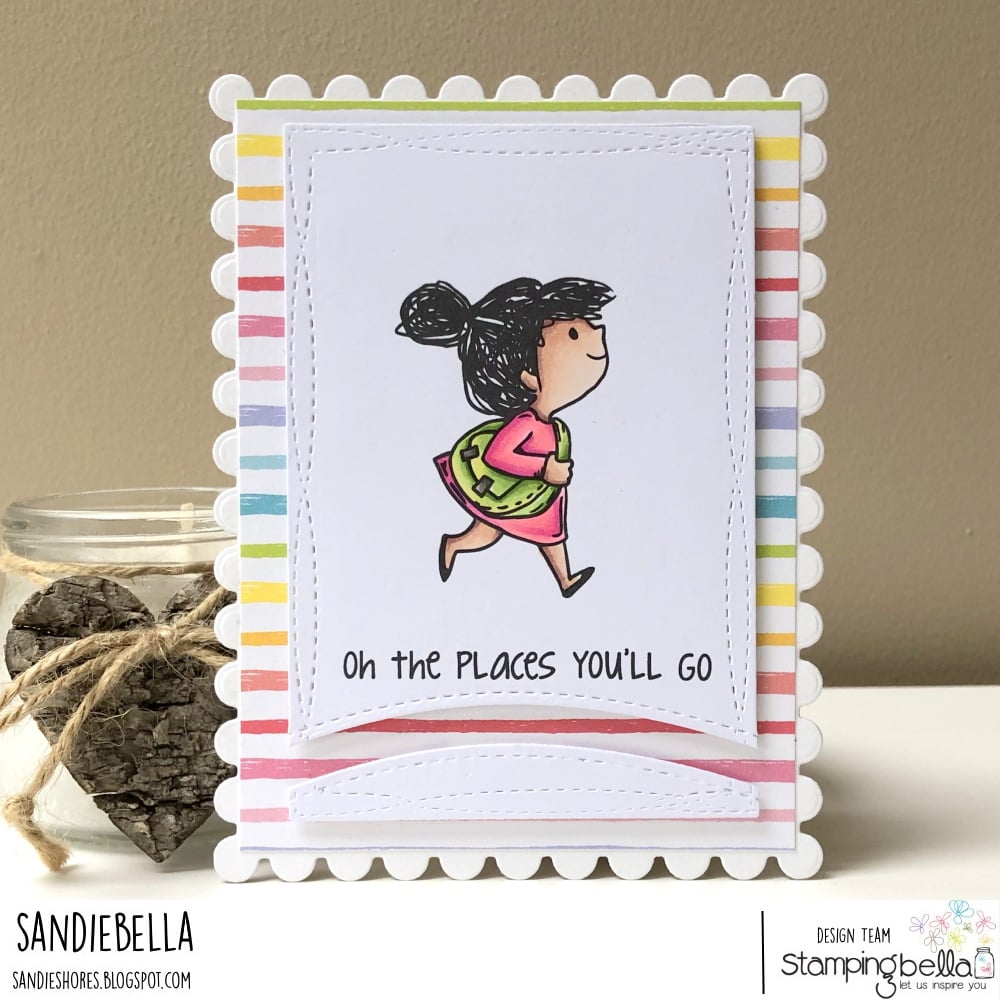

Bundle Girl Skater with Penguins rubber stamp
Stamp Bundle Girl Skater with Penguins onto white card and colour using your preferred medium. Fussy cut around the outline.


Score the card base at 3-1/8″

Score the white card at 4.25″

Adhere all the paper layers to the pink base.

Fold the white card in half with the crease on the right hand side.

Decorate the front of the white card piece. apply adhesive to the back of the white card and adhere to the 3-1/8″ x 4-3/8″ pink panel. The white card will open on the left and inside can be used for personal greetings.

Without using adhesive, position the pink layer centered on the inside back, and pull the front of the white card up over the 3-1/8″ flap. Mark where you need to make the buckle opening.


Adhere the pink panel into position.

Pull the font of the white card over and slide into the opening.

Adhere the Bundle Girl image onto the card front using foam tape/dots.

Stamp the sentiment from The Perfect Gnome Bow onto a strip of white card and and adhere top right of the front panel.


Share your personal favourite Stamping Bella creations with us. We LOVE to see what you’ve been creating with Stamping Bella stamps. Share a link to your latest Stamping Bella card in the comments below, or an old favourite you made a while ago. Tell us what your favourite stamps are. Are there any additions you would like to see to the range? Let us know!
Another way to connect is by joining us in the Stamping Bella Sistahood Facebook Group and share your pictures.
If you are posting your images online, we would love to see them on Instagram and all the platforms mentioned above. To make it easier for us to find you just use #stampingbella as a hashtag. Even better tag me @stampingbella . We love it when you connect, so don’t be shy!
Until next time, HAPPY STAMPING!
MWAH