Hiya sistahs!
I hope you had a great week! Weather is starting to get better here.. trying to carve out some time for myself.. WORKING ON A RELEASE…. Yup I am.. stay tuned!
So without further ado….
Let’s get inspired shall we?
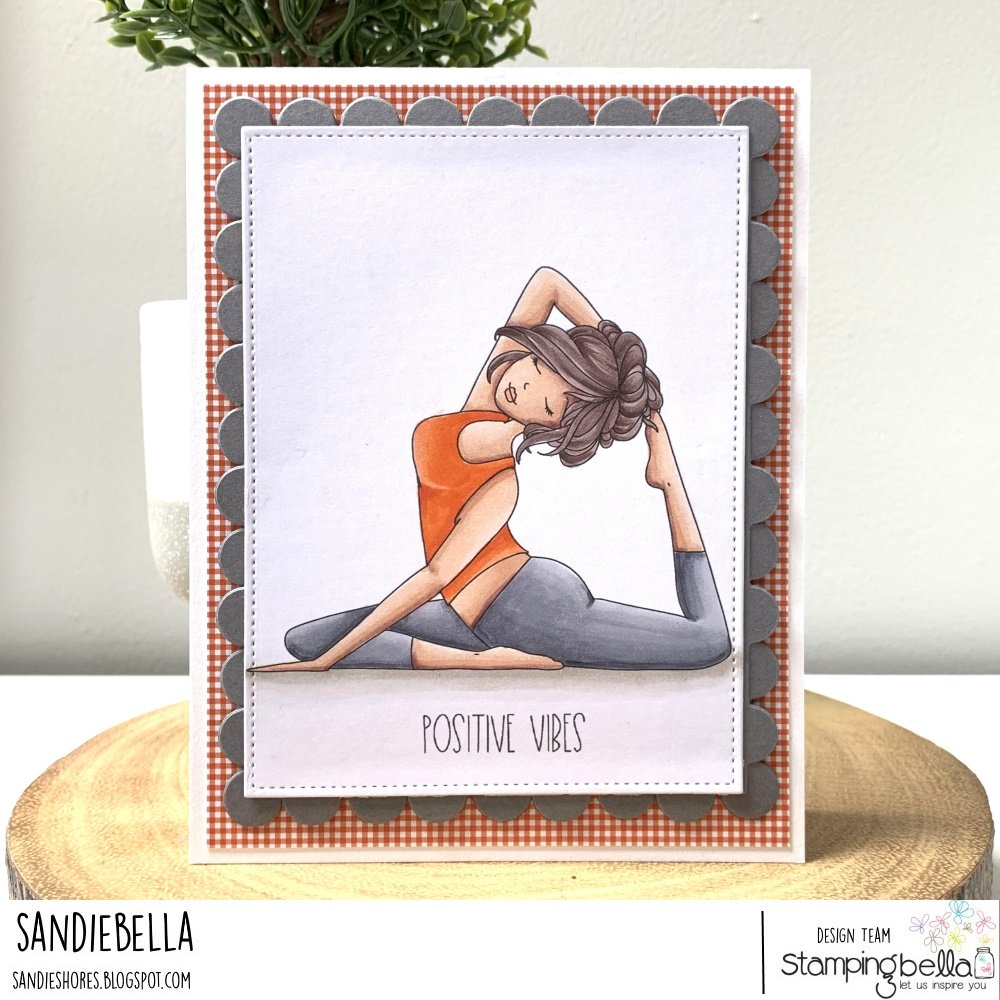
Sandiebella used our MOCHI YOGA GIRL

Hiya sistahs, happy Thursday with Sandiebella !
Today Sandiebella teaches us how to make a Half Star Card featuring Cowboy Squidgy
Cut a 2.75″ stitched circle from white card and a 3″ scalloped circle from navy card. Also cut two small circles (approx 1″). Adhere the image to the white circle and then to the navy scalloped circle. Set aside to work on the card.
On the 5″ x 7″ piece of navy card, measure and mark with a pencil at 3.5″ across the 7″ side, and 2.5″ on the 5″ side. Make an x where they meet.
Score all three 1.5″ x 6.5″ pieces at 1.5″, 3″, 4.5″, and 6″. Adhere the 1.25″ white card squares and the 1″ paper square layers to the centre two 1.5″ sections.
Fold the star pieces so that the sections with the paper layers are back to back, and the sections without paper are back to back. On the plain card section measure and mark at 0.75″. Repeat on on all 3 pieces.
With the glue side facing down, line up the 0.75″ pencil mark with the X on the large card panel, keeping it a fraction back from the score line.
Repeat on the other side, but slide the smaller card panel in between before adhering the second one, to ensure there is a channel.
Apply adhesive to the plain card sections, slide the smaller card layer into the channel then open it up and press onto the glue. Repeat on the other side.
Take the remaining star piece and apply adhesive to the plain card section. Line the 0.75″ pencil mark up to the 2.5″ pencil mark and adhere to the smaller card panel right up to the score line.
Apply adhesive to the other side, push the star piece over so that both paper panels are showing, and press the glued section down firmly.
Flatten down the card and turn over to the back. Stamp the sentiment from Cowboy Squidgy in the centre of the 6.75″ x 4.75″ piece of white card. Adhere to the back of the card.
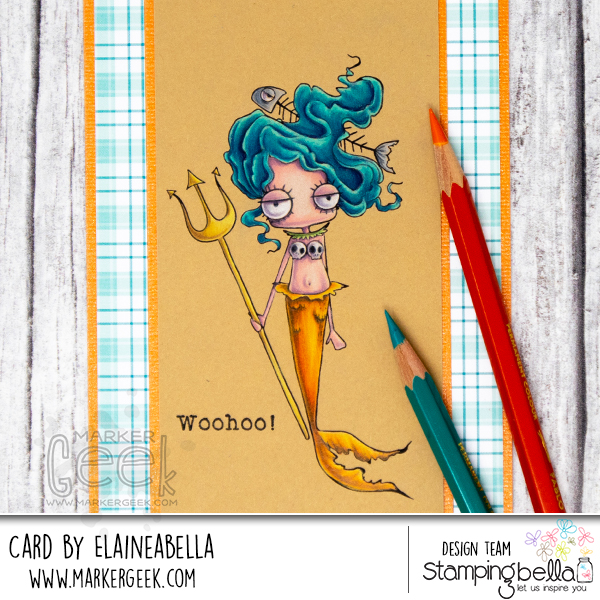
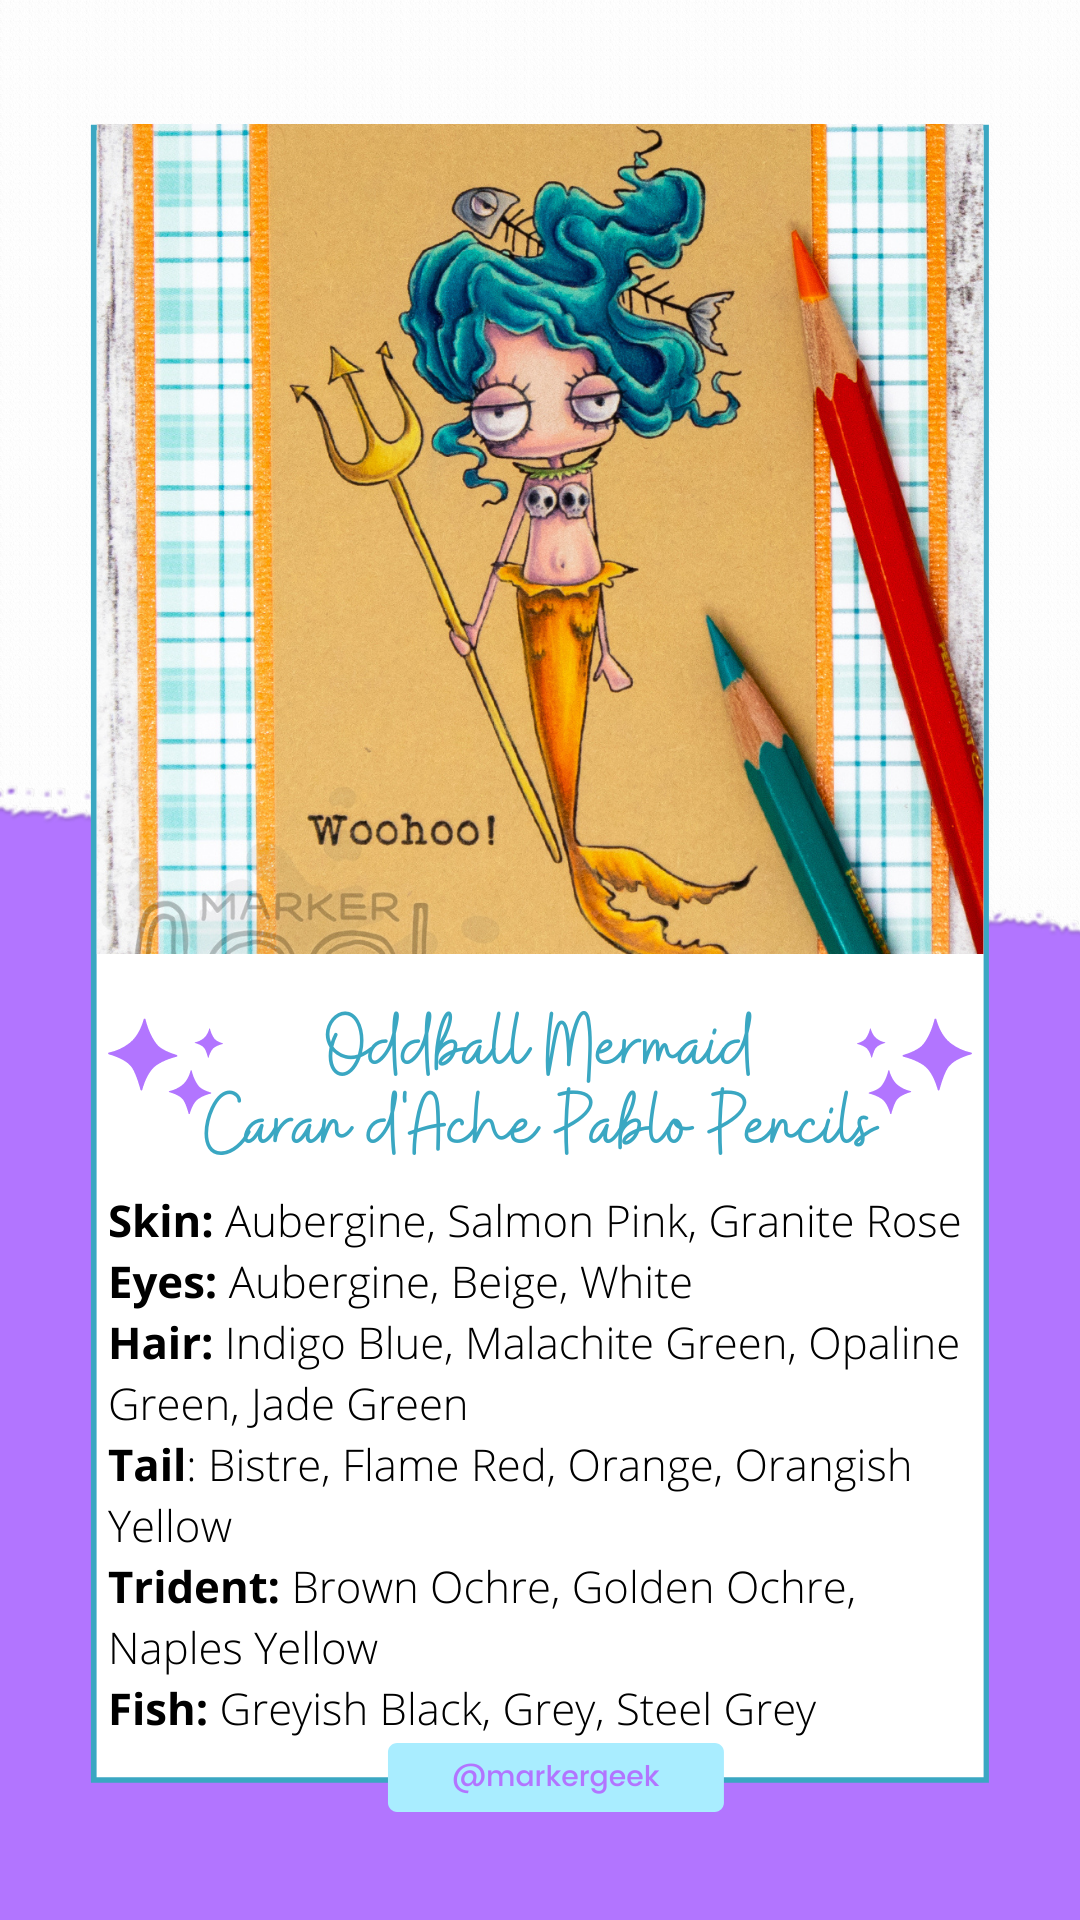
I revisited an older favourite for today’s card. Watch my Oddball Mermaid Coloured Pencil Video below to see how she came to life using Caran d’Ache Pablo pencils!

Stamps Used: Oddball Mermaid, Celebrate & Congratulate Sentiment Set,
Watch me colour this stamp in the video below. If you enjoy watching please do like the video and subscribe over on my YouTube channel.

MWAH!
Elaineabell
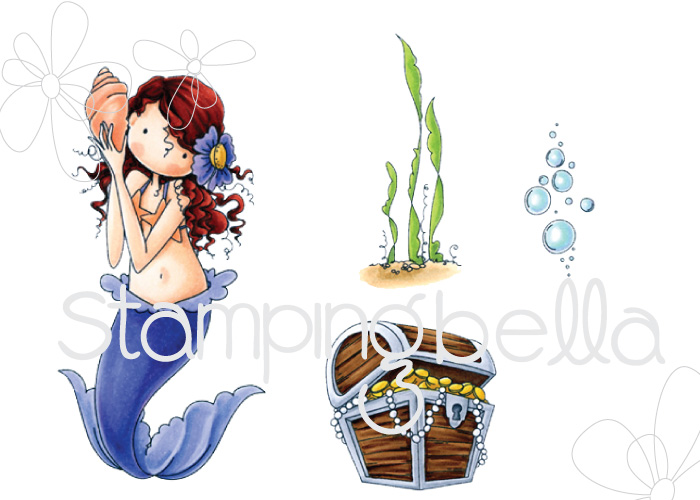
Since it’s MerMay, I absolutely had to throw my spotlight on one of my favourite mermaid stamp sets EVER. Join me for some fantastic inspiration featuring…

Watch me colour this stamp in the video below. If you enjoy watching please do like the video and subscribe over on my YouTube channel.