Hiya sistahs! I hope you had a great week! We are amazed at the love you had for our last release! It makes my heart sing!!!
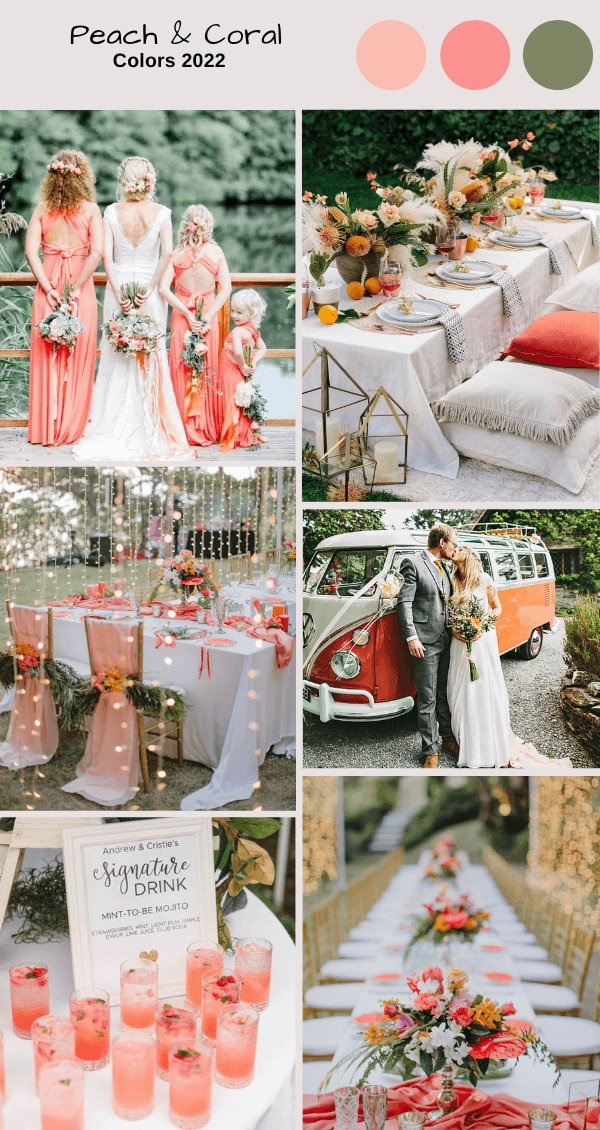
Today we have a photo inspiration challenge for our baberoonis
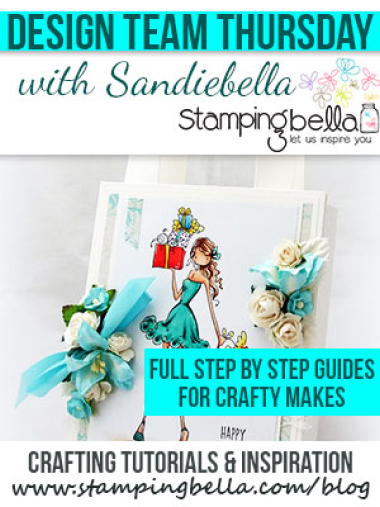
Hiya sistahs, happy Thursday with Sandiebella !
Today Sandiebella teaches us how to make a Tower card!


Supplies:
Stamp the Guinea image onto white card. Colour using your preferred medium then set the image aside to work on the card.


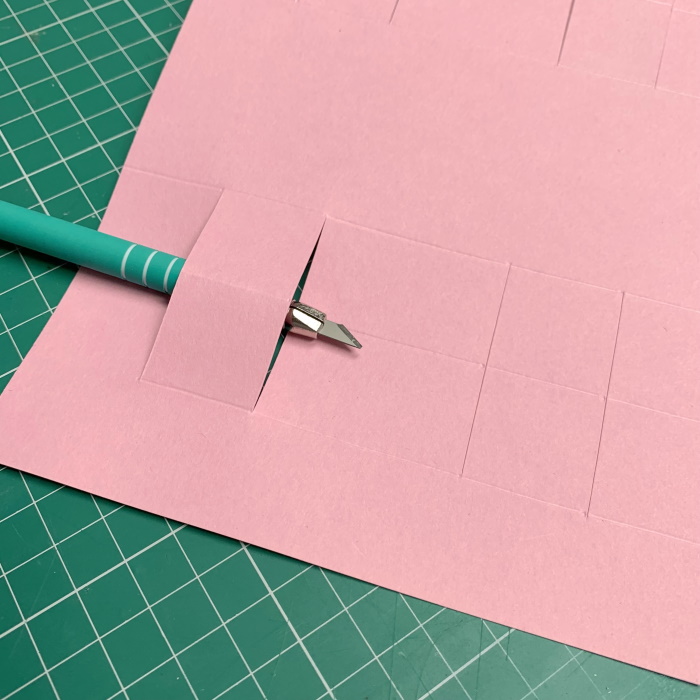
Score the card base on the long side at 1″, 2″, 3″, 5.25″, 6.25″, and 7.25″

On each of the score lines, measure and mark at 1″ and 2″ – top and bottom.


On the 1″ marks, cut across from the 1″ score line to the 3″ score line, and from the 5.25″ to the 7.25″ score lines. Repeat at the 2″ mark.
Fold back the outer 1″ sections and burnish with a bone folder.

To fold the scored/cut sections start at the top and mountain fold, then valley fold the next one, then mountain, valley and finally mountain. Try not to fold the inner score line on the valley fold sections.

Repeat on both sides.

Adhere the card layers…front.


Adhere down the paper layers. The centre section at the back is for writing a greeting, there is no paper layer.


Also adhere the paper layers to the 3″ squares.

Turn the square at an angle, line up the side points to the top edges of the centre middle section, and adhere down. Repeat with the second diamond, lining the side points up with the bottom of the middle front section.


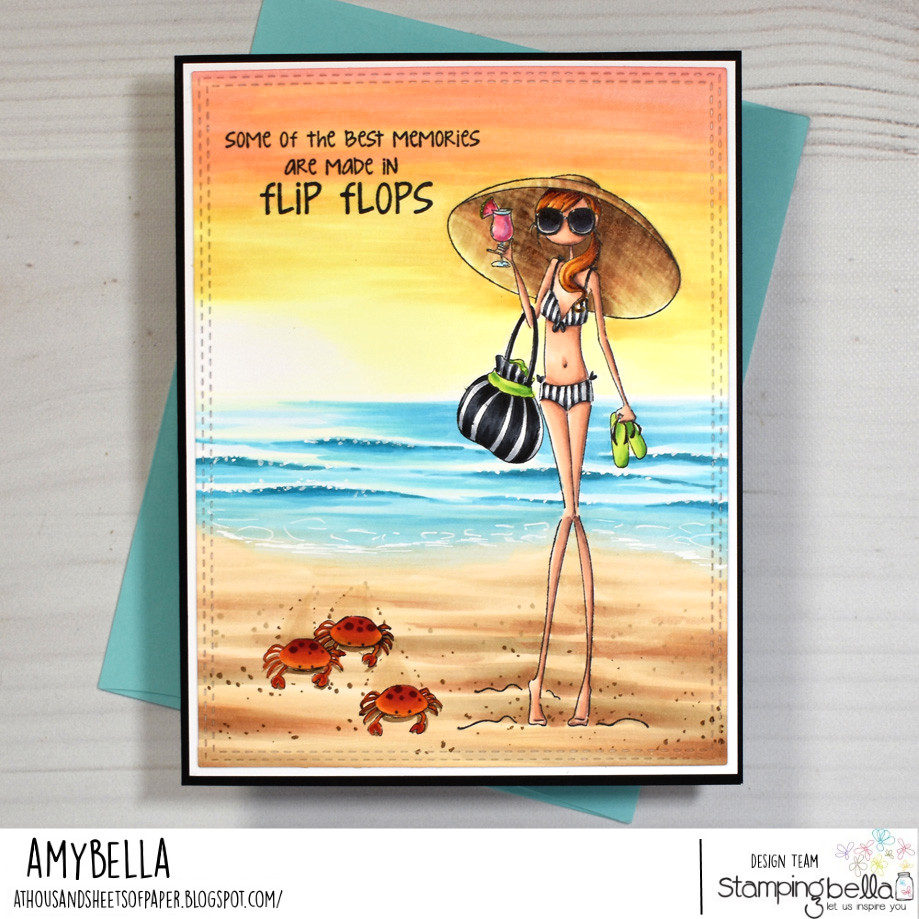
Stamp the sentiment onto a strip on white card and cut out using a ribbon label die. If you don’t have a die, fishtail the ends of a 0.75″ x 3.75″ strip of card with a scissors.

Adhere the sentiment to the bottom front section.

Another way to connect is by joining us in the Stamping Bella Sistahood Facebook Group and share your pictures.
If you are posting your images online, we would love to see them on Instagram and all the platforms mentioned above. To make it easier for us to find you just use #stampingbella as a hashtag. Even better tag me @stampingbella . We love it when you connect, so don’t be shy!
Until next time, HAPPY STAMPING!
MWAH
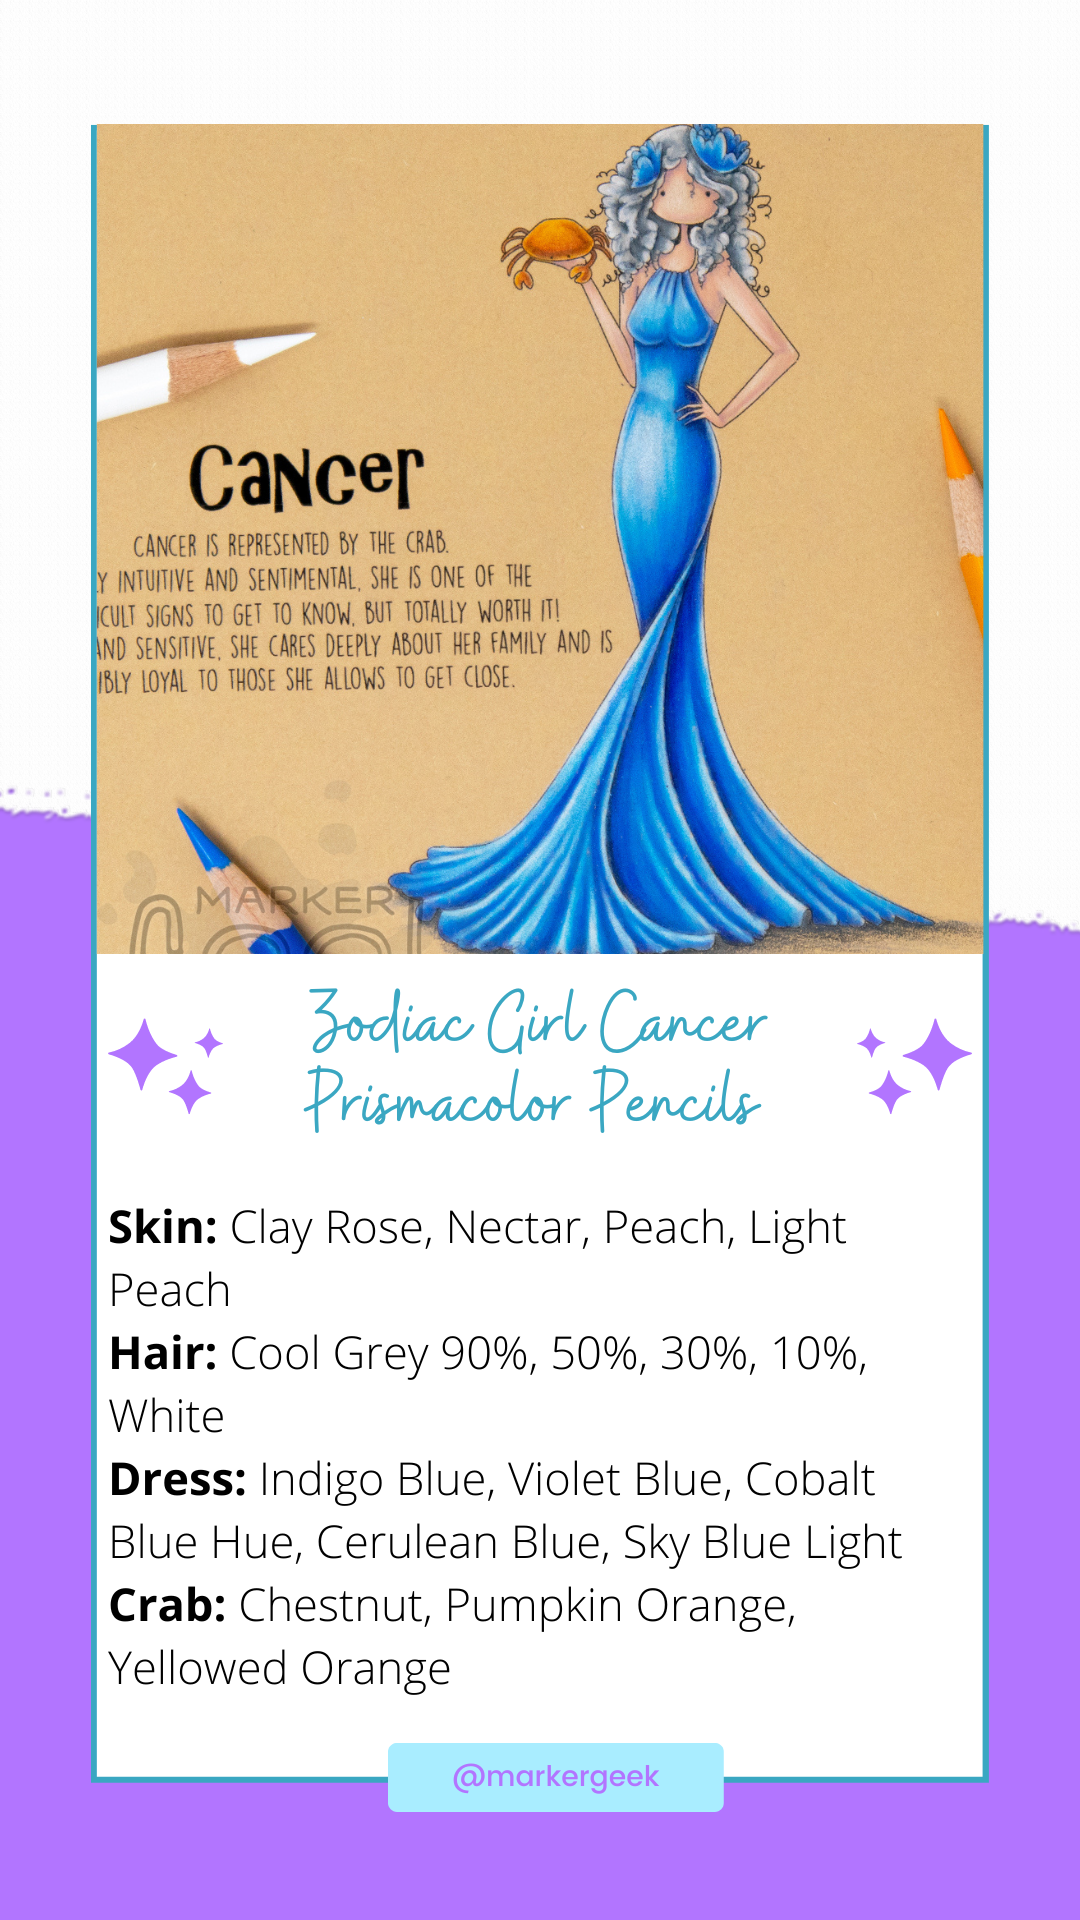
I’ve got a stunner of a Zodiac Girl to share today. I absolutely love colouring that dress! Watch my Zodiac Girl Cancer Coloured Pencil Video below to see how this gorgeous image came to life using Prismacolor pencils.
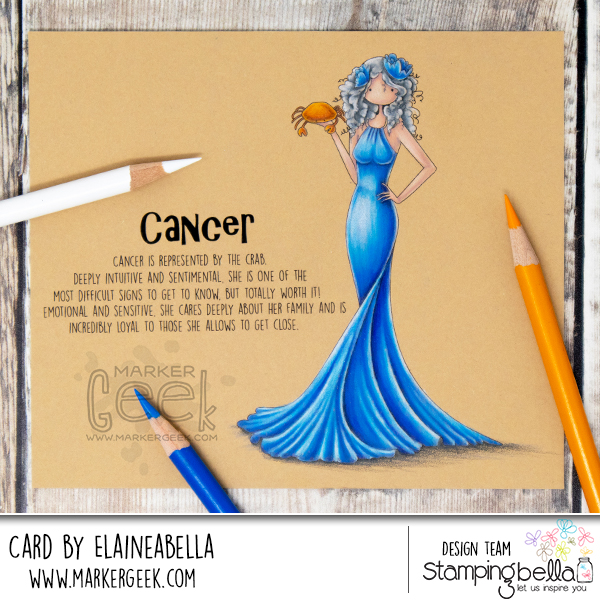
Stamps Used: Stamping Bella Uptown Zodiac Girl Cancer,
Watch me colour this stamp in the video below. If you enjoy watching please do like the video and subscribe over on my YouTube channel.
Elaineabella
Getting the week off to a fun and colourful start with another fantastic stamp from the latest release. Watch my Mini Oddballs Building a Sandcastle Copic Video below to see how these little beach bums came to life.
Those faces! I paired them with a sentiment from an older sentiment set, but they come with a great one too.
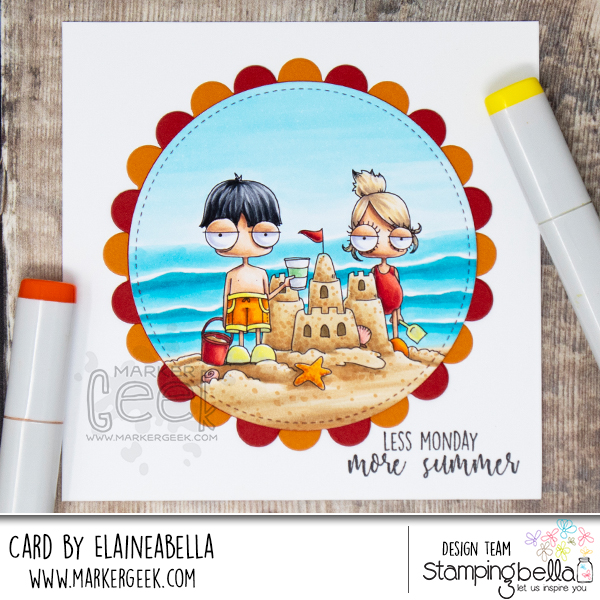
Stamps Used: Mini Oddballs Building a Sandcastle, Summer Sentiment Set
Watch me colour this stamp in the video below. If you enjoy watching please do like the video and subscribe over on my YouTube channel.
MWAH!
Elaineabella
Hiya sistahs! I hope you are enjoying our BRAND NEW RELEASE AND…. our 15% off the whole shop until Sunday at Midnight EST!
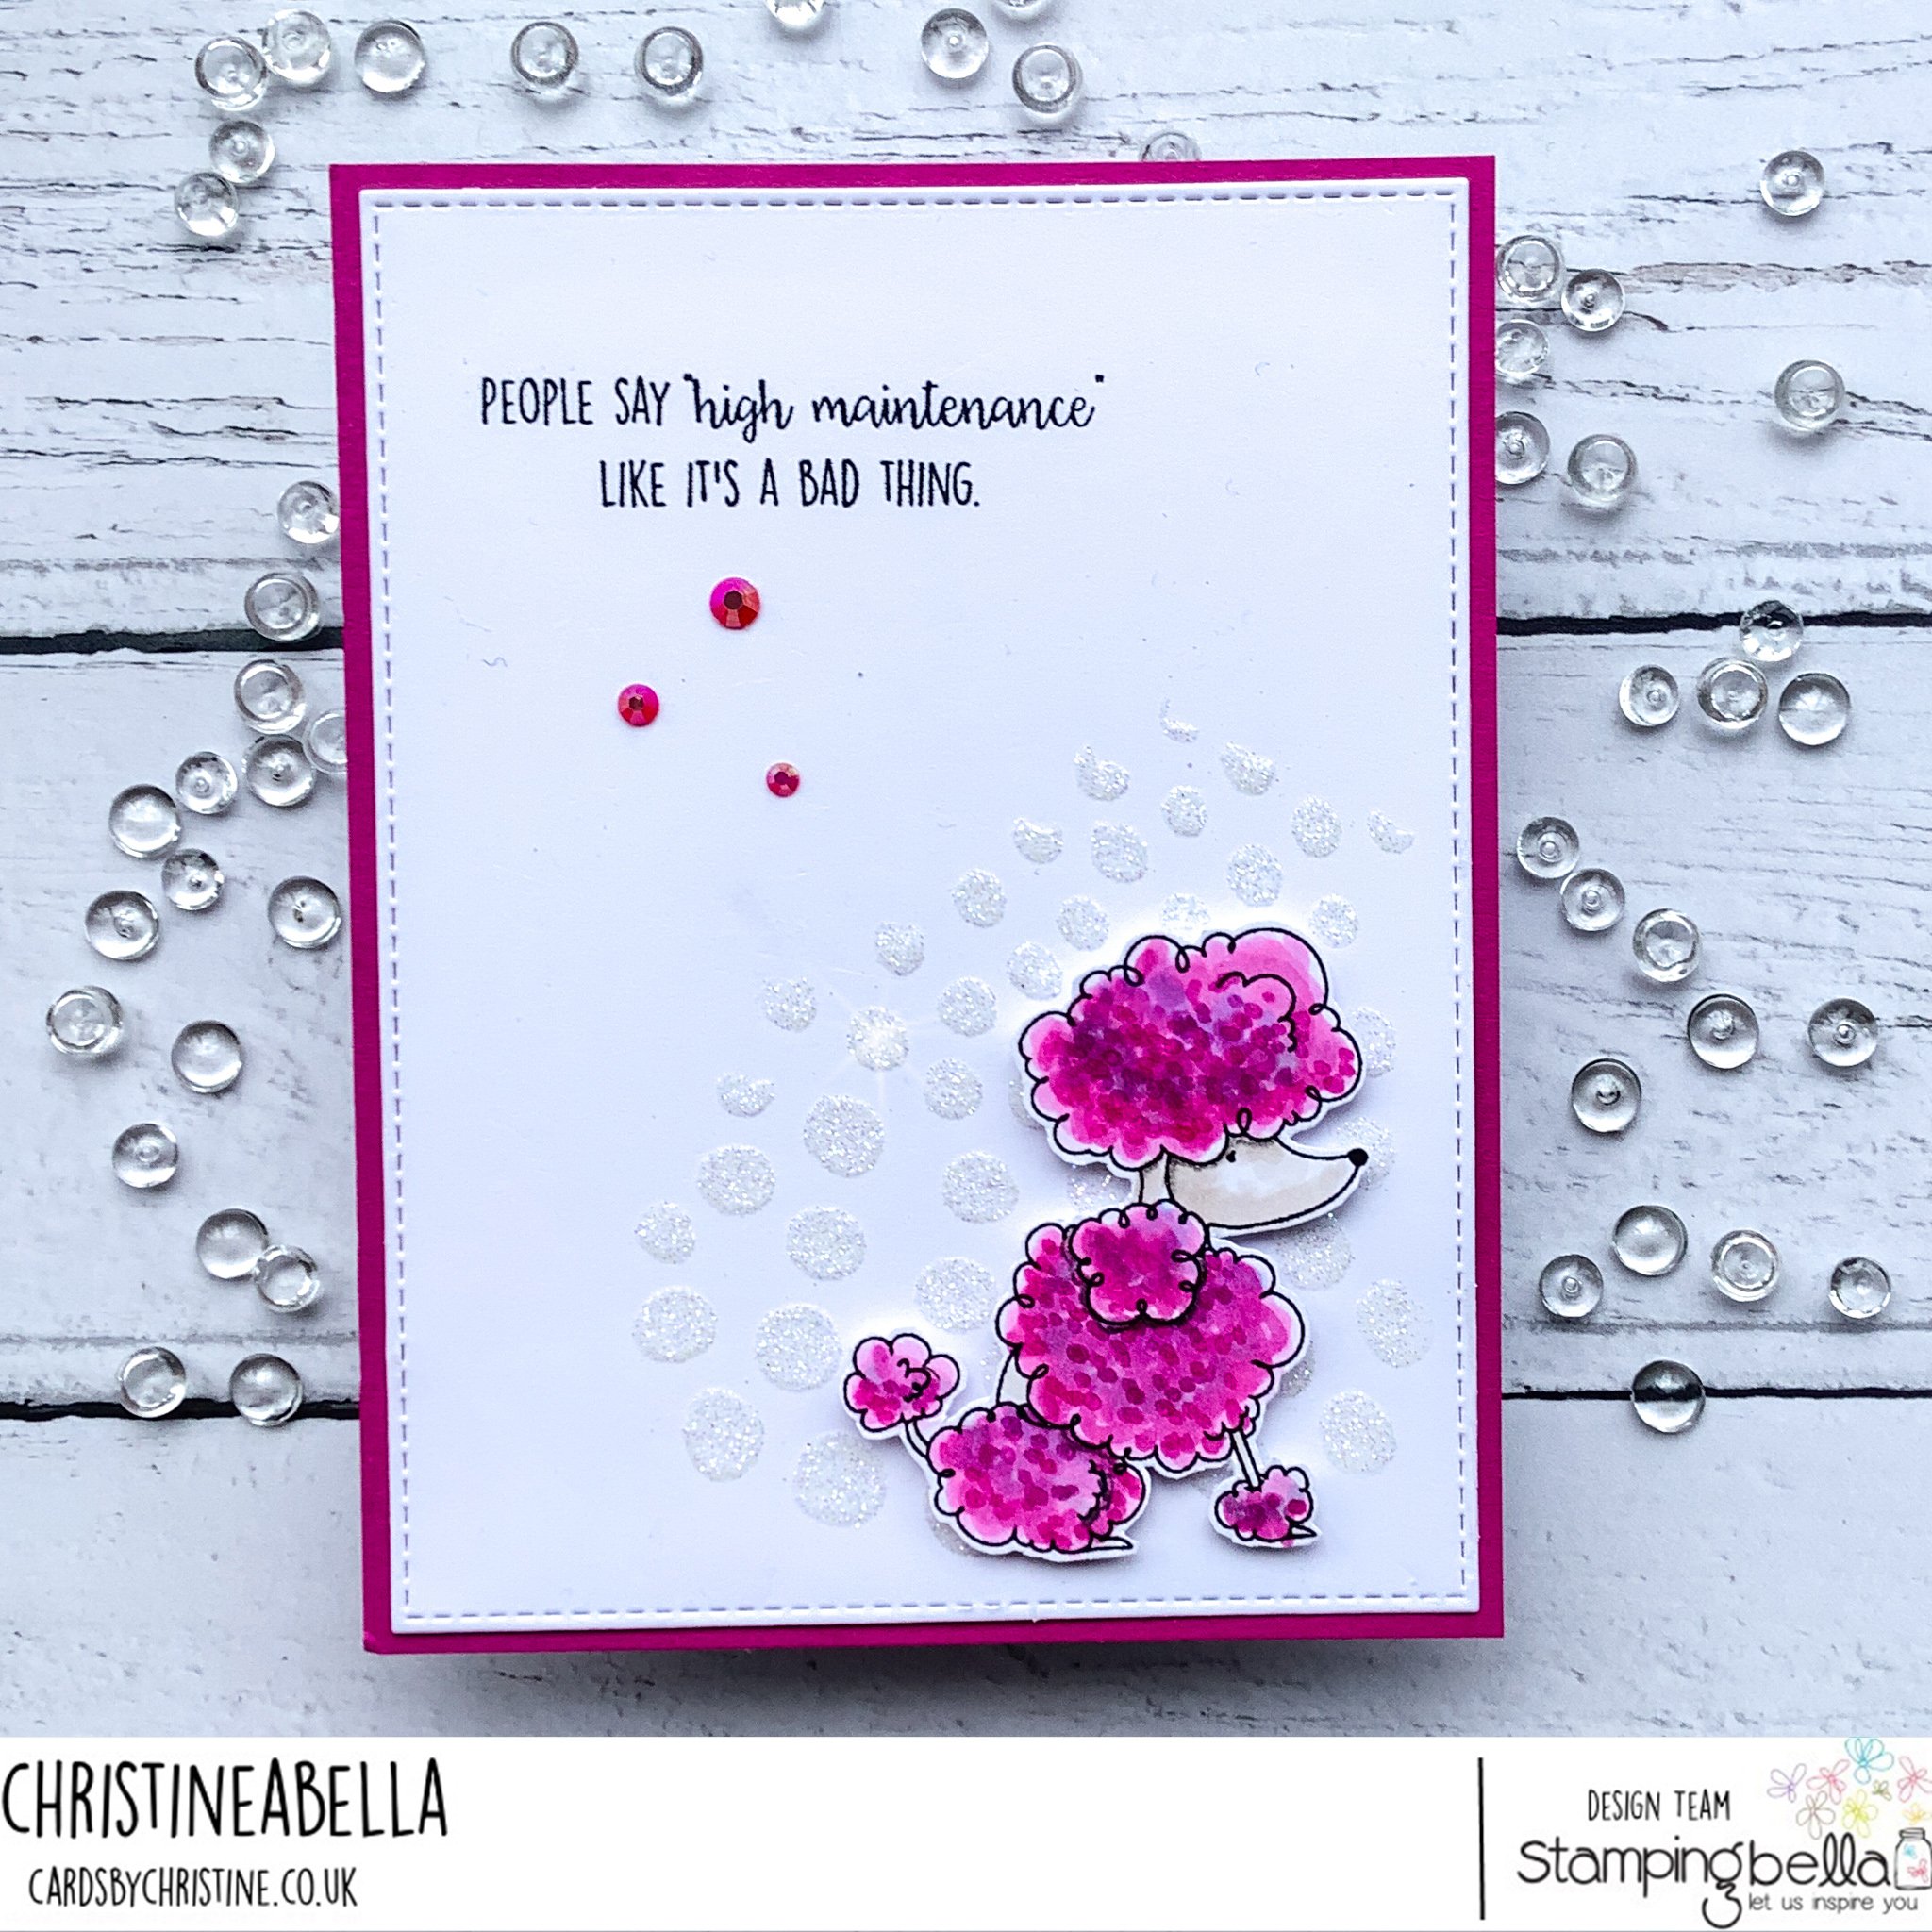
So without further ado… let’s share some cards using our Stamp of the month FRENCHIE, SCOTTIE, POODLE and DACHSIE