


Happy Marker Geek Monday! Hopefully this little pop of colour will get your week off to a bright start.
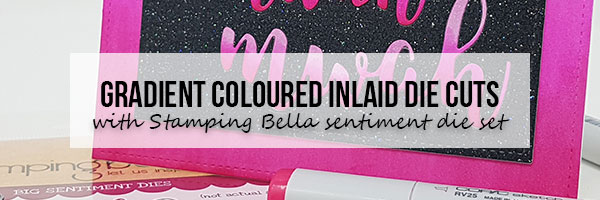
Gradient Coloured Inlaid Die Cuts
As you can see, I went for something a little different this week. I’ve had so many ideas buzzing round my brain for the new Sentiment Die Sets, and just haven’t managed to get around to them. I almost reached for a stamp set again today, but I really needed to create a quick thank you card, so here we are!
I love the fact that the Stamping Bella Sentiment Die Sets include three different sizes of the same word. Word or sentiment dies are among my favourites for adding a little something to a card or project, but all too often I either want a bigger version of the one I have, or a smaller version. I’m basically Goldilocks when it comes to dies. Now, I have all the sizes I want!
I wanted to create a really fun, eye catching thank you card (this could easily work for Valentine’s Day too), so I opted to use all three dies in the set together with a stitched rectangle die set from my stash to create the panel for my card.
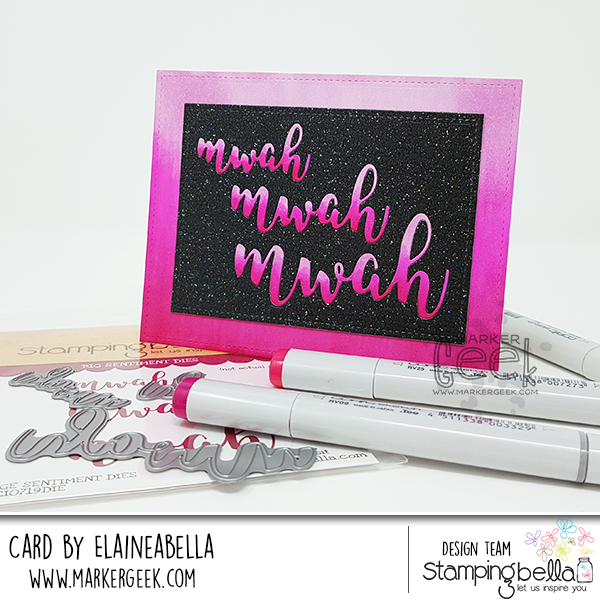
Die Set Used: Stamping Bella MWAH Sentiment Die Set
These days I keep things pretty simple in my craft room, I don’t have a stash of coloured card on hand; to create this card I die cut the words from both the black glitter stitched rectangle panel and a separate piece of white card. I then coloured the die cut words quickly using my Copic markers to create a fun gradient effect, before popping them in to the negative space left in the black panel.
Inlaid die cutting is such an easy technique to do, and gives a really nice neat finish to the card. All I did to achieve this was to cut a separate black stitched rectangle without die cutting the words from it to back the first one after removing the die cut word pieces, then popped the coloured words in place. I used a Nuvo glue pen to glue the words in place.
To match the words, I cut a larger stitched rectangle from the same white card and coloured the same gradient effect on the area that would be visible around the main panel.
Copic Markers Used: RV09,RV25,RV63
Over To You!
Share your personal favourite Stamping Bella creations with us. We LOVE to see what you’ve been creating with Stamping Bella stamps. Share a link to your latest Stamping Bella card in the comments below, or an old favourite you made a while ago. Tell us what your favourite stamps are. Are there any additions you would like to see to the range? Let us know!
Another way to connect is by joining us in the Stamping Bella Sistahood Facebook Group and share your pictures.
If you are posting your images online, we would love to see them on Instagram and all the platforms mentioned above. To make it easier for us to find you just use #markergeekmonday and/or #stampingbella as a hashtag. Even better tag me @markergeek and @stampingbella . We love it when you connect, so don’t be shy!
Until next time, HAPPY STAMPING!
MWAH
Elaineabella