


Hiya sistahs, happy Thursday with Sandiebella !
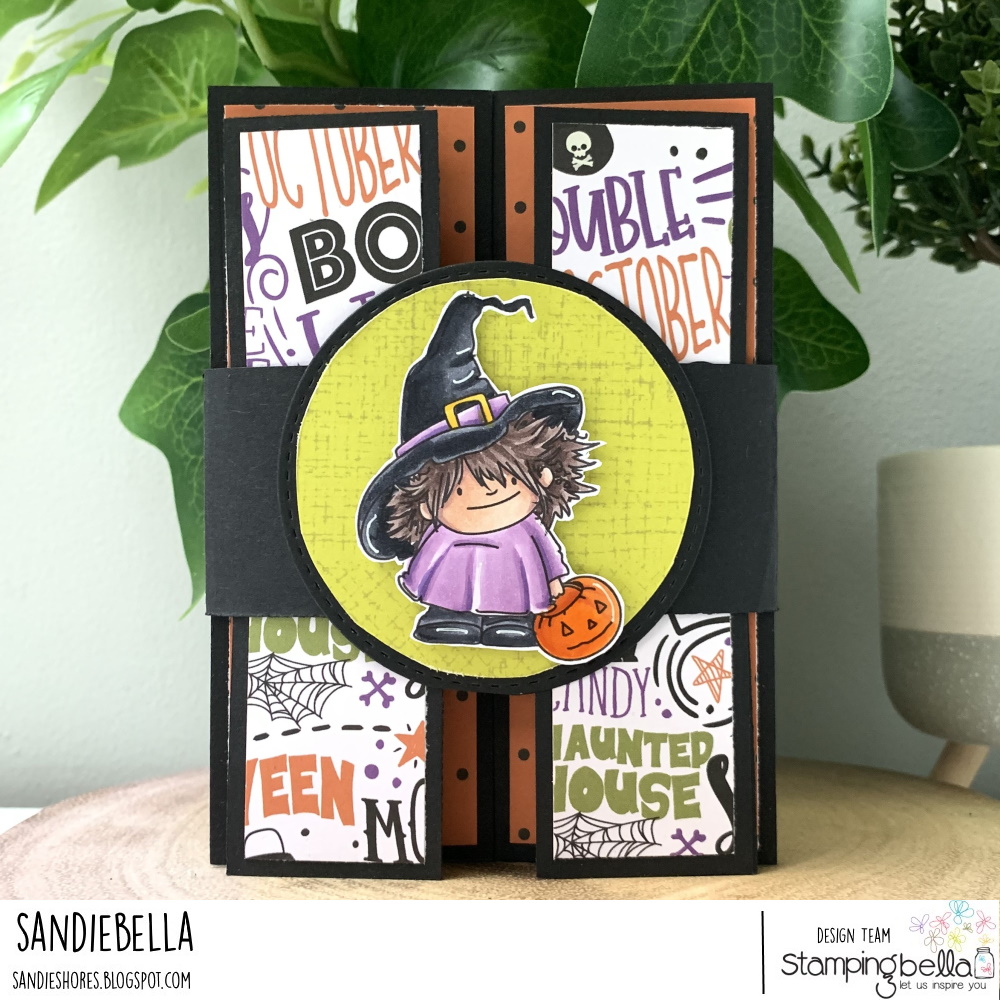
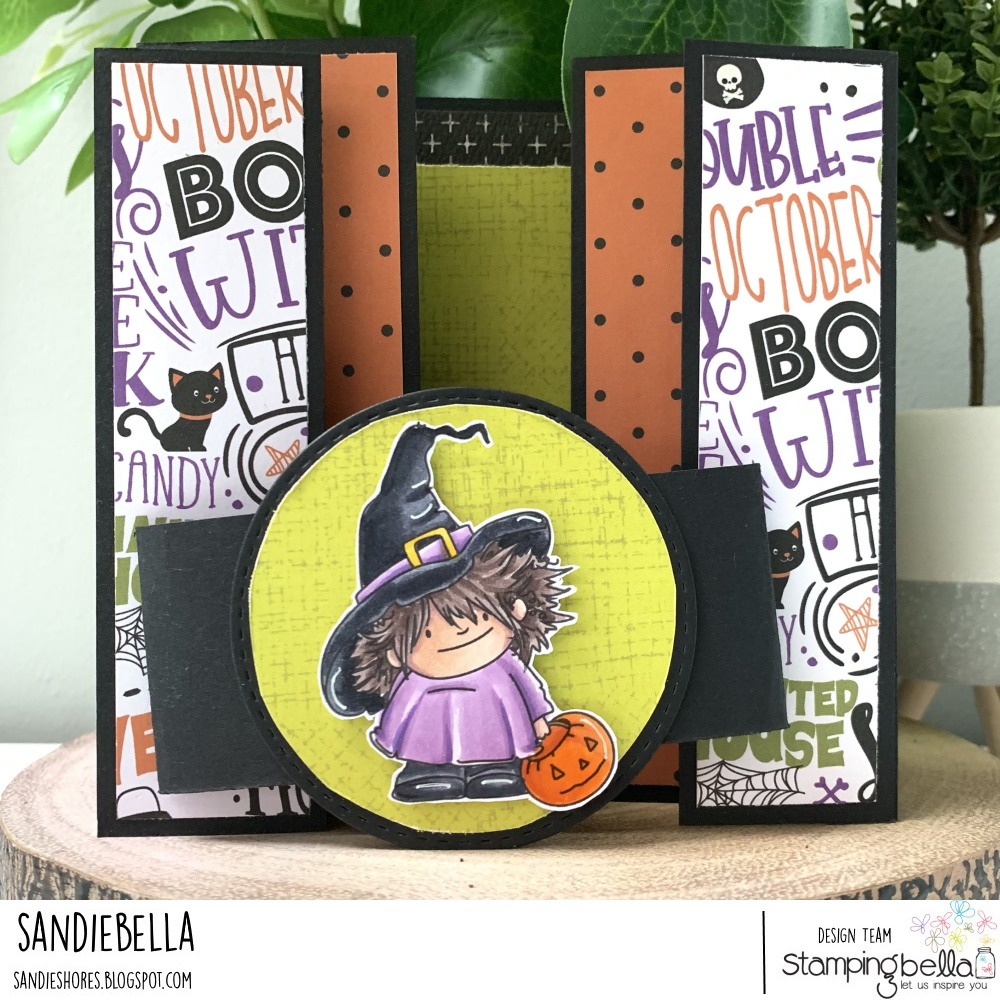
Today Sandiebella teaches us how to make a Floating Gatefold Halloween Card

Black card


Score the card base on the 7″ side at 0.5″, 1.5″, 5.5″ and 6.5″


Score both floating mechanisms on the short side at 0.5″ and 1″

On the card base, cut across the 0.5″ score line and then cut diagonally to the inner score lines.

Adhere the paper layers to the large and small panels.

With the inside of the card facing up, fold in on the 1.5″ score lines and then fold back the 0.5″ score lines. Crease well with a bone folder

Apply adhesive to the 0.5″ sections then, keeping the score lines pressed flat, adhere the large panels down, lining up the outer edges with the edges of the card base.


Fold the floating mechanisms into a Z shape, in opposite directions. The should both pull outwards.

Apply double sided tape to the underneath of the inner 0.5″ section. Line up with the bottom of the card and adhere approx 1/8″ in on the designer paper. Repeat on the opposite side.


Apply adhesive to the top of the pull mechanism and adhere the small panels – lining up the bottom and outer edges


Adhere the centre panel

Stamp the sentiment onto the white card strip. Adhere the greeting panel towards the top and then adhere the sentiment across the bottom.

Adhere both Squidgy DINO Trick and Squidgy GHOST ‘standing’ on the sentiment strip.

Centre the belly band card across the front of the card then fold both ends around to the back, leaving a little bit of wiggle room so that the band can slip on and off easily. Apply adhesive on each end and secure together.

Cut a 3″ black card circle and a 2.75″ green paper circle. Adhere them together then adhere the Squidgy WITCH using foam tape/dots.


Another way to connect is by joining us in the Stamping Bella Sistahood Facebook Group and share your pictures.
If you are posting your images online, we would love to see them on Instagram and all the platforms mentioned above. To make it easier for us to find you just use #stampingbella as a hashtag. Even better tag me @stampingbella . We love it when you connect, so don’t be shy!
Until next time, HAPPY STAMPING!
MWAH
Very unique, this card has a nice presentation, thank you for sharing
Thank you for the great tutorial! I had never seen this specific kind of fun fold before and I gave it a try tonight. The result is really neat!