


Score both 6″ x 10″ pieces of cart at every 0.5″ along the long side.

Score the 11-5/8″ x 4.25″ at 0.5″, 2″, 8-1/8″, and 9-5/8″ on the long side.

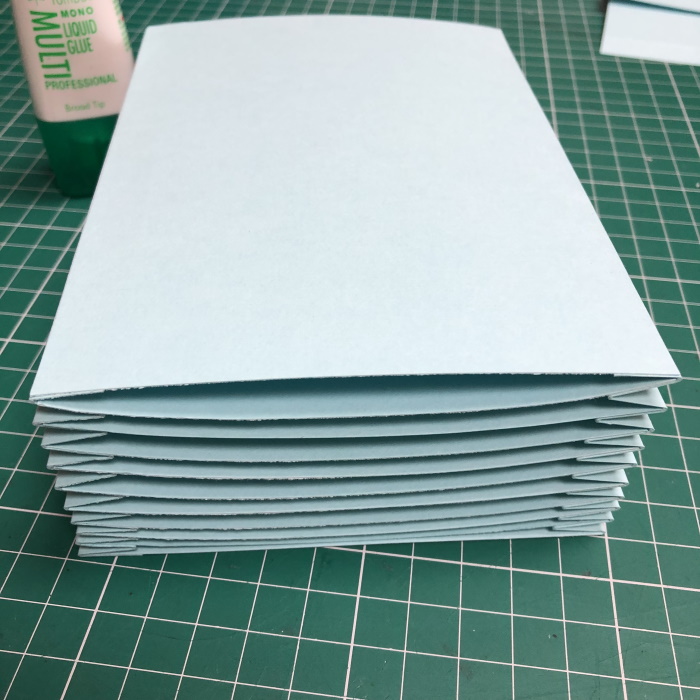
Mountain/valley fold each of the 6″ x 10″ pieces

Apply adhesive to the inside of the first 0.5″ section of one of the accordion pieces. Adhere one of the 6″ x 4″ pieces to it. Adhere the other accordion fold piece to the opposite side.


Fold the next mountain folds inwards and apply adhesive. Adhere another of the 6″ x 4″ pieces to either side. Repeat this until all of the dividers are adhered.

Wedge the edges of the 0.5″ section on the 11-5/8″ x 4.25″ piece of card. Apply adhesive and adhere the 6-1/8″ x 4.25″ piece of card (album front) to it.


Apply adhesive to the back of the accordion and adhere to the 6-1/8″ inside back section of the 11-5/8″ x 4.25″ piece of card.

Apply adhesive to the front of the accordion, fold up the front panel and adhere – ensuring the angles are square at the bottom.


Adhere a magnet approx. 1″ down on the album front, and on the inside of the front flap.

Put a dab of glue, or glue dot, on the front of the magnet and then adhere the paper layer over it.

Create a handle before sticking the top panel down. On the back of the top paper layer measure in approx 0.5″ on each side and draw a line. Using a craft knife, make a 5/8″ slit on each pencil mark.

Cut a piece of paper measuring 5/8″ x 4.5″, curve over your fingers and then fold up 0.25″ on each end.

Slide the ends into the slits on the paper layer and secure at the back with glue. Adhere the paper layer to the top of the album.


Adhere all the paper layers to the album base.

Retrieve the image and adhere to the front of the album, below the top flap, using either glue or foam tape.

Cut out some embellishments from the papers and decorate as desired.

Share your personal favourite Stamping Bella creations with us. We LOVE to see what you’ve been creating with Stamping Bella stamps. Share a link to your latest Stamping Bella card in the comments below, or an old favourite you made a while ago. Tell us what your favourite stamps are. Are there any additions you would like to see to the range? Let us know!
Another way to connect is by joining us in the Stamping Bella Sistahood Facebook Group and share your pictures.
If you are posting your images online, we would love to see them on Instagram and all the platforms mentioned above. To make it easier for us to find you just use #stampingbella as a hashtag. Even better tag me @stampingbella . We love it when you connect, so don’t be shy!
Until next time, HAPPY STAMPING!
MWAH
You are amazing! Thanks for sharing this fun project!
This is so amazingly creative! I am in awe. Thank you so much for sharing your process! I learned so much.