


DT Thursday time! Sandie has another gorgeous make for us to follow along with today, featuring one of those awesome new Oddballs stamps.
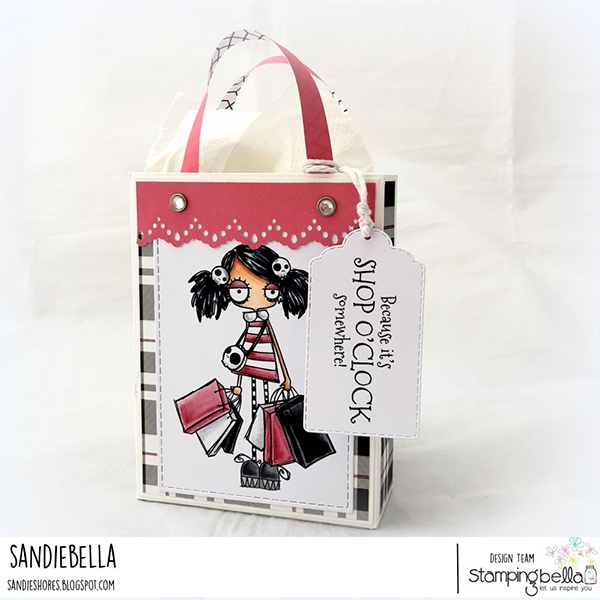
Oddball Shopper Gift Bag
Supplies:
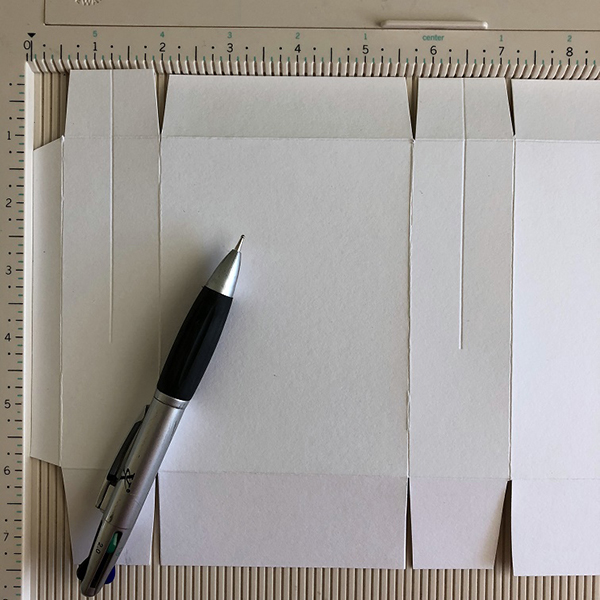
Scoring board and bone folderHow to:
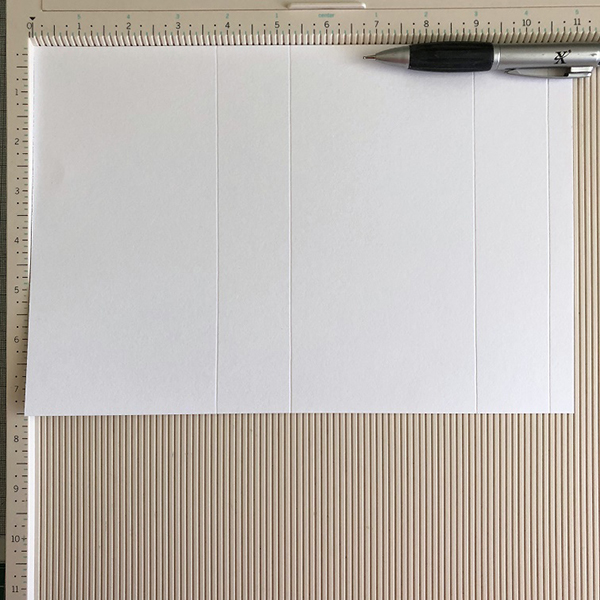
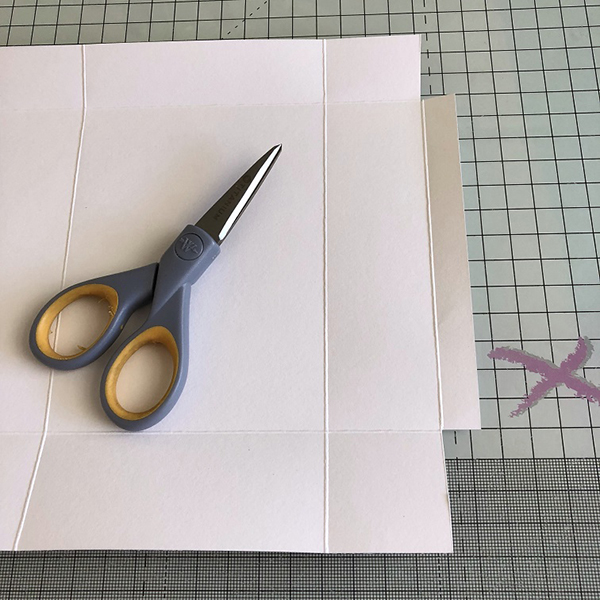
Score on the 7.5″ side at 1″ and 6″
Fold and crease all scorelines with a bone folder.

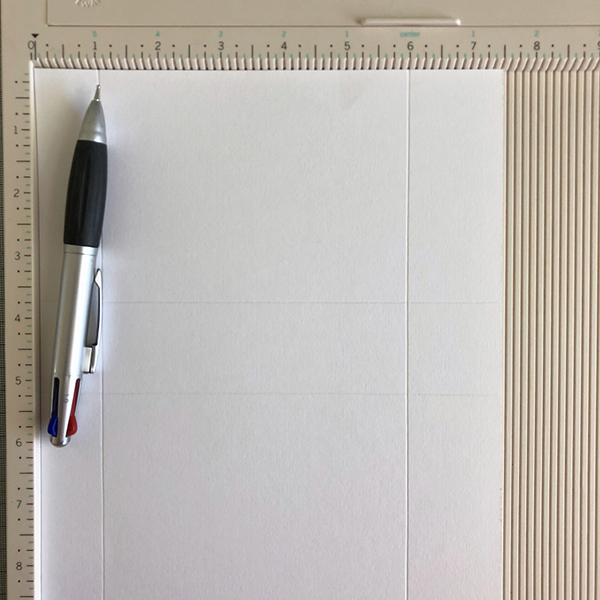
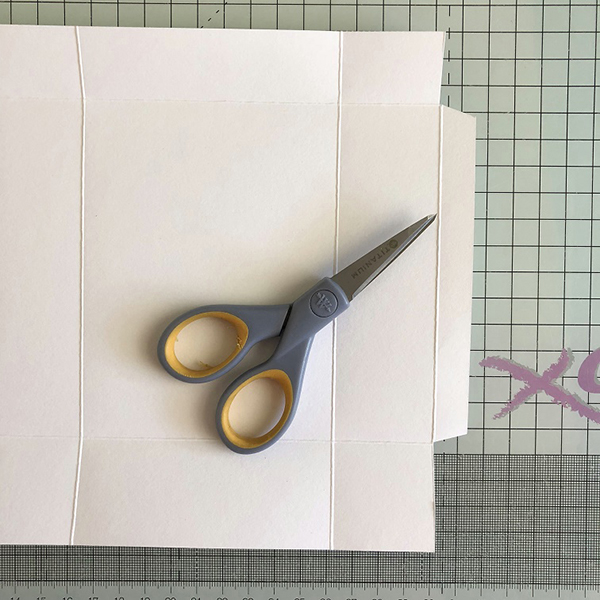
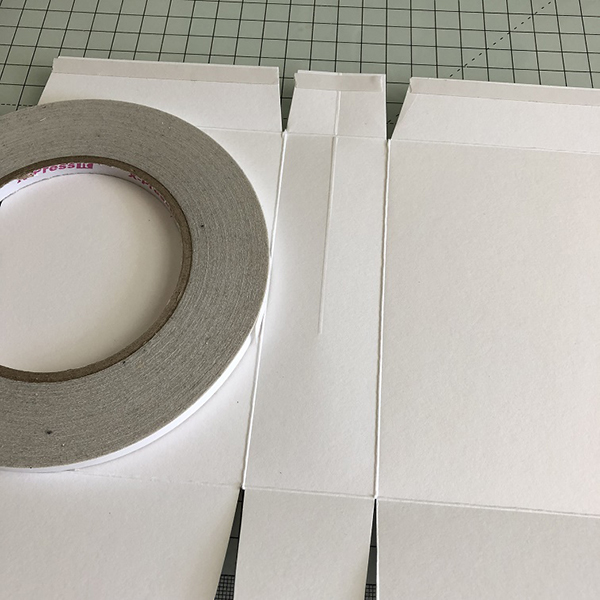
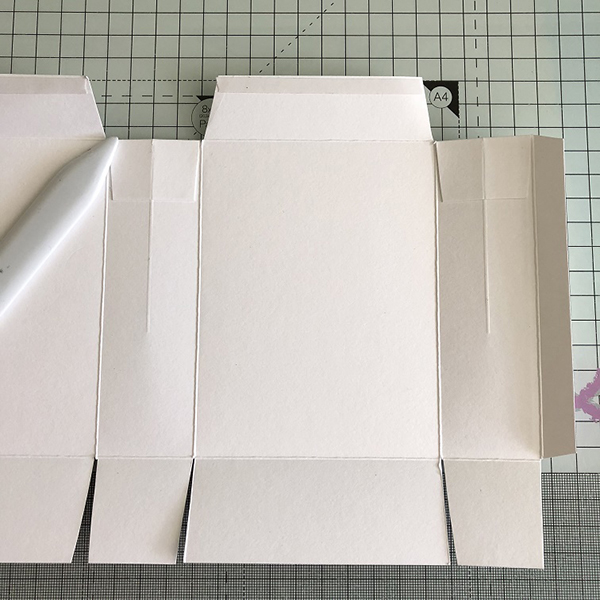
On the 1/2″ section, remove the top and bottom pieces to the scorelines.
Taper the edges slightly.
Cut on all the scorelines on the top and bottom, to the intersection.
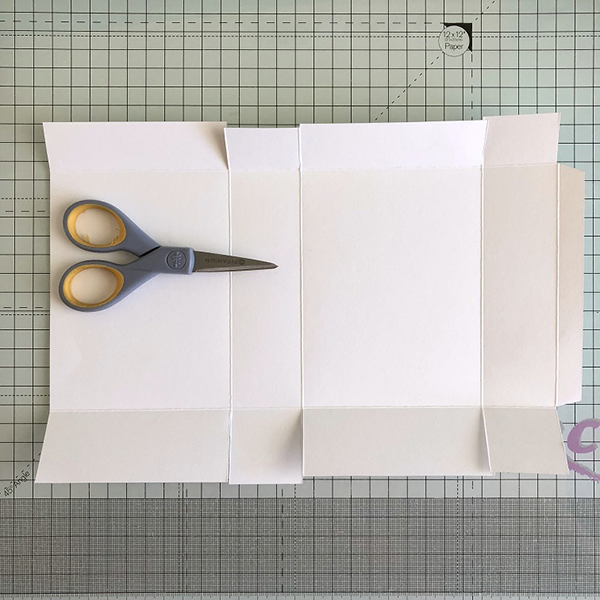
Taper all the edges slightly
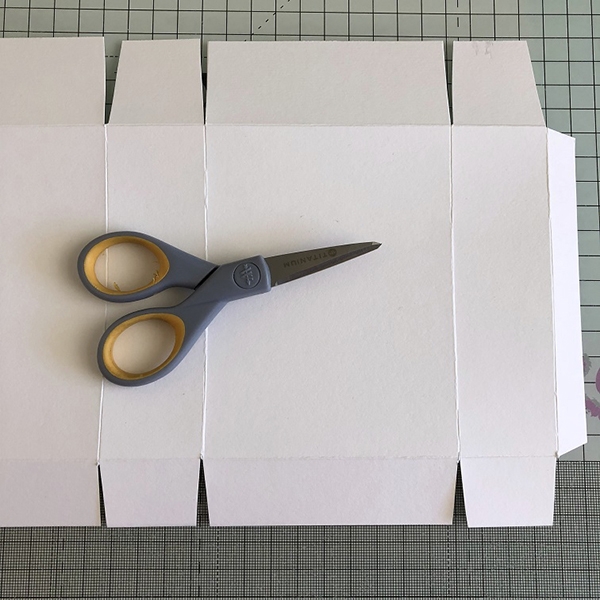
Score both 1.5″ sections in the centre, down to about the 4″ mark.
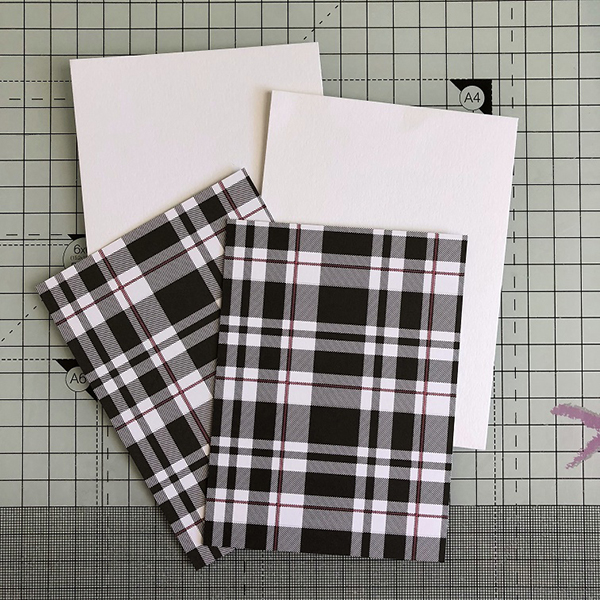
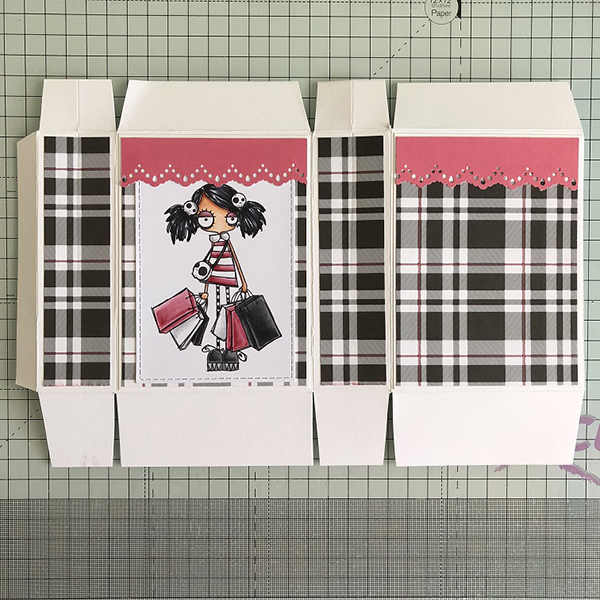
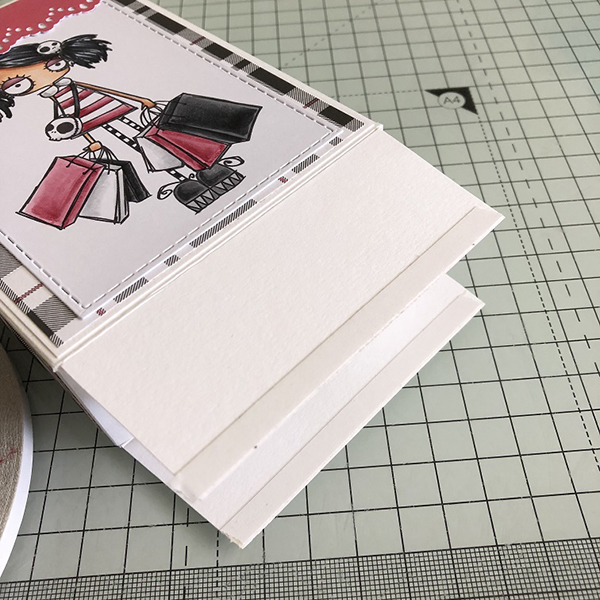
Cut two pieces of white card measuring 3 5/8″ x 4 7/8″ and two pieces of patterned paper 3.5″ x 4.75″. Glue the patterned paper to the white card panels.
Adhere the panels to the base.
Cut two pieces of patterned paper measuring 1 3/8″ x 4.75″ for the sides of the gift box and stick them down. Once they are stuck down, score gently over the previous scoreline.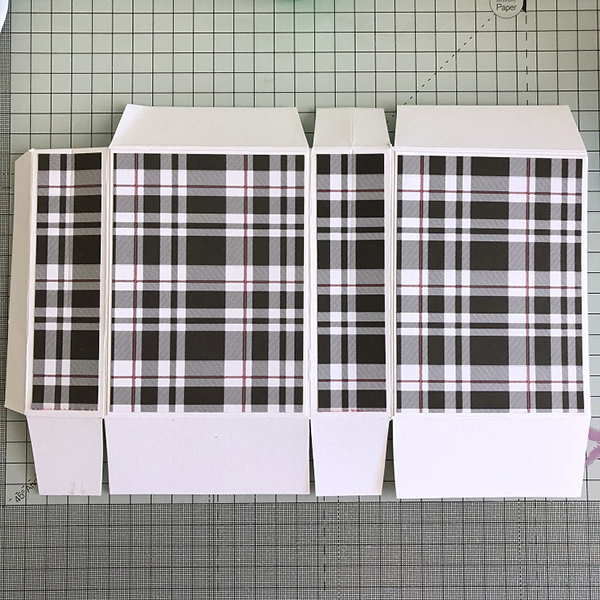
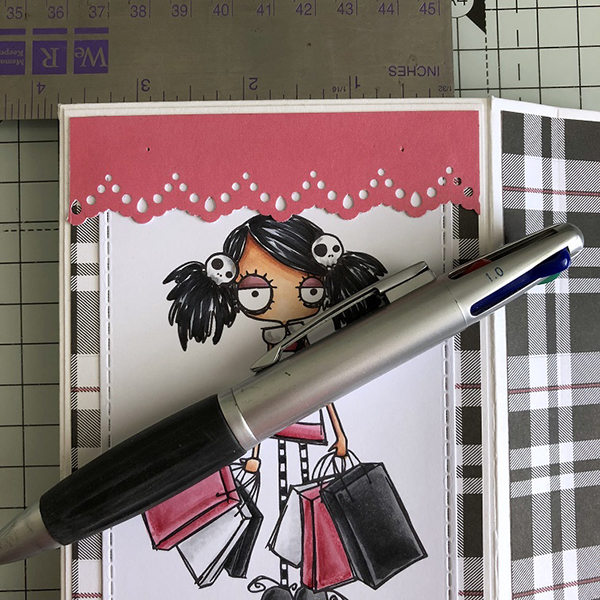
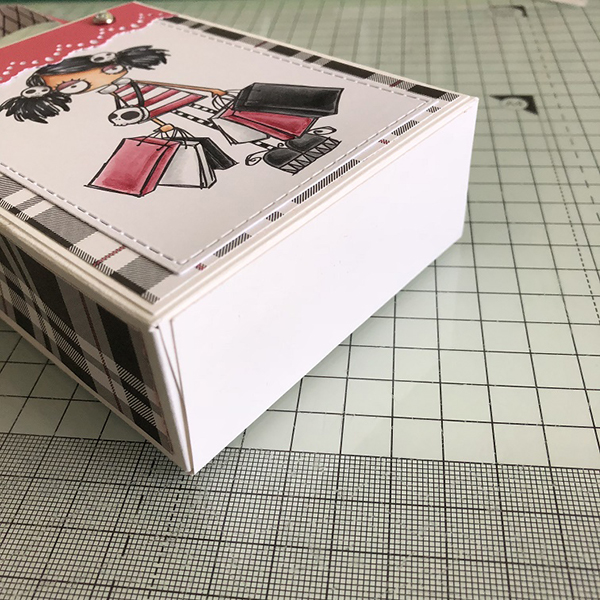
Stamp Oddball Shopper onto some white card and colour using your desired medium. Cut using a stitched rectangle die, or use a paper trimmer to cut to approx 3″ x 4.25″
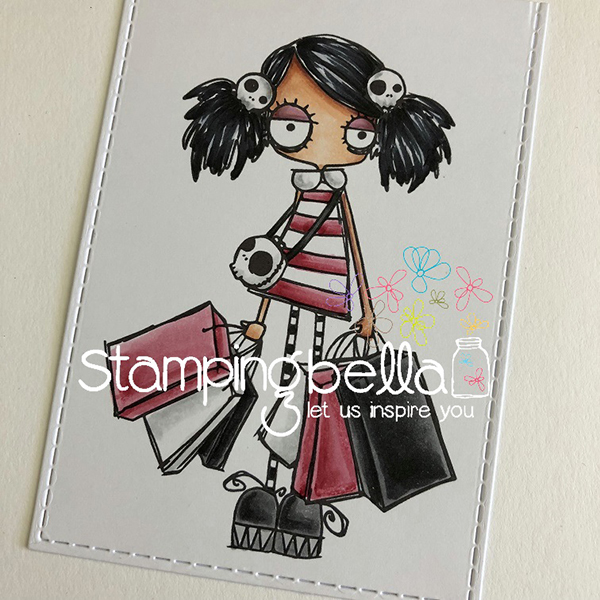
Adhere the image to the front of the base, almost to the bottom. Cut two 1″ pieces of contrasting paper and punch a border for the front and back of the gift bag.
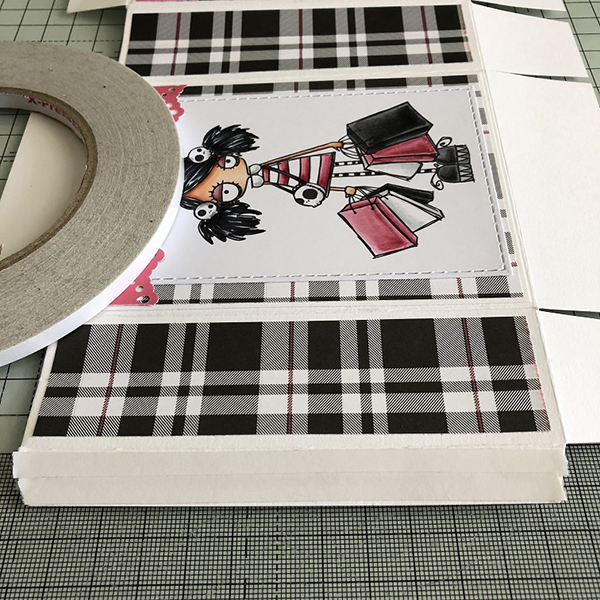
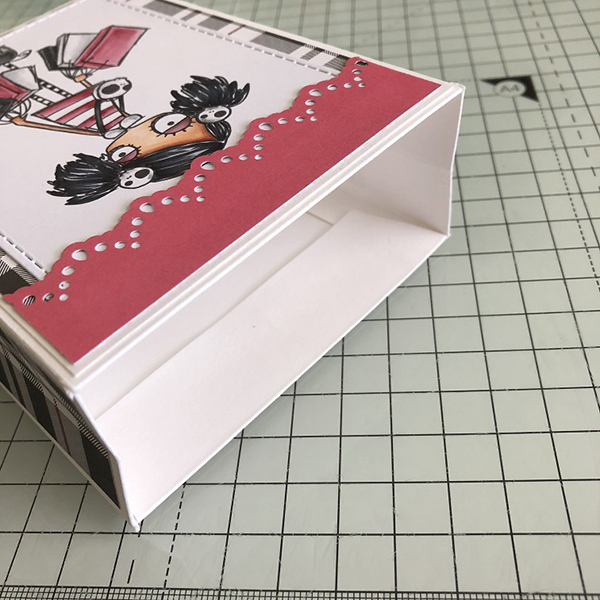
Apply double sided tape to the inside of the top tabs (1″ section)
Fold down the 1.5″ wide pieces and burnish well with a bone folder.
Apply double sided tape to the 0.5″ tab
Adhere the 0.5″ tab to the inside of the opposite end, forming a box shape.

Remove the backing from the rest of the tape on the top sections and fold inwards. Burnishing well.
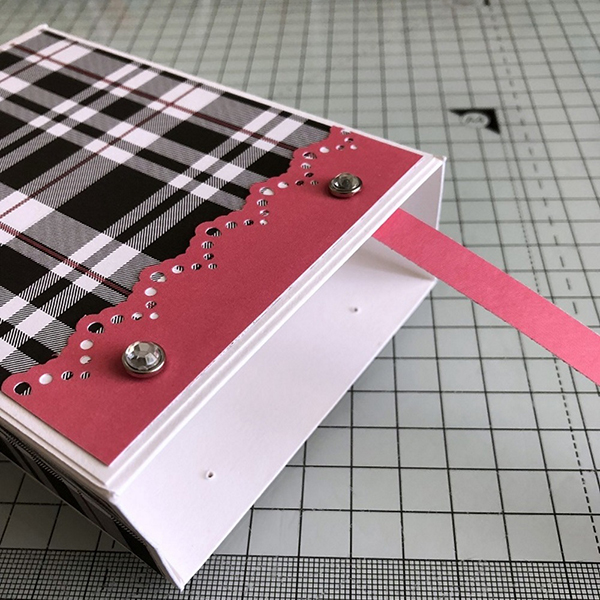
Taking a ruler, measure in 0.75″ from each side of the bag, and use a piercing tool to mark it as shown.
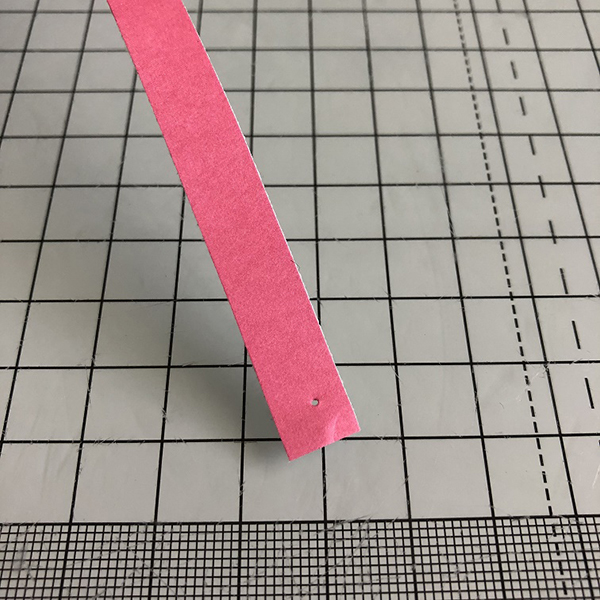
Cut two piece of 0.5″ x 6″ strips of paper and piece a hole on each end of both. These are the handles for the bag.
Push the brad through the hole at the top of the bag, then push the handle onto the brad legs on the inside. Twist the handle around to the brad on the other side and create a handle. Do this for both the front and back of the bag.
To close the bag at the bottom, push the two 1.5″ tabs inwards. Apply double sided tape to the outside of one flap, and the inside of the other, as shown.
Remove the tape backing, fold down the flap with the tape on the outside, and then the flap with the tape on the inside.
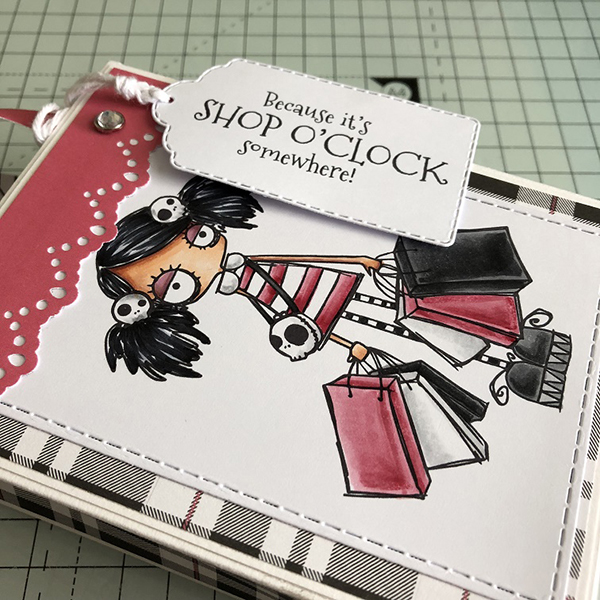
To finish the bag, stamp the sentiment onto white card, cut out with a tag die and tie to one of the handles.
Over To You!
Share your personal favourite Stamping Bella creations with us. We LOVE to see what you’ve been creating with Stamping Bella stamps. Share a link to your latest Stamping Bella card in the comments below, or an old favourite you made a while ago. Tell us what your favourite stamps are. Are there any additions you would like to see to the range? Let us know!
Another way to connect is by joining us in the Stamping Bella Sistahood Facebook Group and share your pictures.
If you are posting your images online, we would love to see them on Instagram and all the platforms mentioned above. To make it easier for us to find you just use #markergeekmonday and/or #stampingbella as a hashtag. Even better tag me @markergeek and @stampingbella . We love it when you connect, so don’t be shy!
Until next time, HAPPY STAMPING!
MWAH
Elaineabella
Sandie this is a gorgeous project. Thank you for sharing your fabulous idea…xxx <3
So super yummy scrummy, love all of it t. The colours you chose are really pretty but funky & as all is girlies know shopping is one of the best qualifications we ever get x