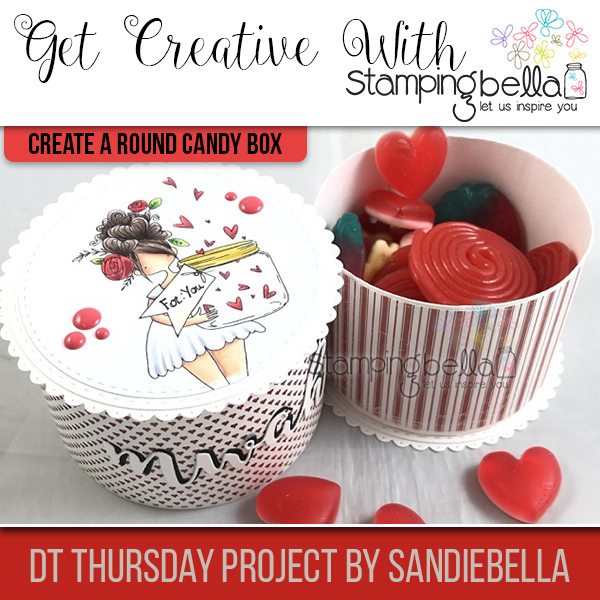
I’m delighted to say that our fabulous Sandiebella is back after a well earned break with a fantastic new step by step make for us!


Adhesive
(1x) 3″ x 11 5/8″ – box top1. Score both pieces on the long side at 0.5″
2. Using a paper trimmer or scissors, cut up to the scoreline at approximately every 0.5″, on the 0.5″ section
3. Taper the edges of all the tabs.
4. Roll the card over your hand to curve it. This makes it easier to work with.
5. Cut:
6. Apply some double sided tape to the first tab, and every 6th tab thereafter. This is just to hold the card in place while you work with it.
7. Apply a strip of double sided tape on the end, as shown.
Repeat these steps above for both the top and bottom of the box.
8. For the box base.
As you come to each tab with double sided tape, remove the backing and stick it to the circle.
9. There will be an overlap on the end, remove the backing from the strip of double sided tape and adhere the ends together.
10. Turn the base over and fold out all the tabs that aren’t stuck down. Apply wet glue to each one and fold the tabs back in.
11. Apply wet glue over the tabs and adhere down onto one of the 3.75″ circles
12. Apply glue to the bottom of the 3.75″ circle and adhere to the 4″ scalloped circle. Ensure when you turn the base back over that the cirles are facing upward.
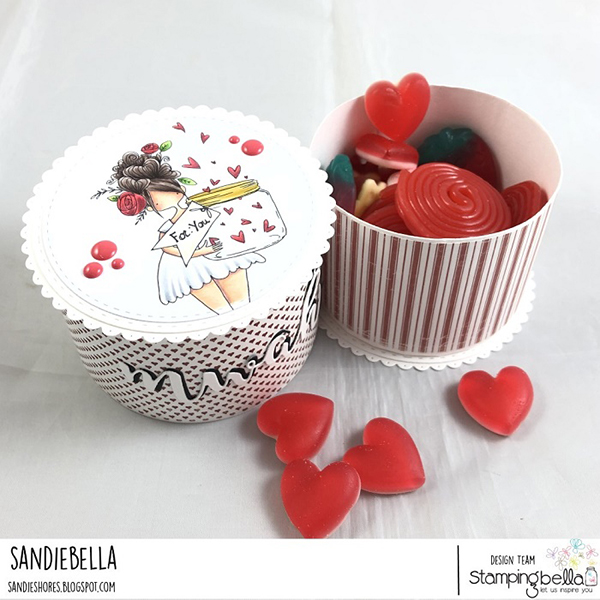
Repeat steps 2, 3, 4, 6, 7 and 8 for the box top. However, when you are repeating step 8, curve the card around the circle a little looser, so that the diameter is bigger than the box base. This ensures the top will go down over the bottom.
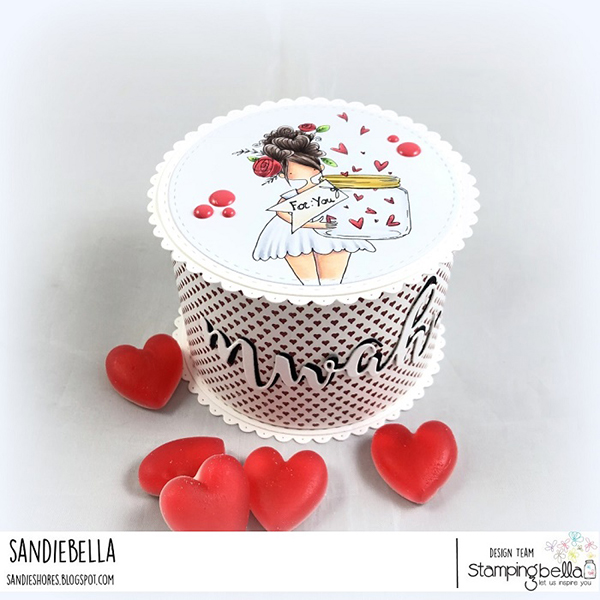
Take the remaining cirlce and scalloped circle and glue them together. Adhere them to the box top, facing upwards.
This completes the box assembly.
Cut some patterned paper to go around the top and bottom, if desired. As the top completely covers the bottom when closed, you might want to leave the bottom white
2 7/8″ x 11.5″ for the top.
Stamp Curvy Girl with a Jar of Hearts rubber stamp onto some white card and cut out using the 3.5″ circle die.
Colour using your preferred medium.
Cut the largest size from the MWAH CUT-IT-OUT sentiment Die from both white and black card.
Adhere the white on top of the black, slightly offset.
Adhere it across the front of the box top.
Add embellishments as desired.
Fill the box with heart candy and close it up.
Share your personal favourite Stamping Bella creations with us. We LOVE to see what you’ve been creating with Stamping Bella stamps. Share a link to your latest Stamping Bella card in the comments below, or an old favourite you made a while ago. Tell us what your favourite stamps are. Are there any additions you would like to see to the range? Let us know!
Another way to connect is by joining us in the Stamping Bella Sistahood Facebook Group and share your pictures.
If you are posting your images online, we would love to see them on Instagram and all the platforms mentioned above. To make it easier for us to find you just use #stampingbella as a hashtag. Even better tag me @markergeek and Emily @stampingbella . We love it when you connect, so don’t be shy!
Until next time, HAPPY STAMPING!
MWAH
Elaineabella
Comments are closed.
Fabulous. Can’t wait to try this. Thanks so much.
love it! thanks for the great instructions and inspiration!
SO fabulous!!!! and you’ve included ALL my favorite treats!!! You shouldn’t have… xx
=]
This box is fabulous and can’t wait to give it a try. Love Sandiebella’s tutorials and appreciate all the hard work she puts into the posts and her creations.
Such a pretty and fun project, I am going to try that soon, thanks for sharing!