


DT Thursday time! Sandie has another beautiful project for us to follow along with today!
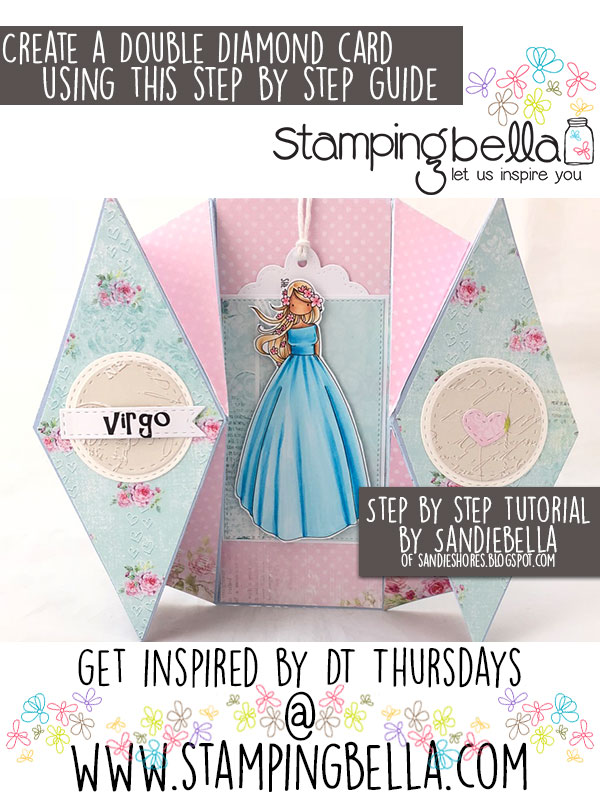
Double Diamond Card
Supplies:
How to:
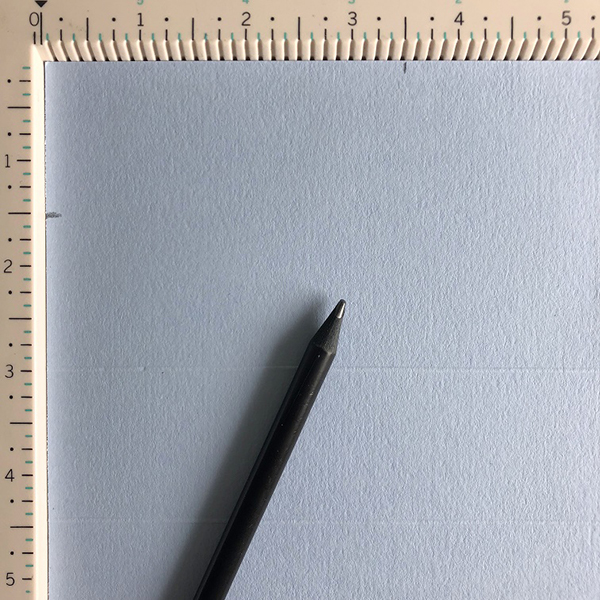
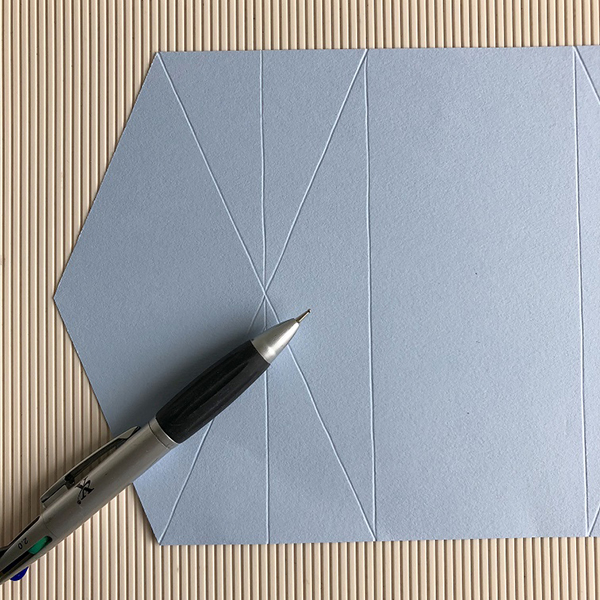
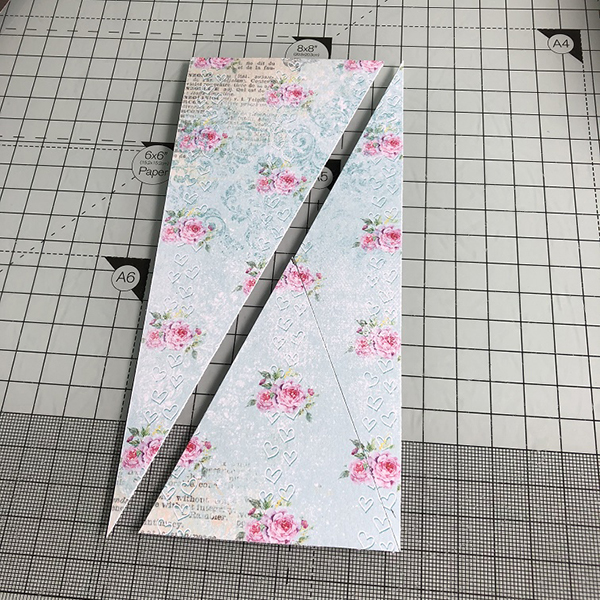
Cut a piece of card measuring 12″ x 7″ and score on the 12″ side at 3″, 4.5″, 7.5″ and 9″
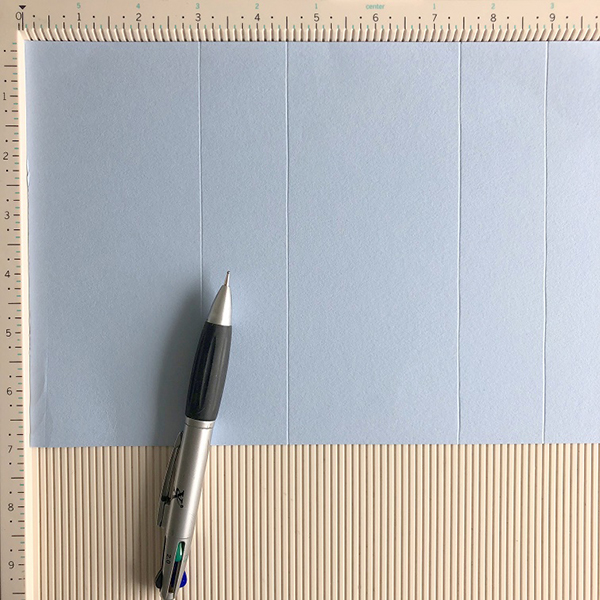
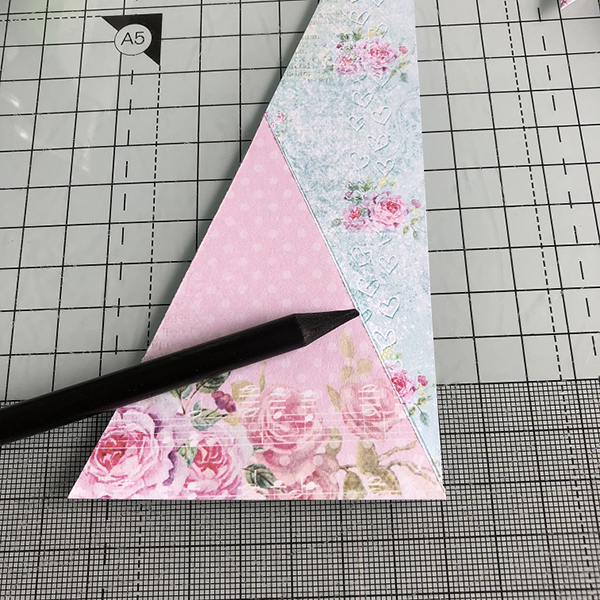
Using a pencil, mark at the 1.5″ and 10.5″ top and bottom of the 12″ side.
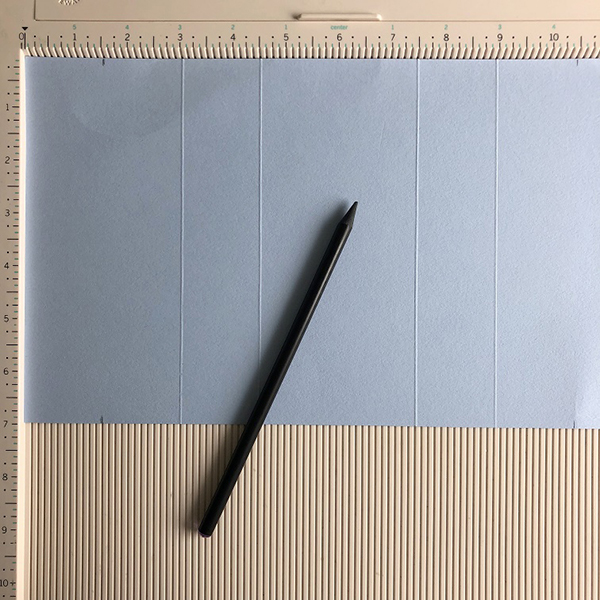
Make a mark at 3 1/2″ on both short sides.
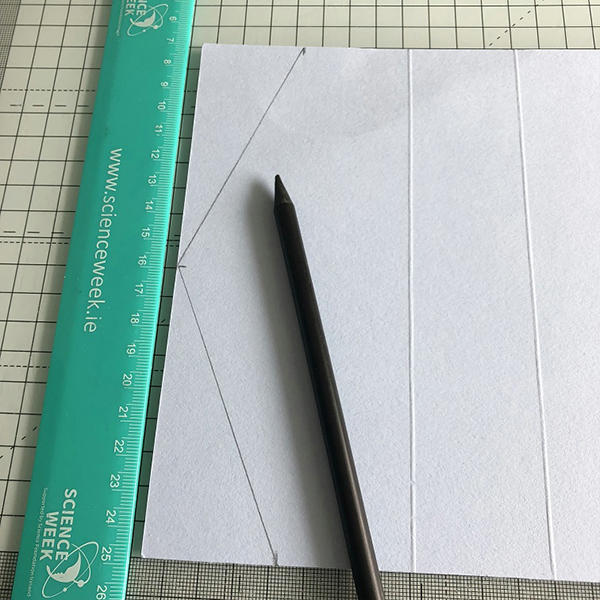
Using a ruler as a guide, lightly trace from the 1 1/2″ and 10 1/2″ marks to the 3.5″ center marks on each end to create the diamond shapes.
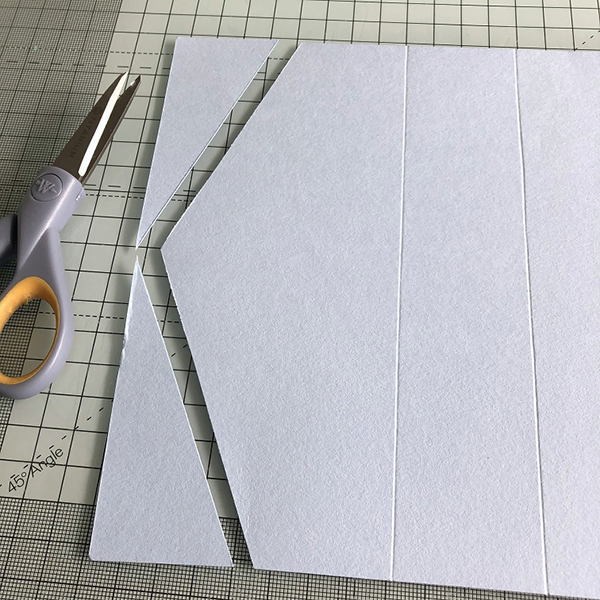
Cut the corner areas away to create the diamond shapes on both ends.
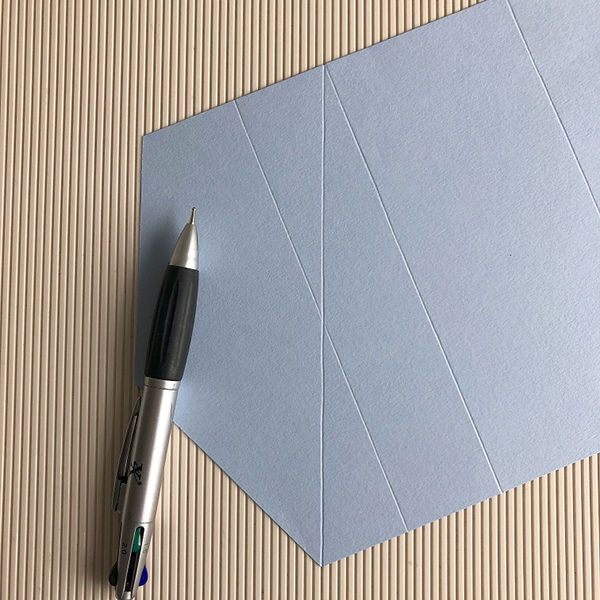
Score another line from the top outside corner, diagonally, to the bottom of the inside scoreline. All three scorelines should intersect at the centre.
Fold the straight scoreline valley, and the diagonal scorelines mountain.
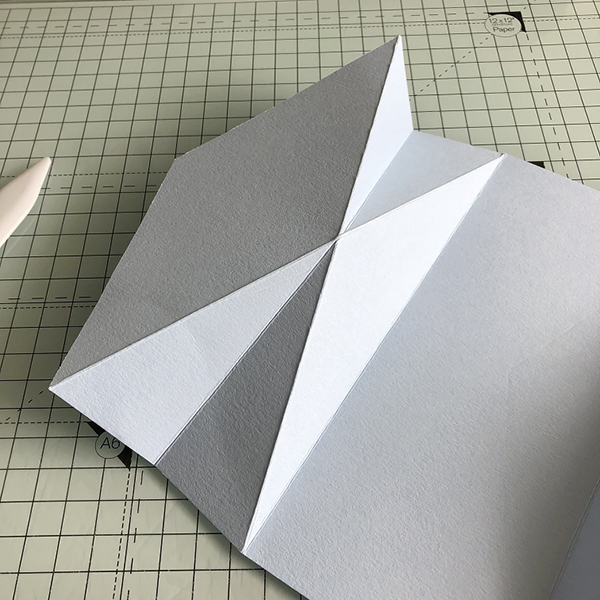
Fold the card closed, and once again use your bone folder to get a nice sharp line.
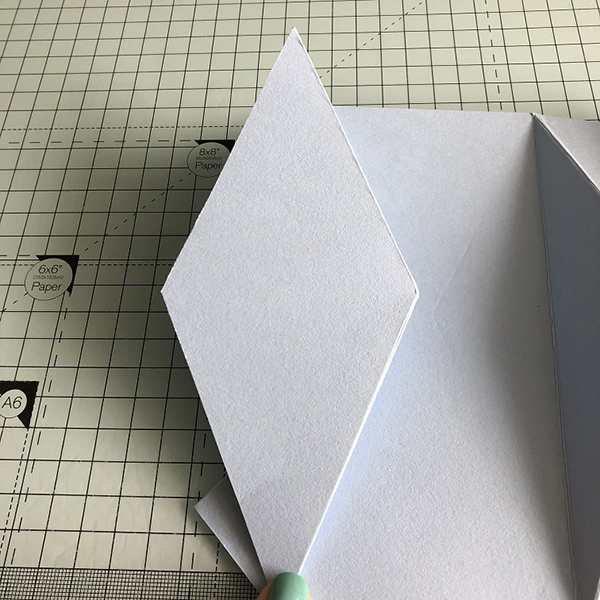
Repeat on the other end of the card base.
Cut 4 pieces of patterned paper measuring 6 7/8″ x 2 7/8″.
Cut one of them diagonally.
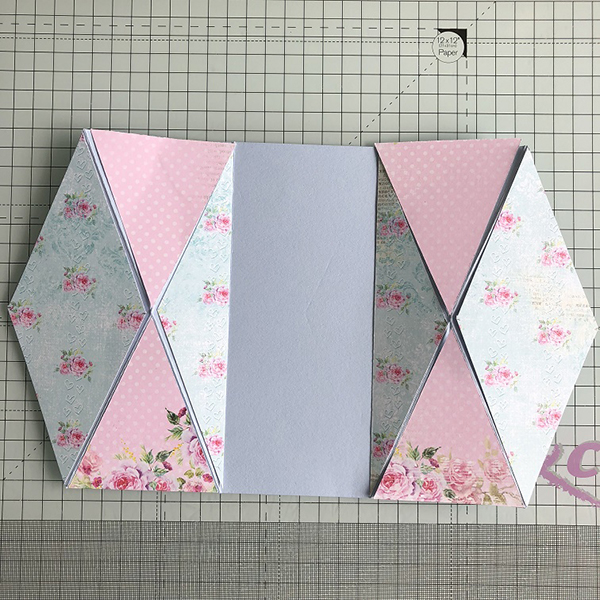
Lay one side of the patterned paper on the inside panel as shown, and use a pencil to mark the centre. Cut from the centre outwards to make a triangle. Keep the smaller triangles for the valley fold sections.
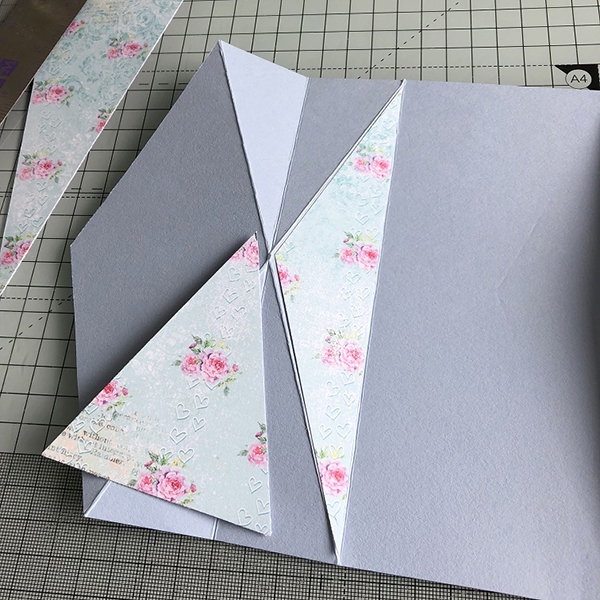
Repeat on the other end, using the second piece of the patterned paper. Again , keep the smaller triangle for the valley fold section.
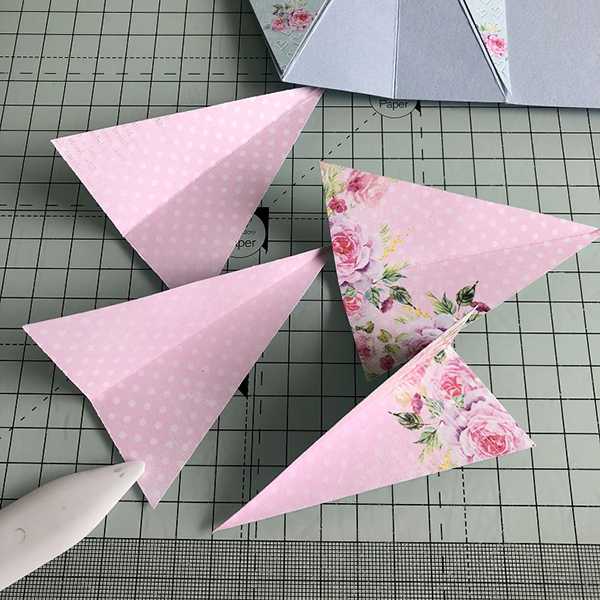
To make two more small triangles, take another one of the 6 7/8″ x 2 7/8″ pieces and cut diagonally. Use one of the small triangles previously cut as a template to measure them.
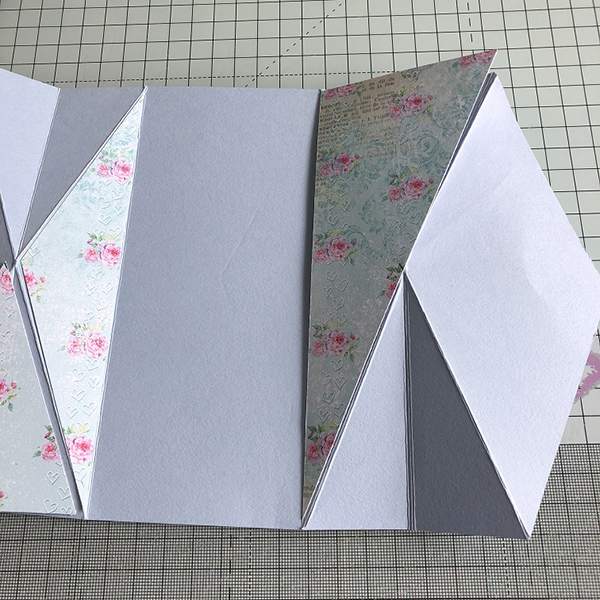
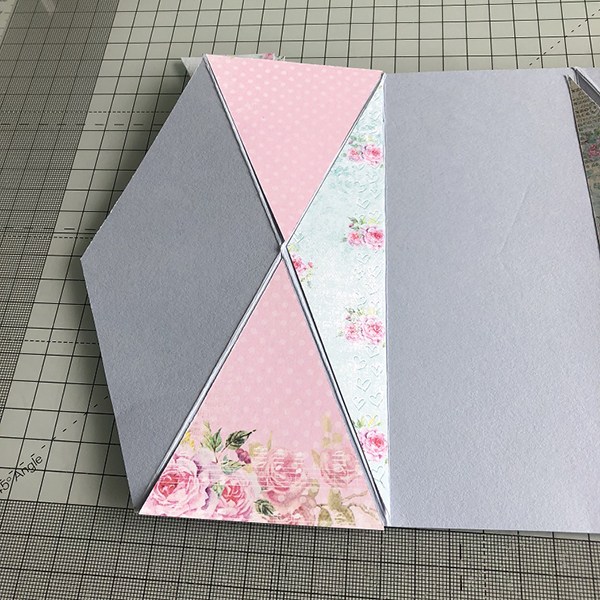
To make the diamond panels, take the remaining 6 7/8″ x 2 7/8″ pieces and mark the cutlines using the card base as a guide.
Score all the small triangles down the middle.
Adhere the panels down, creasing the middle of the small triangles with a bone folder.

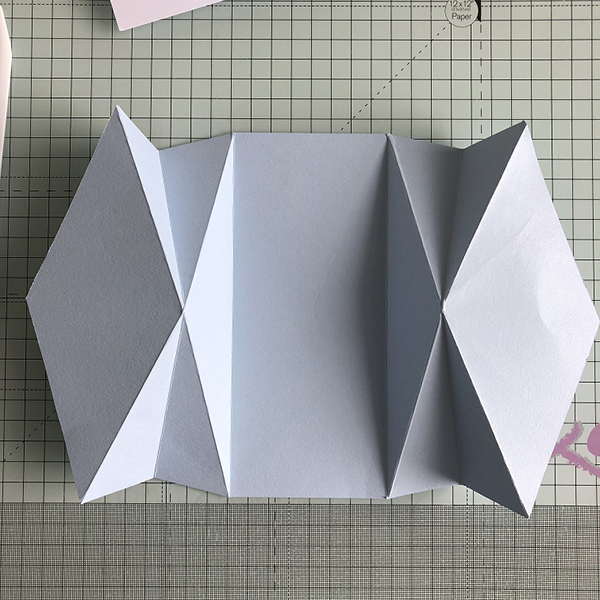
Fold the card and crease all the scorelines again.
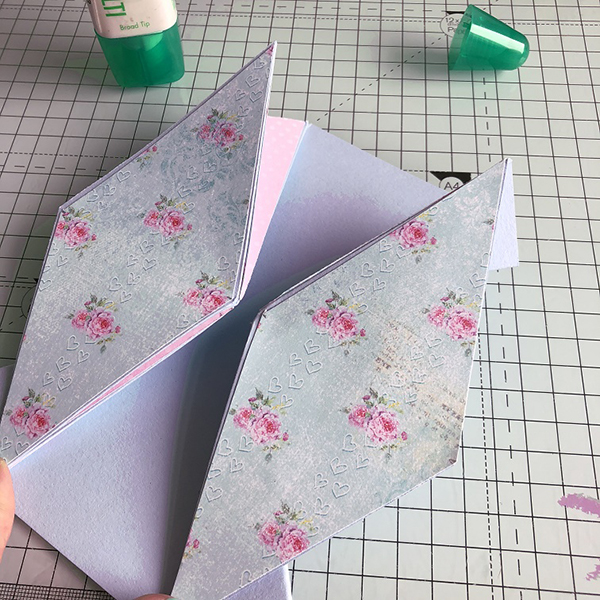
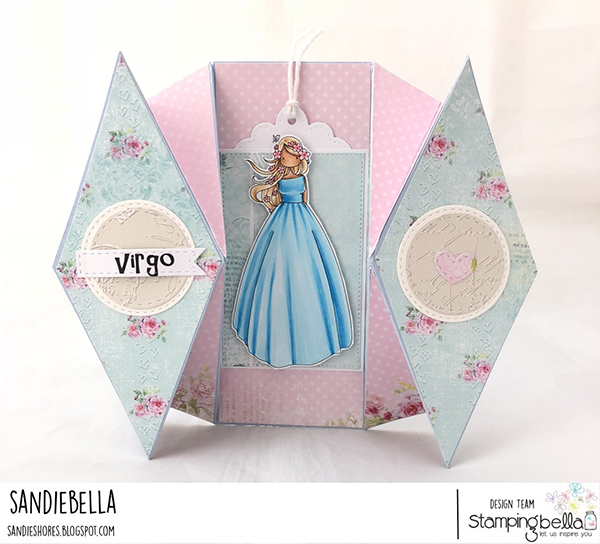
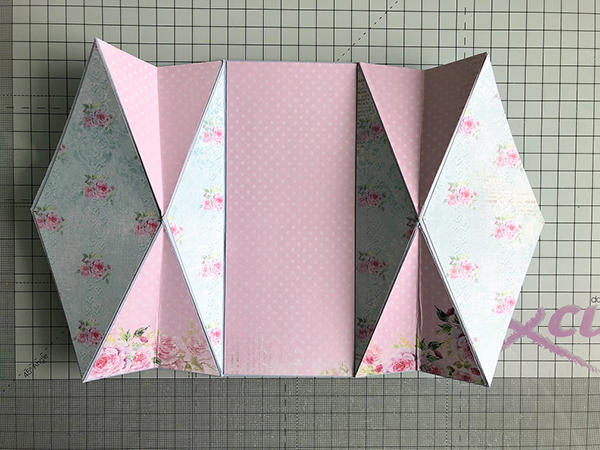
This is how it should look now.
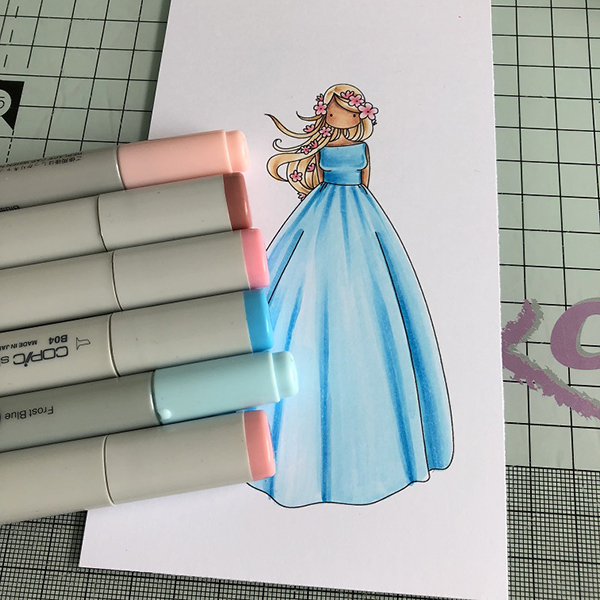
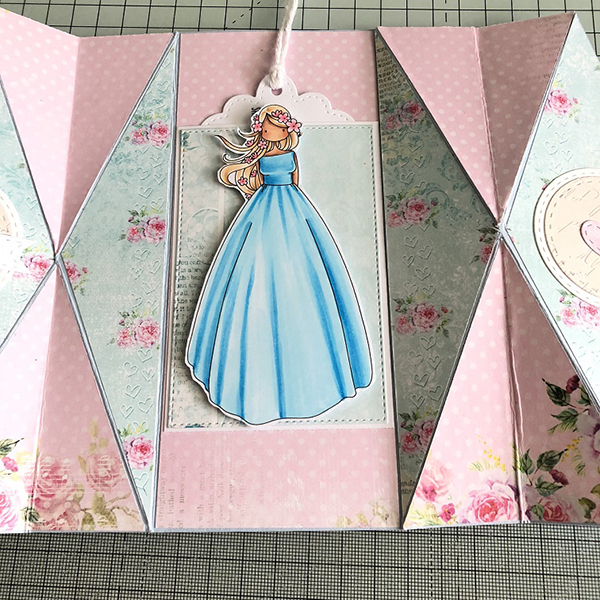
Stamp and colour up Uptown Girl Zodiac Virgo using your preferred medium.
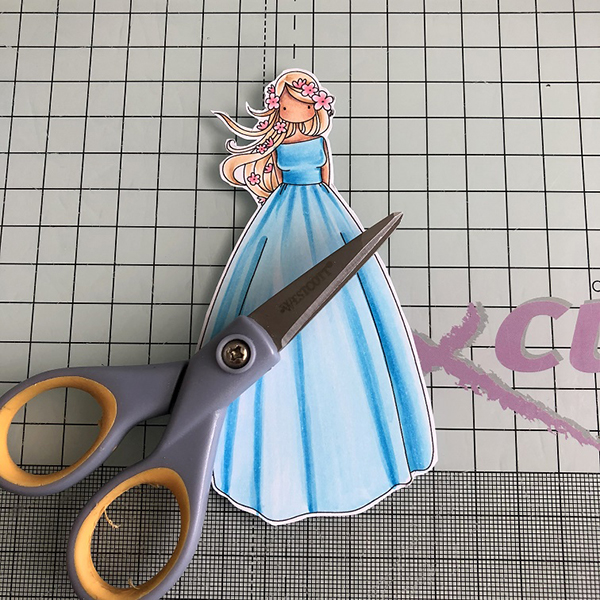
Cut out using the coordinating CUT-IT-OUT Die, or fussy cut with a scissors.
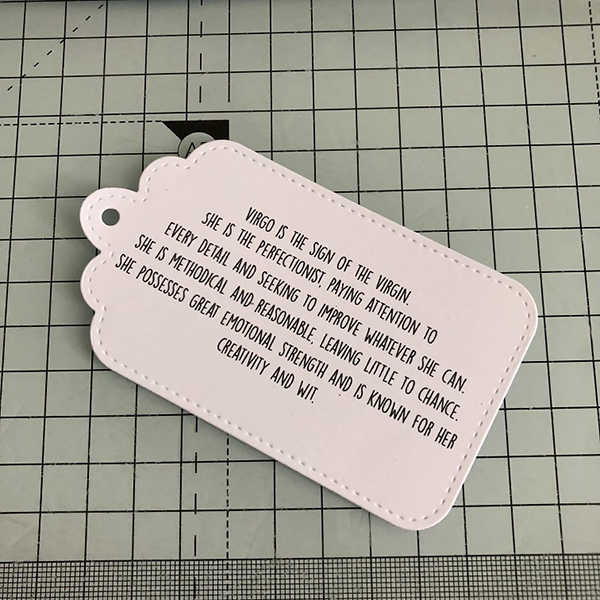
Stamp the large sentiment onto white card and cut out in the shape of a tag.
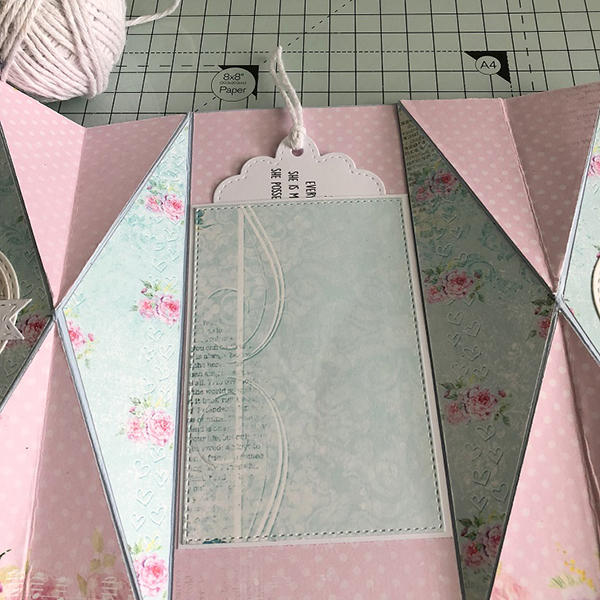
Cut a piece of patterned paper 4 3/8″ x 2 7/8″ and a piece of white card measuring 3″ x 4.25″. Adhere them together. Apply a thin line of wet glue around the edges of the panel, ensuring not to apply any across the top. Adhere into the centre panel to make a pocket for the sentiment tag.
Adhere Virgo onto the front panel using 3D foam tape or dots.
Embellish the card as desired.
Over To You!
Share your personal favourite Stamping Bella creations with us. We LOVE to see what you’ve been creating with Stamping Bella stamps. Share a link to your latest Stamping Bella card in the comments below, or an old favourite you made a while ago. Tell us what your favourite stamps are. Are there any additions you would like to see to the range? Let us know!
Another way to connect is by joining us in the Stamping Bella Sistahood Facebook Group and share your pictures.
If you are posting your images online, we would love to see them on Instagram and all the platforms mentioned above. To make it easier for us to find you just use #markergeekmonday and/or #stampingbella as a hashtag. Even better tag me @markergeek and @stampingbella . We love it when you connect, so don’t be shy!
Until next time, HAPPY STAMPING!
MWAH
Elaineabella
I look forward to your posts every week. I apologize that I don’t comment very often. The projects you create are always amazing. The instructions and photos are clear, concise and easy to follow. You’ve done it yet again. I can’t wait to get to my craft table. Thanks so much. You’re a treasure.
Beautiful card.
Oh my gosh, I am in love with this card! While people say your instructions are easy to follow, they aren’t for me, I’m sorry to say. I feel so stupid when I look at stuff like this because math has never been my thing, ever. I stayed back in 4th grade because of it & probably another subject or 2. In high school I passed Essential Math with a B which was way better then an F but measuring is hard for me. I also don’t have a bone folder or a scoring board. I also don’t have that stamp but I could use any stamp for the one you have. I might keep this anyway & if I get a bone folder & scoring board, I might attempt it with some help. I wish you lived near me & you could help me make one. If I do make one, I’d like to make a template so I wouldn’t always have to do the measurements every time. Thank you for showing this to us. I really do love it!
What an awesome card! Thanks so much for sharing how it was made! 🙂