


If you’re still working on a few last minute festive items, Sandie has you covered! Check out this week’s step by step guide!
Candy Box Card

Supplies:

Cut one piece of white card measuring 7″ x 8.5″
On the 8.5″ side, score at 0.5″, 1.5″, 7″ and 8″
On the 7″ side, score at 1″, 3″, 4″ and 6″

Again on the 7″ side, trim down to the inner horizontal scoreline, excluding the first of the 2″ sections, as shown.

Using a corner punch, round the corners of the 0.5″ section top and bottom.

Cut:

Adhere the patternend paper to the white card and then adhere each panel onto the box base as shown.

Turn the box over so that the inside is facine up.
Apply some double sided tape to the left 1″ section.
Remove the backing from the double sided tape and adhere to the other end of the box base.

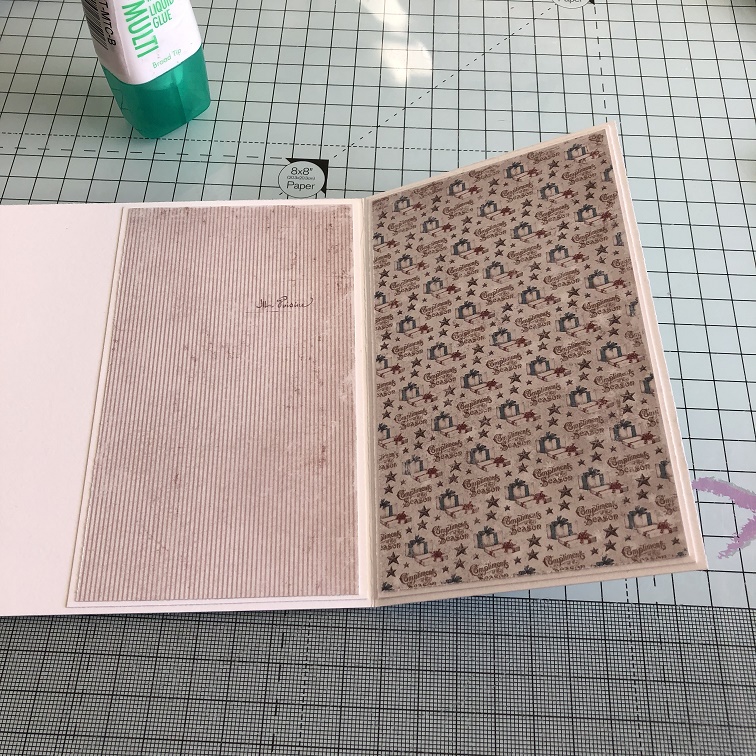
Cut one piece of white card measuring 8 7/8″. Score at 5.5″, fold and crease well.


Adhere one of the panels to the outside of the card base, and the other two pieces to the inside, as shown below.

Take the box and apply wet glue to the bottom. Using wet glue gives you the ability to move the box into position before it is fully stuck down.

Stick the box down onto the left hand side of the 5.5″ section.

This is how it should look when the right side of the card is folded inwards.

Stamp Santa has a Prezzie onto some white card and colour using your desired medium.


Cut the image out using the coordinating CUT-IT-OUT Die. If you don’t have the die, you can fussy cut with a scissors.

Also stamp the sentiment and cut out using it’s corresponding die.

Cut some layers for the front of the card.

To add loads of dimension, use foam tape when sticking some of the layers down


Use white card and cut the largest CELEBRATE from the Celebrate Sentiment die set.

Adhere along the front of the box.

Stick the sentiment down using more foam tape.

Make a panel on the inside for writing a personal greeting. Decorate as desired.

If desired, add some panels to the bottom and top openings on the box.
(2x) 0.75″ x 1.75″

Fill the box with Christmas candies and it’s ready.
Over To You!
Share your personal favourite Stamping Bella creations with us. We LOVE to see what you’ve been creating with Stamping Bella stamps. Share a link to your latest Stamping Bella card in the comments below, or an old favourite you made a while ago. Tell us what your favourite stamps are. Are there any additions you would like to see to the range? Let us know!
Another way to connect is by joining us in the Stamping Bella Sistahood Facebook Group and share your pictures.
If you are posting your images online, we would love to see them on Instagram and all the platforms mentioned above. To make it easier for us to find you just use #stampingbella as a hashtag. Even better tag me @markergeek and Emily @stampingbella . We love it when you connect, so don’t be shy!
Until next time, HAPPY STAMPING!
MWAH
Elaineabella