


Time for another fab DT Thursday tutorial from Sandiebella!

Bottle Tag with Pocket

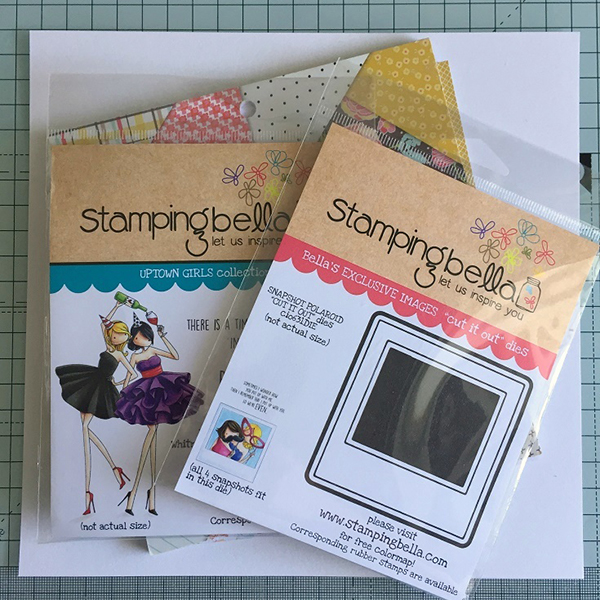
Supplies needed:
Embellishments of choice
How To:
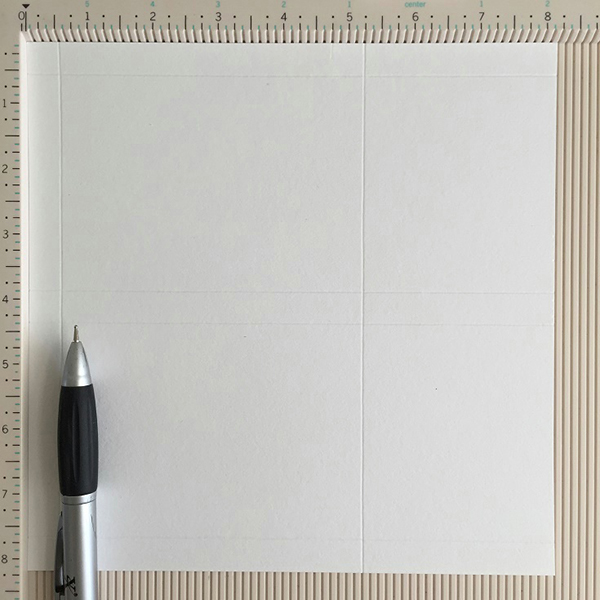
Score one side at 0.5″, 3 7/8″, 4 3/8″, 7.75″
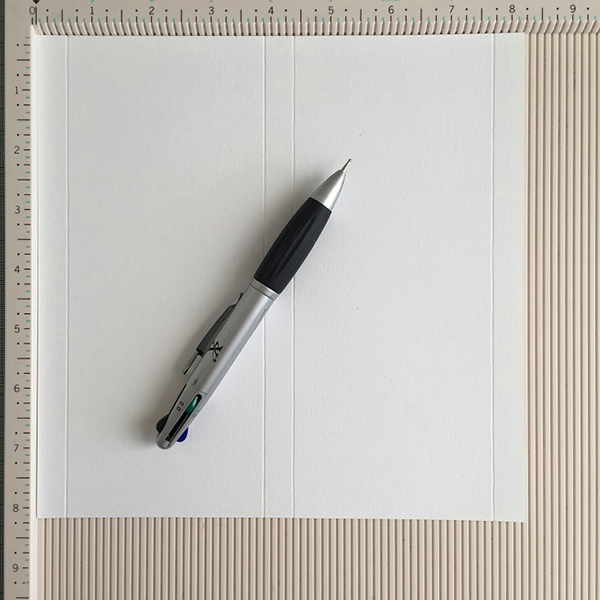
Flip 90 degrees and score at 0.5″ and 5.25″
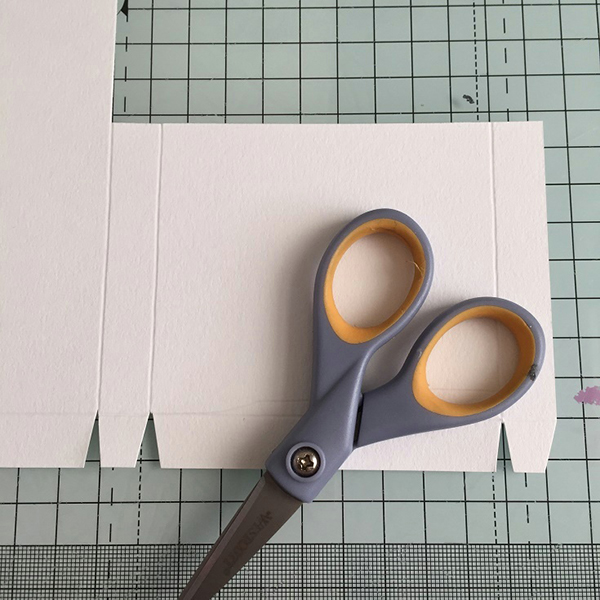
On the side with the 0.5″ section on each end. Measure 3.5″ up from the bottom and cut as shown.
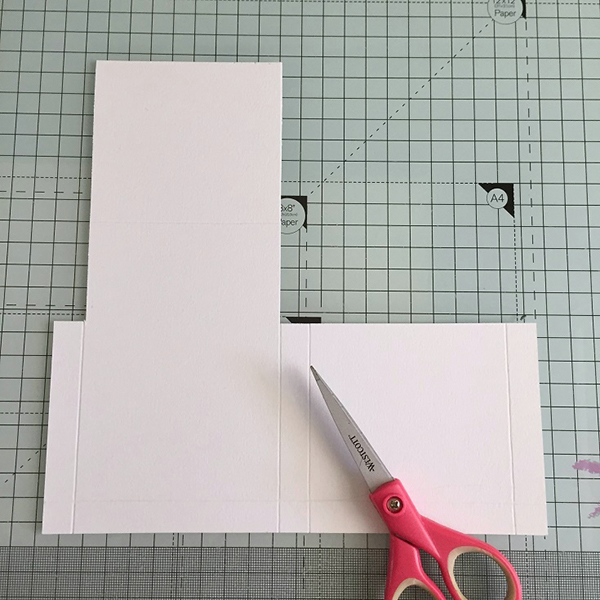
Cut away the corner in the bottom left, and cut a small wedge from each end of the tab.

Make tabs from the centre 0.5″ section, and the right end section. Taper the edges of each tab.
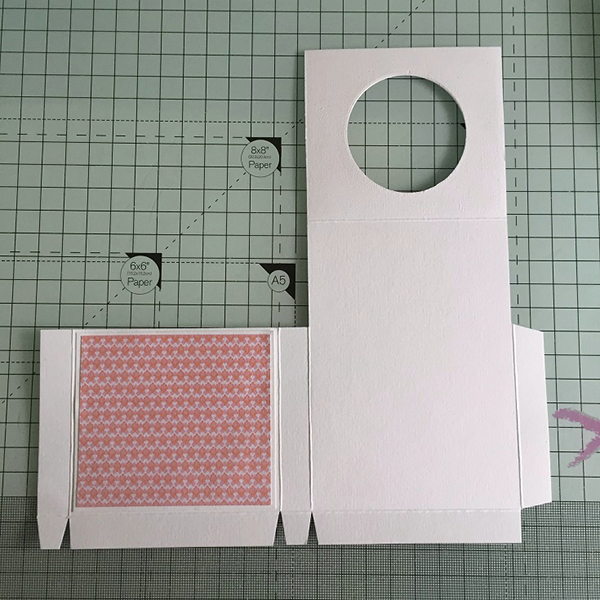
Fold and crease all the scorelines.
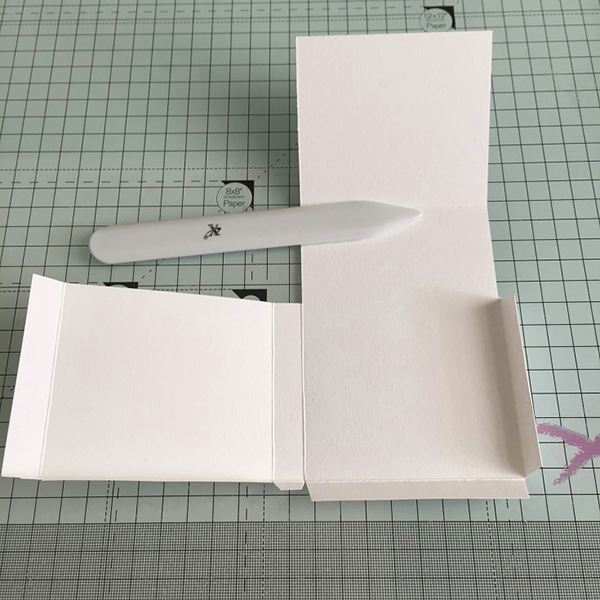
Fold the short side under the long side.
This will ensure it fits through your cutting machine.

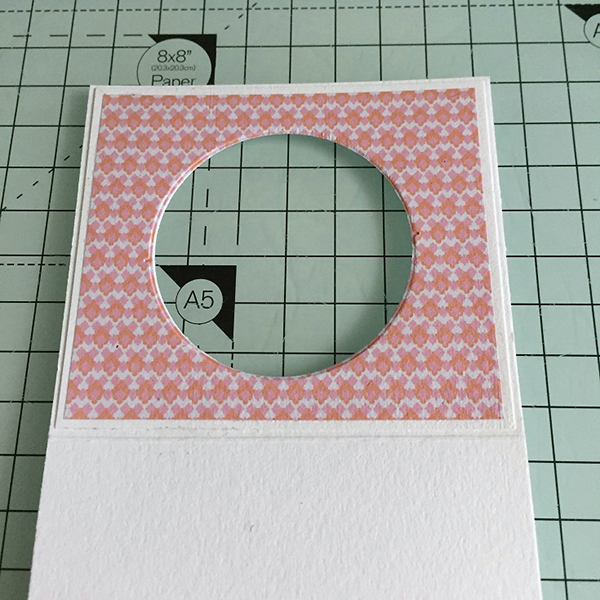
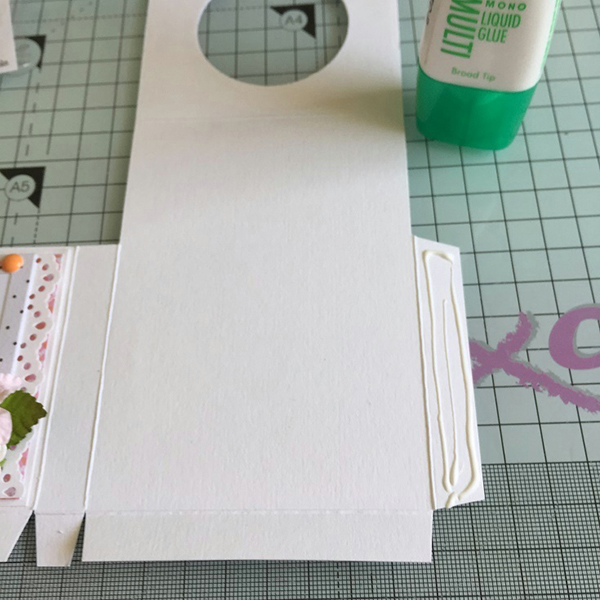
Cut a circle from the top section.
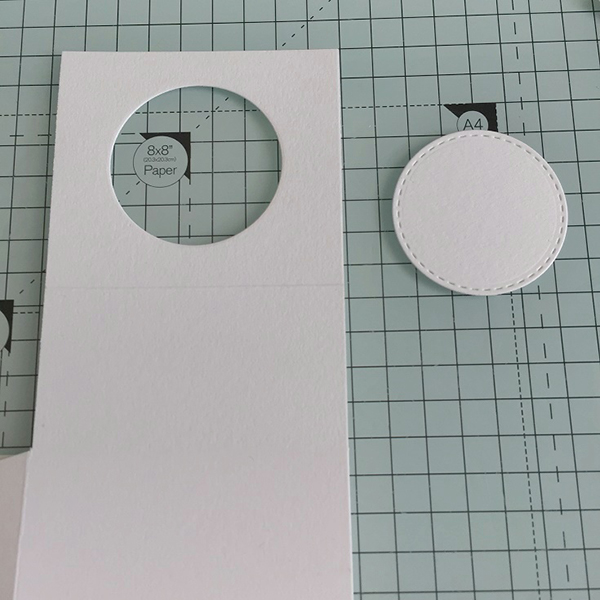
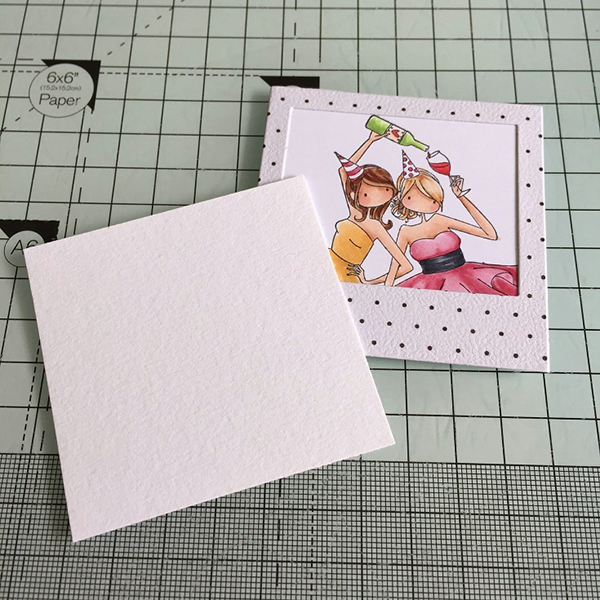
Cut white card

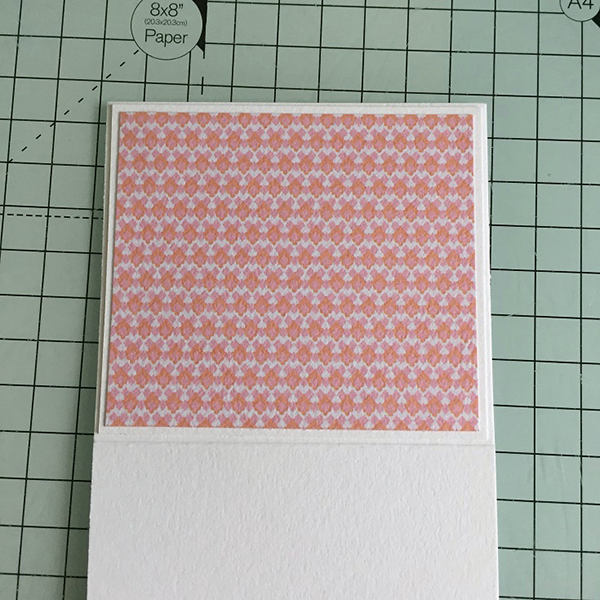
Glue one of the 3.25″ x 2 7/8″ pieces over the section with the circle cut out.
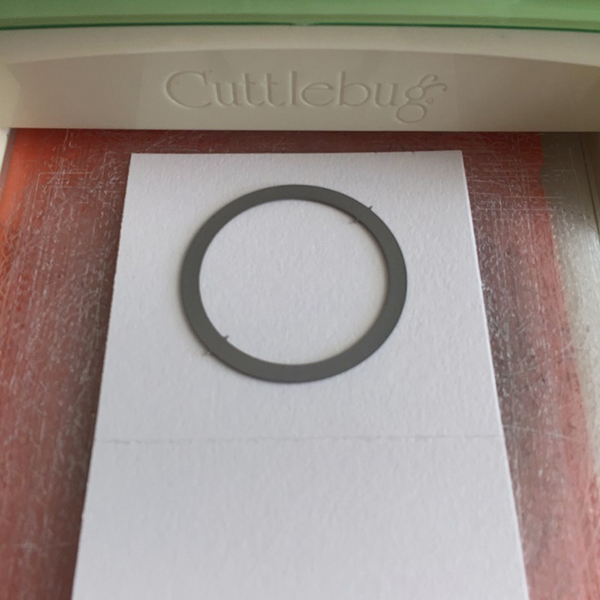
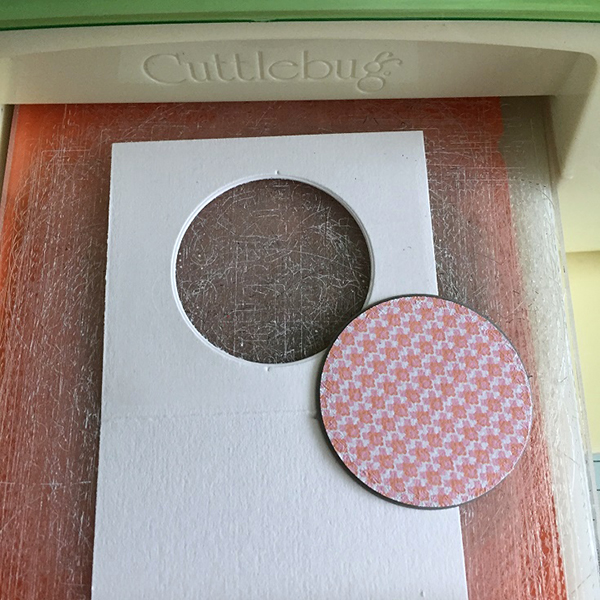
Turn the bottle tag with the back facing up, and position the circle die into the hole from the previous circle you cut out.

Run through the die cutting machine a few times to cut through the two layers.
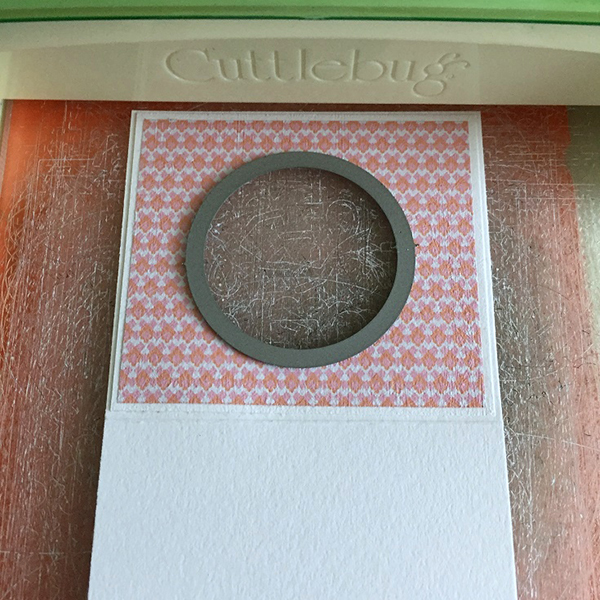
If you want the embossed front again, turn the tag facing up, place the circle die in the right position and run through the machine again.
Adhere the largest panel to the front of the bottle tag.
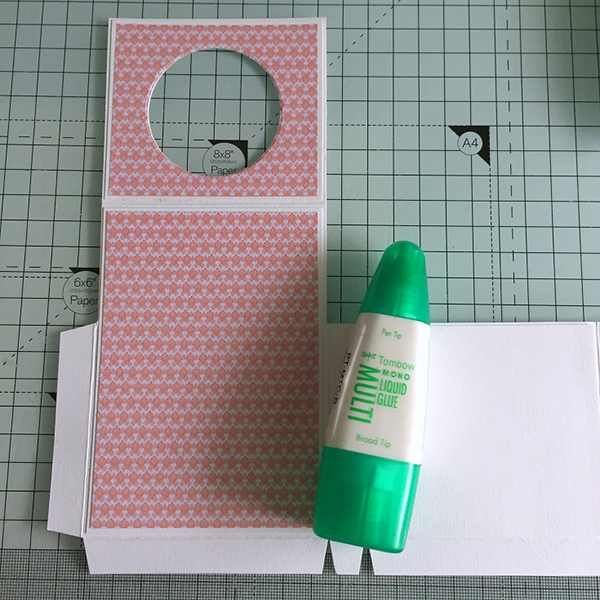
Turn the whole base over and adhere the second 3.25″ x 2 7/8″ piece as shown. Set the tag aside.
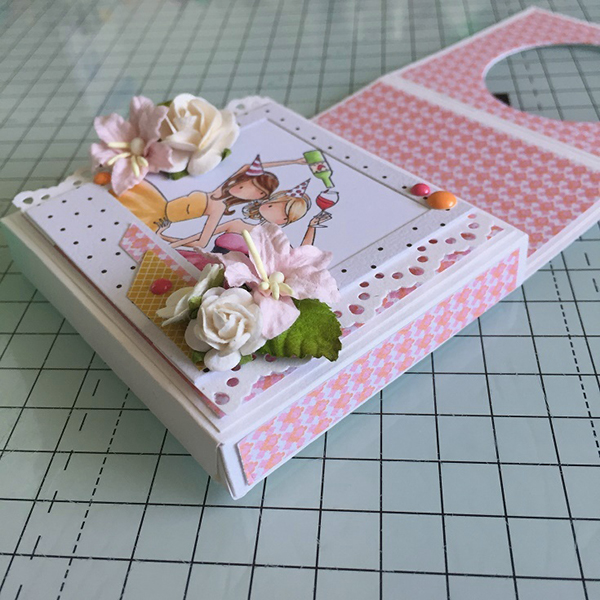
Stamp and colour Whitney and Wendy. I partially stamped them, leaving out the legs.
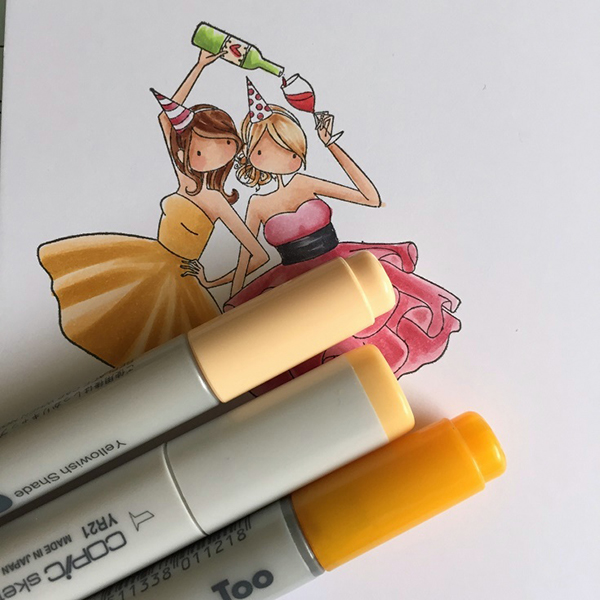
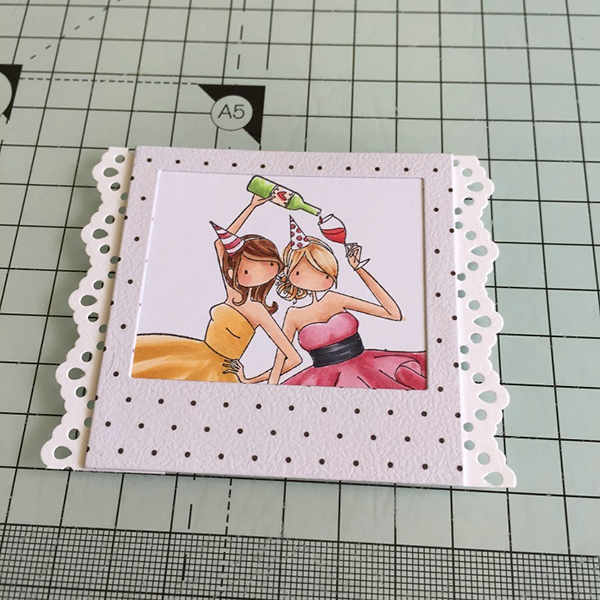
Cut a polaroid die cut from matching patterned paper.
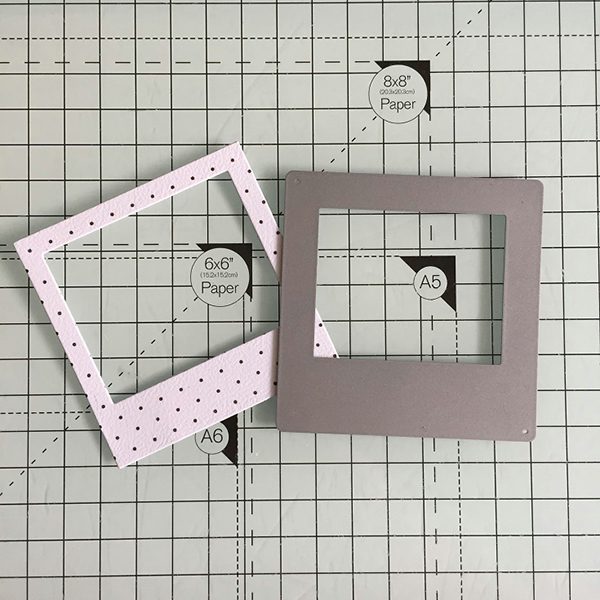
Adhere the Polaroid down onto the image, centering it.

Use a scissors or paper trimmer to cut away the excess.

Cut a piece of white card measuring 3 1/8″ x 2.75″ and adhere to the back of the image. This just makes it more sturdy.
Punch a border and adhere behind each side of the image.
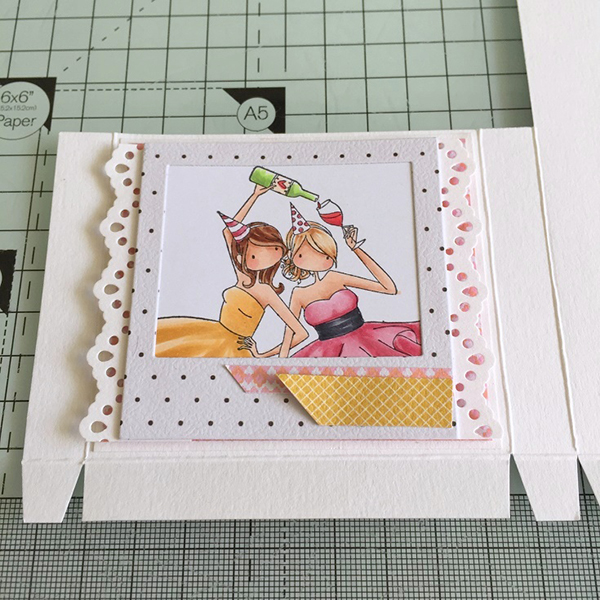
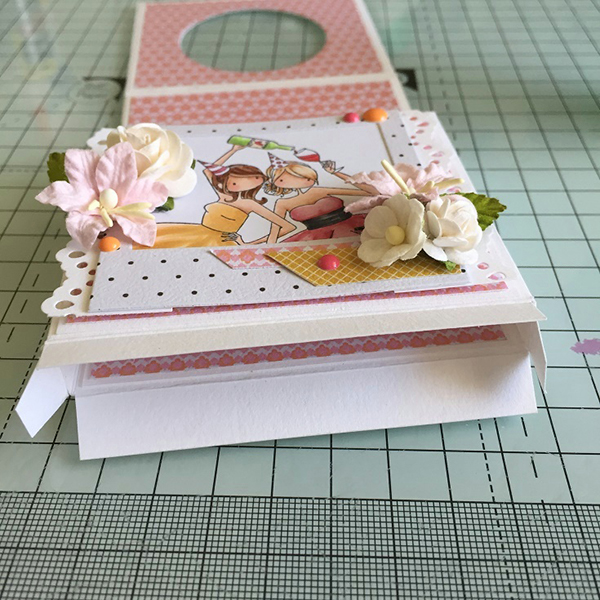
Using 3D foam, adhere the image panel to the front of the bottle tag. (This is the short side with the patterned paper)
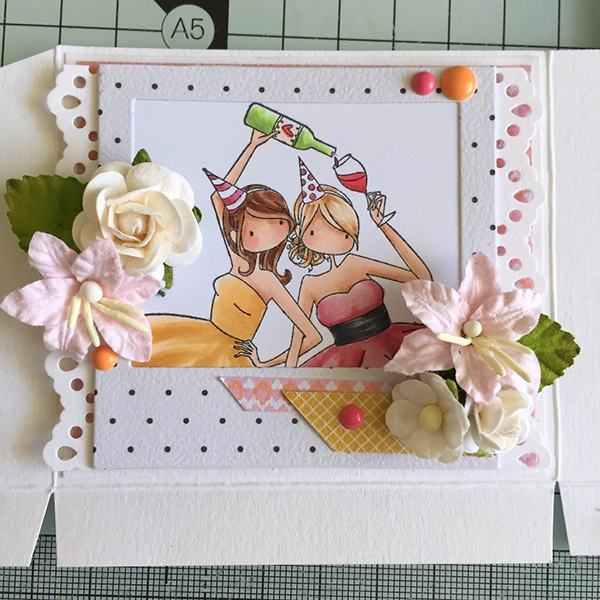
Embellish with patterned paper, flowers, leaves & enamel dots.
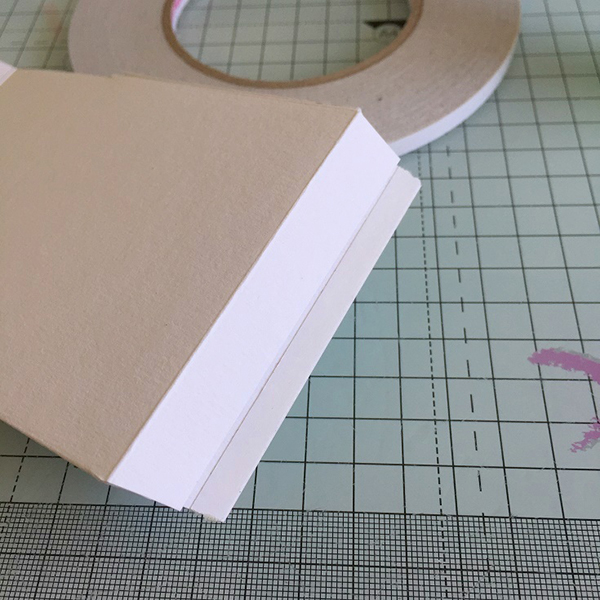
Apply glue to the end section, as shown.
Fold the short side over the long side to form a pocket on the front of the tag, and glue the ends together.
Fold in the small tabs and adhere the bottom sections to close the bottom of the pocket.
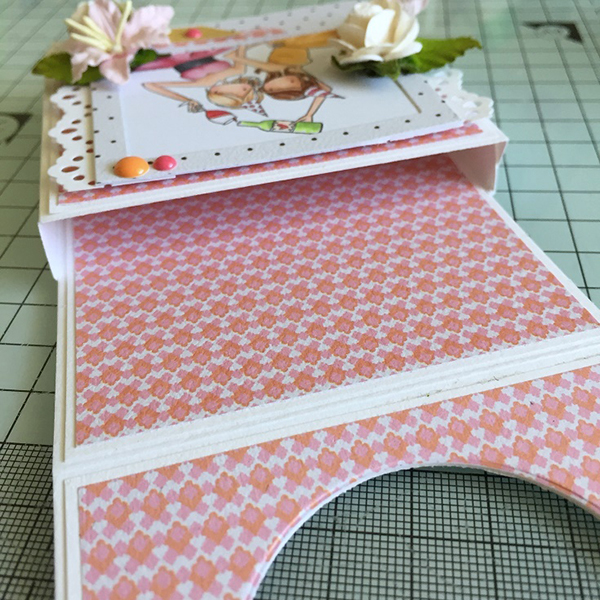
Add patterned paper to the sides, if desired.
Over To You!
If you try out the techniques shown in any of the posts with your Stamping Bella stamps, be sure to share! We would love to see the results and hear how you feel about them. Show off your creations in the comments below and even better, share your own favourite tips with us. Let’s talk stamping!
If you are posting your images online, we would love to see them on Instagram and all the platforms mentioned above. To make it easier for us to find you just use #stampingbella as a hashtag. Even better tag @stampingbella . We love it when you connect, so don’t be shy!
If you’re on Facebook join us in our private chat group Stamping Bella Sistahood to share your creations there and chat all things Stamping Bella related!
Until next time, HAPPY STAMPING!
MWAH
Elaineabella