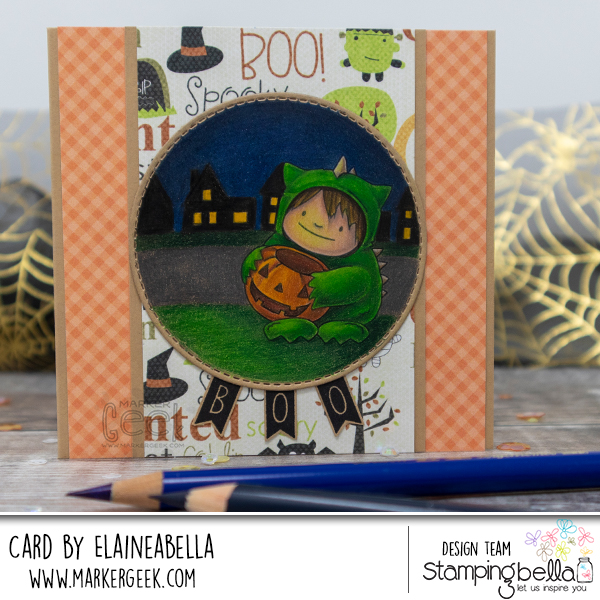
I kept the background really simple for this one, so the focus would remain on the adorable Bundle Girl and the sentiment. It’s such an easy background to get started with, so if you’re nervous about adding backgrounds to your images, this is a great way to start. Watch the process in my video below.
I stamped the image on kraft card before colouring using Faber-Castell Polychromos pencils. I’ve been using a new and cheaper kraft coloured card in my last few coloured pencil posts. I wanted to see how well it would perform, and honestly I’m not in love. Hopefully I can get hold of some other papers I’ve had my eye on, as I’m still searching for a real favourite. This one worked okay, but it doesn’t really have enough “tooth”to be able to layer as much as I would like, or to achieve the coverage I’m looking for without using solvent.
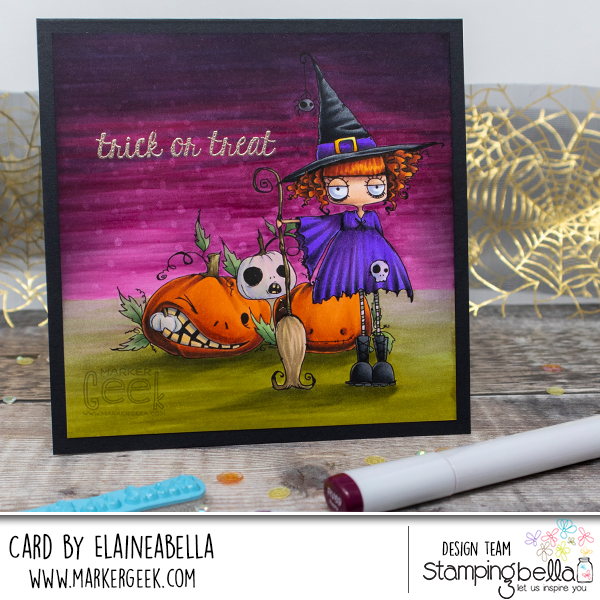
This little trick or treater is one of my favourite little witchies to colour. This time I tackled her with coloured pencils, and you can watch the process in my video below. You can find a Copic marker version HERE and a No Line Copic marker version HERE.
I stamped the image on Kraft card before colouring with Prismacolor coloured pencils.
Coloured Pencil Witchy Video
Watch me colour this stamp in the video below. If you enjoy watching please do like the video and subscribe over on my YouTube channel. Note: I have popped a list of the pencils used below, as it may be hard to see the details in the video.
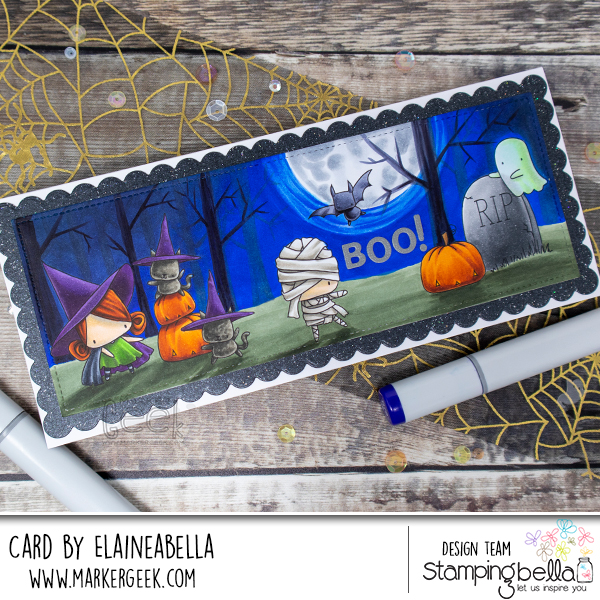
Oh the cuteness! I love playing with the Littles stamps, they’re so easy to put together to create adorable scenes. The slimline format just opens up more fun possibilities for them. Watch this scene come together in my video below.