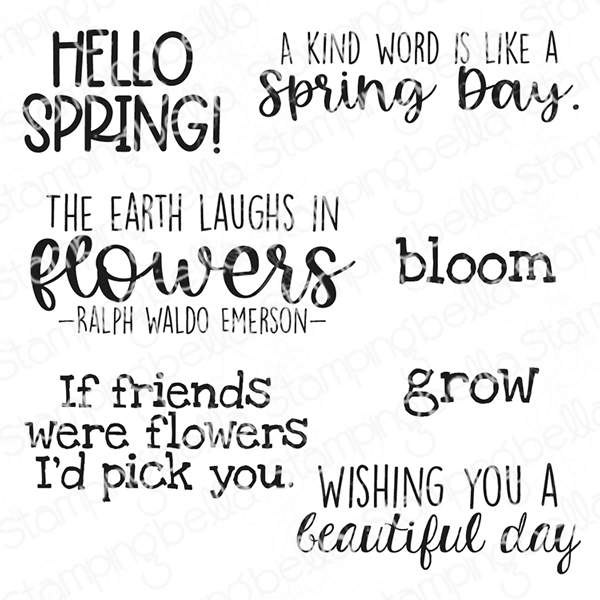
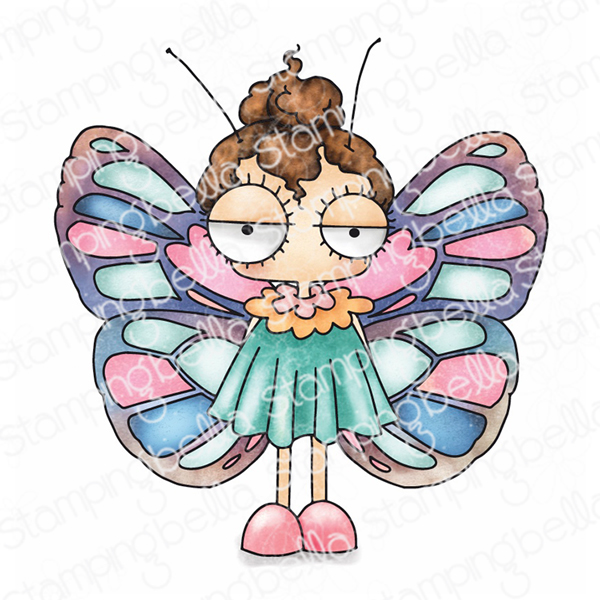
Hello everyone! I love seeing flowers bloom and grow in my garden so I could only make a flowery card for this weekend post. The new Whimsabella range stole my heart so I created a little scene around one of them. I chose Whimsabella Petalshimmer, combined her to our Spring Backdrop and added a sentiment from our Hello Spring Sentiment set.
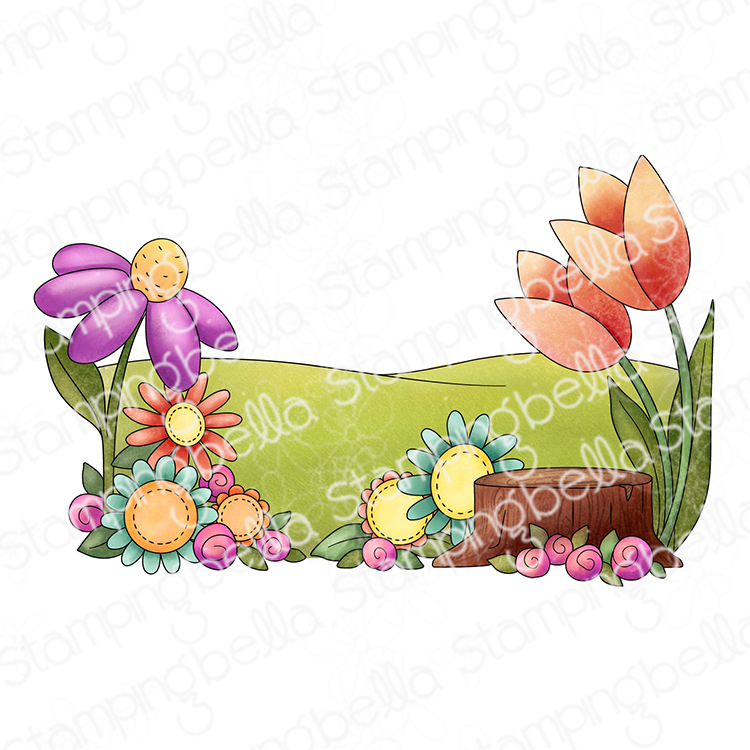
I die cut my scene and coloured it in Copics. For the wings, I coloured them when I was colouring the sky then put some blender on them to create a feeling of transparency, with a bit of BG000. I added a touch of turquoise and white pencils to finish them off. And as always, some little details in gel pens 😉
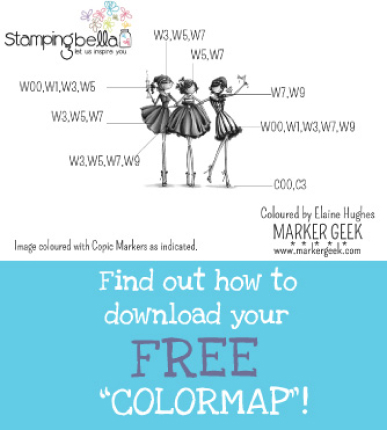
Copic markers used:
Skin: E000, 00, 11, 71
Hair: E35, 59, YR23
Dress: BV00, 01, 02, 04, 08
Wings: Blender 0, BG000 + sky colours + pencil
Stockings: BV00, RV55
Shoes: BV02, 04, 08
Sky: Blender 0, R21, YR000, 00
Grass: BG72, 75, 78, YG01, 06
Leaves: G28, YG06, 17, 67
Flower centers: E35, Y13, 15, 17
Petals: YR01, 04, 09
Pink flowers: RV55, 66, 69
Stump: E31, 35, 59
Thanks for stopping by today, have a beautiful Easter weekend! Huugs,
Delphineabella
Happy Bellarific Friday, crafty friends! This week, our fabulous Babes took on a sketch challenge using one of the MojoBella sketches from our archives! Sketch challenges are such a fantastic way to spark creativity, offering just the right mix of structure and freedom. Each Babe has put their own spin on the sketch, making it uniquely their own.
Here’s the sketch they had to follow. Feel free to have a go yourself, and share the results with us!
Let’s take a look at what the Babes came up with this week!
First up, wishing you a sweet Easter with Jenny! Whether you celebrate or not, we hope your weekend is wonderful and packed with colourful crafty fun.
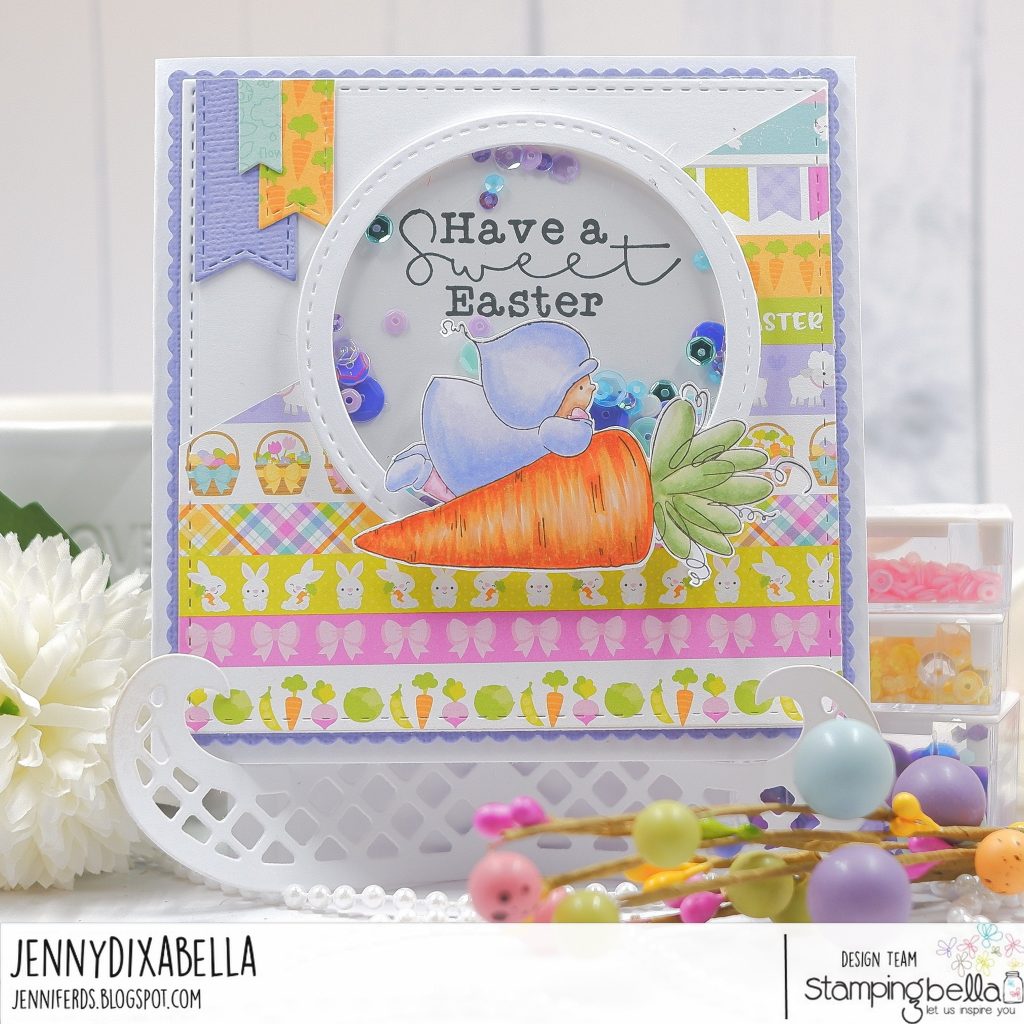
Love the pretty colours and the fact that Jenny made the sentiment part of the shaker element. Such a cute card!

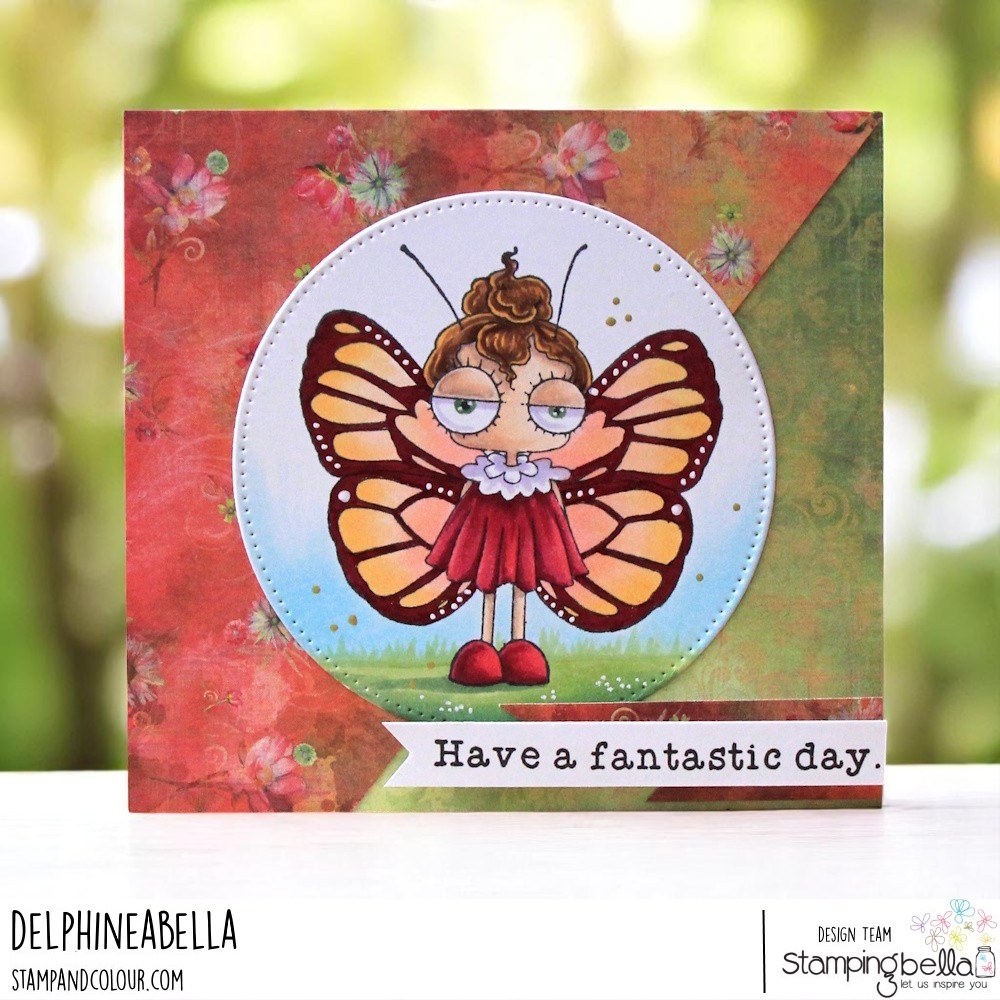
Mini Oddball here looks a little how I feel – loving Spring, but the pollen is getting to her… Gorgeous card from Delphine!


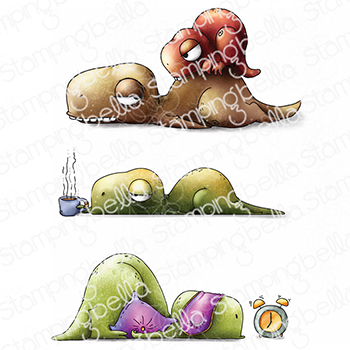
Love this take on the sketch from Ginger, and the dino definitely speaks to me right now!

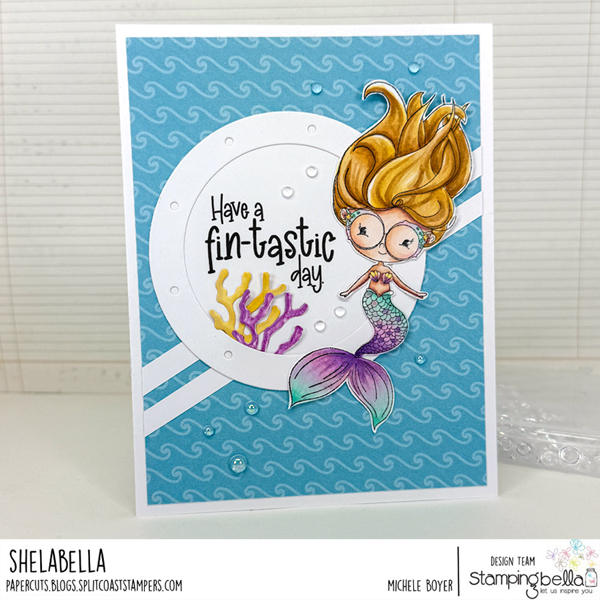
Michele is getting an early start on MerMay! Speaking of which…we have lots of fun MerMay inspiration coming up, and *cough* maybe some new mermaid themed rubbah for you very soon!


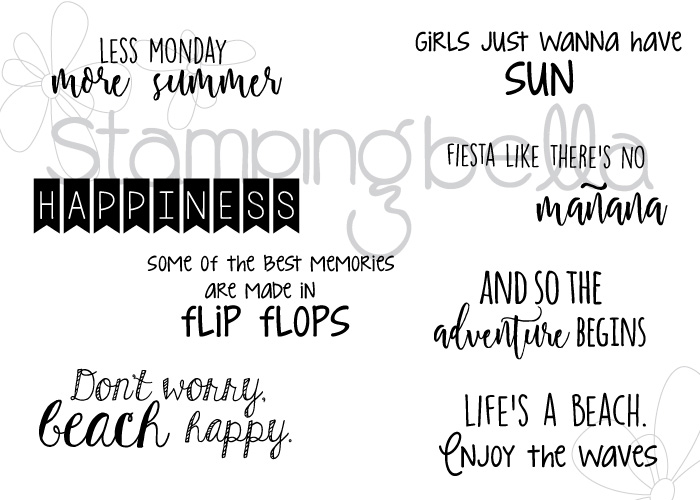
Steph created this fab card using our versatile Curvy Girl with a Sign stamp set. The sign comes blank, and there are some perfectly sized sentiments included in the set so you can use her for any occasion. Plenty of other sentiments would also fit, so there are lots of options!

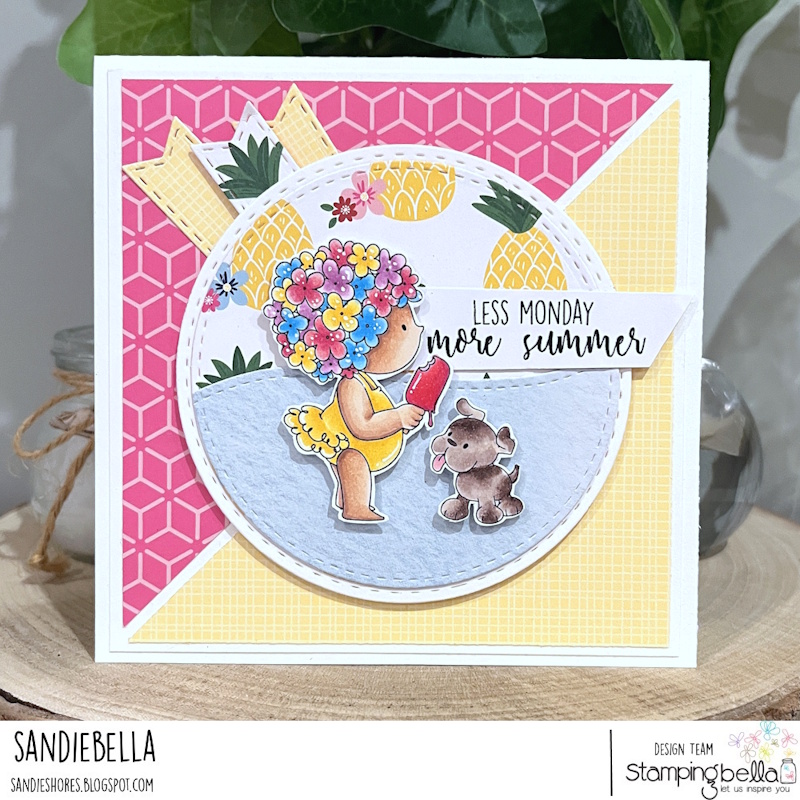
Sandie is looking forward to summer. Love the fresh and fun colours, and would you look at how cute Bundle Girl‘s swimcap is?

Debra had some Oddball fun this week – love it!

That’s it for today! Hopefully you’re feeling inspired to go and create. Don’t forget to leave us a comment below with some love for our Babes and all their hard work.
MWAH!
Elaineabella
Curvy Girl Loves to Hike Pillar Fold Card


Supplies:
Curvy Girl Loves to Hike rubber stamp
Oz Sentiments set
Card
Designer paper
Scoring board and bone folder
Pennant Die, Hills Border Die
Embellishments
How to:
Cut two pieces of card, one measuring 10″ x 6″ and another measuring 11″ x 4″.
Score the 10″ piece on the long side at 1″, 2.5″, 7.5″, and 9″
Score the 11″ piece on the long side at 2.5″, 4″, 7″ and 8.5″


Fold and burnish all the score lines.
Add designer paper layers –
Base:
(2x) 7/8″ x 5-7/8″
(2x) 1-3/8″ x 5-7/8″
(1x) 4-7/8″ x 5-7/8″
Front Panel:
(2x) 2-3/8″ x 3-7/8″
(2x) 1-3/8″ x 3-7/8″
(1x) 2-7/8″ x 3-7/8″

On the 10″ x 6″ piece, fold in on the second score line and fold the first score line back. Apply glue to the centre – just enough for the smaller piece of card to cover.

Adhere the 11″ x 4″ piece – lining the edge up to the outside of the base.

Repeat on the other side. When opened up, the front piece should overhang the base by about 0.5″ on each end.

Stamp Curvy Girl Loves to Hike onto white card. Colour, then fussy cut around the outline.


Decorate the card using the Hill Border and Pennant dies.

Adhere Curvy Girl Loves to Hike using foam tape or dots.

Stamp the sentiment from the Oz Sentiments set onto a piece of white card measuring 2.25″ x 3.25″ and adhere in the centre.

Use cut outs from designer paper to decorate.

Today I’ve got the last of my Copic videos featuring the recent batch of Spec-Tacular stamps!
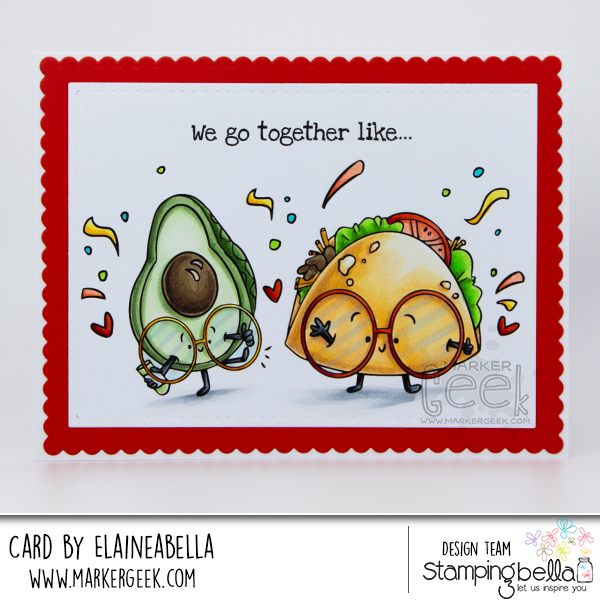
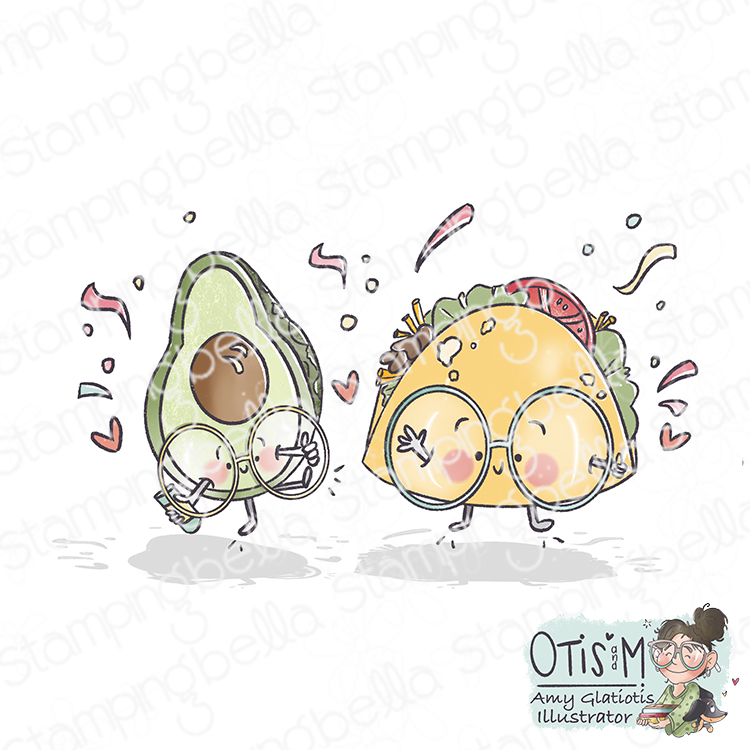

Watch me colour this stamp in the video below. If you enjoy watching please do like the video and subscribe over on my YouTube channel.
That’s it for today!
MWAH!
Elaineabella
A little something bright and happy to start the week, with one of our awesome Spec-Tacular stamps!
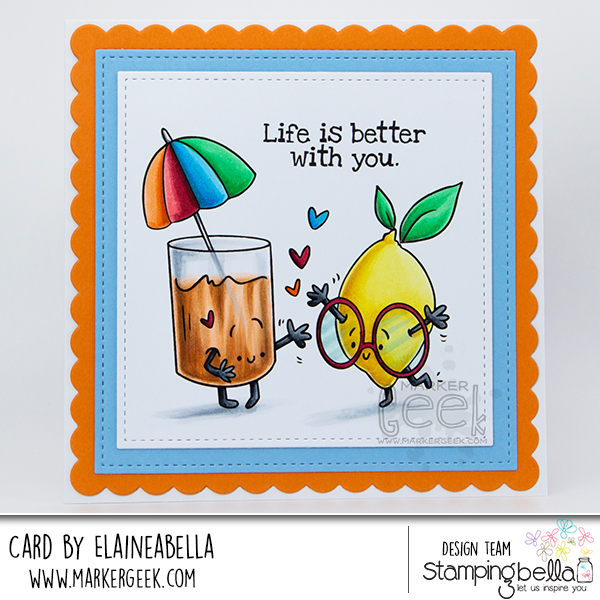
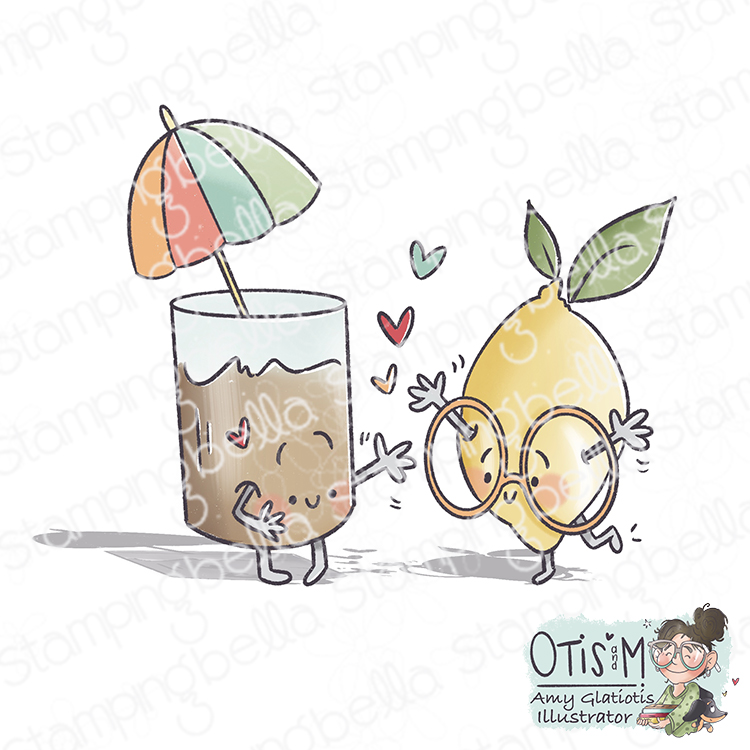
Watch me colour this stamp in the video below. If you enjoy watching please do like the video and subscribe over on my YouTube channel.
That’s it for today! I’ll be back on Wednesday with another colouring video and card featuring one of the new stamps.
MWAH!
Elaineabella
Hello friends!
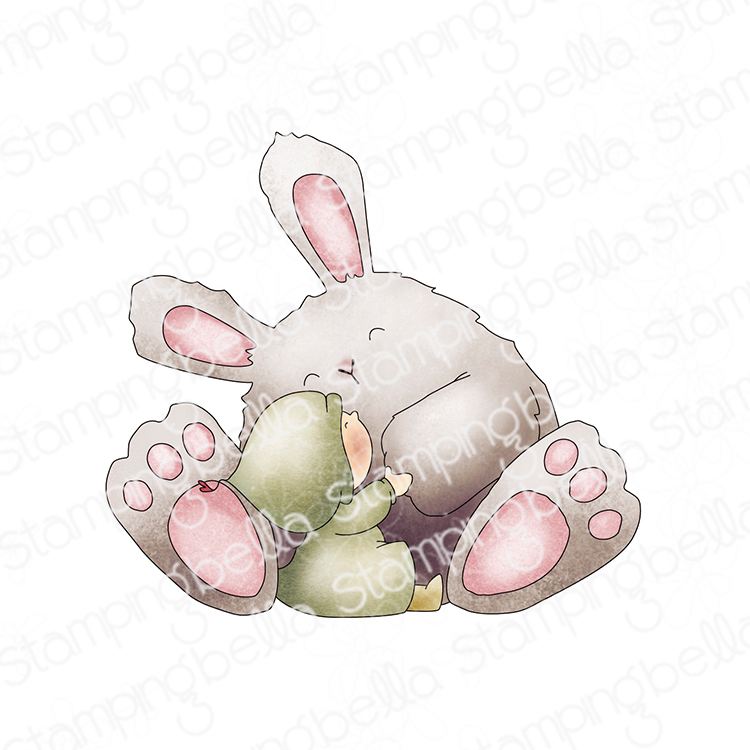
Amy here, with one final Easter card for this week’s Scenic Saturday post on the Blogabella. I’ve saved the absolutely charming Bundle Girl Loves Bunny Wobbles for this last card, as they are one of my favorite stamps from the Spring release. The image is overflowing with love and affection as it captures this sweet moment.
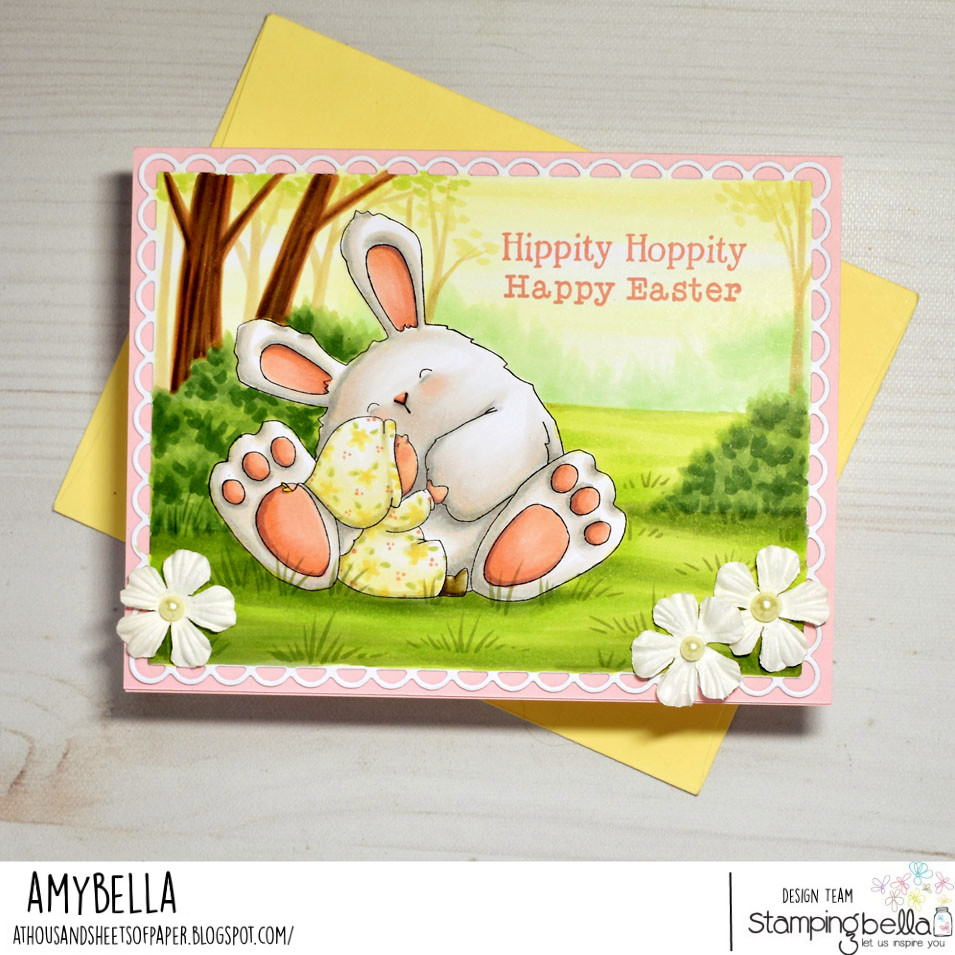
Bundle Girl Loves Bunny Wobbles is a pretty large stamp, taking up a lot of space on a standard A2 sized card. This led me to go with a horizontal format and stamp them off to the left so that I would still have plenty of space for a sentiment. For my color palette on these two friends I went with soft rosy pinks and light lemon yellows that capture the first blush of spring. A simple floral print was added to her outfit for some extra interest. Next, I proceeded to extend the pale yellows into the forest landscape that I hand colored in by using the palest yellow Copic markers for the sky. It’s a simple twist from the traditional blues that are usually used but it goes a long way towards adding to the overall warmth of the scene. Very light greens and browns add a hazy hint of the trees growing in the distance and I slowly transition to bolder, more saturated greens and browns as I add the trees and bushes that are growing closer to us, the viewer, in the foreground. The open sky between the trees became the perfect place for me to add a sentiment and I actually combined two from the Easter Sentiment set, for my message. For a cute finishing touch, I also chose to add some white flower embellishments to either side of the bottom of the scene because I think they provide a nice balance and create a visual triangle with the big white bunny in the center of the card. 🙂
Stay crafty my friends!
Amybella