Hello friends!
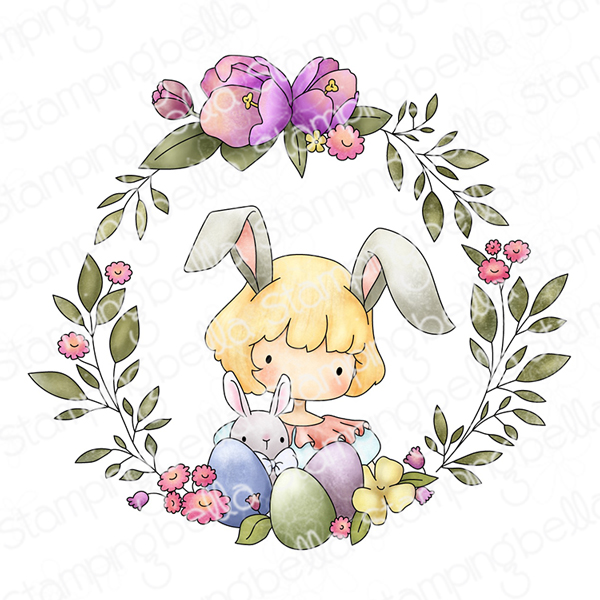
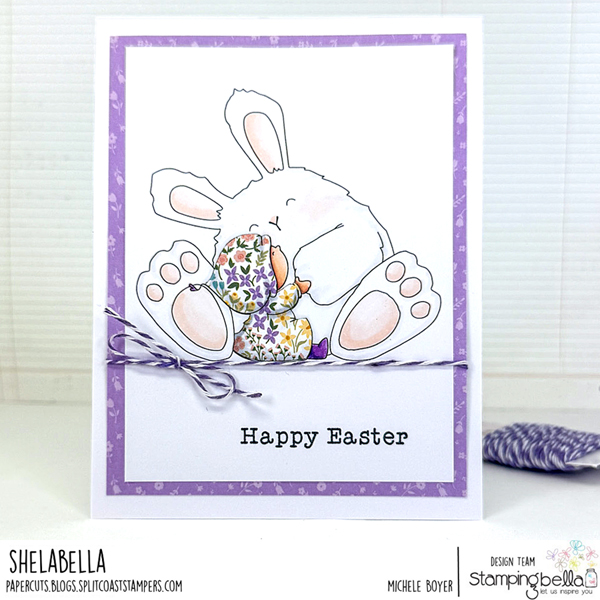
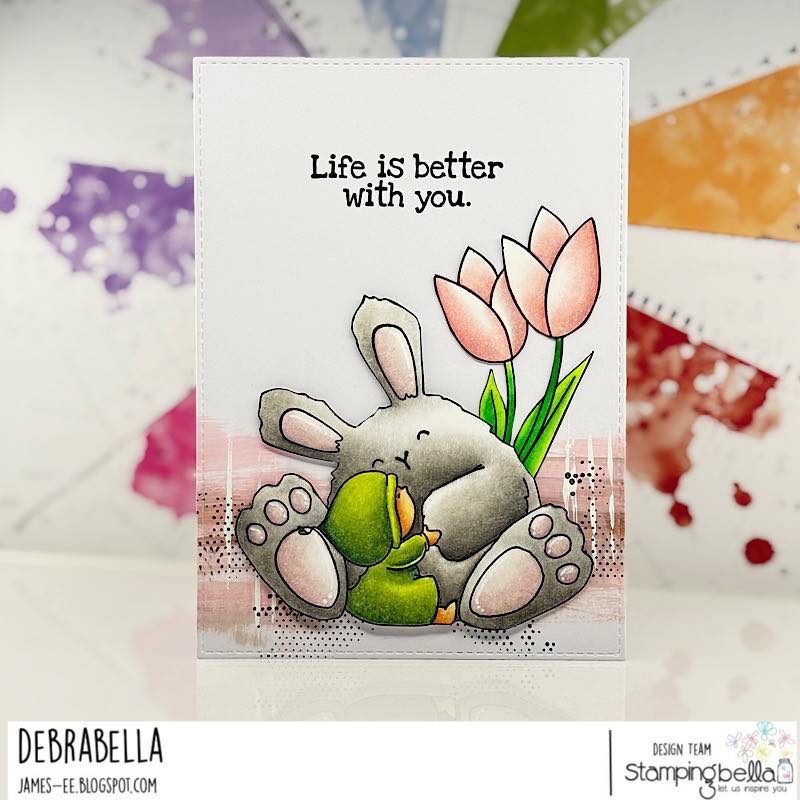
Amy here, with one final Easter card for this week’s Scenic Saturday post on the Blogabella. I’ve saved the absolutely charming Bundle Girl Loves Bunny Wobbles for this last card, as they are one of my favorite stamps from the Spring release. The image is overflowing with love and affection as it captures this sweet moment.
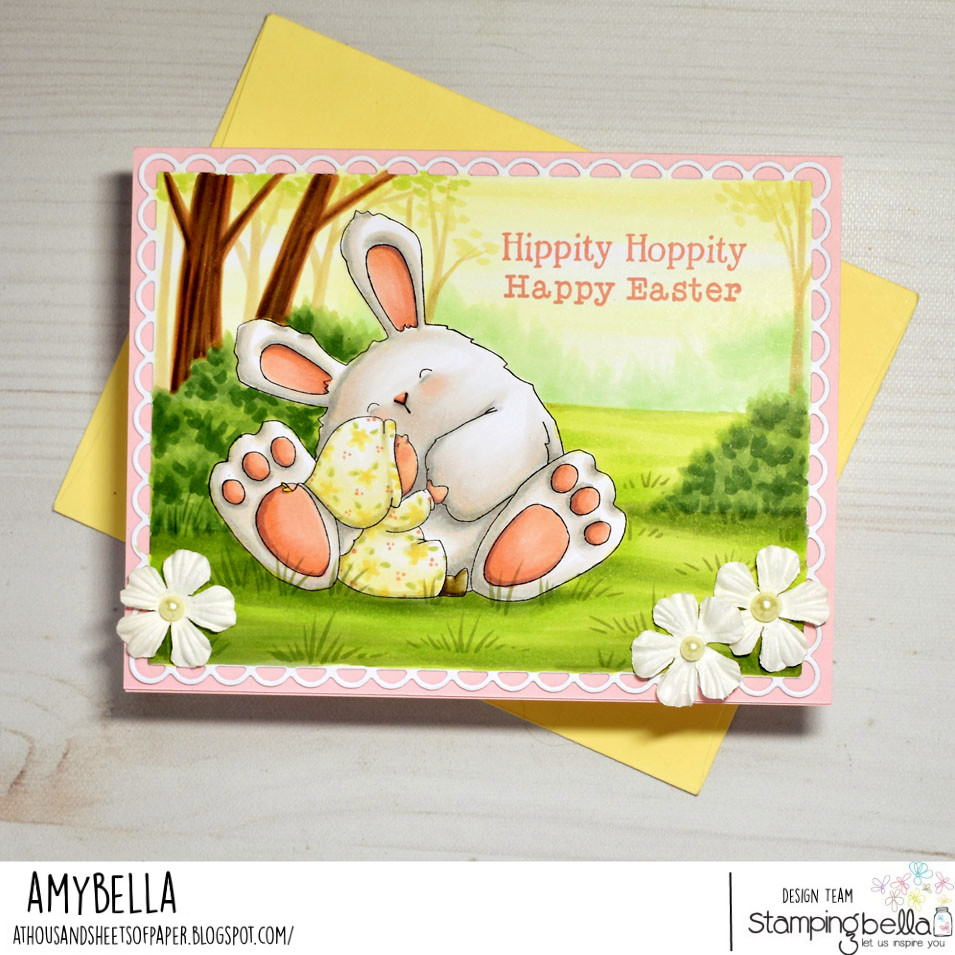
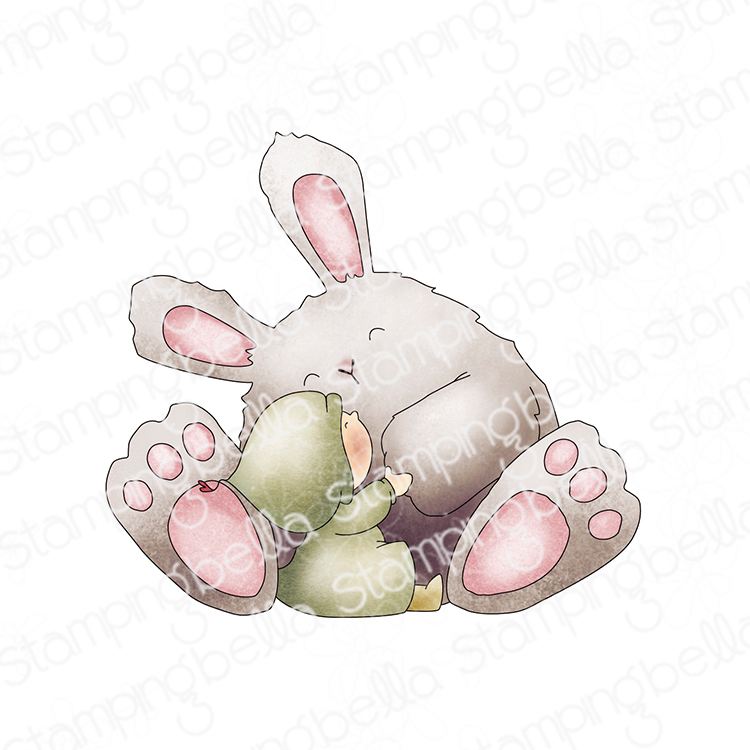

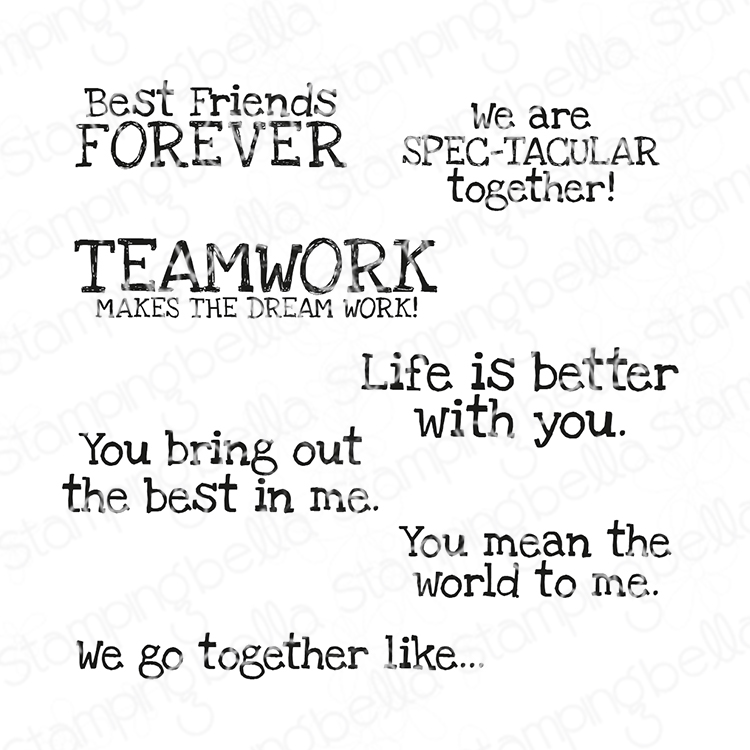
Bundle Girl Loves Bunny Wobbles is a pretty large stamp, taking up a lot of space on a standard A2 sized card. This led me to go with a horizontal format and stamp them off to the left so that I would still have plenty of space for a sentiment. For my color palette on these two friends I went with soft rosy pinks and light lemon yellows that capture the first blush of spring. A simple floral print was added to her outfit for some extra interest. Next, I proceeded to extend the pale yellows into the forest landscape that I hand colored in by using the palest yellow Copic markers for the sky. It’s a simple twist from the traditional blues that are usually used but it goes a long way towards adding to the overall warmth of the scene. Very light greens and browns add a hazy hint of the trees growing in the distance and I slowly transition to bolder, more saturated greens and browns as I add the trees and bushes that are growing closer to us, the viewer, in the foreground. The open sky between the trees became the perfect place for me to add a sentiment and I actually combined two from the Easter Sentiment set, for my message. For a cute finishing touch, I also chose to add some white flower embellishments to either side of the bottom of the scene because I think they provide a nice balance and create a visual triangle with the big white bunny in the center of the card. 🙂
Stay crafty my friends!
Amybella
Happy Friday! Our amazing Babes have got some wonderful cards to share with you this week, all featuring older stamps from our collection. It’s always nice to have the excitement of new releases, but we love showing that older rubber some love too, and maybe helping you discover some of our stamps that might be older, but are new to you!
Let’s take a look at what the Babes have been up to.
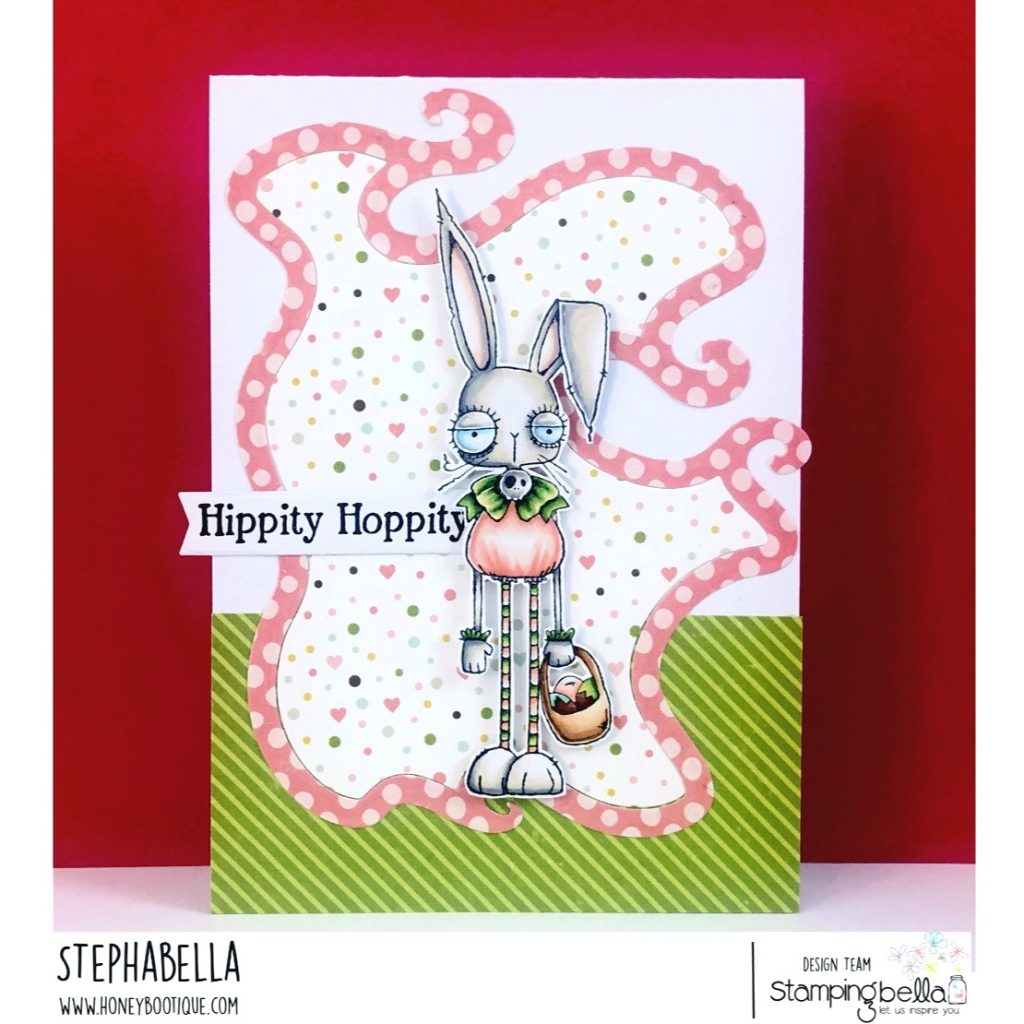
Steph is ready for Easter with this fantastic Oddball card!
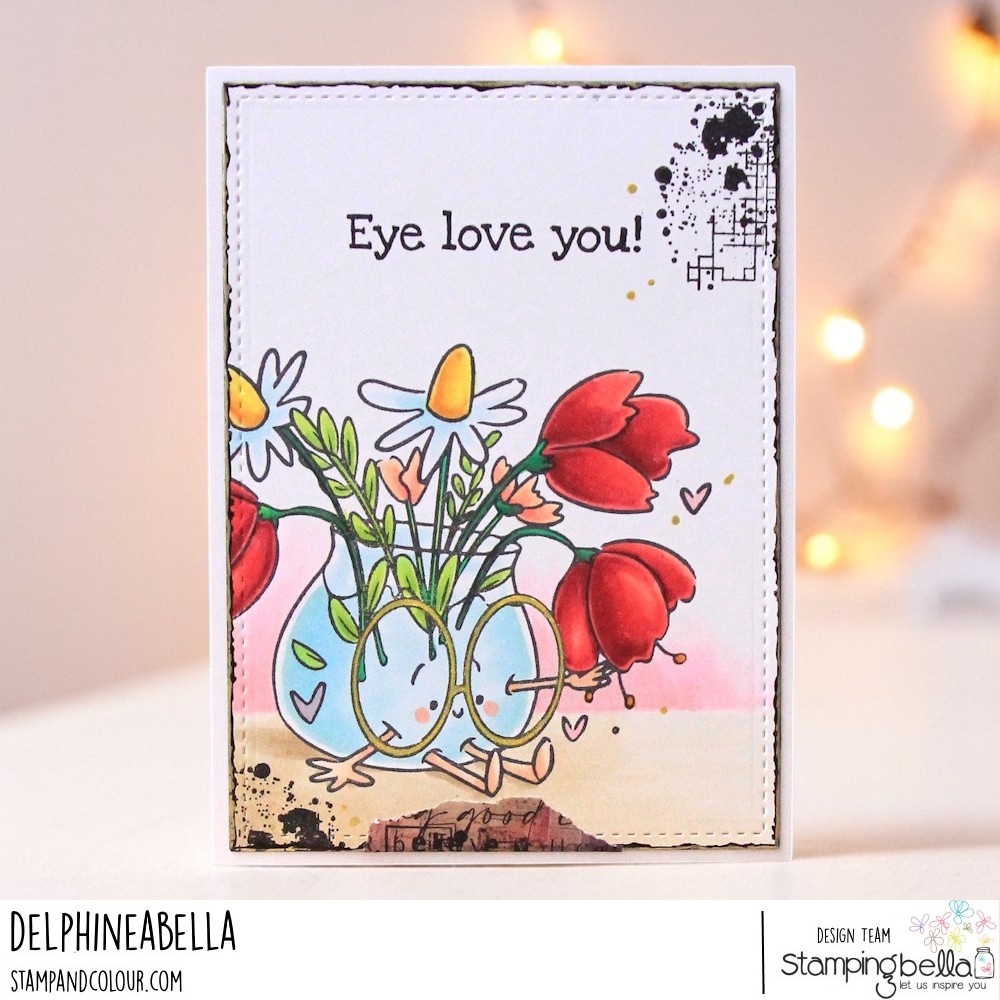
Delphine has a sweet card featuring one of our Spec-Tacular stamps!
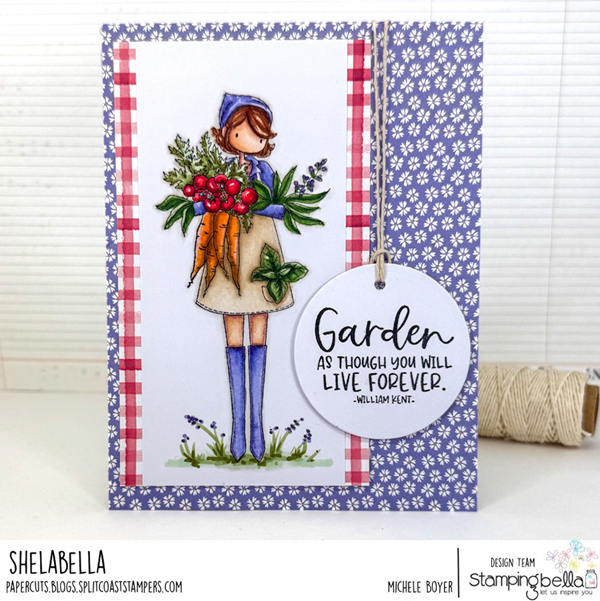
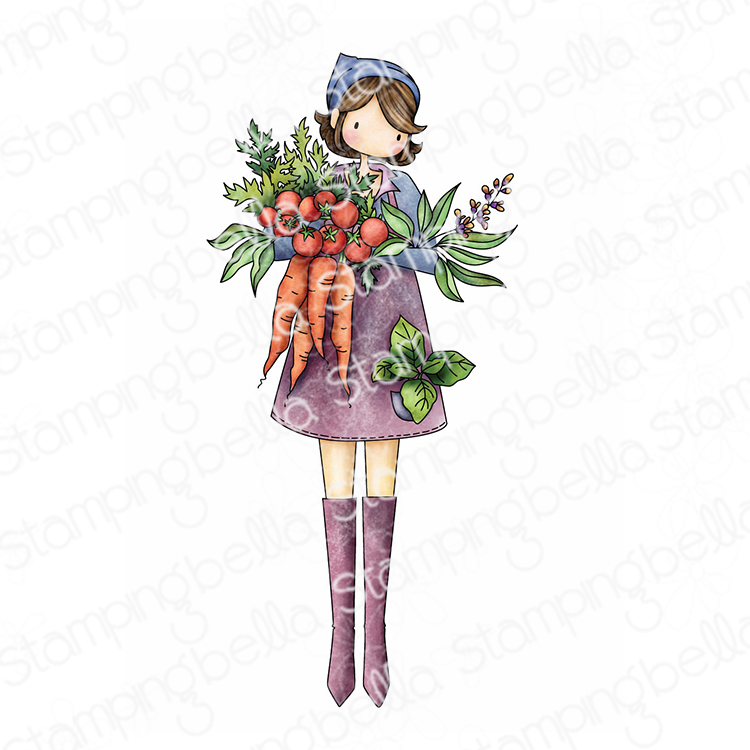
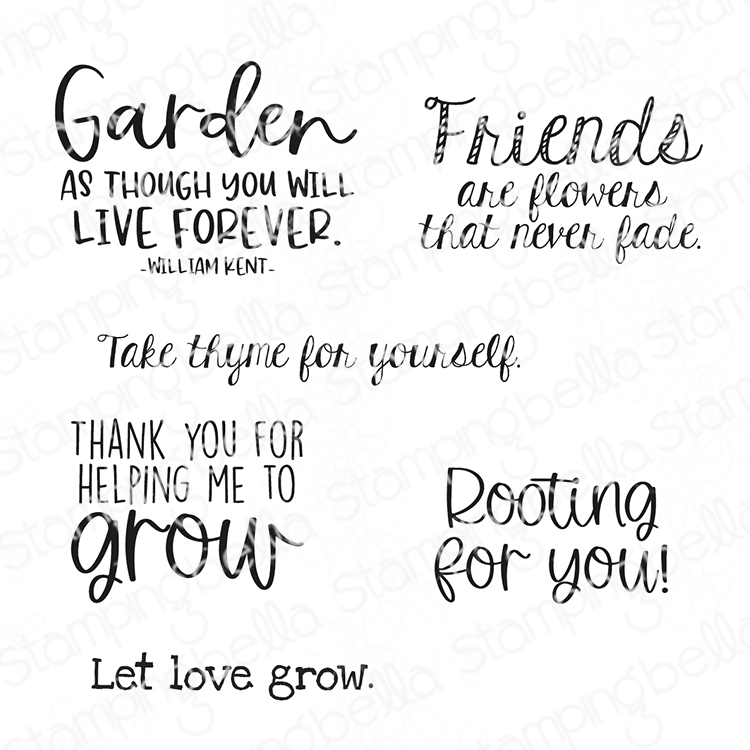
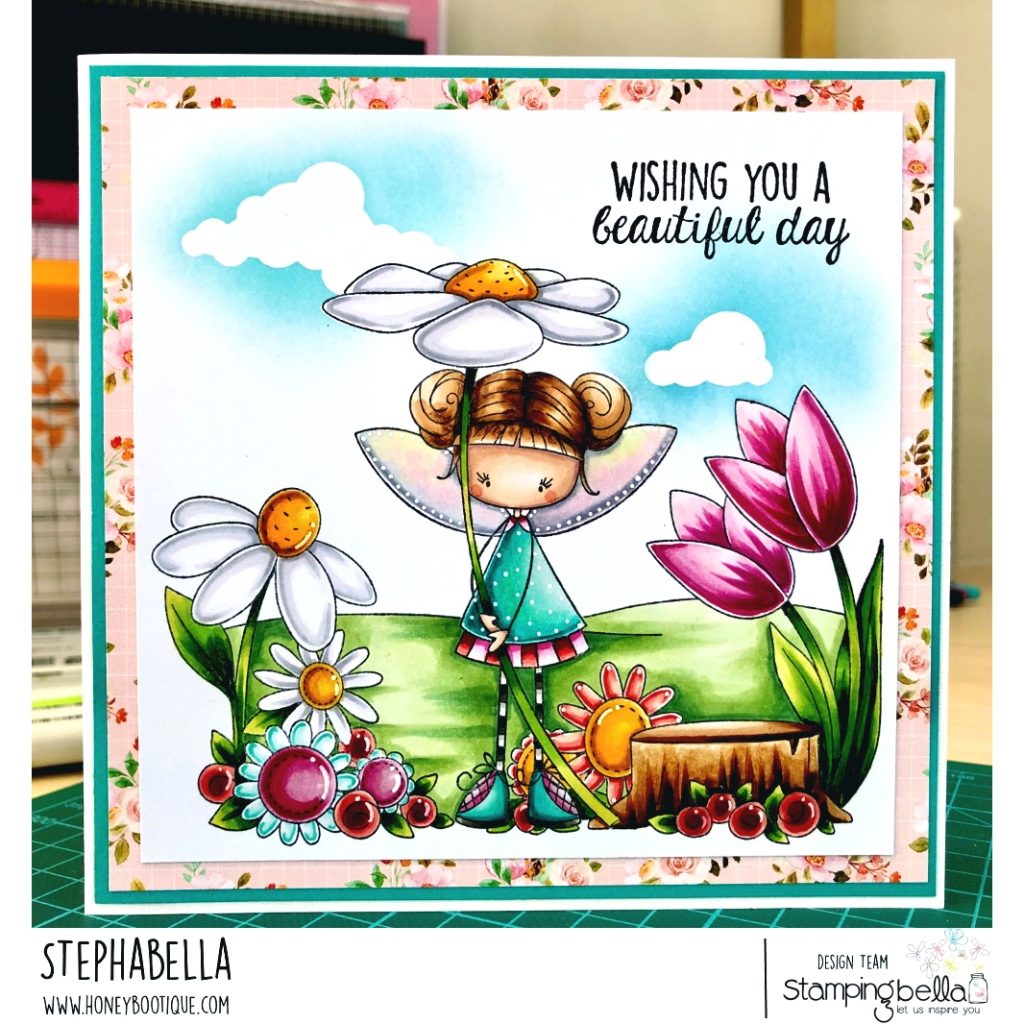
My mind is on plans for the garden at the moment, so I love Michele’s Uptown Girl garden themed card!
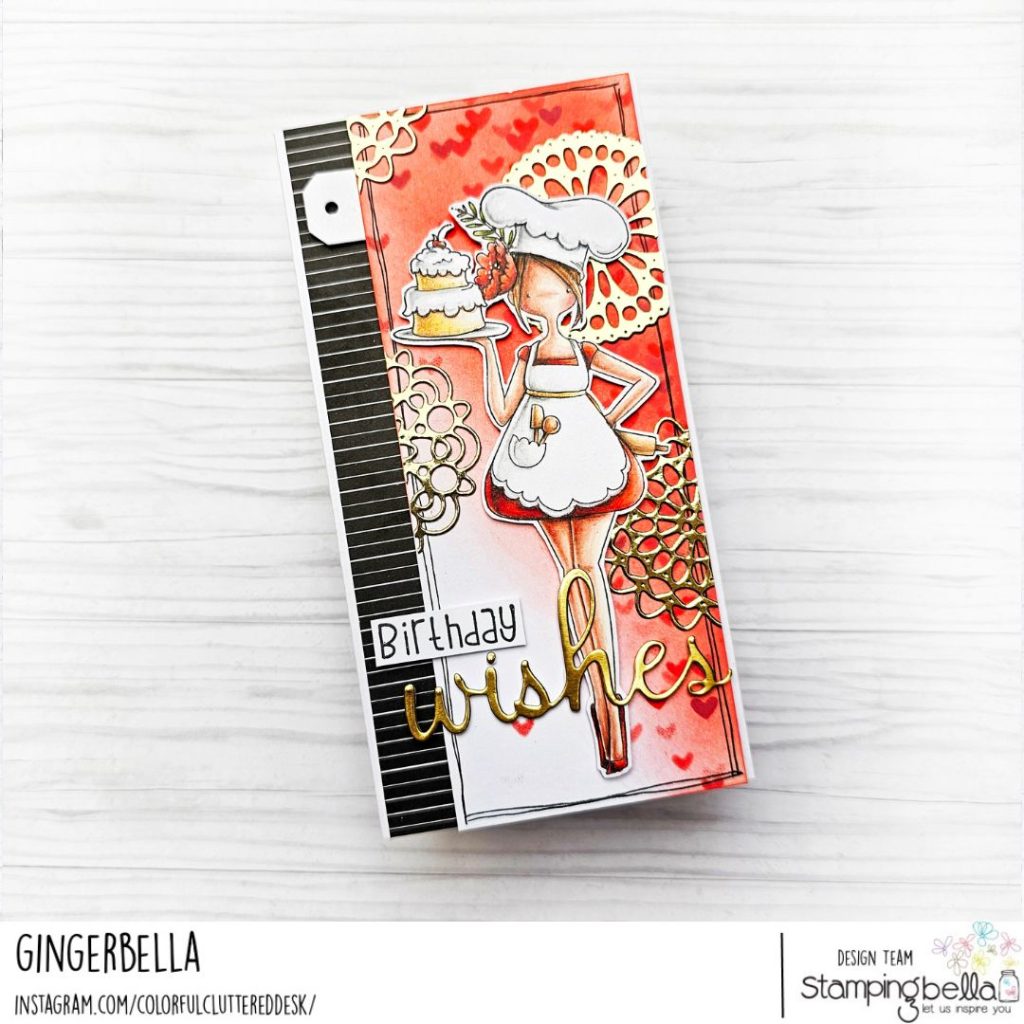
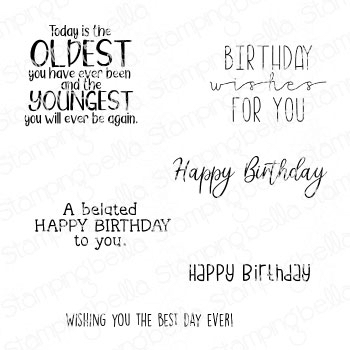
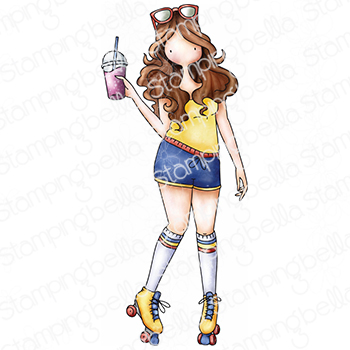
Ginger has a fantastic birthday card for us featuring one of our Curvy Girl stamps.

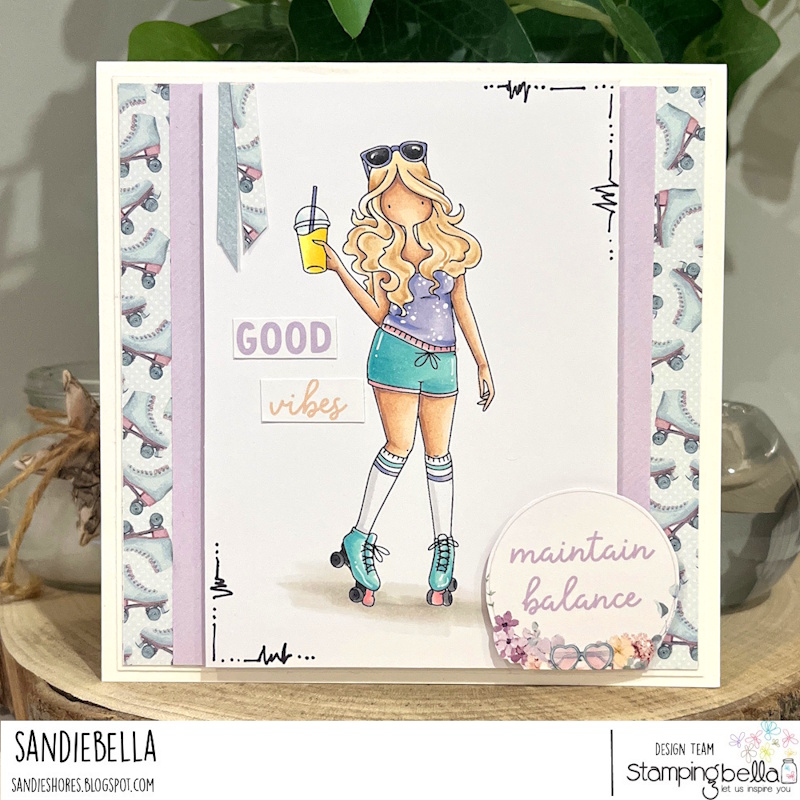
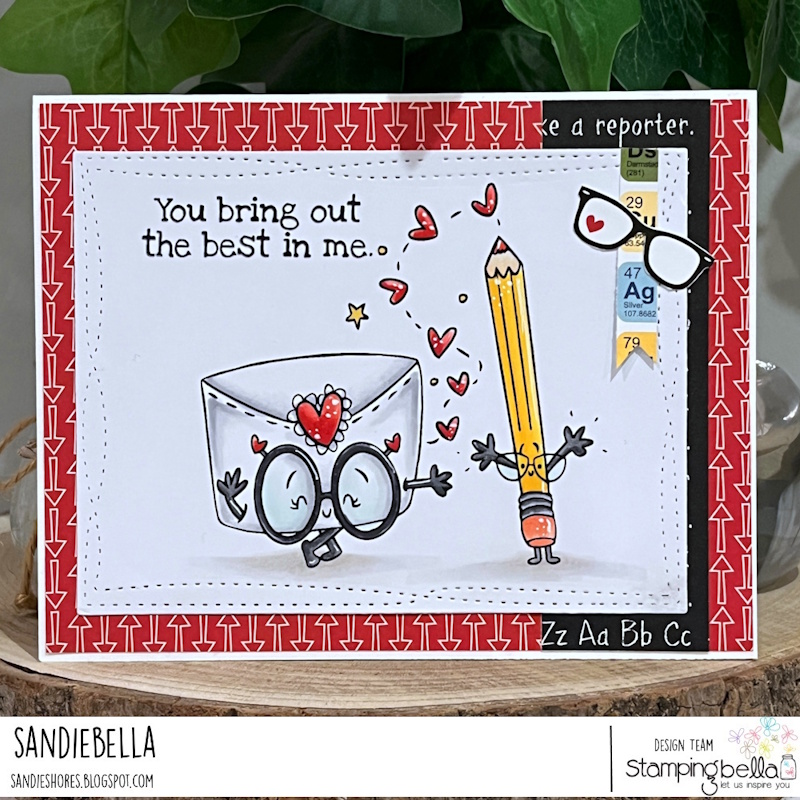
Another Curvy Girl popping up on Sandie’s card this week! Love the pretty pastel colours she went with.
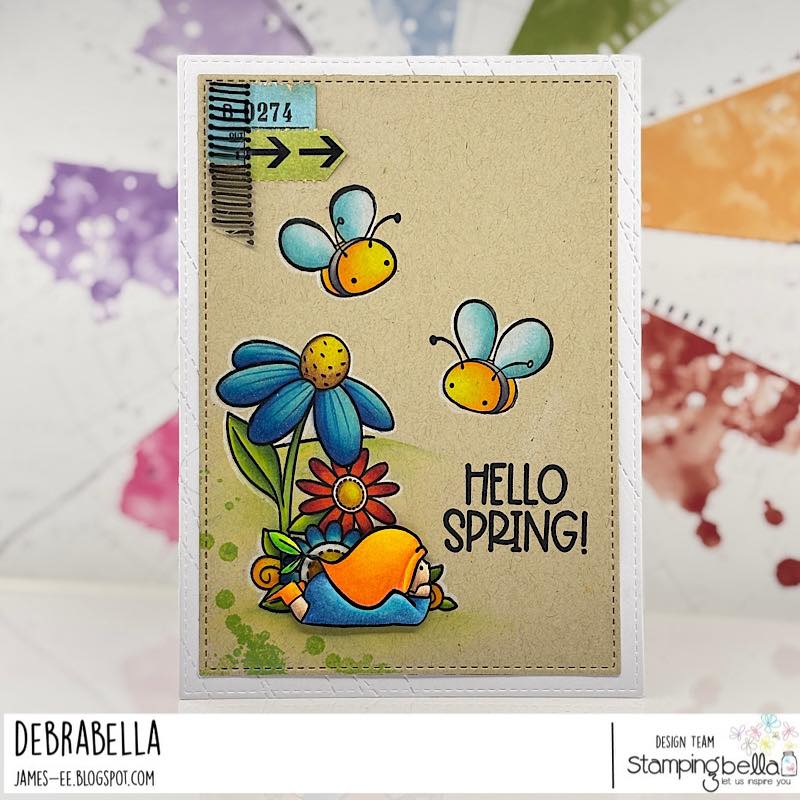
Debra had fun mixing up stamps from different sets here, and I love it! Those bold colours look great on the kraft.

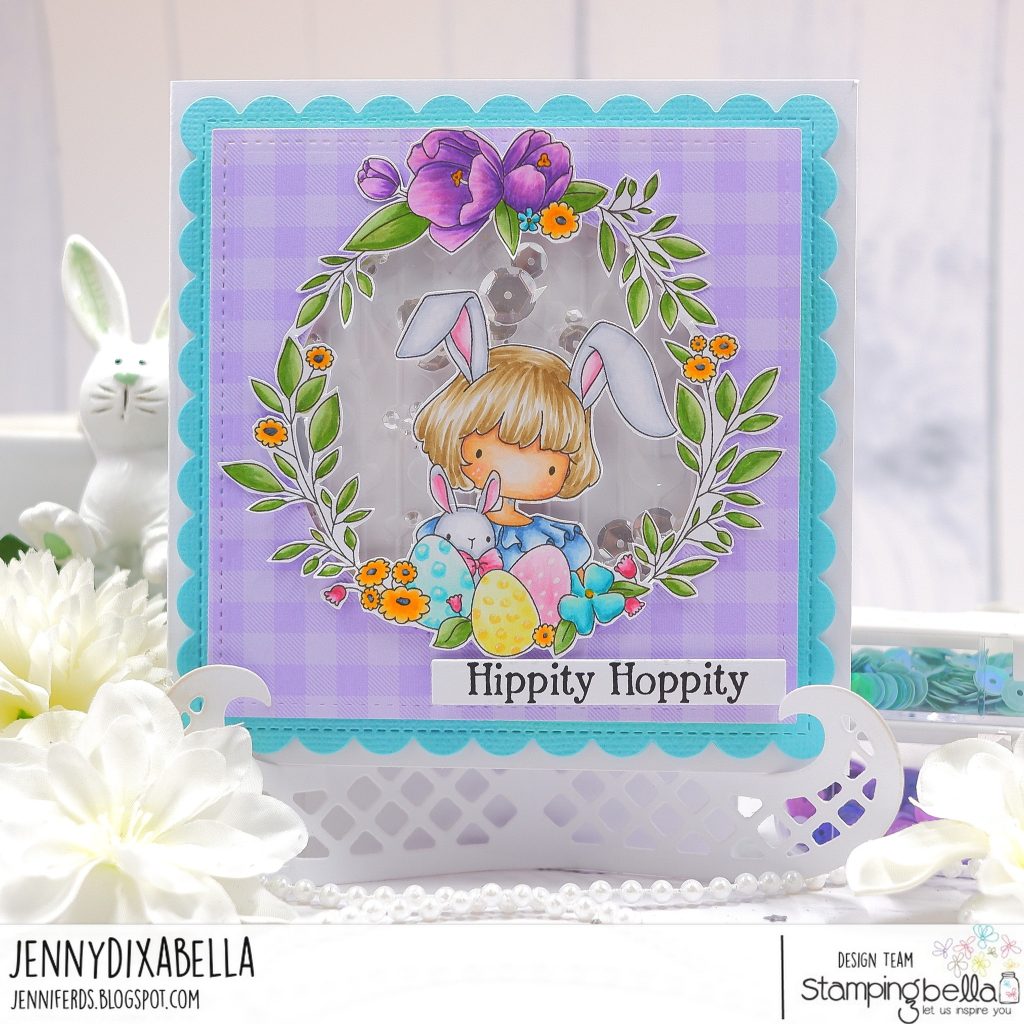
Jenny has done some amazing fussy cutting here on this Tiny Townie Easter shaker card! So lovely, making the wreath and shaker the main feature.
That’s it for today! Hopefully you’re feeling inspired to go and create. Don’t forget to leave us a comment below with some love for our Babes and all their hard work.
MWAH!
Elaineabella


Supplies:
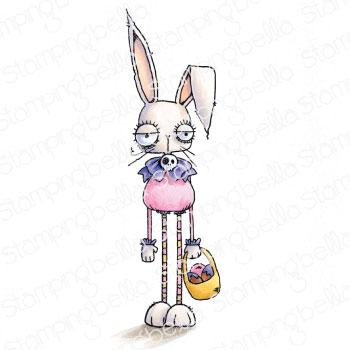
Oddball Easter Bunny rubber stamp
Chocolate Bunnies rubber stamp set (sentiment)
White card
Green card
Easter themed paper
Scoring board and bone folder
Liquid glue
Grass Border Die
Tag Die
How to:
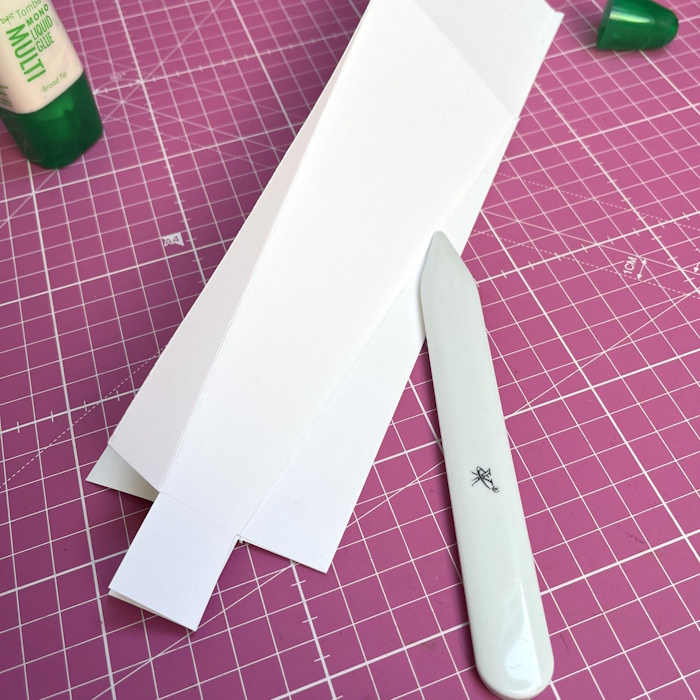
Cut 2 pieces of card measuring 11.5″ x 6″ and, using the template below, score both pieces.
Note: The 7.5″ section determines the length/height of the box; you can adjust this as necessary. For a shorter box, reduce the 7.5″ and for a longer box, increase it.

Again, using the template below, score where indicated by the dotted lines, then cut the solid red lines, removing the outer 1″ squares and the two centre 1″ squares. Repeat for both pieces

After removing the 1″ tabs, the bottom of the base pieces should look like this.

Fold and burnish all of the straight score lines.

Gently fold in the outer diagonal lines ensuring it goes right up to the intersecting score line.

When all diagonal scorelines are folded and burnished, both pieces should look like this:

Apply wet glue into the valley, right from the top to the bottom.

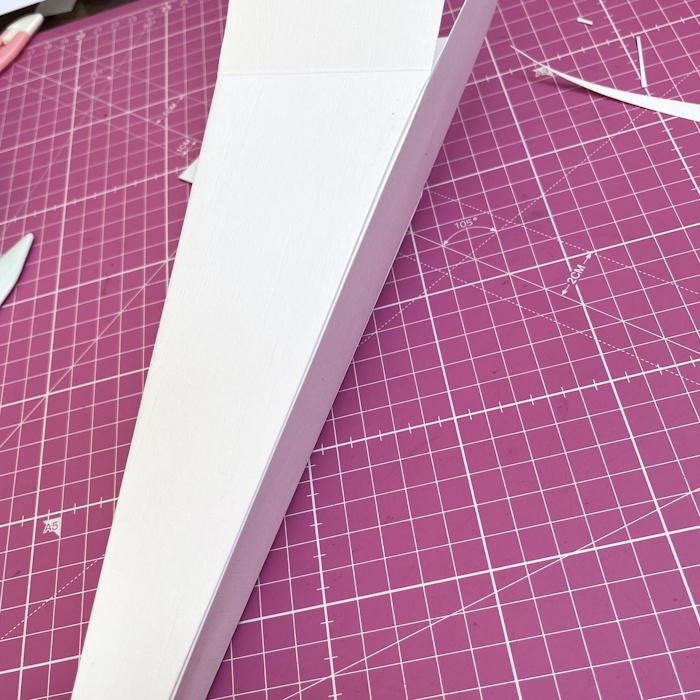
Fold the piece in half and burnish well
Use a bone folder in the crease to make a crisp line. Repeat for both pieces then set aside to allow the glue to dry.

While the glue is drying on the base pieces of card, stamp Oddball Easter Bunny onto blending card, colour and fussy cut around the outline.

Retrieve the base pieces of card and ensure the glue is completely dried. Cut approximately 0.25″ away from the score line to remove the excess card. Repeat on both pieces.

Place both base pieces side by side. Apply glue to the outside of one of the side panels and adhere the other piece to it, lining up the edges. Again, once the glue has completely dried, cut away the excess.


To complete the shape, first cut away the excess from both ends of the card. Apply glue to one of them, fold the base in half and adhere to the other end. Burnish well to ensure it adheres properly.

Decide which side will be the front and fold back the 1″ tab. Fold in one of the side tabs, apply glue to it and fold in the other side tab on top of it. Apply glue and fold up the back tab. Finally apply glue and fold down the front tab.


Cut four pieces of paper measuring 7.25″ x 2.75″. On the bottom, measure in 1″ from each side and mark with a pencil. Cut from the outer top corners down to the 1″ markings to create the paper layers. Adhere all the layers to the base.


On the top of the box (the 3″ sections) taper the edges of the side tabs and trim them down by approx. 1/2″. Do not trim the front and back tabs. Fold the side tabs in.

Cut two grass border pieces from green card. Bring the front and back top tabs together and wrap one of the borders around it. Trim down the second grass border to fit the width of the tabs and adhere to the back of the folder border. This create a belly band type closure.


Slide the grass borders over the front and back tabs

Create a mat layer for Oddball Easter Bunny and adhere it to the front of the box.

Place the carrot shaped candy bag into the box.

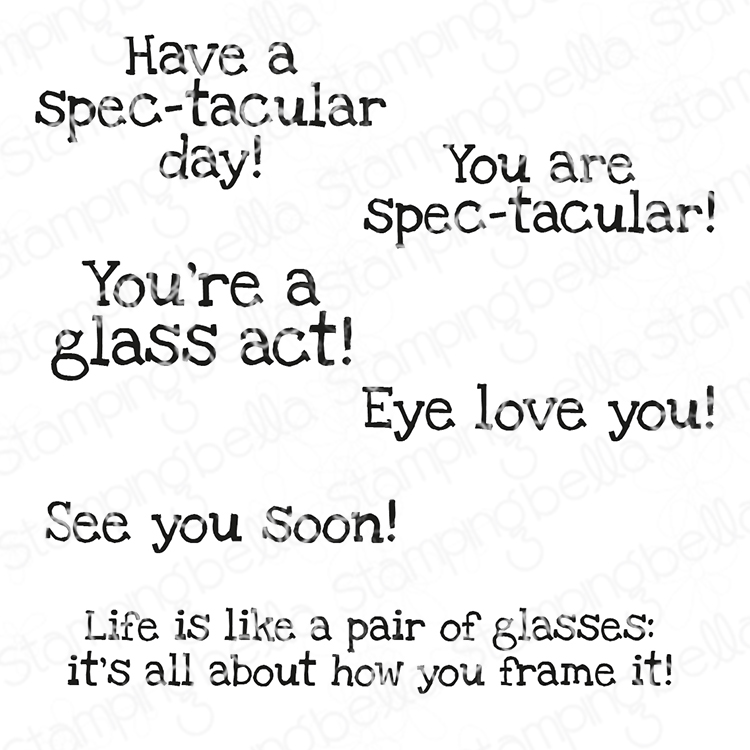
Stamp the sentiment from Chocolate Bunnies rubber stamp set onto a piece of card and adhere to the top section of the box using foam tape.


Use the trimmings from the grass border on the bottom of the box, and cut some Easter eggs from the papers and decorate.
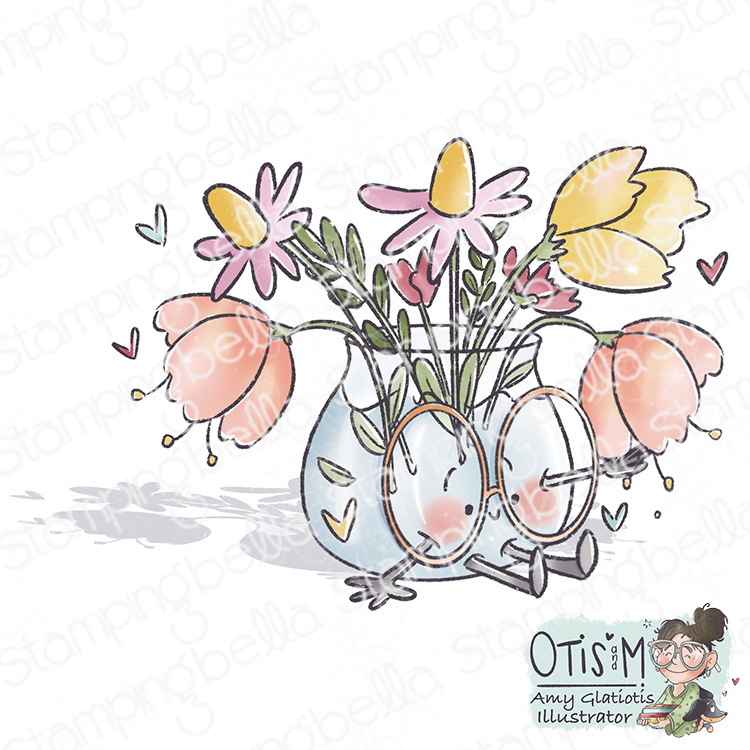
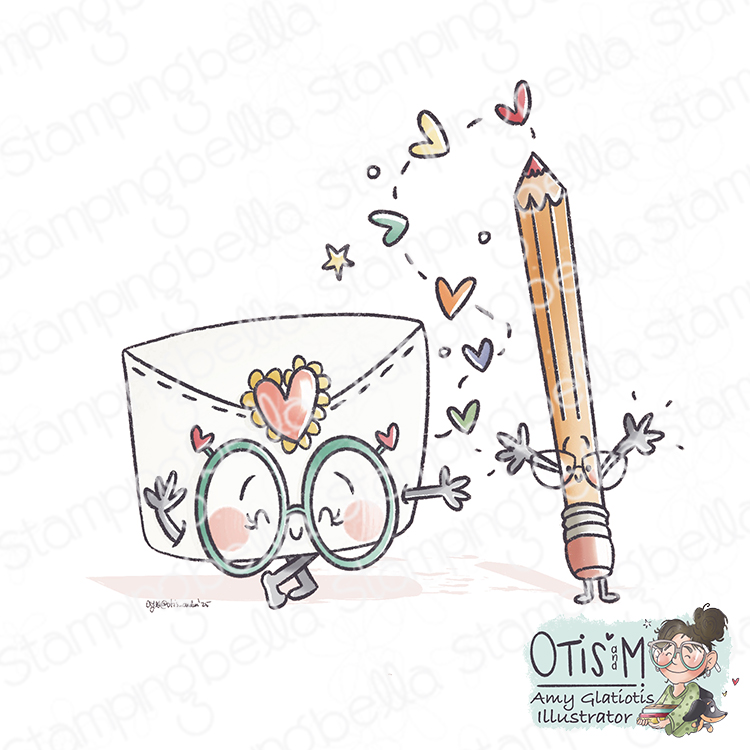
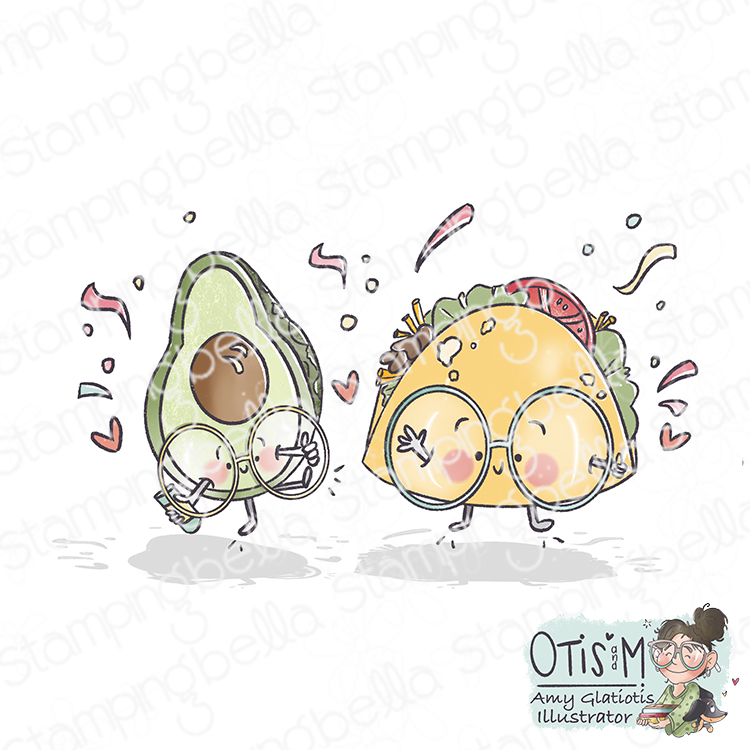
Having fun with another of the latest additions to the Amy Glatiotis Collection “Spec-Tacular” stamps!
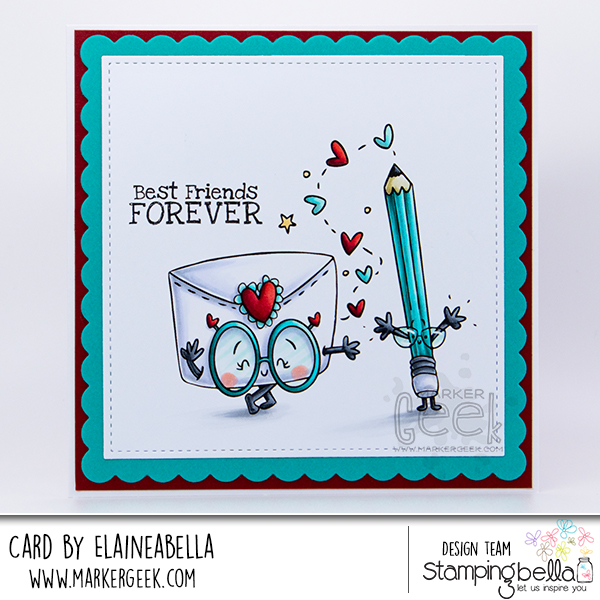
Isn’t this one just extra adorable? Love it. So cute, and great for all sorts of occasions, especially for us card-makers and crafters!
Watch me colour this stamp in the video below. If you enjoy watching please do like the video and subscribe over on my YouTube channel.
MWAH!
Elaineabella
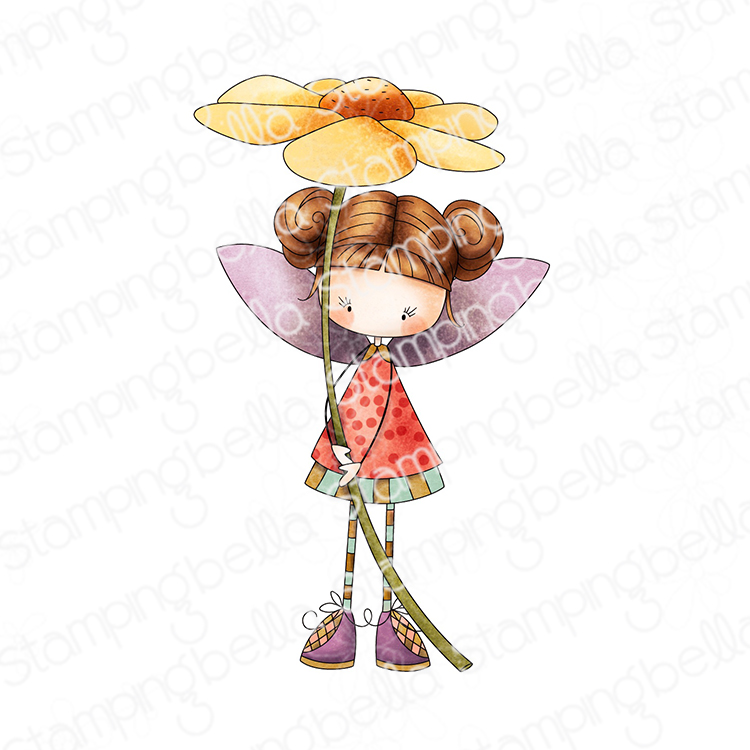
Our sweet Whimsabella FlitterFly features on my card today, and you can watch me colour her using Copic markers in my latest video too.

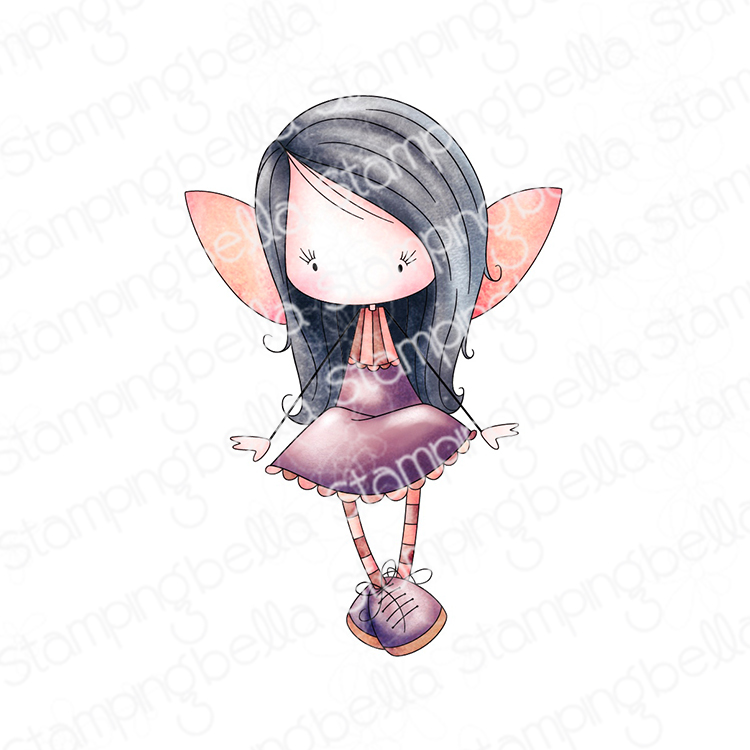
Watch me colour this stamp in the video below. If you enjoy watching please do like the video and subscribe over on my YouTube channel.
That’s it for today! I’ll be back on Wednesday with another colouring video and card featuring one of the new stamps.
MWAH!
Elaineabella
Happy Bellarific Friday! This week our Babes have more gorgeous cards for you featuring stamps from our latest release.
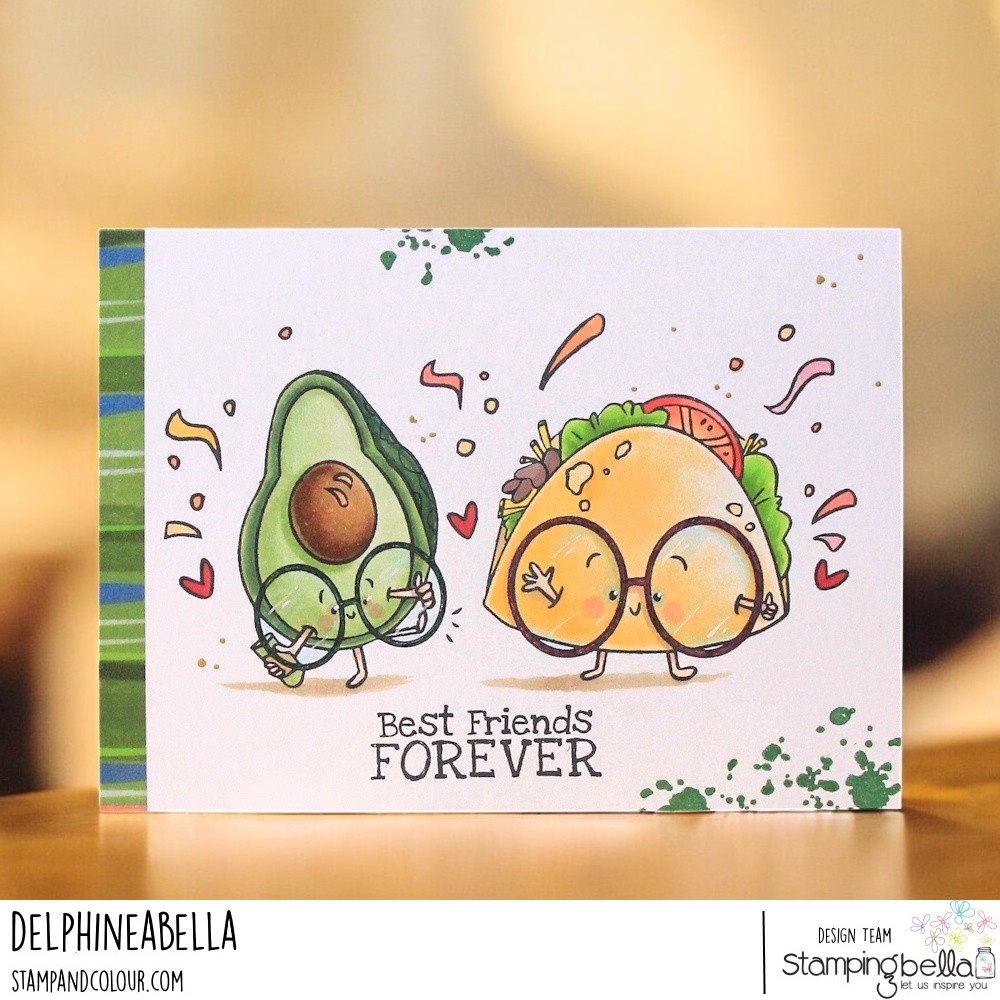
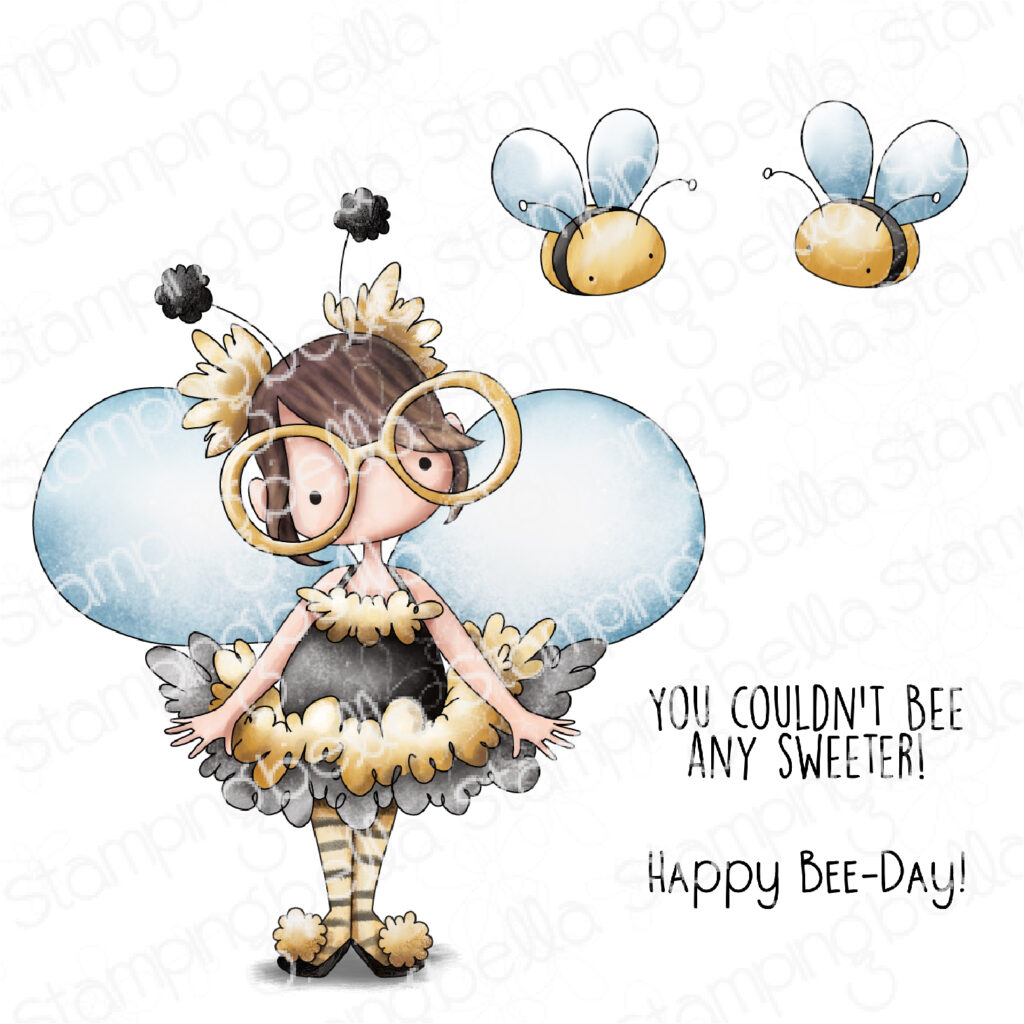
Delphine created this fun card using one of our new Spec-Tacular stamps from the Amy Glatiotis collection. SO cute, and so happy!
Steph created this gorgeous scene straight out of a storybook using one of our Whimsabella stamps and the latest Backdrop stamp!
Michele did some of her signature paper piecing to gorgeous effect on this one!
Another one of our adorable Spec-Tacular stamps has popped up on this fantastic card from Sandie!
Jenny has created a gorgeous shaker card featuring one of our Whimsabella stamps. Loving the fresh and vibrant blue and green!
Debra also went with our gorgeous Bundle Girl stamp, and added in just a small part of the Spring Backdrop! So cute.
How cute does our Whimsabella fairy look, peeking out of the frame on Ginger’s card?
That’s it for today! Hopefully you’re feeling inspired to go and create. Don’t forget to leave us a comment below with some love for our Babes and all their hard work.
MWAH!
Elaineabella