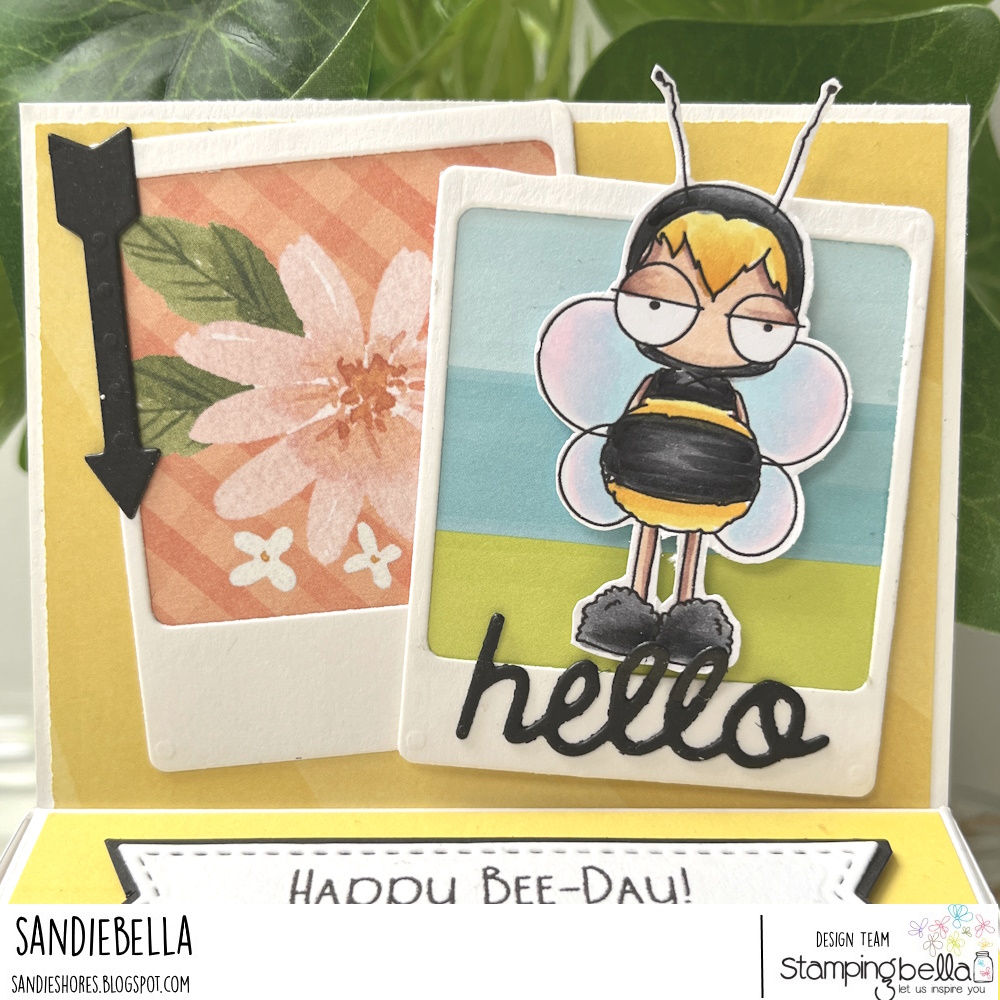
Sandie is back this week with a fun Happy BEE-DAY Gift box featuring our new MINI ODDBALL BEE KID stamp.

(1x) 3-7/8″ x 4″ – back panel

Score the box base on the short side at 3″ and 7″

Score on the long side at 0.75″, 3.5″, 6.5″, 9″ and 10.75″

Remove the outer corners from each end. Cut the score lines on the 12″ side, up to the intersecting score line.

On the section next to the 0.75″ section, cut the tabs in half, then remove a large wedge from each side as shown. Skip then next section, but trim down the tabs on the remaining 2 sections to half their length.

Glue the magnet to the inside of the 0.75″ flap.

Put the other magnet sitting on top, then apply some glue.

Fold over to the box front and transfer the top magnet. Press firmly to transfer without moving them out of place.


Fold in the section closest to the 1.25″ flap, then fold in the other 2 sections, ensuring the wedged one fits. It may need to be trimmed down. Finally, fold down the larges tab on top.

Turn over so that the folded end is on the mat. Square the bottom of the box with the bottom of the largest box side, then use a pencil to draw the outline.


Trim down.

Apply adhesive to the small tab and fold up the adjacent tab.


Apply adhesive to that tab, and fold down the shaped tab.


Repeat on the other side.

Fold in the tabs from the box tab to where they meet the box side. Mark with a pencil, then trim diagonally to the outer corner. Repeat on the other side.


Adhere all the paper panels to the box.

Adhere the large piece of paper to the back panel. This does not need to go down to the bottom as it will be adhered to the box base.

Apply adhesive to the back of the box and adhere the panel to it.


Stamp the sentiment onto a piece of white card and cut out using a banner die.

Decorate the box before adhering the image.


Fill the box with tissue paper and a small gift.