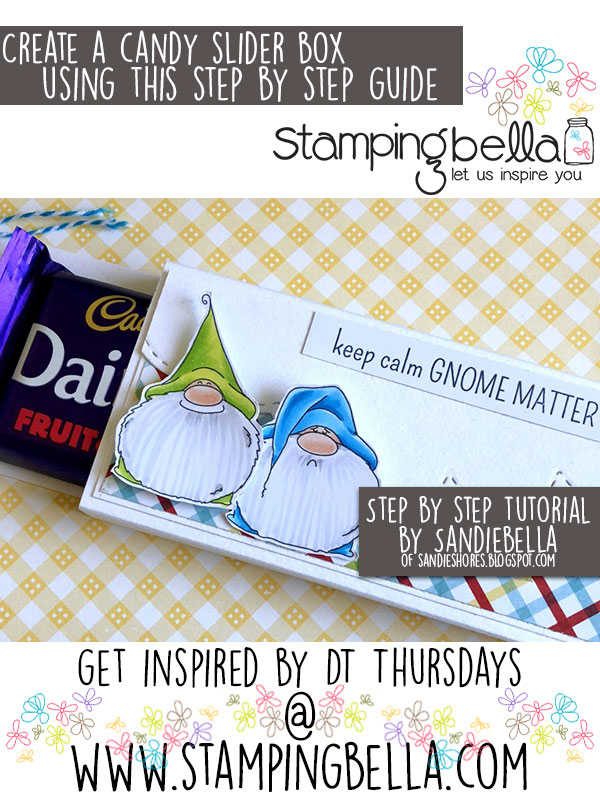
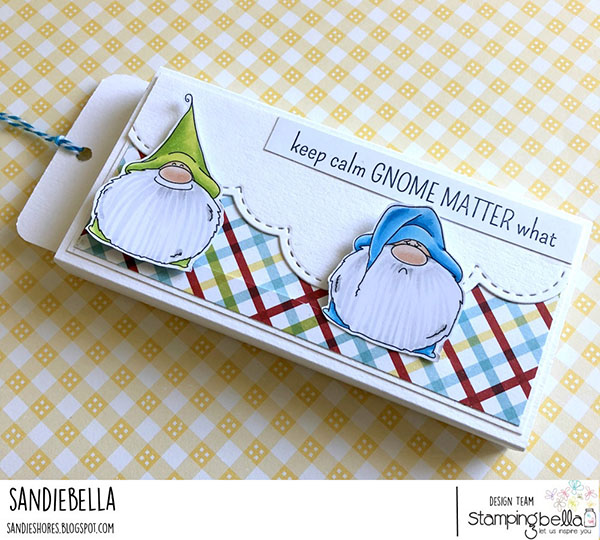
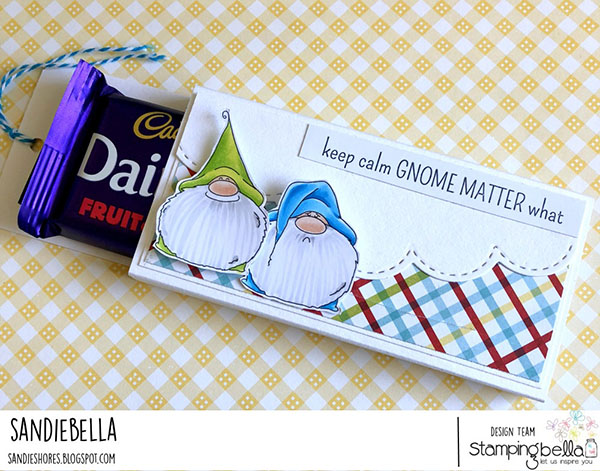
I’m guessing you are at least as excited as I am that Sandiebella is back in action! She’s got an adorable project for you to follow along with today, read on to check it out!


Score the 5″ x 7″ piece at 2.25″, 2.75″, 5.25″ and 5.75″
Round the corners on one end of the 2 3/8″ x 5.75″ piece
Cut one piece of white card measuring 4 7/8″ x 2.25″ and a piece of patterned paper measuring 4.75″ x 2 1/8″. Adhere them together to make a front panel and then stick them down onto the 2.5″ section between the inner scorelines.
Take the 1″ x 4.25″ piece of white card and measure down 1″ on it. Mark with a pencil
Using a scissors, but the 1″ section to a shape similar to this. I doesn’t have to be exact, and you can trim it down later if it’s too big.
From the back, place the 1″ wide piece of card into the right side of the cut you made, as shown
Holding the slider in place, flip the base over and lay the 3rd piece of card, in the same section as the patterned paper, on the inside.
Line up the ends of the base and the slider, fold the 1″ piece of card over the back of the slider. Need to fold it so that when the box is closed up, the slider will lie on the back of the box.
Glue the 1″ piece in place.
Apply some adhesive to the inside of the larger end panel, and adhere to the other end to close up the box.
Stamp two of the Gnomes onto white card and colour using your preferred medium.
Use the coordinating dies, or a scissors to cut out the Gnomes. Stamp the sentiment onto a white strip of card and cut one deep border for the top of the front panel.
Adhere the border and sentiment, ensuring the slider can move.
Adhere one of the Gnomes to the front tab of the slider. Adhere the other Gnome to the left side of the box, using 3D foam tape, so that when you pull the slider, the gnome on the slider will tuck in slightly behind it.
Punch a hole in the centre of the piece of card with the rounded edges and string some twine through.
Insert the chocolate bar, using a little bit of double sided tape to hold it in place. You can also adjust the measurements to suit a larger candy bar, or even a gift card.

Share your personal favourite Stamping Bella creations with us. We LOVE to see what you’ve been creating with Stamping Bella stamps. Share a link to your latest Stamping Bella card in the comments below, or an old favourite you made a while ago. Tell us what your favourite stamps are. Are there any additions you would like to see to the range? Let us know!
Another way to connect is by joining us in the Stamping Bella Sistahood Facebook Group and share your pictures.
If you are posting your images online, we would love to see them on Instagram and all the platforms mentioned above. To make it easier for us to find you just use #markergeekmonday and/or #stampingbella as a hashtag. Even better tag me @markergeek and @stampingbella . We love it when you connect, so don’t be shy!
Until next time, HAPPY STAMPING!
MWAH
Elaineabella
Brilliant idea, my Pops will adore that, might just have to be a make for Fathers day. Fab colour work too, thank you x
This such an adorable card that can be used for many occasions. Lovely be they way you used the gnomes. ?
What a fantastic idea! Perfect for Father’s Day!
This is a really cute card!
Love this one! I’d have no one to make this for and I’m sure I don’t have all the things I need to make this even if there was someone to give it to. The Gnomes remind me of a house I just saw in our town that had lots of these and other things outside their house. Nice job on this!
This is awesome! Thanks so much for sharing the “how to”!