Time for another fun project by our awesome Sandiebella, for you to follow along with!
The box I’m using is an all-in-one flip box, but the top and bottom are covered separately.
Measure the box top, taking in to account the top, sides and how much folds over into the inside. On the length, allow about 3/4″ to overlap to the back.
Write down the measurements, noting the size of each section, for scoring.
Cut the paper to size and score using the measurements you wrote down, ensuring to leave approx 3/4″ to fold up on the inside of each side.
Top Tip: Heavy double sided paper can crack whilst folding. To prevent cracks on the outside, fold the paper the opposite way first and then fold it and crease the correct side.
As you can see, the inside is cracked, but there are no cracks on the outside.
Position the bottom of the box in place without gluing down. Fold up the sides and, using a scissors, cut the sections that need to be removed or tapered.
Remove the box and work on the paper until you are happy with it.
Adhere the box to the correct position and then glue the sides in place.
Repeat for the box top, again, allowing 1/2″ to 3/4″ to fold over the back.
Cut a piece of paper the width, and 2″ longer than the length of the back section. Adhere to the back of the box, centred so that 1″ protrudes from each side.
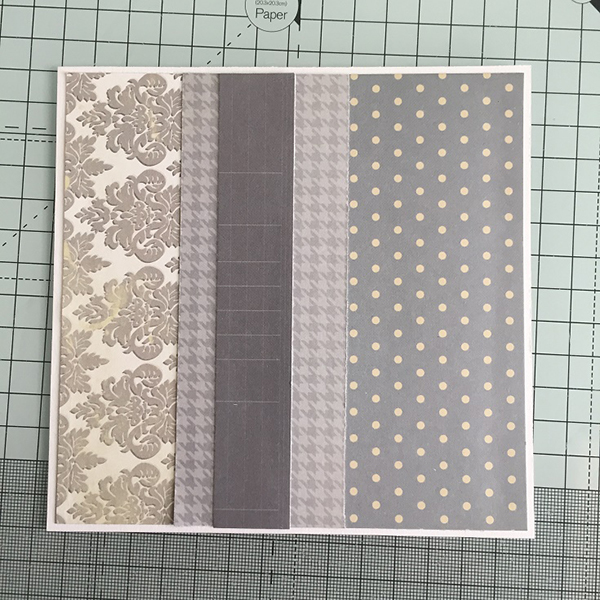
Cut a piece of white card measuring approx 1/4″ smaller than the length and width of the box, and some patterned papers to layer. You will also need some coordinating card for the image.
This box measured 6″ square so I cut the front panel at 5.75″ square and the patterned papers at just over 5.5″ wide.

Cut the image using any shaped die
Cut a piece of white card using the same die as the image, and a larger piece of coordinating card to matt the image. Adhere them all together.
Decorate the front panel as desired, using flowers, lace, ribbon, etc.
Adhere the panel to the front of the box.
Stamp the sentiment onto a small strip of white card
To complete the box, adhere the sentiment onto the front.
If you try out the techniques shown in any of the posts with your Stamping Bella stamps, be sure to share! We would love to see the results and hear how you feel about them. Show off your creations in the comments below and even better, share your own favourite tips with us. Let’s talk stamping!
If you are posting your images online, we would love to see them on Instagram and all the platforms mentioned above. To make it easier for us to find you just use #stampingbella as a hashtag. Even better tag @stampingbella . We love it when you connect, so don’t be shy!
If you’re on Facebook join us in our private chat group Stamping Bella Sistahood to share your creations there and chat all things Stamping Bella related!
Until next time, HAPPY STAMPING!
MWAH
Elaineabella
Oh this is beautiful. I’m going to have to remember this (with the help of bookmarks! LOL!) Great project! 🙂
What a beautiful gift for a bride and groom! I wish I knew someone who was getting married because I would make this for them.
WOW what a beautiful wedding gift idea! Thank you for sharing
Another fabulous tutorial from Sandie.. so much brilliant detail!
Christine x