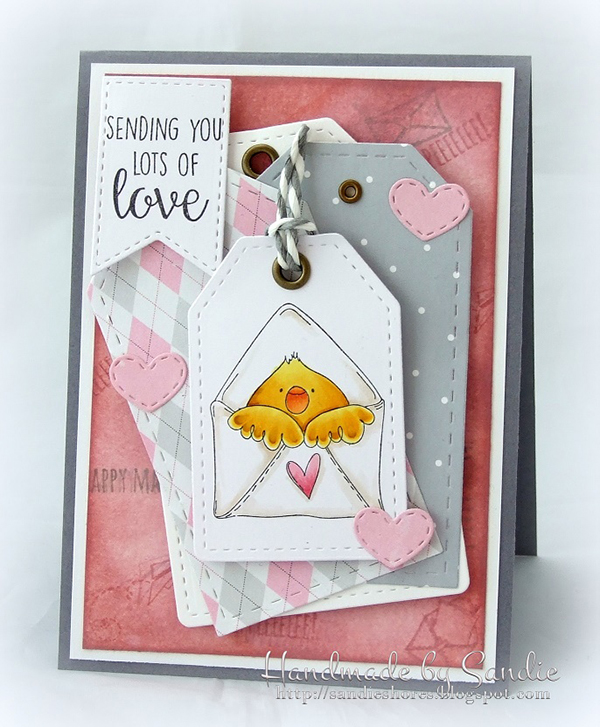
Time for DT Thursday again here on the Stamping Bella blog. The weeks seem to be flying by – must be all the stamping fun!
This week Sandiebella has another fab project for you. Put your scoring boards to one side and grab the Distress Inks and blending tools! Click on through for the full step by step guide to this project.

Ink blender or sponge dauber
Cut a piece of white card measuring 3.75″ x 5 7/16″
Using the blender or dauber, sponge in circles, starting from the edge of the paper and working inwards towards the middle
Continue until you have the whole piece of card sponged
Go over the whole thing again, adding more colour
Keep sponging until you are happy with the colour and shading.
Using the distress ink pad, run it around all the edges to get a hard line.
Using the Worn Lipstick and Pumice Stone inks, stamp the Mini Envelope Accents randomly around.
When you are happy with your design, cut another piece of white card measuring 3 15/16″ x 5 5/8″. Make a card base measuring 5.83 x 4.13 inches (Cut an A4 sheet of card in half lengthwise and fold in half).
Adhere all the pieces together to make the card base.
Colour up the Mail Chick and use a tag die to cut it out. Cut some more tags and layer on the front, using 3D foam on some of them. Embellish as desired.

Hopefully I’ve inspired you to sit down and try your hands at this lovely project.
We also encourage you to share your personal favourite Stamping Bella creations with us. We LOVE to see what you’ve been creating with Stamping Bella stamps.
Another way to connect is by joining us in the Stamping Bella Sistahood Facebook Group and share your pictures.
If you are posting your images online, we would love to see them on Instagram and all the platforms mentioned above. To make it easier for us to find you just use #stampingbella as a hashtag. We love it when you connect, so don’t be shy!
Until next time, HAPPY STAMPING!
Gorgeous! Thanks for the inspiration with very clear instructions.
How cute.
So cute, Sandie! Those chickies always show up in the funniest places! As always, your tutorial rocks!
Just love it – it is so cute and the colours are lovely.
Another fabulous tutorial from Sandie… and I love this card too!
Christine x
Great idea to make your own patterned paper. It makes the card distinctly you. Thanks for the tut.
You always have such great tutorials! I love this one! I can’t wait to use some of these tips! 🙂