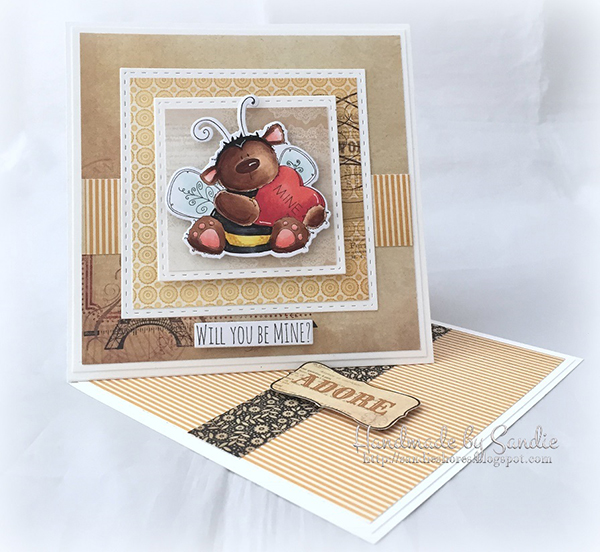
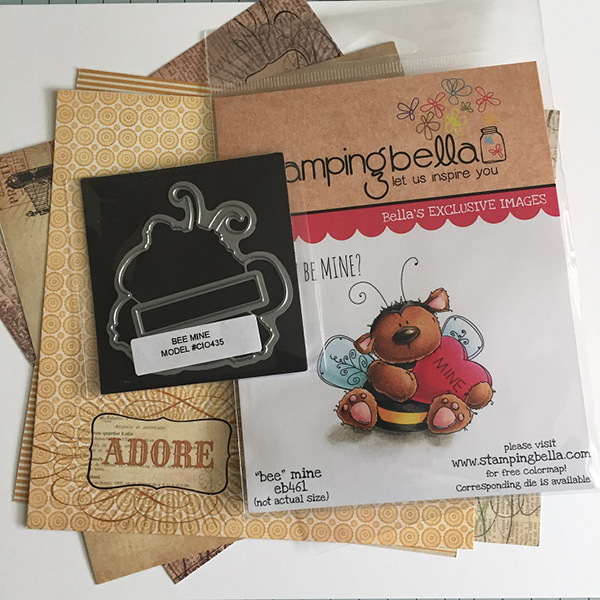
Hey everyone, it’s time for DT Thursday here on the Stamping Bella blog. I have no idea how the weeks move so fast, but at least they keep bringing fabulous tutorials! Sandiebella has a gorgeous Side Easel Card for you today and a full step by step showing you how to recreate it.


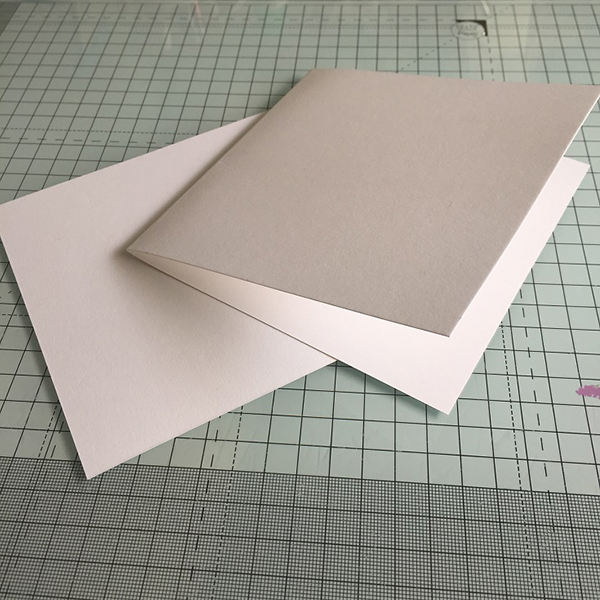
Open out the card base and score the top half diagonally from the top left corner to the bottom right, to the centre score line.
Fold the card inwards and fold down the diagonal line. Crease well with a bone folder.
Apply double sided tape or wet glue on the bottom triangle, under the score line.
Adhere the 135mm square to the front.
Cut 2 pieces of white card measuring 130mm square and 2 pieces of patterned papers at 125mm square.
Adhere on piece of patterned paper to each of the card squares.
Adhere one of the layers to the front of the card, being mindful of how the card front opens, and the other layer to the inside bottom of the card.
Stamp the image onto a good blending card.
Colour with your desired medium
Cut the image out using the coordinating die.
Stamp the sentiment and cut out using the coordinating die also.
If you have any words, flowers, etc in the paper design, cut them out
Make up the front of the card, as desired, using 3D foam dots to give plenty of dimension.
Apply 3D foam dots to the back of the word/flower/etc that you cut from the papers. Alternatively, you can use a big button or paper flower.
Open up the card until you have the desired placement, then adhere the ‘stopper’.
The card opens as shown for display, and also folds flat for easy mailing.
Hopefully I’ve inspired you to sit down and try your hands at this lovely project.
We also encourage you to share your personal favourite Stamping Bella creations with us. We LOVE to see what you’ve been creating with Stamping Bella stamps.
Another way to connect is by joining us in the Stamping Bella Sistahood Facebook Group and share your pictures.
If you are posting your images online, we would love to see them on Instagram and all the platforms mentioned above. To make it easier for us to find you just use #stampingbella as a hashtag. We love it when you connect, so don’t be shy!
Until next time, HAPPY STAMPING!
very cute card! thanks for the tutorial…. would like to see the measurements listed in inches tho…. 🙂
Hi Denise 🙂 The card base measures just over 5.25″ and the layers are about 3/16″ smaller. The smaller panels are to the size of the square dies I have 3.75″ square and 2.75″ square. Again, the layers are about 3/16″ smaller on each panel.
Hope that helps.
Love. Ditto on measurements
Oh thank so much for sharing. I’ve always wanted to try one of these cards, and now I have the instructions! This is such a cute card! Love it! 🙂
PS – Bookmarked for future reference!
I love how you did this card. It’s so cute and I love how you cut out the die. I don’t have a die cutter but maybe if I had a simple design that I could cut out myself, I could try to make this card. Thanks for showing us this card! I really like it.
Hi Sistah!
Just wanted to say how much I LOVE the card design on this one! Very unique! We are ALWAYS looking for something “different” and this one fits the bill! Love that someone else asked about measurements in inches, too! Might be nice to ALWAYS include those! (Just sayin’!) Thanks again n’ HAPPY CREATING! :-))