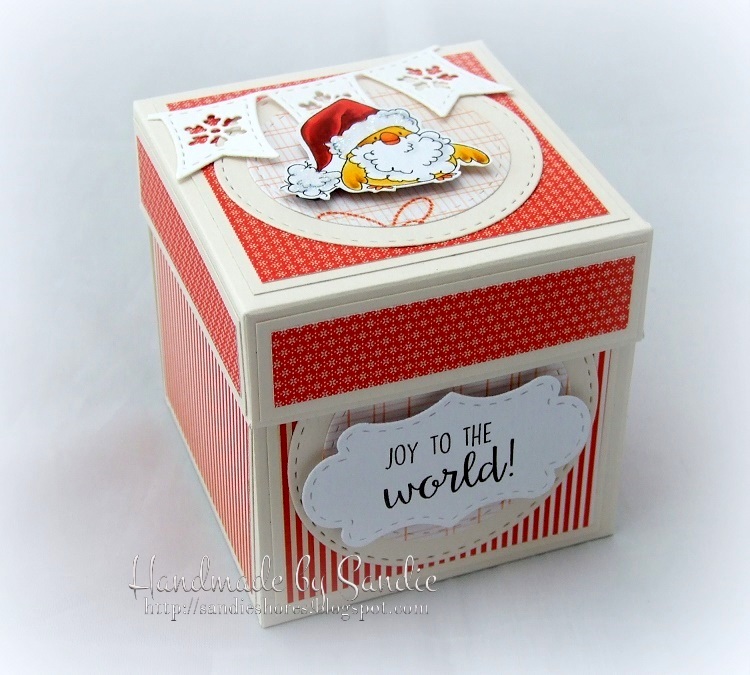
It’s time for another fantastic DT Thursday post! This week our Sandiebella is showing you how to create an EXPLODING BOX using our brand new Gingerbread Chicks and Santa and His Helpers rubber stamp sets. Click through to keep reading!
Create an Exploding Box Card with Sandiebella:
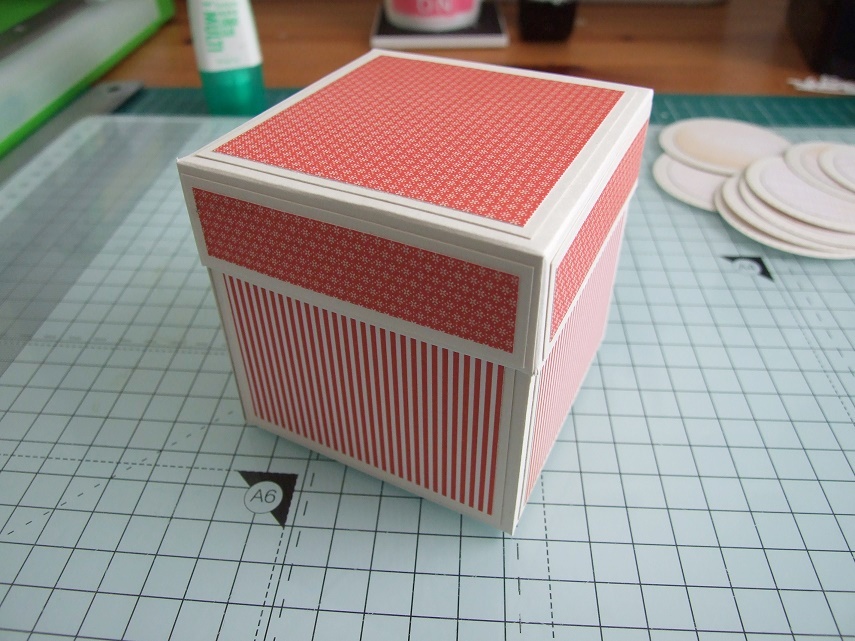
Follow the full scoring and assembly guide below to create a beautiful Exploding Box Card like Sandie’s. Perfect for that extra special Christmas card, or substitute other
Stamping Bella stamps for year round fun!
Supply List
Step by Step Guide:
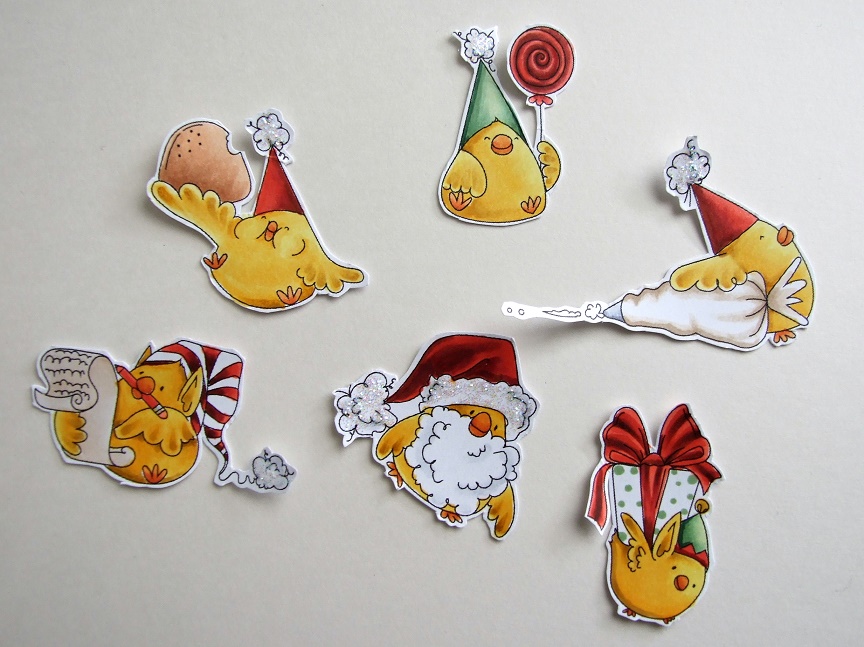
Stamp and colour the images. Fussy cut each one or use the coordinating Cut it Out die set and set aside.
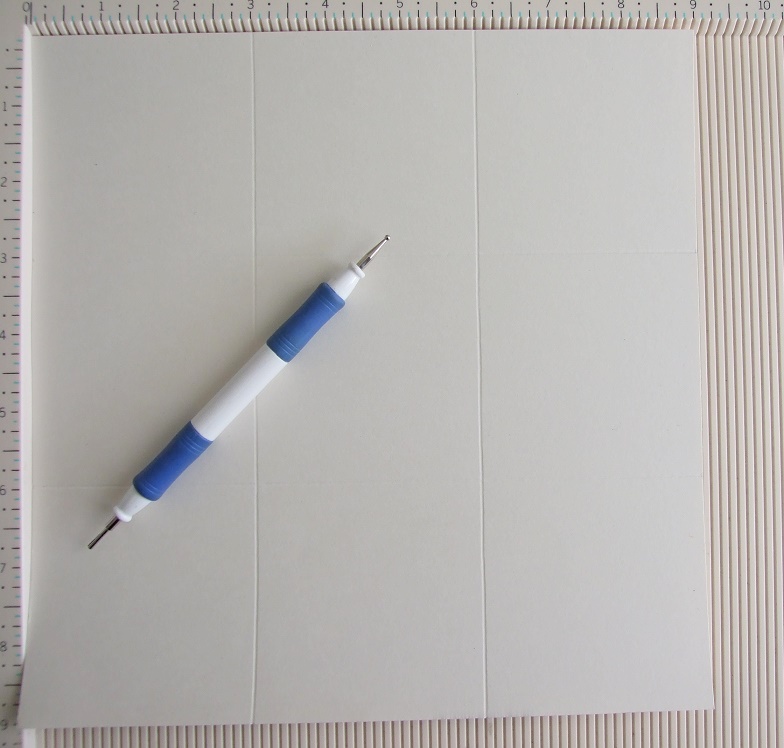
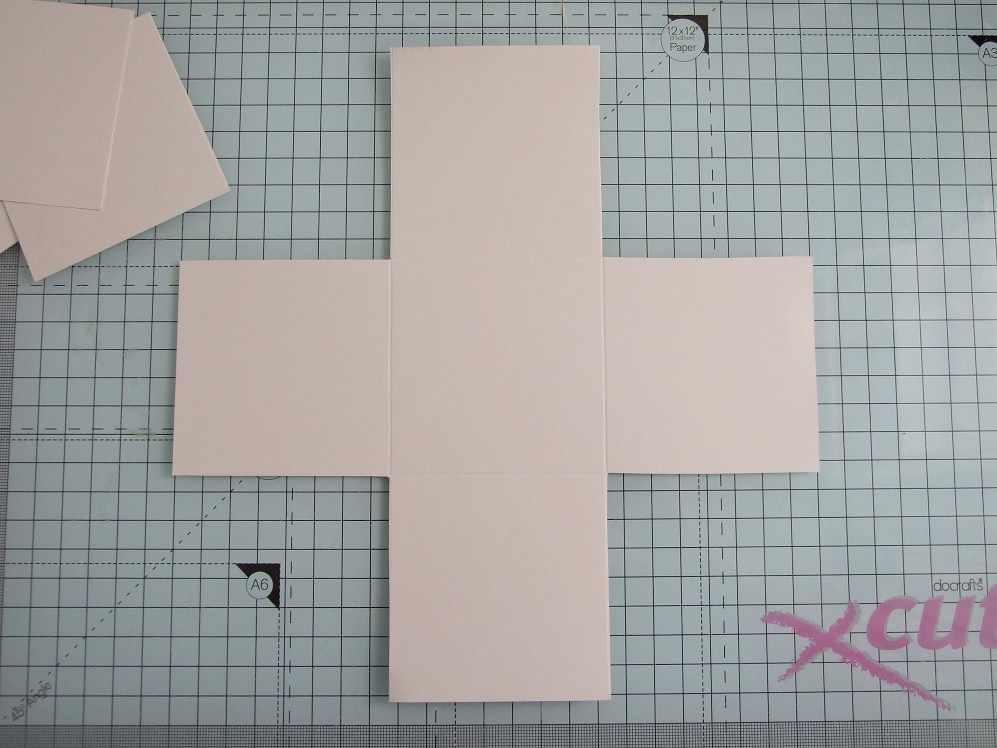
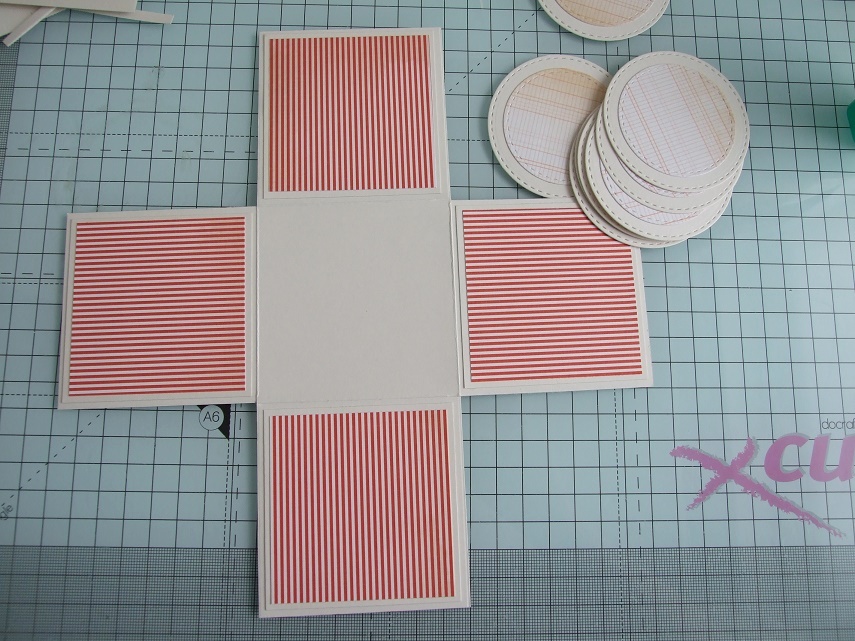
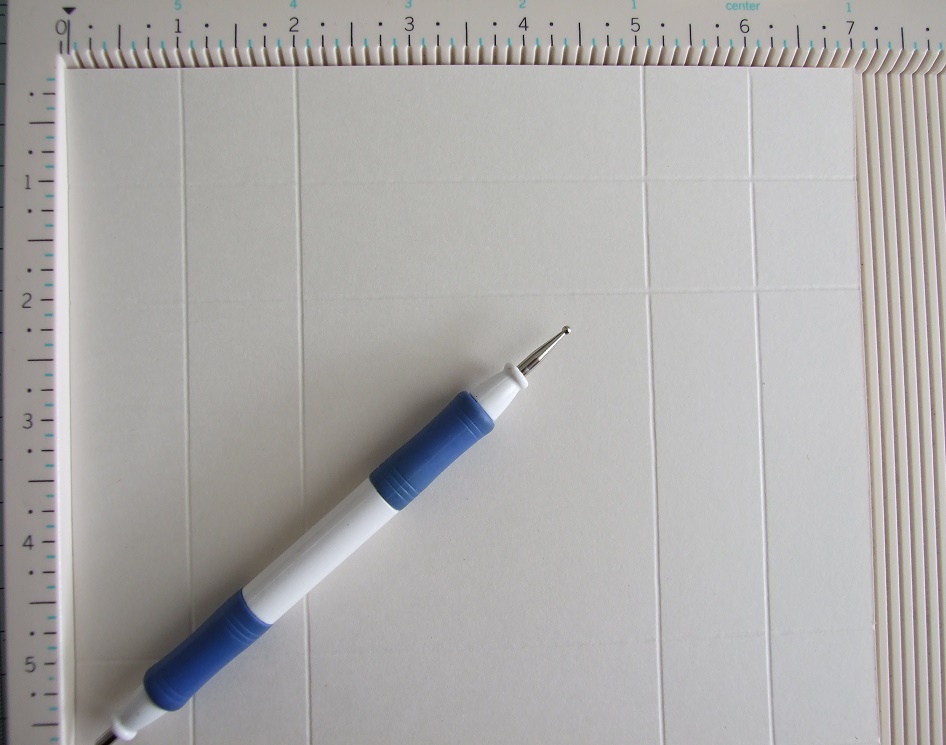
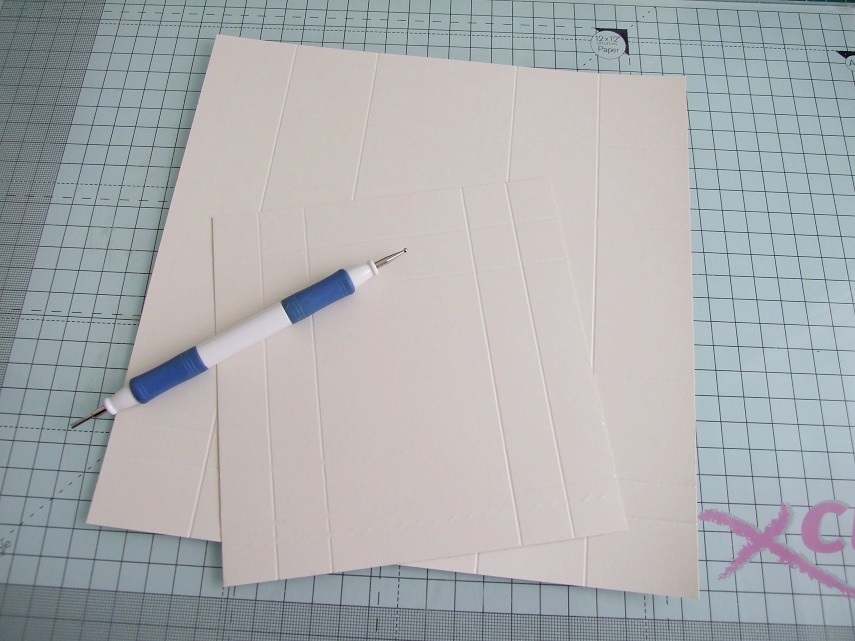
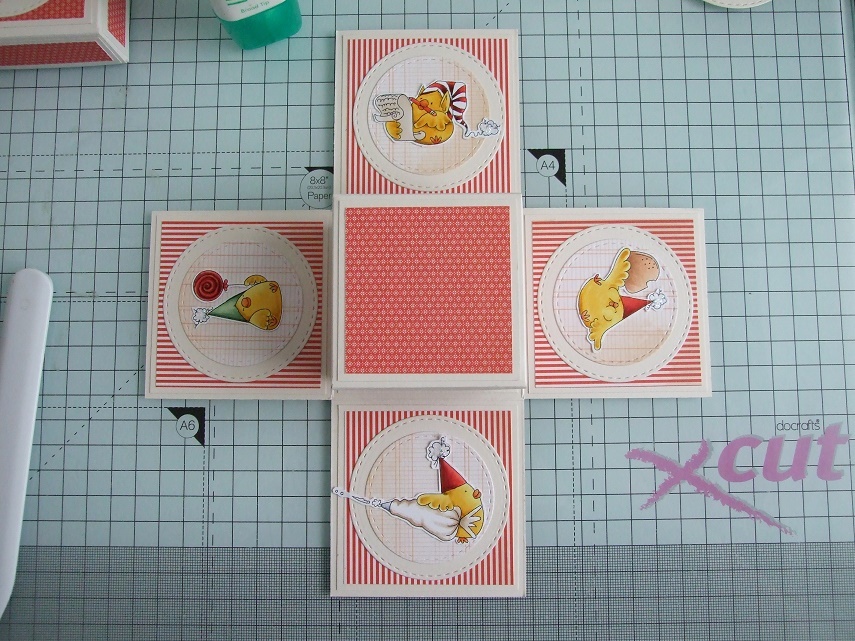
Cut a piece of card measuring 9″x 9″. Score at 3″ and 6″, flip 90 degrees and score again at 3″ and 6″
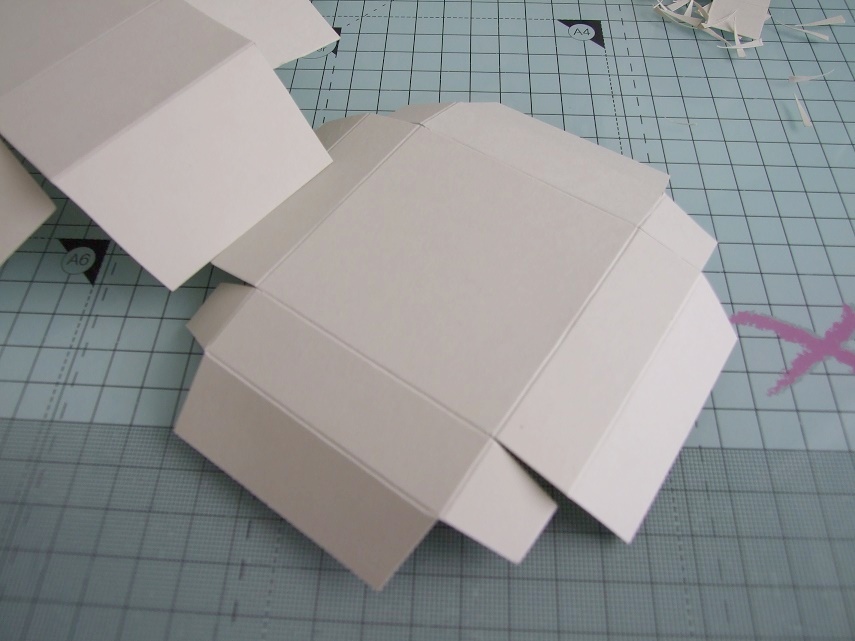
Cut away the 4 corner squares so that you are left with cross shape.
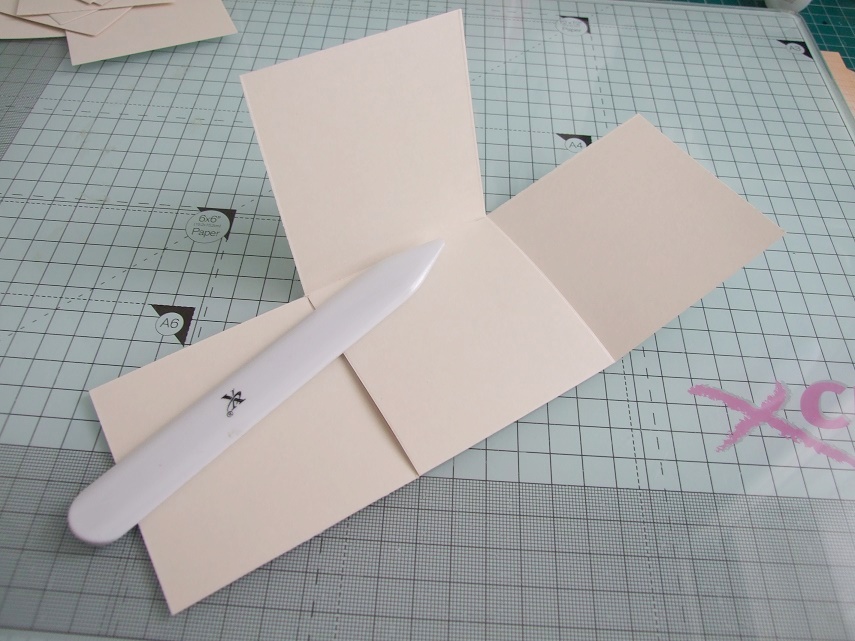
Fold and crease the scorelines.
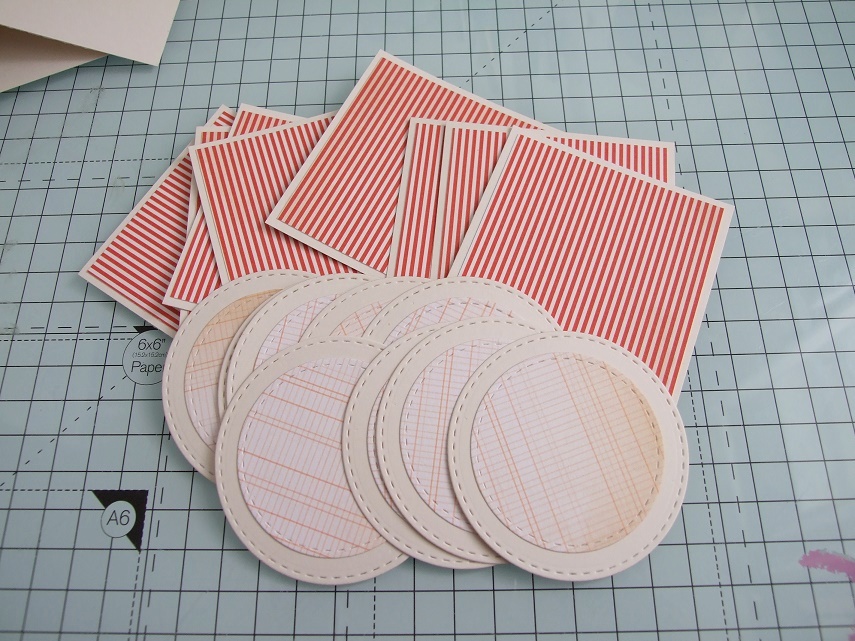
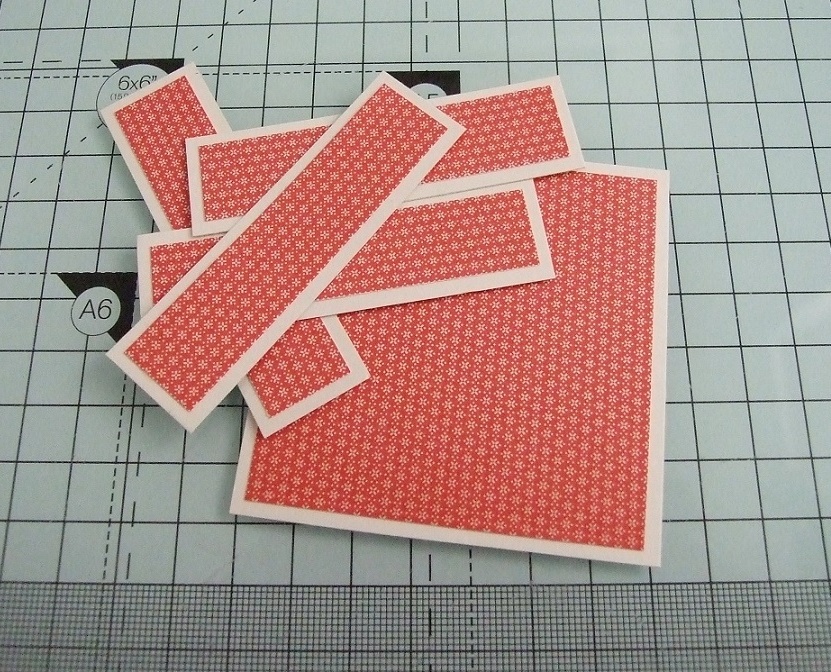
Cut 9 pieces of card measuring 2 7/8″ square and 9 pieces of patterned paper measuring 2 3/4″
Adhere a piece of the patterned paper to each piece of card.
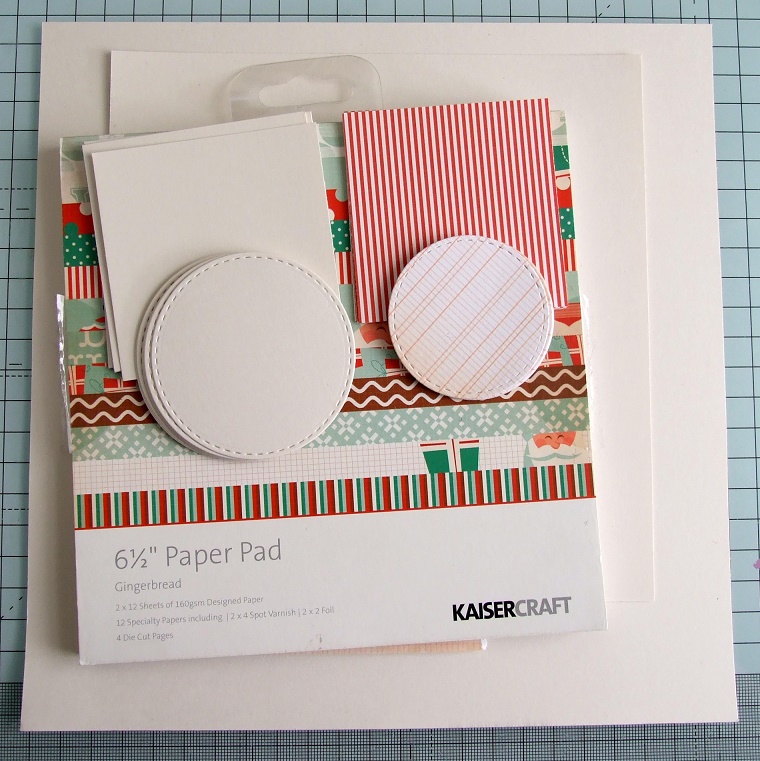
Cut 6 large circles from card and six smaller circles from coordinating patterned paper.
Adhere a smaller circle to each larger circle.
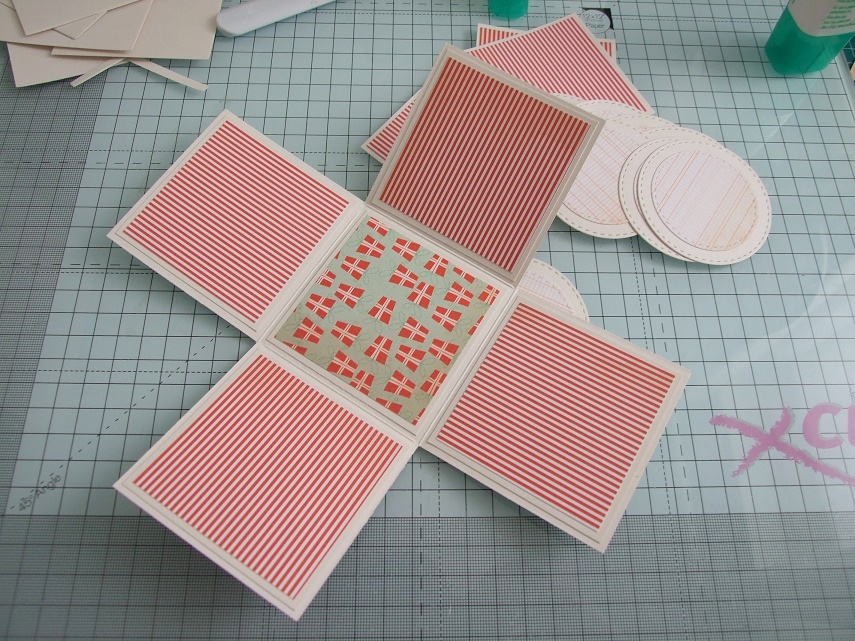
Adhere the panels to the inside of the box. I used a contrasting piece of patterned paper for the middle square.
Turn over and adhere the panels to the outside, leaving the middle one blank.
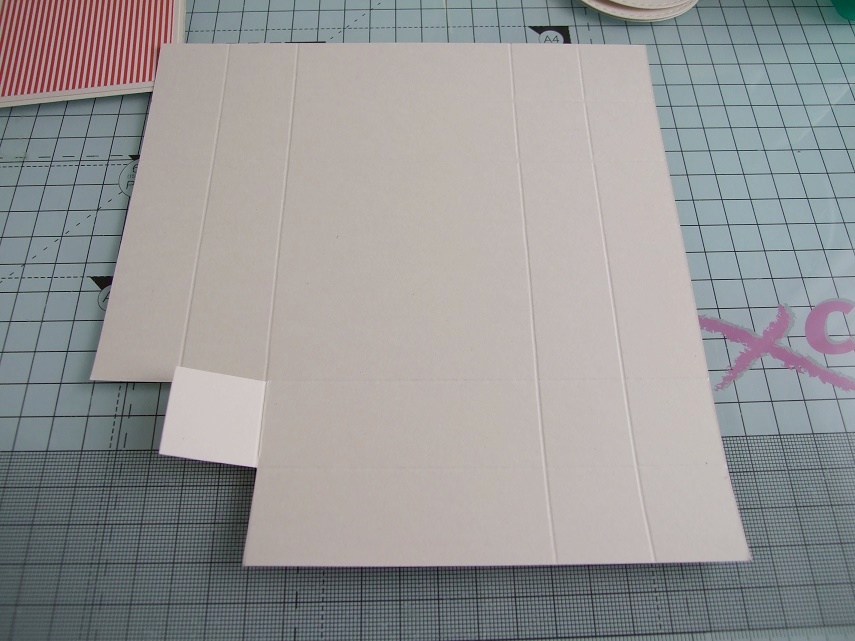
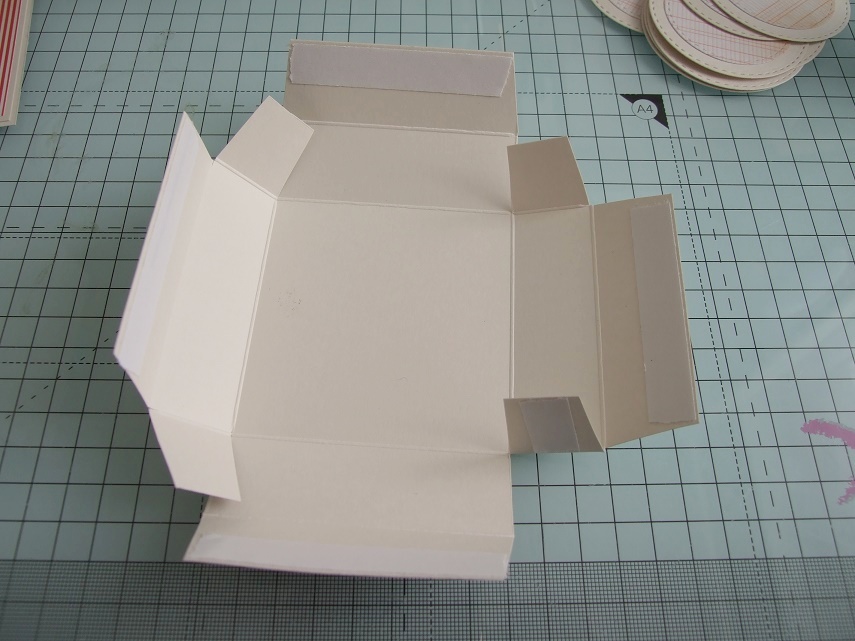
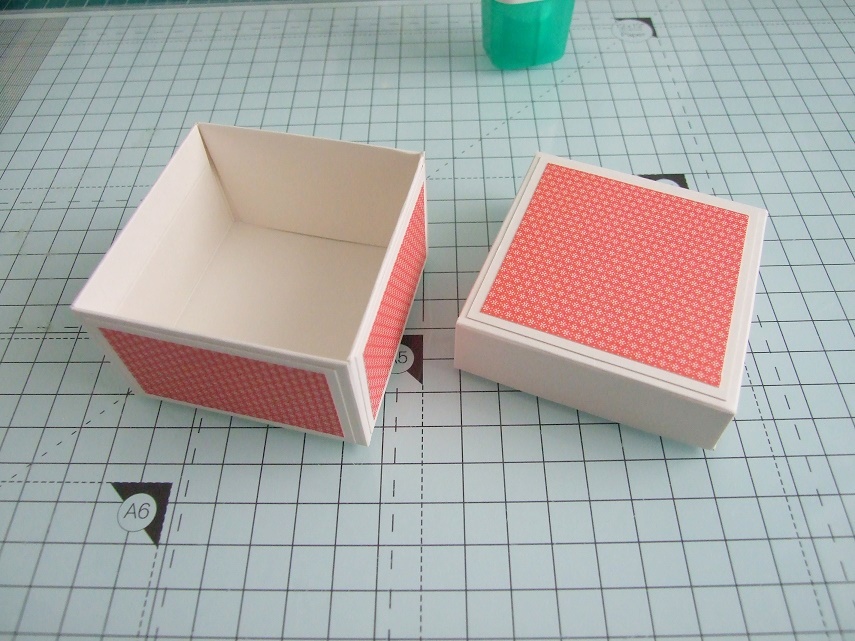
Cut a piece of card measuring 7 1/8″ x 7 1/8″ and score on all 4 sides at 1″ and 2″.
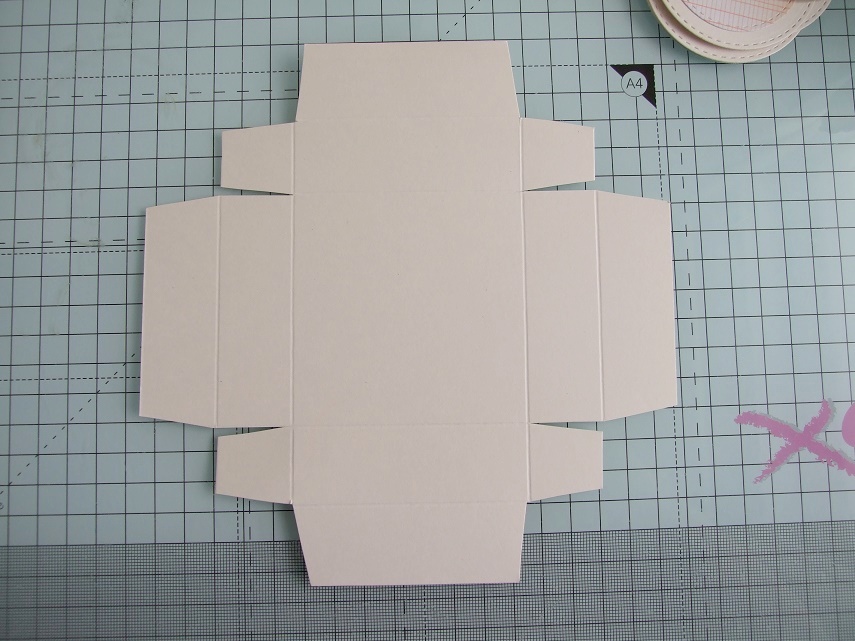
Using a scissors, cut away the 3 outer 1″ squares as shown.
Repeat on all four sides, tapering the edges of each tab.
Apply double sided tape to the outside of the small tabs, and the inside of the longer tabs.
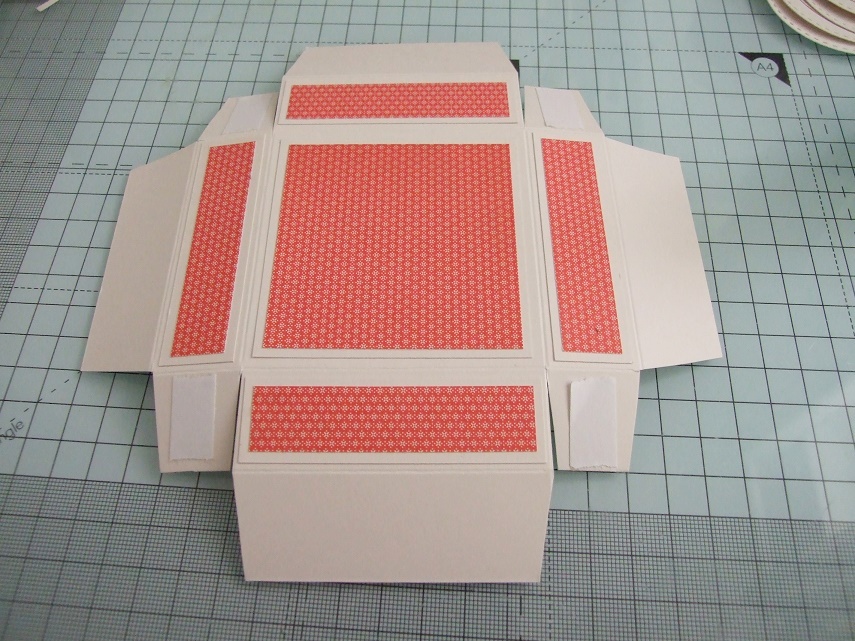
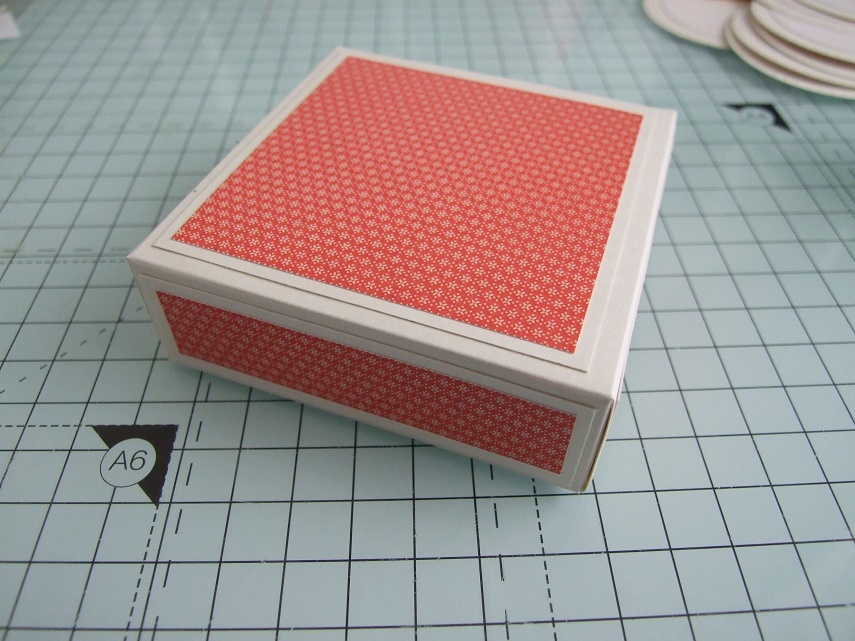
Cut one piece of card measuring 3″ x 3″ and four pieces measuring 7/8″ x 3″. Cut one piece of patterned paper measuring 2 7/8″ square and four pieces measuring 3/4″ x 2 7/8″. Adhere the patterned paper to the card.
Adhere the layers down onto the box top as shown.
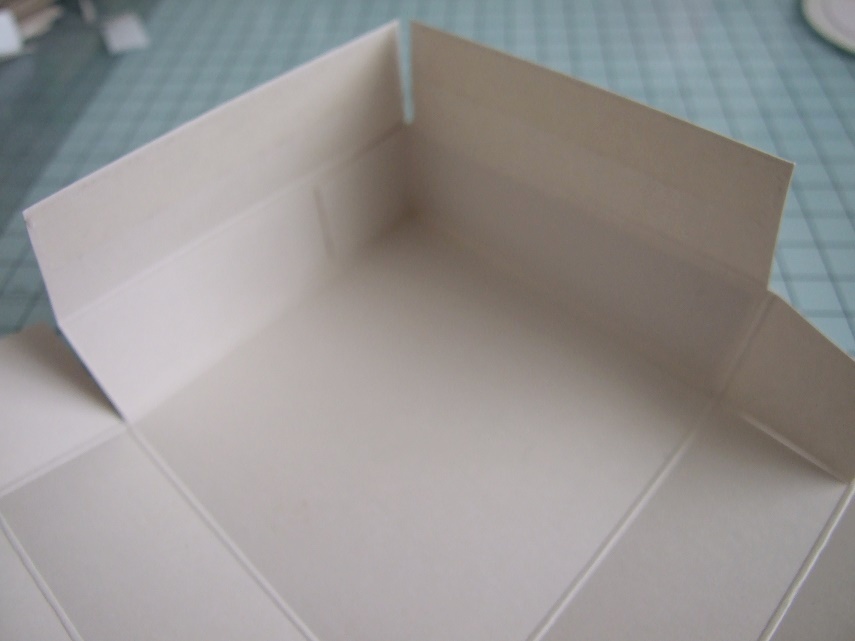
Remove the backing from the double sided tape and adhere the small tabs to the inside of the box top
(apologies for the blurry pic).
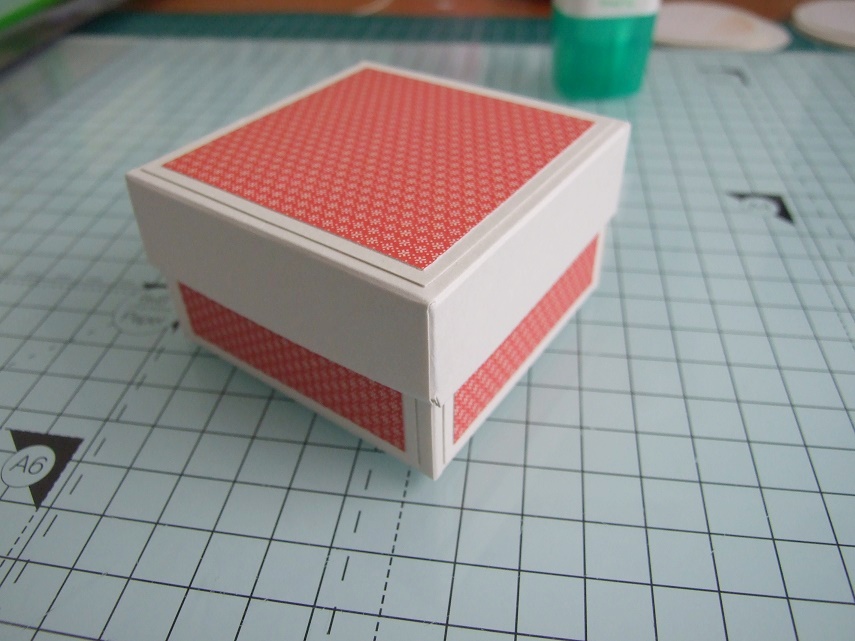
Once you have all four small tabs stuck down, removed the backing from the tape on the larger tabs and fold downwards, towards the inside.
Ensure the top fits snugly but not too tight.
For the small inside box:
Cut one piece of card measuring 8.5″ x 8.5″ and another measuring 5 5/8″ x 5 5/8″
Score the 8.5″ square at 1.5″ and 3″, on all four sides.
Score the 5 5/8″ piece at 3/4″ and 1.5″ on all four sides.
Cut the tabs, in the same way as for the box top.
Cut one piece of card measuring 2 5/8″ x 2 5/8″ and a piece of patterned paper 2.5″ x 2.5″. Adhere together and stick down on the centre panel of the small box top.
Cut four pieces of card measuring 1 3/8″ x 2 5/8″ and four pieces of patterned paper measuring 1.25″ x 2.5″. Adhere together and stick to the 4 sides of the bottom part of the small box.
Ensure the top fits well.
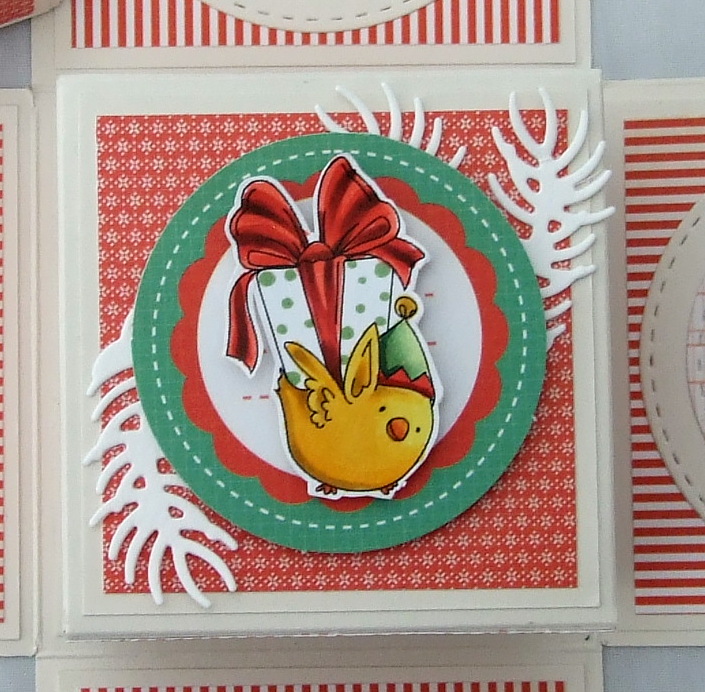
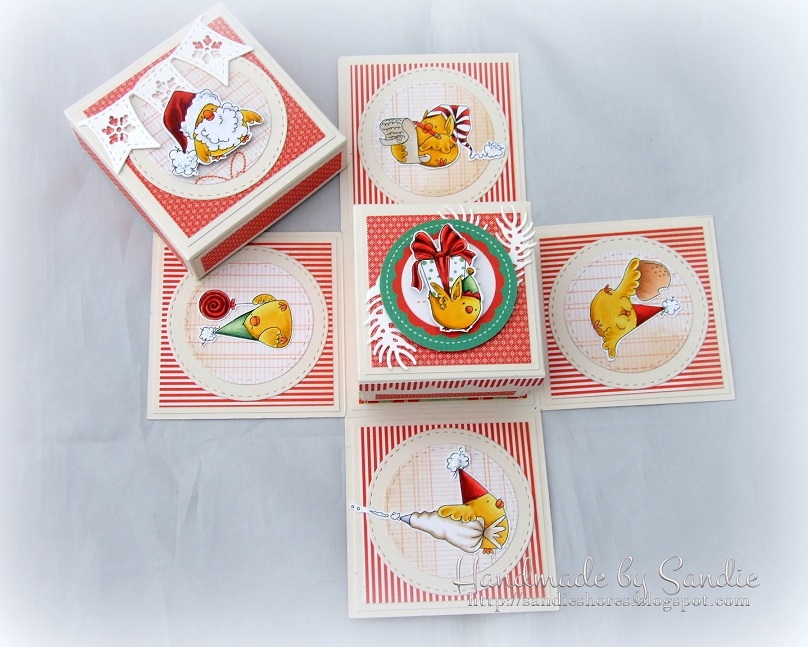
Adhere the circles to each of the inside panels and the small box into the centre panel. Adhere the images to the circles.
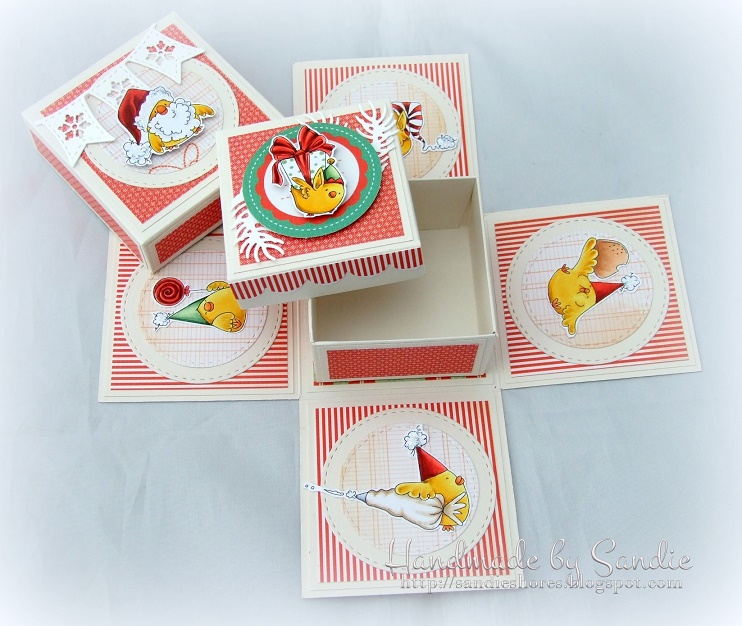
Decorate the top of the inside box as desired.
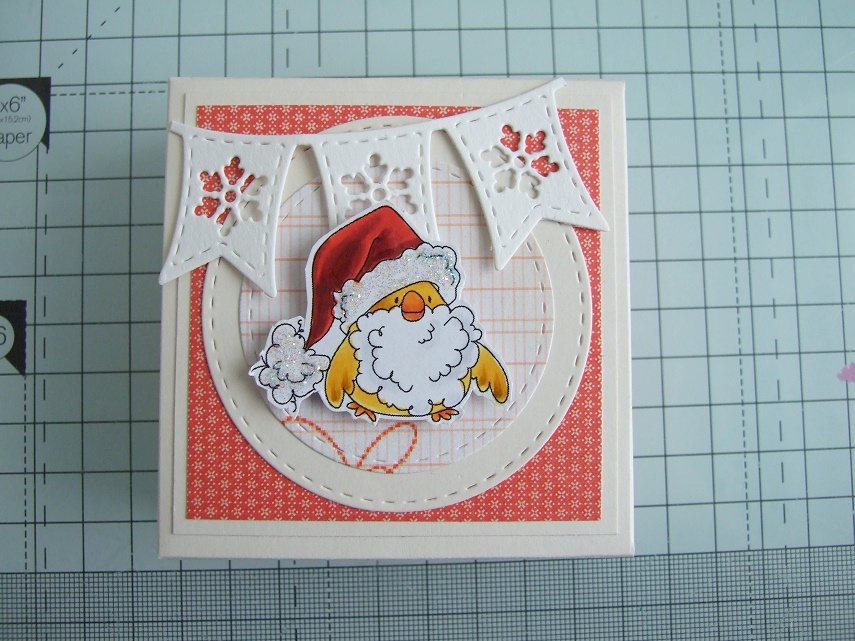
Decorate the top of the outer box as desired.
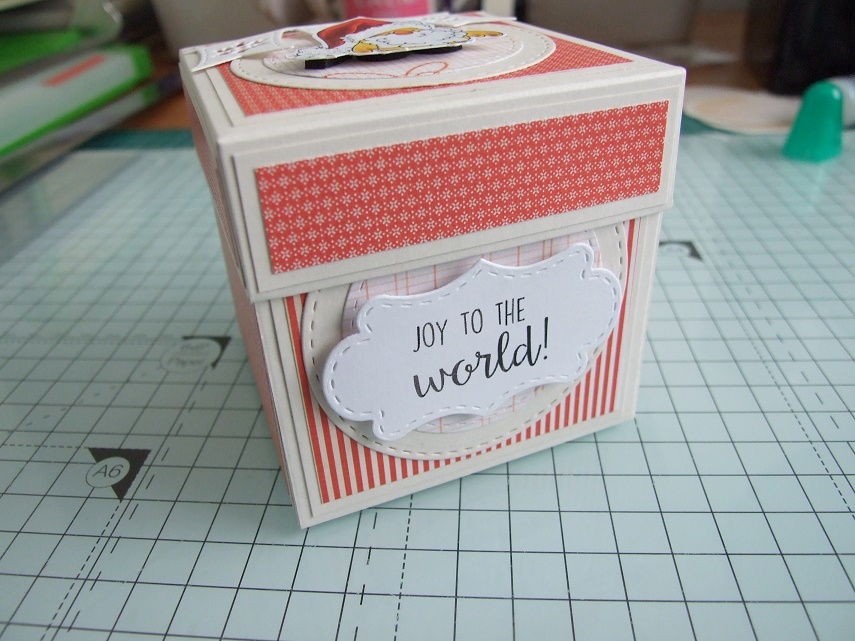
Adhere another card/paper circle to the front of the outer box and adhere the sentiment, popped up on 3D foam dots.
The inside box can be filled with a small gift, some candy, etc.
Over To You!
Hopefully I’ve inspired you to sit down and try your hands at this lovely project. It’s proven to be wonderful as gifts!
We also encourage you to share your personal favourite Stamping Bella creations with us. We LOVE to see what you’ve been creating with Stamping Bella stamps.
Another way to connect is by joining us in the Stamping Bella Sistahood Facebook Group and share your pictures.
If you are posting your images online, we would love to see them on Instagram and all the platforms mentioned above. To make it easier for us to find you just use #stampingbella as a hashtag. We love it when you connect, so don’t be shy!
Until next time, HAPPY STAMPING!
Save
Save
Save
great project! can’t wait to try it! thanks for sharing.
This is great! Thanks for the detail. Makes doing this so much easier.
Thanks so much for posting this tutorial. I can’t wait to make my own version of an exploding box!
Thank you, can’t wait to try this project!
Thank you Sandie!! I now have an idea of what I am going to make for my team mates at work for Christmas 🙂 time to get cracking!
Oh my! I have bookmarked this page! Just wondering if there would be a possibility of Stamping Bella turning some of these tutorials into PDF files? This would help as I could then print it off and keep it in my “How to” book. I am starting to get a lot of bookmarks for these tutorials that I am going to have to organize them because I wouldn’t be able to find what I want. Being able to print them off or save them on the computer could make them a little easier to locate when I want to try them. Just a thought. 🙂
Hey Nancee,
It is a thought – I’ve contemplated it myself. 🙂 A nice way to keep all the tutorials etc in order is to use Pinterest.
I’m over on Pinterest: https://uk.pinterest.com/markergeek/
Stamping Bella is on Pinterest: https://uk.pinterest.com/stampingbella/
~Elaine
What an adorable box! I didn’t order these stamps but I know I could use any stamps to make the box. I don’t know if I will be making the box but thanks for showing us how to do it should we ever choose to make one. You are so talented!
ADORE this project! What brand is the cute snowflake banner die? It fits so well with this project. And, can be used for Christmas cards, as well. Thanks for the inspiration!