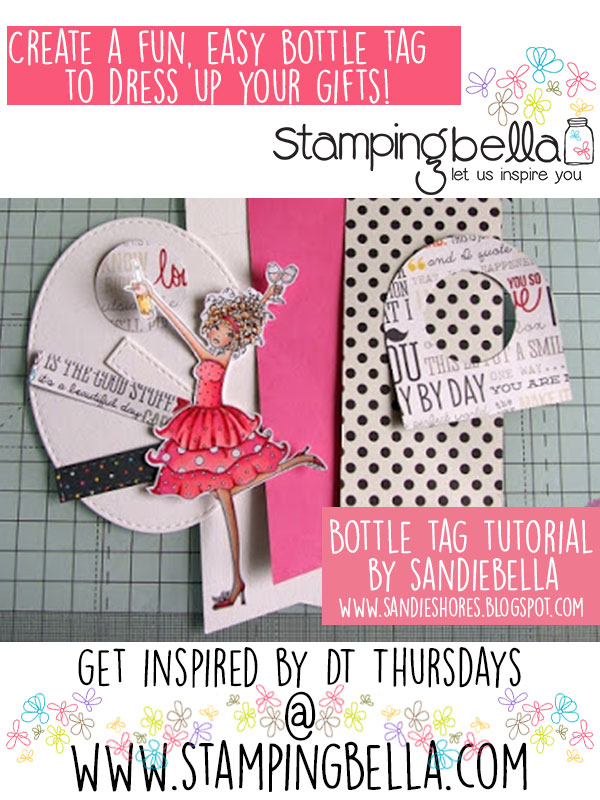
Hi everyone!! It’s Sandie here today and I am sharing a Bottle Tag I made featuring one of the new release stamps –
Winobella!
I cut the tag, and layers, on the Silhouette but they are also quite easy to cut by hand.
Here are the instructions if you are cutting by hand
1.Cut a piece of white card at 8″ x 2.5″ and scored at 2.5″ from the top.
2.Using a 1.25″ circle die, make a hole about 0.75″ down from the top, and centered.
3. You can round the top using a large circle die, or just round the corners with a corner punch.
4. Cut a contrasting layer for the bottom section at 5 1/8″ x 2 3/8″ and a layer of patterned paper at 5″ x 2.25″
5. For the top section, cut a 2 1/8″ square. Round the corners and cut a 1.5″ circle as with the base.
I coloured the image with Copic Markers
Skin – E000, E00, E11, R20
Dress/Shoes/Hairband – RV21, RV23, RV25, RV29
Glasses – R21, R22, C1, C3, 0
Wine Bottle – C1, R20, R21, YR30, YR31
I fussy cut with a precision scissors and set the image aside to assemble the bottle tag.
Start by adhering all of the layers down
Next, add a basic shape – a circle, oval, tag, etc. Add some lace and ribbon and any embellishments which will be behind the image.
Using 3D foam dots, adhere the image and then add any extra embellishments, as desired.
Stamp the sentiment, trim the ends at an angle, and roll it through your fingers to curl it. Add a touch of glue to each end of the sentiment and adhere it across the bottom of the image.
Here is the finished product.
Thanks for dropping by!

I laugh every time I read her name because “Wino” has a different meaning in this city. But she is an awful cute Wino.
I meant “awfully cute.” Drat, that IPad correction.
cute idea! makes a nice gift….
What a cute idea!!!! Thanks for the inspiration.
I LOVE this!
What a great idea! Love this!!!
Luuuuuurve! That bottle looks a bit empty… Just sayin! 😉 xx
Oh thank you so much for sharing! What a great project! 🙂
I really like this. It came out so cute! I don’t know if I would do this but it sure is cute!
She is so pretty!