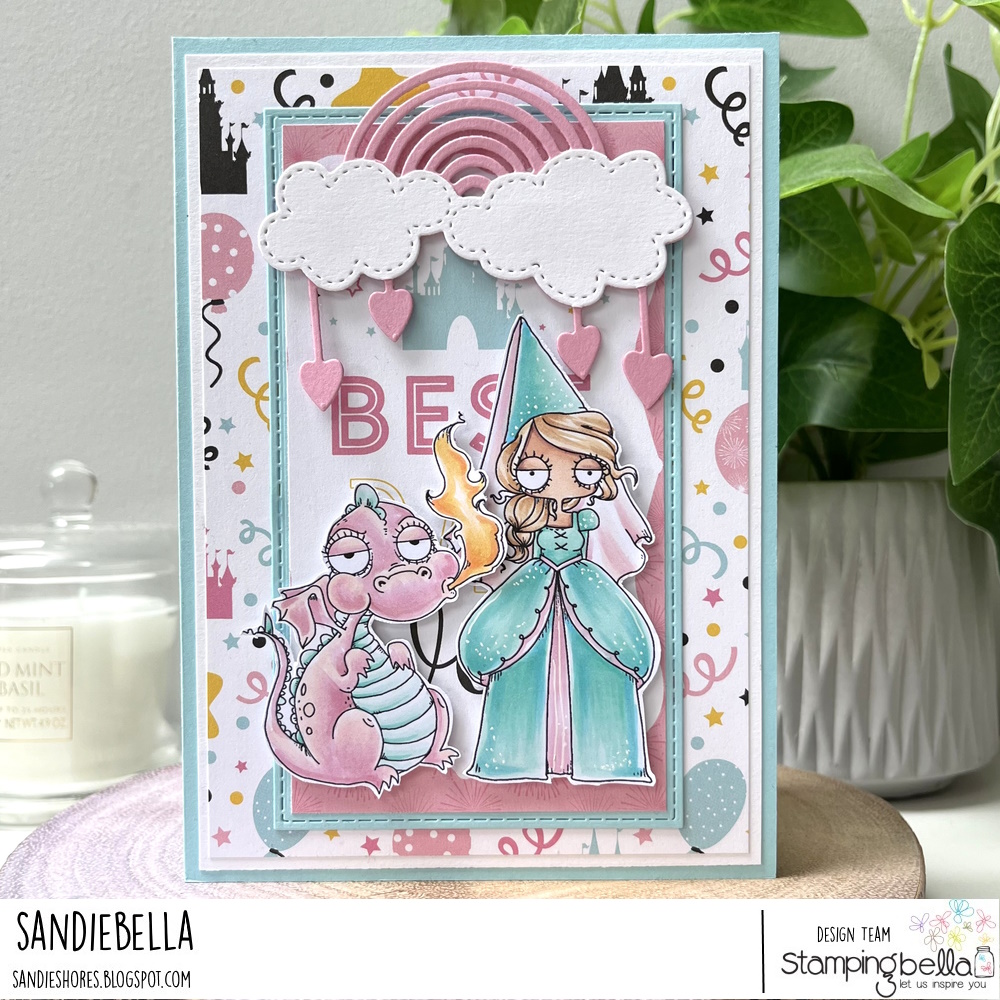
Sandie is back with a fabulous card and step by step tutorial this week, showing us how to make a beautiful Pop Up Window Card featuring our Oddball Fairytale stamps.
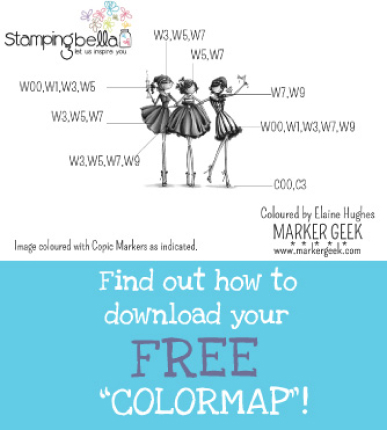
Oddball Fairytale Princess rubber stamp


Cut one piece of card measuring 10″ x 7″. Score at 5″ on the long side and fold in half to make a 5″ x 7″ card base.

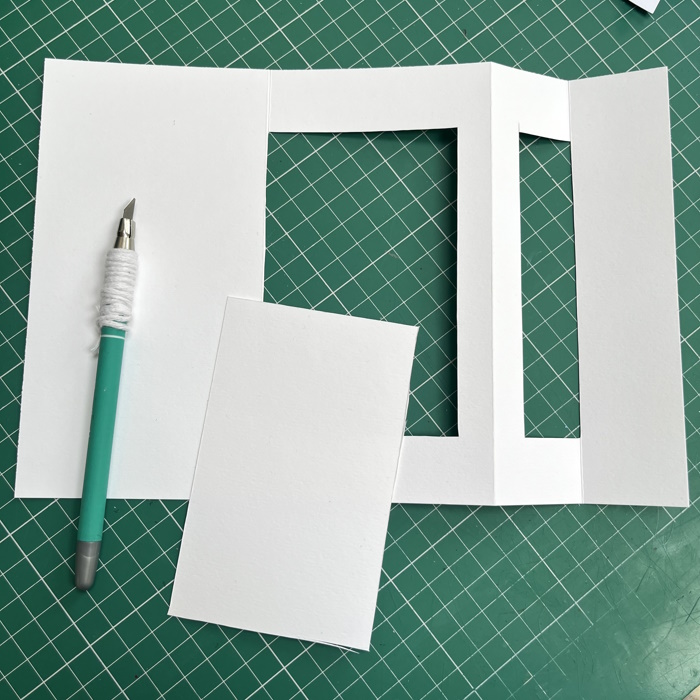
Cut a piece of white card measuring 6.75″ x 10″. Score on the long side at 3.5″, 7″, and 8.5″.

Valley fold the 3.5″ score line, mountain fold the 7″ line and valley fold the 8.5″ line. Burnish well.


Cut along the 1″ line from the 8.5″ score line to the 0.5″ mark, top and bottom

Cut along the 8.5″ score line between the 1″ marks. Repeat at the 0.5″ mark to remove the window.

Cut along the 3.5″ score line between the 1″ marks. Repeat at the 0.5″ mark to remove the window.
6.25″ x 1″

Adhere panels behind the card to make the window. Alternatively, use acetate panels and create a scene on the card base behind the window.

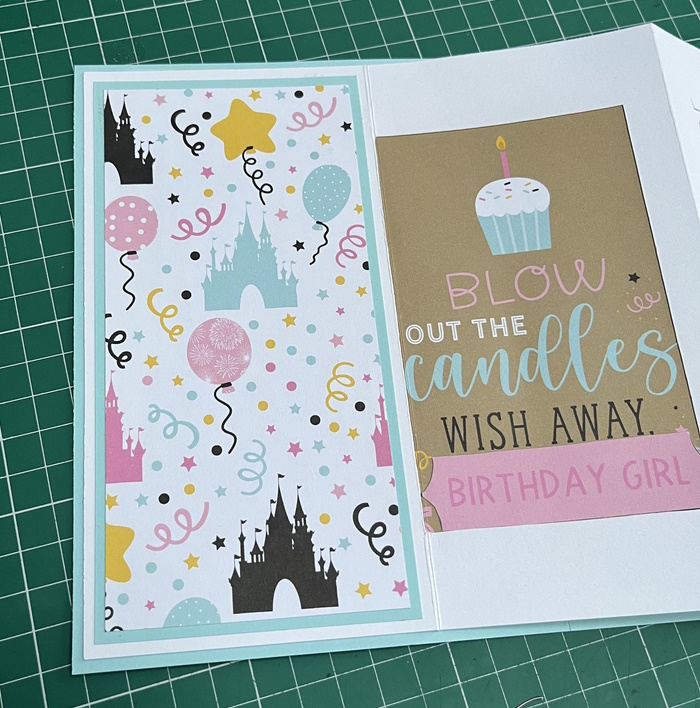

Cut a piece of card 3″ x 3″. Cut diagonally from one corner down to 2″ on the opposite side. Use the card shape as a guide to cut a paper panel. Apply adhesive to each side and the bottom and adhere down, making a gift card pocket.

Paper – 6.5″ x 4.5″
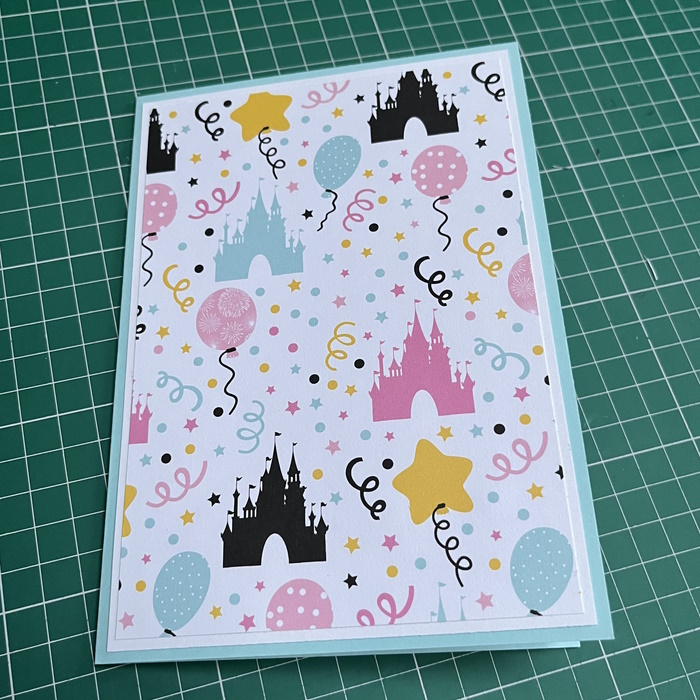


Layer up the images and some die cuts to decorate the card front.