


Stamp It Saturday time! I hope you’re having a wonderful weekend.
Ways to Colour Backdrop Stamps:
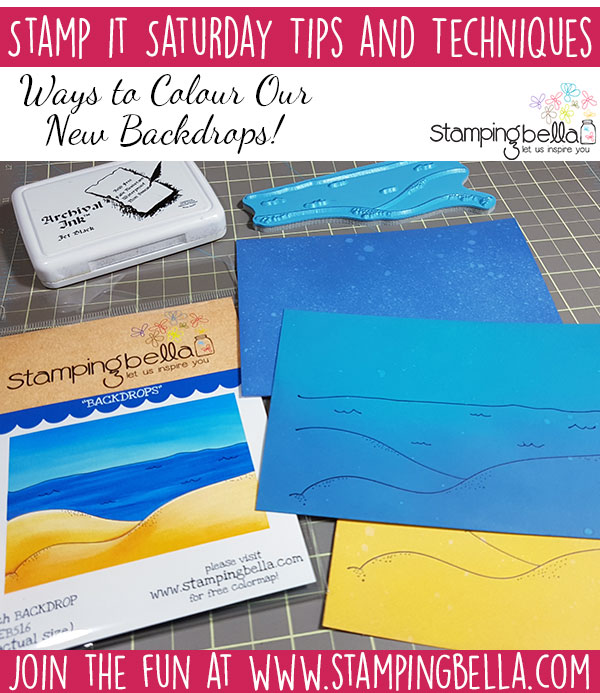
I thought that, as you’re all eagerly awaiting your new stamps, or thinking about ones you’d like to order from the NEW RELEASE, now might be a good time to throw out some ideas for colouring the new BACKDROPS in particular!
I have, of course, coloured all of the Backdrops using Copic Markers, and these are the images on the product packaging and the website. That’s not your only option though! If colouring for hours isn’t really your thing, or if you need to whip up some cards in a hurry, you can speed up the process by using a different approach.
Copic Colouring Videos:
For those of you who would like to see how I coloured the Backdrops using just my Copic Markers, I’ve popped all the videos so far into a handy playlist. You can watch below or in HD over on YouTube.
All the Copic Marker details are given in each video.
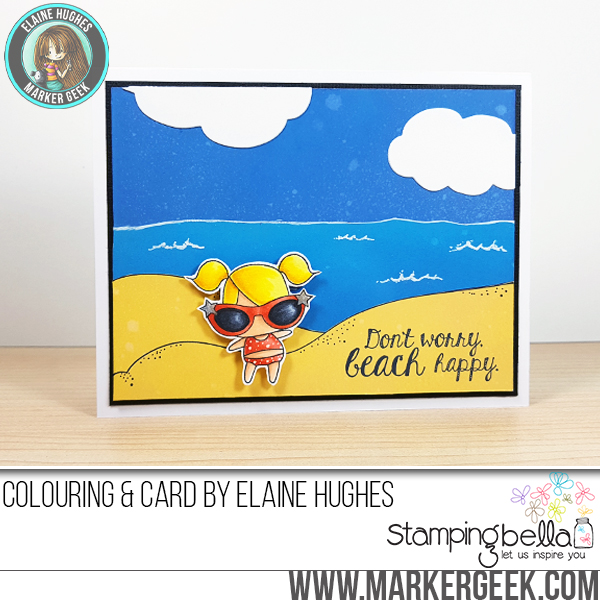
Beach Backdrop Card:
My first card features one of the adorable new LITTLES stamp sets – Sandcastle Littles – along with the Beach Backdrop stamp and the Summer Sentiment stamp set. LOVE how this release coordinates so well.
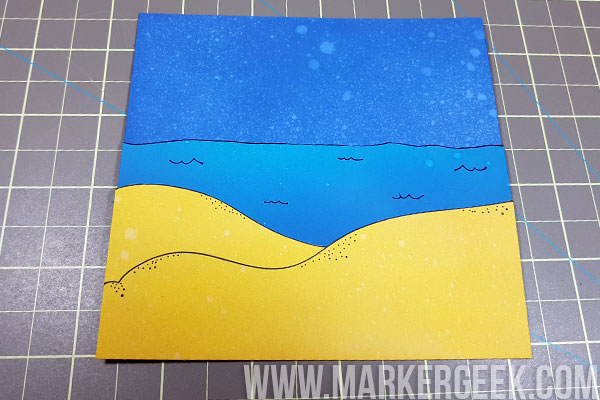
Here’s a quick look at how I created the background. If you wanted to keep to one layer, instead of paper piecing the elements, you could mask each area off before doing the ink blending.
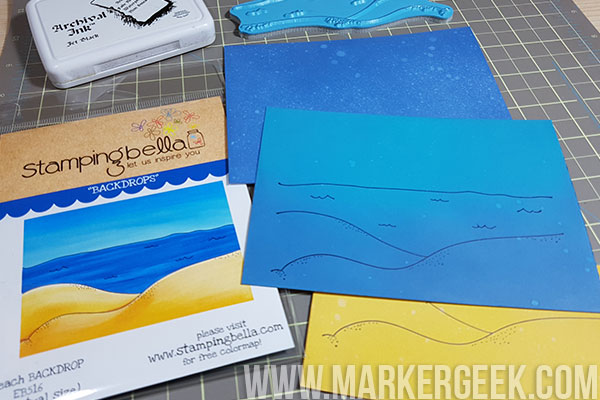
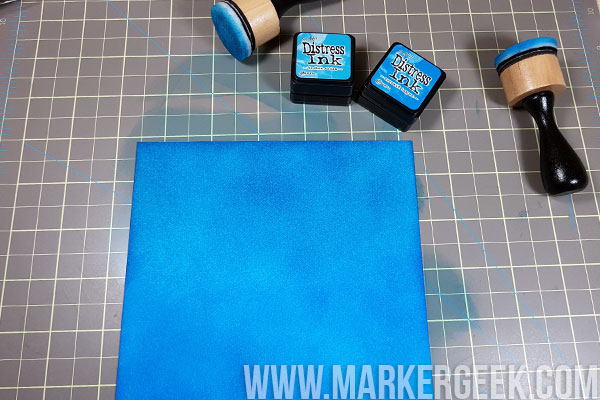
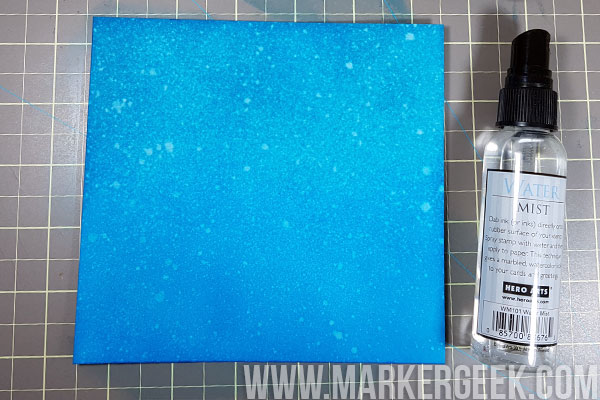
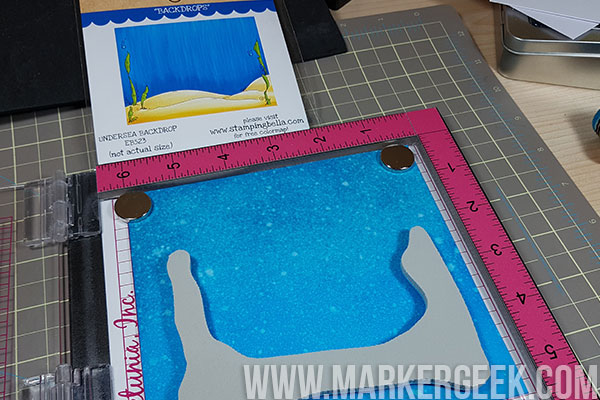
I created each coloured piece using Ranger Distress Oxides and an ink blending tool, then lightly spritzed with a water spray. I then stamped the backdrop on the sea and sand pieces and cut along the main lines to layer everything together.
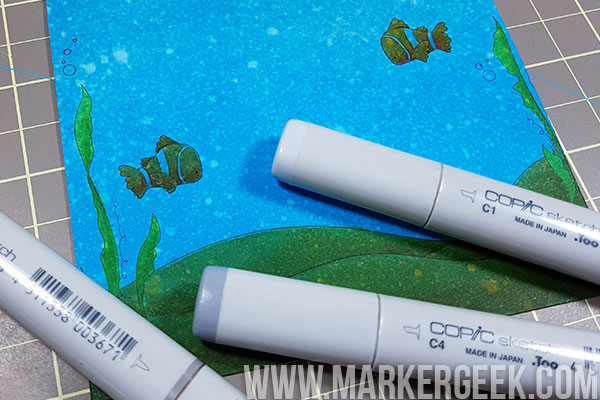
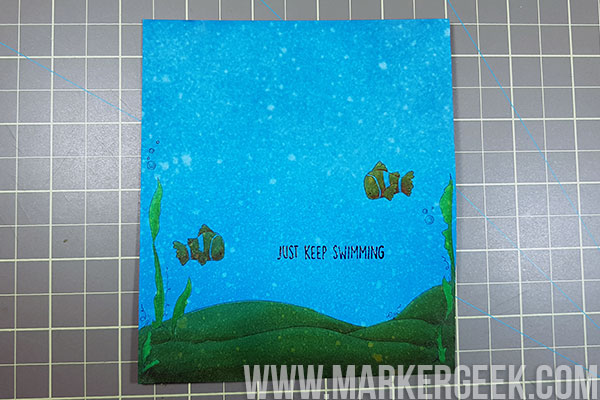
Under the Sea Backdrop Card:
This one was the hardest to photograph, it looks so much better in person. I combined the Under the Sea Backdrop stamp with a couple of the adorable fish from the Under the Sea Creatures stamp set and a sentiment from the Under the Sea Sentiment set.
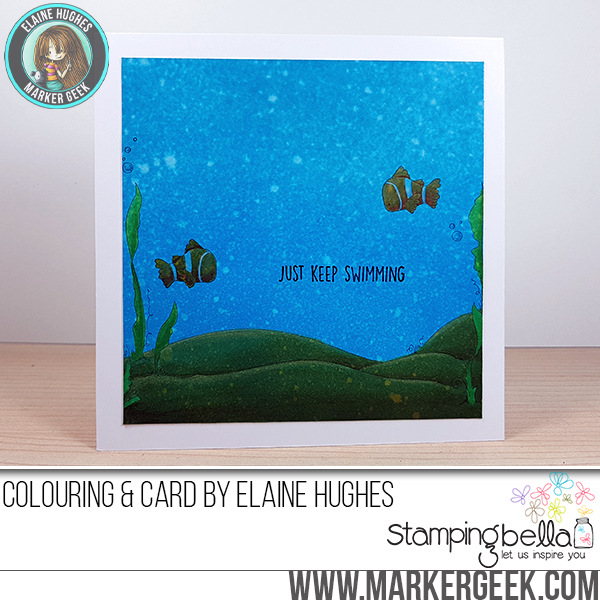
Using Copic Markers over a Distress Ink background helped to create the “under water” effect with minimal effort! In person the sand looks lighter and the fish are a little brighter. You can get a better idea from the photos below. For a bolder, brighter look coloured pencils such as Prismacolor would be a good choice for colouring the details.
Here’s a look at how I created this one.
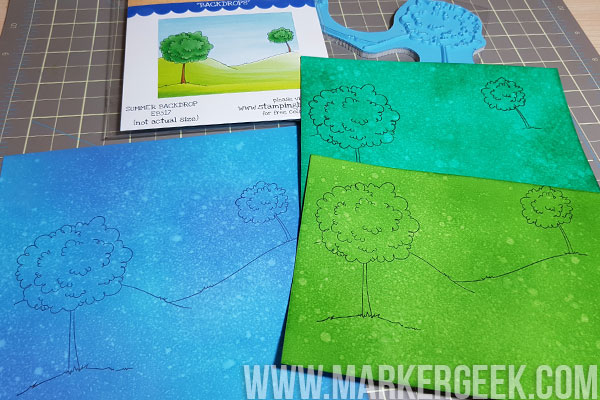
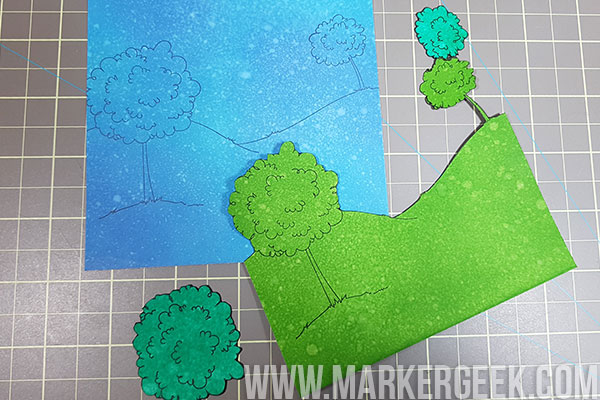
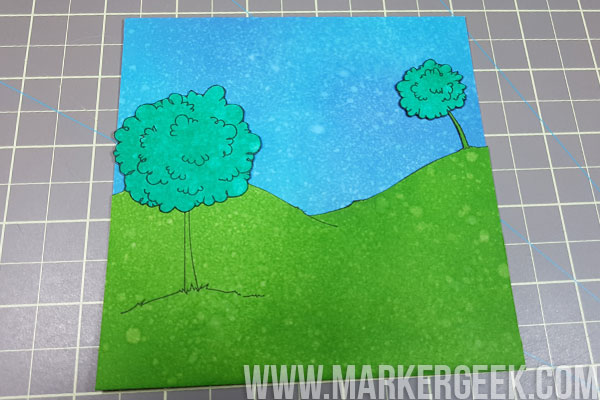
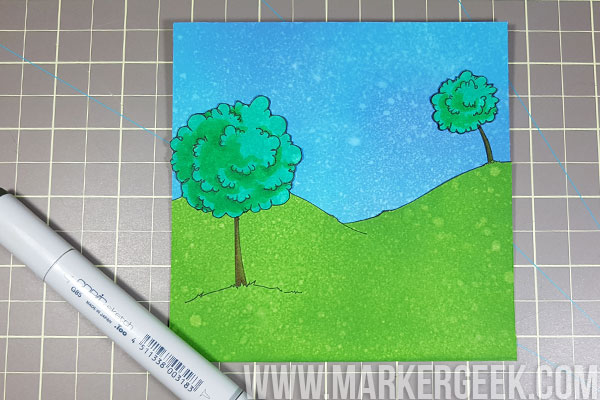
Summer Backdrop Card:
On this card I used the Summer Backdrop stamp along with a sentiment from the Summer Sentiment set.
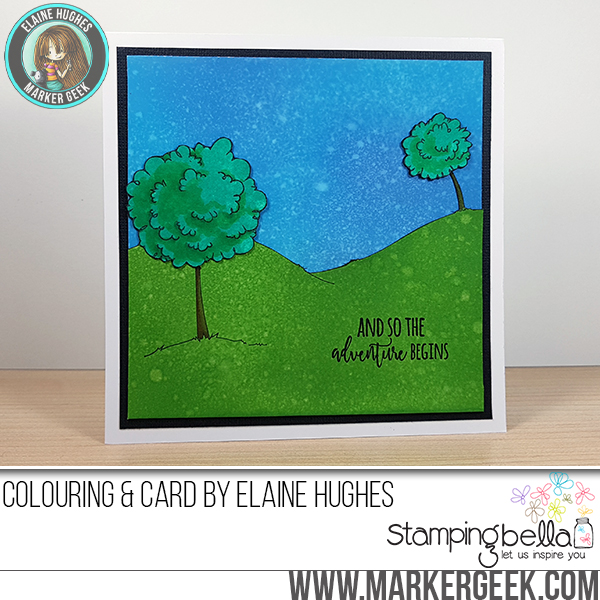
Stamping on Distress Ink backgrounds and then paper piecing the scene, with a very small amount of Copic shading on the trees made this such a quick card to put together. It’s even faster if like me, you tend to create lots of inked backgrounds in one sitting, and can just pull those out when you need them!
Here’s how it came together:
NOTE: you don’t have to use Distress Inks or Distress Oxides – I use them because I have them and enjoy the effects I can achieve. If you don’t have these particular inks, try the ones you have. If you’re uncertain about using them with Copics, or you don’t have Copics, combine them with other mediums like coloured pencil!
Over To You!
I hope this has given you a few ideas for creating using the new Backdrops stamps. Have you got any other ideas? Feel free to share with us in the comments section!
If you try out the techniques shown in any of the posts with your Stamping Bella stamps, be sure to share! We would love to see the results and hear how you feel about them. Show off your creations in the comments below and even better, share your own favourite tips with us. Let’s talk stamping!
If you are posting your images online, we would love to see them on Instagram and all the platforms mentioned above. To make it easier for us to find you just use #markergeekmonday and/or #stampingbella as a hashtag. Even better tag me @markergeek and @stampingbella . We love it when you connect, so don’t be shy!
If you’re on Facebook join us in our private chat group Stamping Bella Sistahood to share your creations there and chat all things Stamping Bella related!
Until next time, HAPPY STAMPING!
MWAH
Elaineabella
I wasn’t sure at first about the backdrops but it was nice to see them in action. I am definitely going to have to try them now! Thanks for the inspiration 🙂
Thanks for the info! Can’t wait to try them… Hoping my order is on its way soon!
Oh what great tips! Thanks so much for sharing! 🙂