


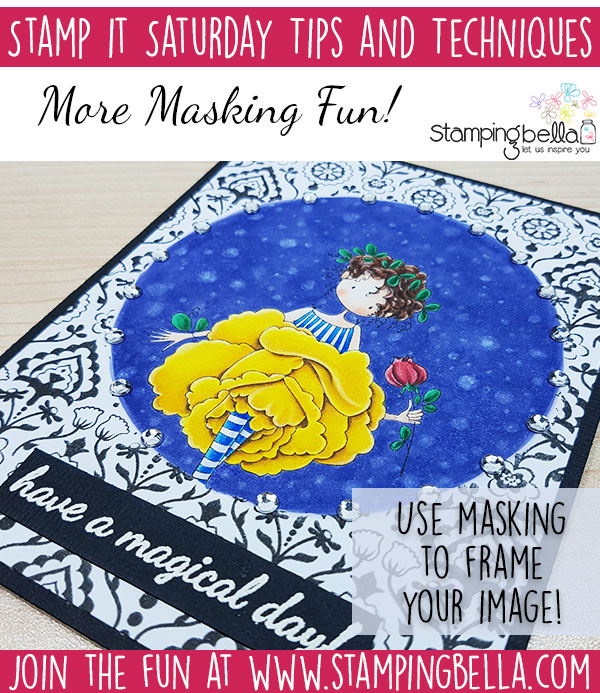
Hey everyone! Elaineabella here with another Stamp It Saturday post, taking another look at the fun you can have with masking and stamping.
More Stamping & Masking:
A few weeks ago I posted a little tutorial showing how I go about masking to add extra details to an image and also place the image in a little scene. You can see that post here: Stamp It Saturday – Stamping and Masking with Elaineabella.
Today I’m going to show you how to use masking with a background stamp to create a beautiful frame for your focal image. Although I use a circle die to create my mask, if you don’t have a die cutting machine you could cut your own mask by drawing around a template/cup/plate/CD etc, so this is also a great way to get that framed look without using dies! You could also use this technique with stencils for the background rather than a background stamp.
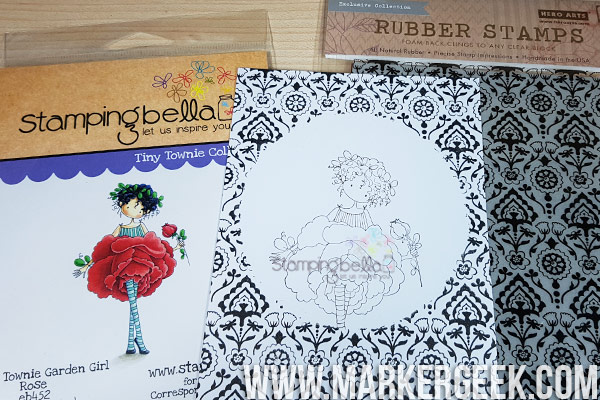
Supplies:
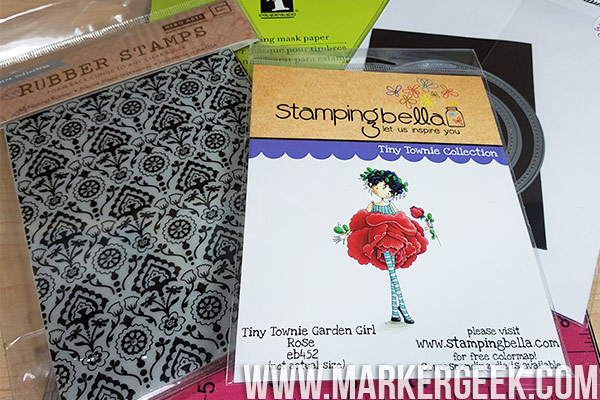
- Stamping Bella Tiny Townie Garden Girl Rose rubber stamp
- Stamping Bella Unicorn Sentiments rubber stamp set
- Background stamp
- Masking Paper
- Cardstock
- Black Ink Pad
- Preferred colouring medium
Step by Step:
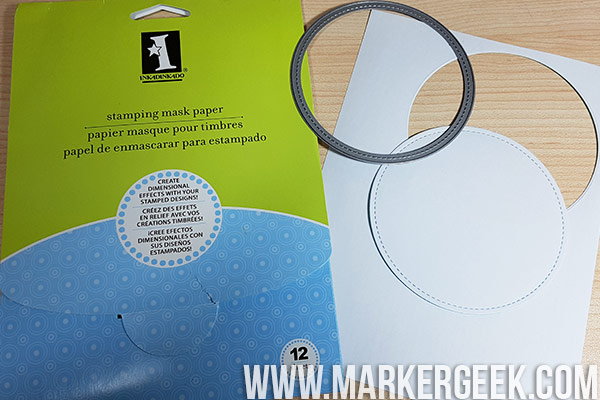
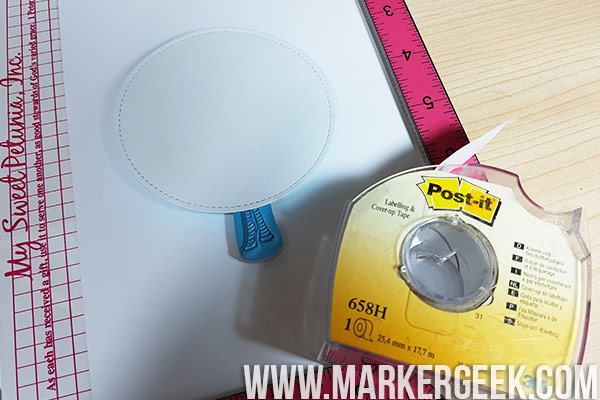
First you will need to cut a circular mask from masking paper. I have used a specific masking paper and a circle die, but if you don’t have these on hand you could use Post-It notes and a circle template or a circular object like the bottom of a pot or another object that would fit your card, then cut it out using scissors.
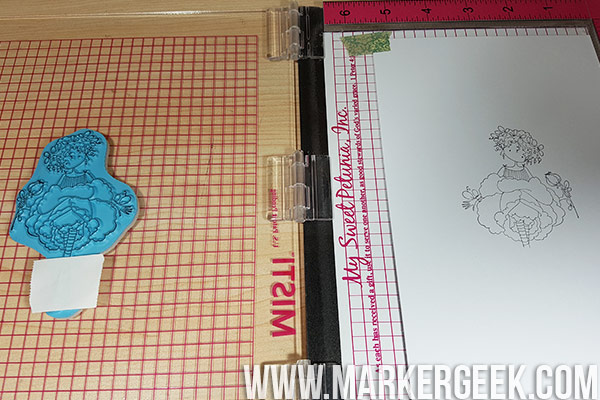
Then work out how to position your image on the paper, and which part of your image will need to be masked off to fit within the framed area. As you can see, I am using my MISTI stamp positioner, which makes this process so much easier, but it is not essential. I used the circle mask to see how much of the image I wanted to stamp, and the Post-It tape to mask off the unwanted portion of the rubber stamp.
Ink up the stamp, mask the bottom of the legs off and stamp!
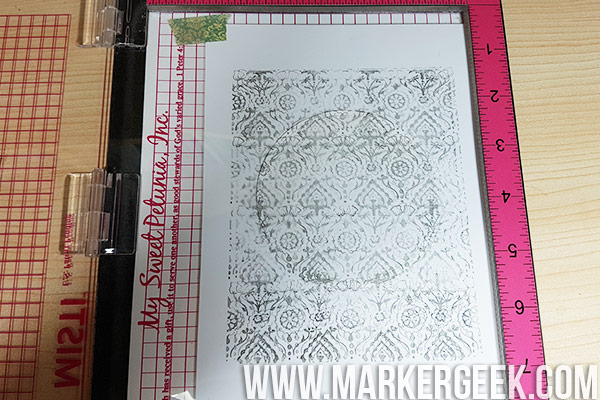
Give the ink a moment to fully dry, then position the circle mask over the top (I used the bottom of the legs to determine where to position the bottom of the circle).

As in last week’s post, I used a piece of acetate to test where to position my background stamp, you don’t have to do this, but it does make the process easier and helps to avoid craftastrophes!
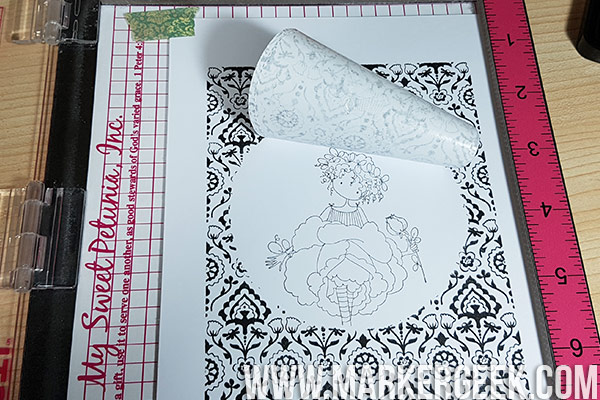
When you’re happy with the positioning, remove the acetate sheet (wipe it clean ready to use again) and ink your stamp up for the real performance!

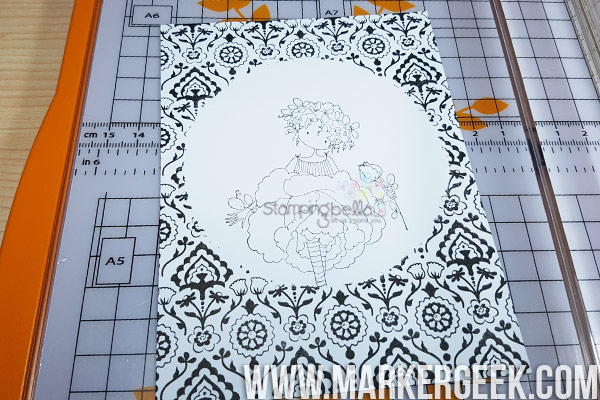
Gently peel up the mask to reveal your framed image!
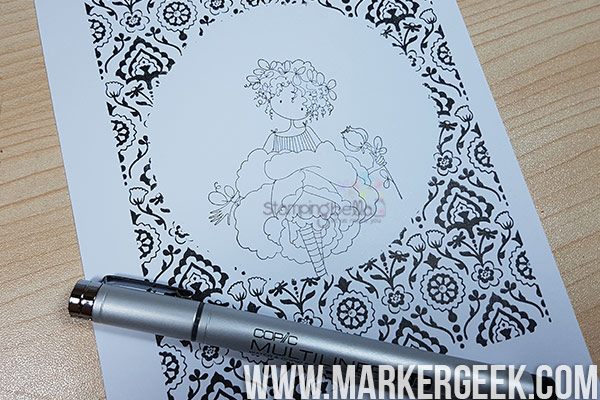
You may find that there is a halo effect around your mask. I simply used a Copic multi-liner to extend the lines on Rose’s legs to meet the bottom of the frame.
Trim your cardstock down as desired.
You’re all done and ready to colour as desired!
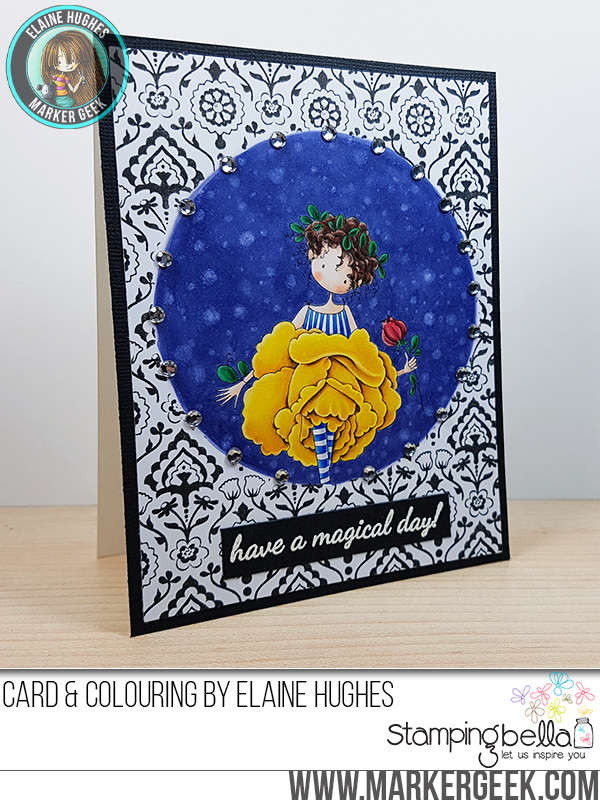
I clearly had a Beauty and the Beast vibe today when picking the colours for my card!
As you can see, I opted to colour inside the circle frame area and leave the stamped background black and white. I also added some self adhesive flat back gems around the edge of the circle to accentuate the framed effect. The sentiment (from our fantastic Unicorn Sentiments set) was stamped using Versamark ink on a strip of black cardstock and heat embossed using white embossing powder.
The image was coloured using Copic Markers and some coloured pencils to refine some areas. You could of course, use any colouring medium you prefer!
Over To You!
If you try out the techniques shown in any of the posts with your Stamping Bella stamps, be sure to share! We would love to see the results and hear how you feel about them. Show off your creations in the comments below and even better, share your own favourite tips with us. Let’s talk stamping!
If you are posting your images online, we would love to see them on Instagram and all the platforms mentioned above. To make it easier for us to find you just use #markergeekmonday and/or #stampingbella as a hashtag. Even better tag me @markergeek and @stampingbella . We love it when you connect, so don’t be shy!
If you’re on Facebook join us in our private chat group Stamping Bella Sistahood to share your creations there and chat all things Stamping Bella related!
Until next time, HAPPY STAMPING!
MWAH
Elaineabella
Love the blue sky. Shows off really good.
Oh what a great technique! I will have to give this a try! Thanks for sharing! 🙂
I like how this looks and I like what you did. I may have to try this sometime. Thanks for showing us how you did it.
I love the use of the background stamp! Beautiful.
love this technique!
Love the moody cowgirl. This is a really fun release!
love the masked BG stamping, it’s awesome way to frame such a cute image
Thanks for this instruction for masking & creating a beautiful piece of art.