


Happy Stamp It Saturday! I hope you’ve got some crafty time planned over the weekend. If you do, maybe you’d like to join me in my latest little journey of rediscovery – playing with inks and other artsy supplies and making tags!
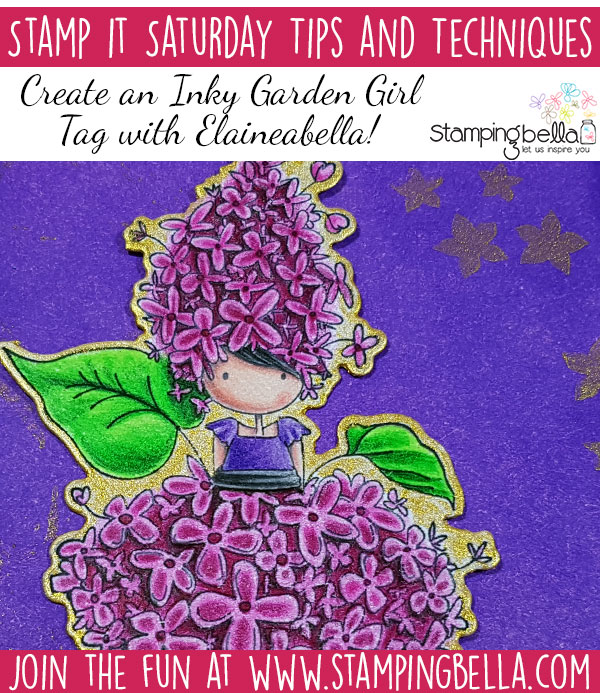
Making an Inky Garden Girl Tag
A few years ago I was really in to making tags and playing with various art and craft supplies to create them. There’s something appealing about playing with the relatively small surface area of a tag, and it is way less intimidating than a whole blank journal page can be! I had a lot of fun experimenting and creating, then life happened and it has taken me a while to get back to my messy supplies and to make time to create just for fun.
But what do I do with the tag when I’m done? I hear you ask… Whatever you feel like, of course! You could pop the tag on a card, add it to an extra special gift, display it or gift it to another friend to display. I’m in the middle of reorganising my craft room (again), but when I have my new furniture in and arranged I have a little box of tags I created waiting to decorate the space.
Anyway! I thought it would be fun to share the process of creating a tag featuring one of the gorgeous Tiny Townie Garden Girl stamps and coordinating Cut It Out Die. This is a pretty simple one using fairly minimal supplies, so if you’re new to this there’s no need to be daunted! Let’s take a look.
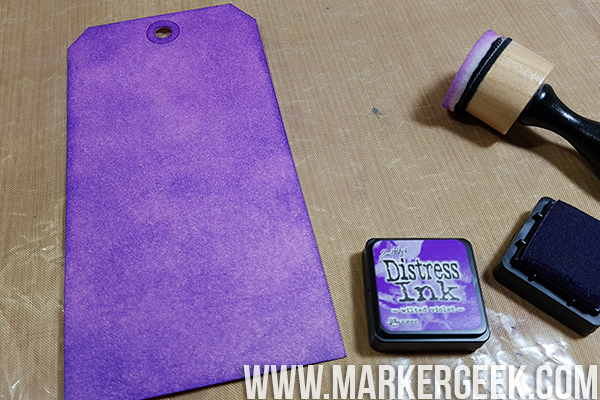
First I took a 13pt Manila Tag – Size #8 (approx 3 1/8″ x 6 1/4″). You can get these in packs from Ranger, or some craft stores sell them in larger bulk packs. Alternatively you may have a die, which means you could cut the tag from your preferred cardstock.
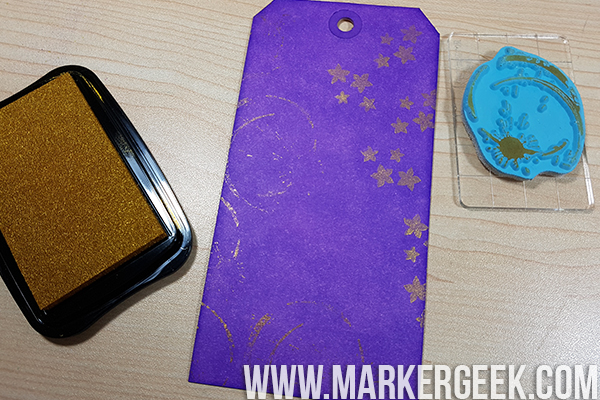
Using Ranger Distress Ink in Wilted Violet and an ink blending tool I inked up the tag.
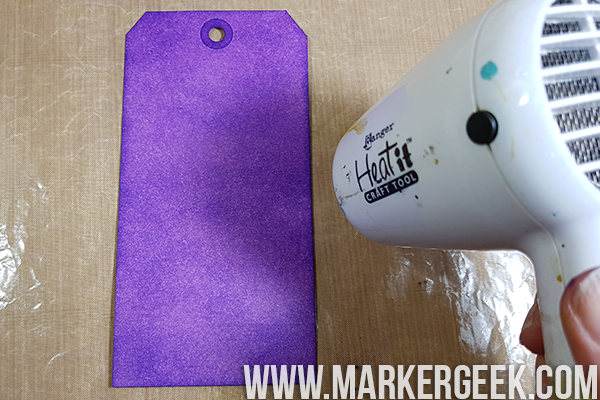
I then gave the tag a quick blast with my heat tool to make sure the ink was nice and dry.
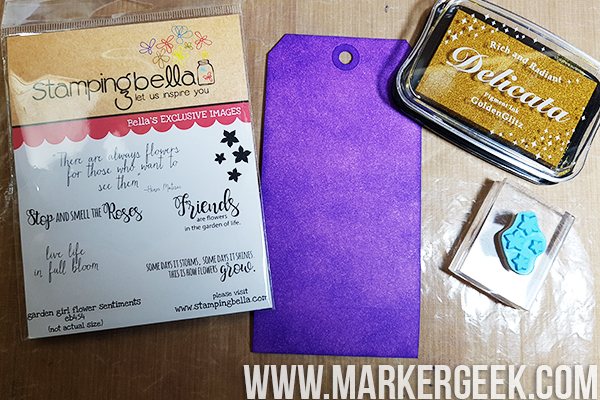
I love the little solid flower stamp in the Stamping Bella Garden Girl Flower Sentiments stamp set, it is perfect for adding background detail or embellishing a sentiment.
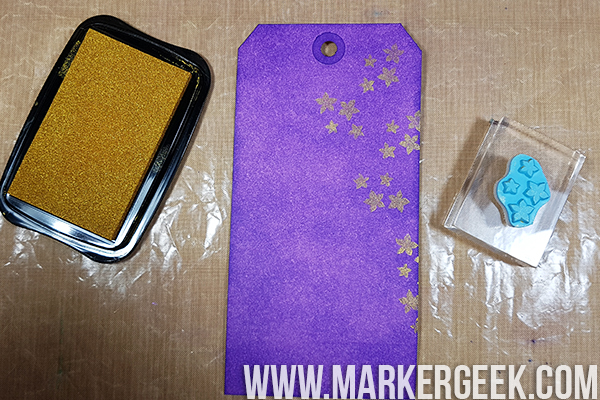
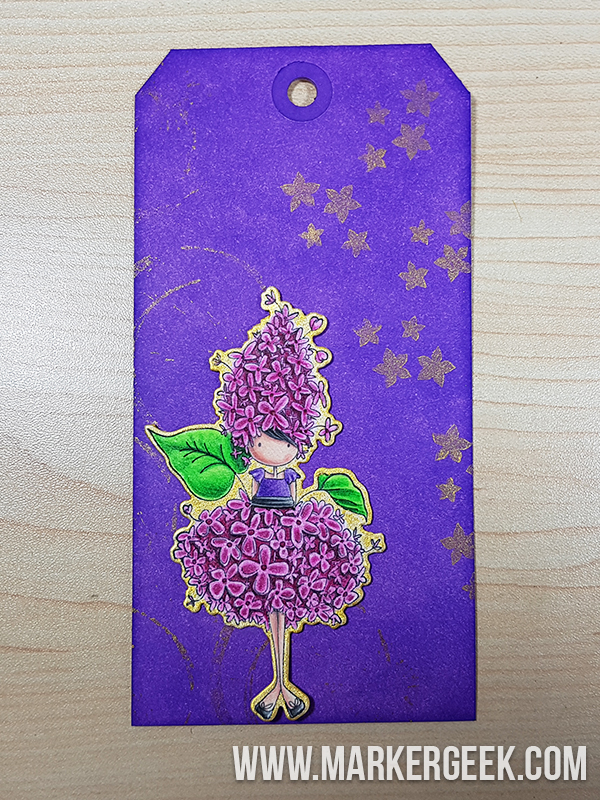
Using my favourite gold ink – Delicata Golden Glitz pigment ink – I stamped the flowers along one side of the tag. Turn the stamp and stamp at different angles to create a random look which is much prettier than a uniform line. It looks a little like falling blossom here doesn’t it?
I then gave the tag another quick blast with the heat tool to dry the pigment ink so it wouldn’t smudge!
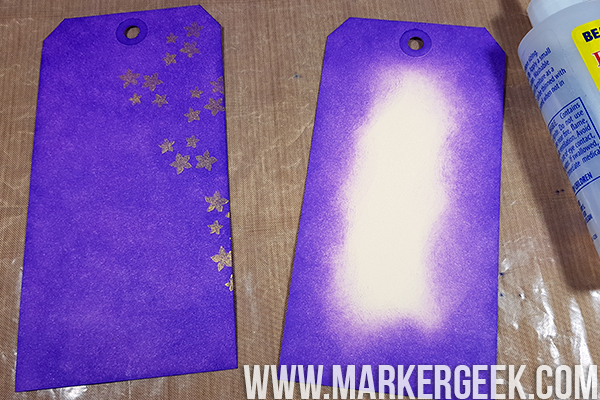
I like my tags to feel quite sturdy, so I took a second tag and inked up the outside edges with the same Distress Ink, then glued the two tags together.
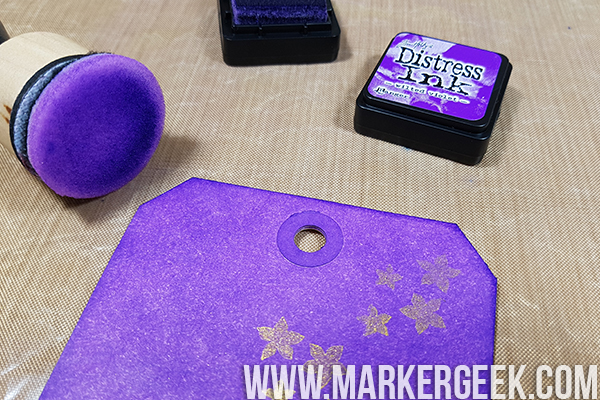
When the glue had dried and I had rubbed off any excess from the edges, I inked the very edges with the same Wilted Violet just to give the tag edges a finished look.
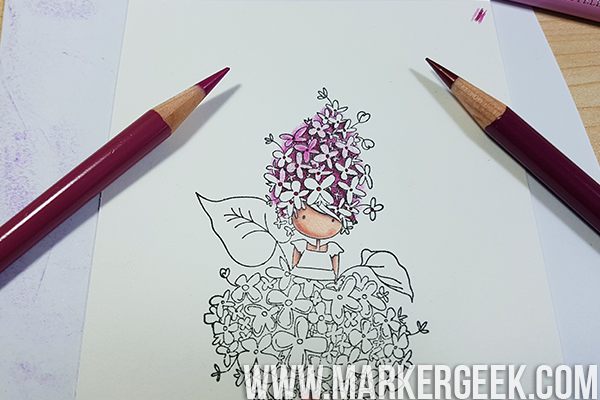
Colouring time! I stamped Stamping Bella Tiny Townie Garden Girl Lilac on to a hot pressed watercolour paper before colouring her with my Faber-Castell Polychromos pencils.
NOTE: I have talked about the papers I use with coloured pencil in a Marker Geek Monday post which you can read here: Marker Geek Monday Paper Choices for Coloured Pencil.
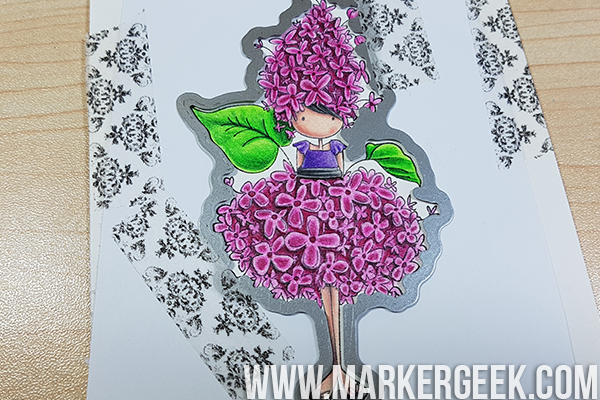
Once I had finished colouring, I lined up the coordinating Cut It Out Die for Lilac and ran her through my die cutting machine.
NOTE: I talked about this method of lining up the Cut It Out dies in a recent post here: Stamp It Saturday Using Our Cut It Out Dies.
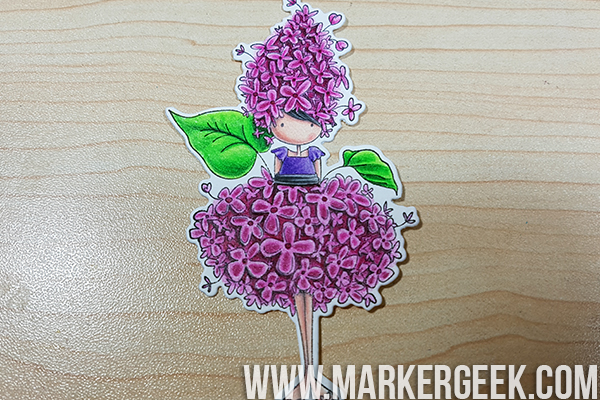
It’s so satisfying seeing the perfectly cut image!
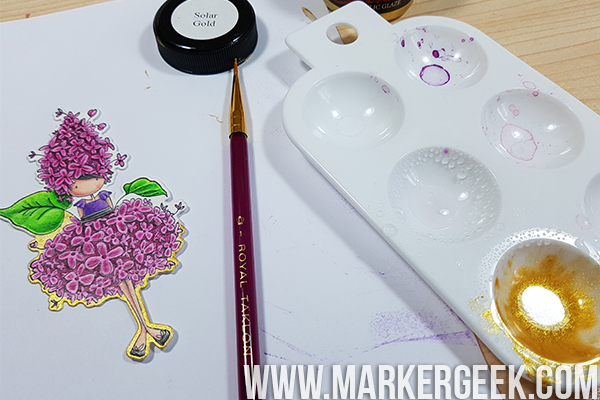
Because I was going for a purple/gold look on my tag I thought the white border would look a bit jarring, so I took some of my ColourArte Silks paint in Solar Gold and painted the white areas!
At this point I decided that I wanted a little more interest to the background on my tag so I took an old favourite – Stamping Bella Java Spills stamp set – and stamped one of the stamps using the same Delicata ink opposite to the flowers. I didn’t try to get a perfect impression, I wanted the lines to be a little broken and fade into the background rather than to be bold and detract from the other more important elements of the tag.
I popped her on the front of the tag using my favourite glue, then chose some ribbons from my stash to finish it off!
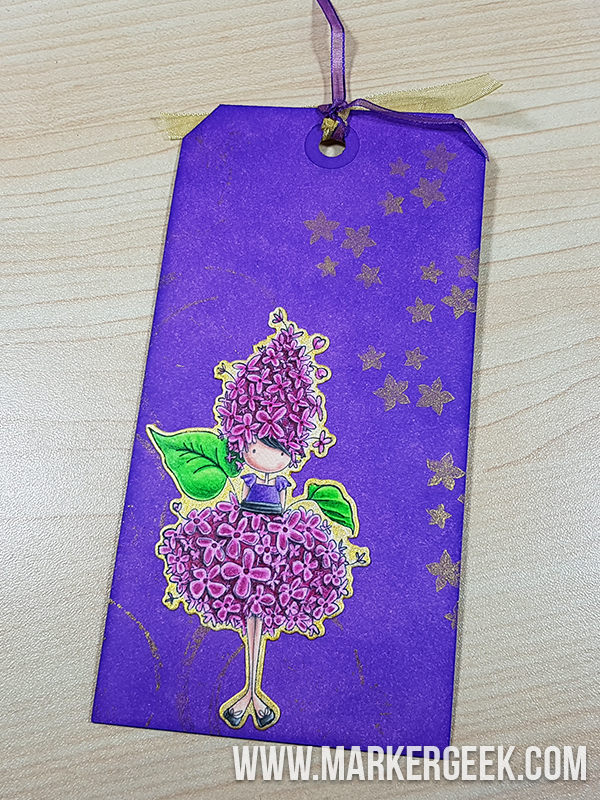
So pretty, and so much fun to make. I’m think I may need to do a tag for each of the Garden Girls now… Hmmm!
Over To You!
If you try out the techniques shown in any of the posts with your Stamping Bella stamps, be sure to share! We would love to see the results and hear how you feel about them. Show off your creations in the comments below and even better, share your own favourite tips with us. Let’s talk stamping!
If you are posting your images online, we would love to see them on Instagram and all the platforms mentioned above. To make it easier for us to find you just use #markergeekmonday and/or #stampingbella as a hashtag. Even better tag me @markergeek and @stampingbella . We love it when you connect, so don’t be shy!
If you’re on Facebook join us in our private chat group Stamping Bella Sistahood to share your creations there and chat all things Stamping Bella related!
Until next time, HAPPY STAMPING!
MWAH
Elaineabella
What a sweet, vibrant tag! Love the idea of using paint over the die cut edges! Off to read your other tips on paper and die-cutting…thanks!
I love your suggestions, such as gluing 2 tags together, and inking the edges of the 2nd one, to match. Genius.
I love this tag! It’s so colorful and I can just smell the lilacs. I love their smell. Great job!
What a pretty tag! I have never made any tags…always say I’m going to but never seem to get around to it… 🙂