Stamping Bella Holiday SNEAK PEEK DAY 3- AND A CHANCE TO WIN!
WINNERS WINNERS CHICKEN DINNERS
For all the winners below, PLEASE SEND ME AN EMAIL emily@stampingbella.com and in the subject line, put the stamp and die you won along with your snail mail address and we will ship it next week!
Random Integer Generator
Here are your random numbers:
177-Cathy P you win CHRISTMAS TUG OF WAR CUT IT OUT DIE AND RUBBER STAMP BUNDLE!
Timestamp: 2016-09-02 22:44:02 UTC
Random Integer Generator
Here are your random numbers:
105- LOUISE WAGNER you WIN EDNA UNDER THE MISTLETOE CUT IT OUT DIE AND RUBBER STAMP BUNDLE
Timestamp: 2016-09-02 22:45:35 UTC
Random Integer Generator
Here are your random numbers:
37-MARY HOLHOUSER you WIN UPTOWN GIRL KITTY LOVES HALLOWEEN CUT IT OUT DIE and RUBBER STAMP BUNDLE
Timestamp: 2016-09-02 22:48:34 UTC
Random Integer Generator
Here are your random numbers:
184- JORDI PX you win MEOWY CHRISTMAS CUT IT OUT DIE AND RUBBER STAMP BUNDLE
Timestamp: 2016-09-02 22:48:47 UTC
Hiya sistahs! Welcome to DAY 3 of our RELEASE-A-PALOOZA!at Stamping Bella.
Our release date is SATURDAY SEPTEMBER 3RD where all of the images and their corresponding “CUT IT OUT” DIES.. will be available for purchase and ready to ship! We gots HALLOWEEN.. we gots CHRISTMAS… we gots FALL… and we gots WINTER themed images. I am SURE you will not be disappointed!
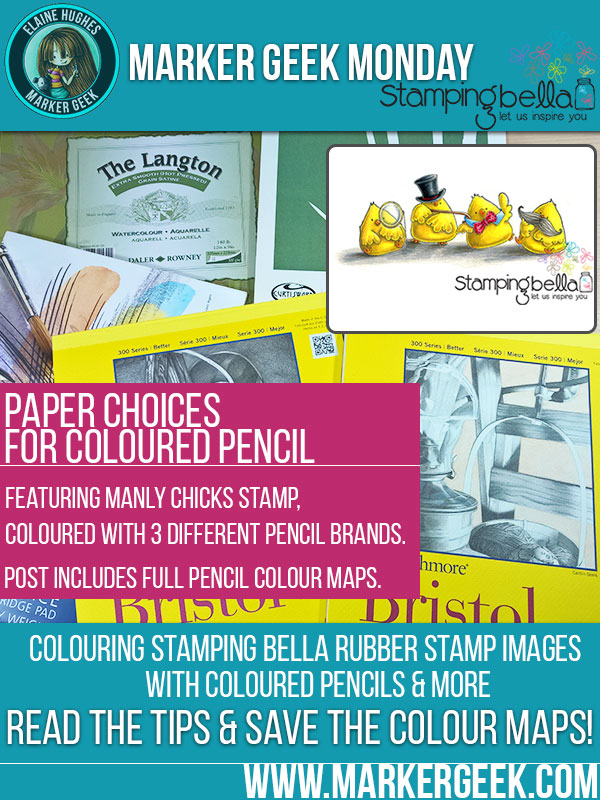
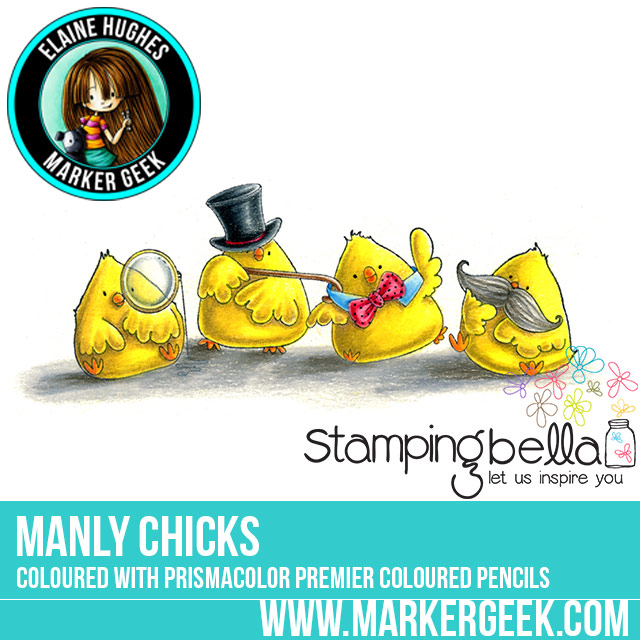
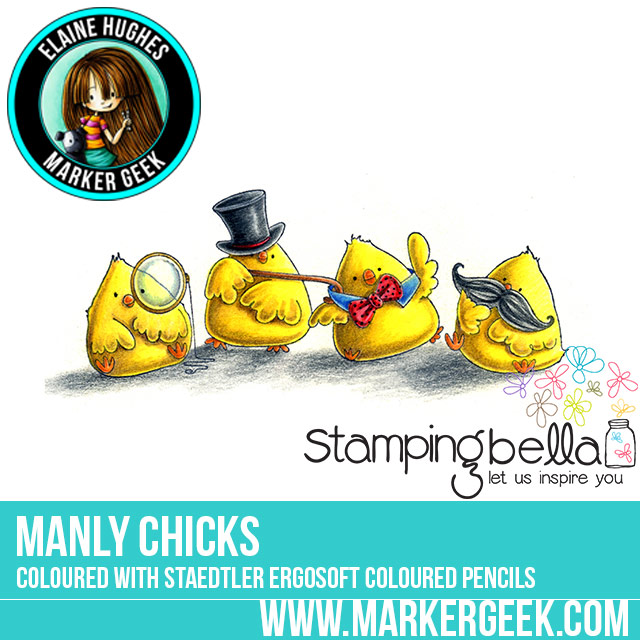
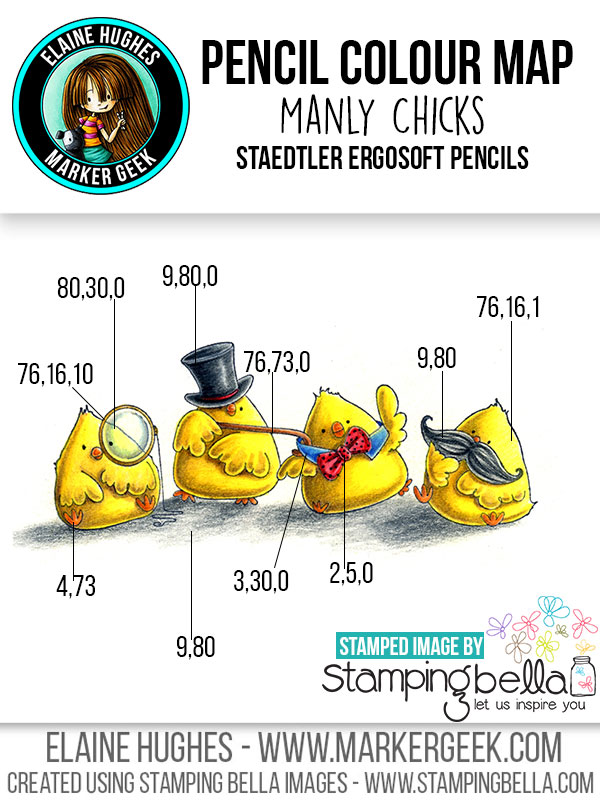
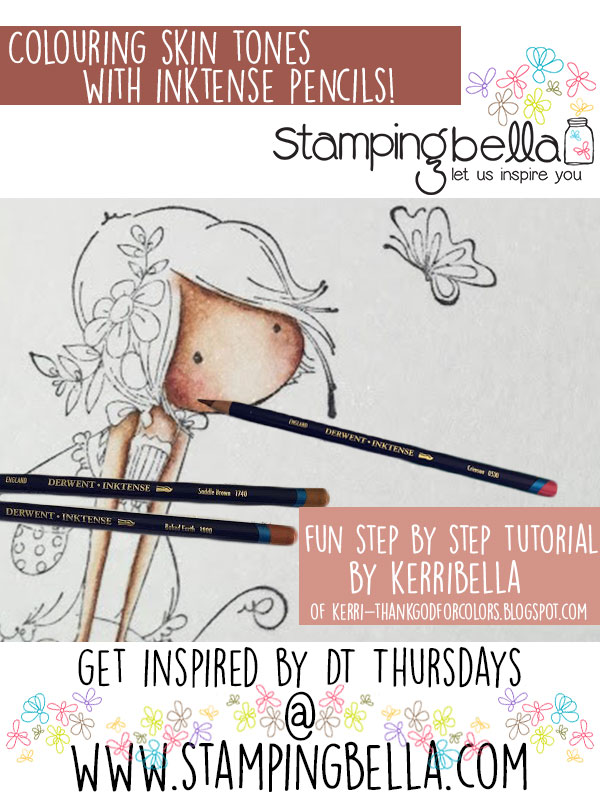
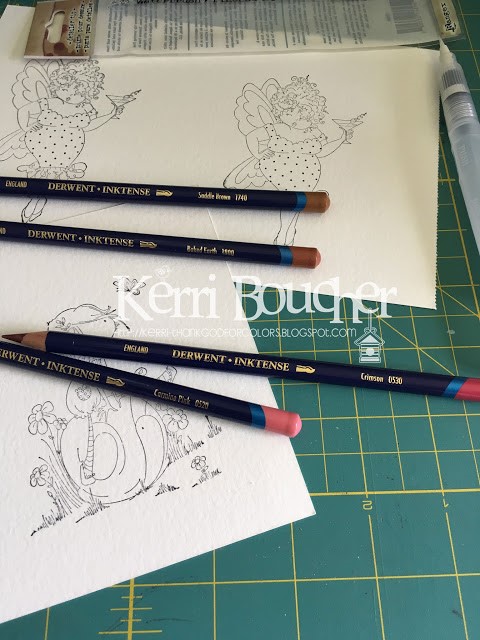
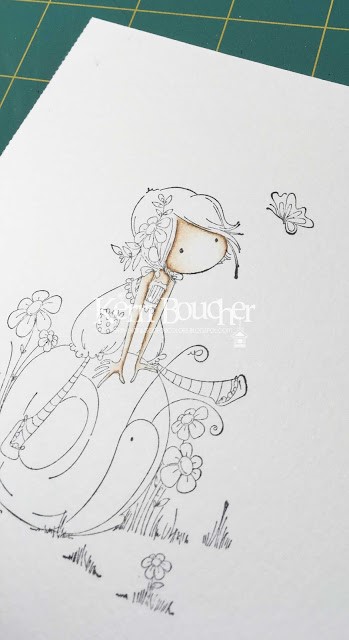
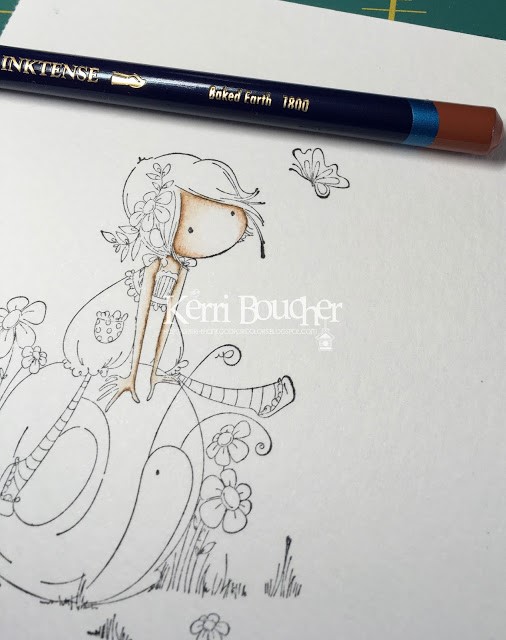
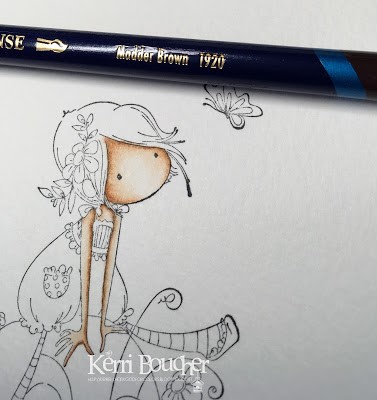
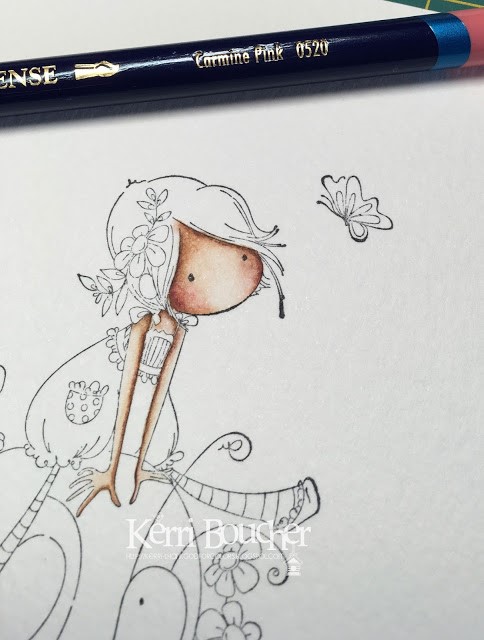
All of our web images were hand Copic coloured by our ELAINEABELLA aka. MARKERGEEK, and all of our amazing samples were made by our talented Design Team. Don’t forget, when you purchase an image, you get a FREE COLORMAP made by Elaineabella which shows you the Copic colours she used and where she used them. If you don’t use Copics, you will still get amazing FREE inspiration on her colour palette used and you can use any medium to colour up the images! PLUS she has also created colouring videos for each of the images, which you will find in the post below or on her YouTube channel (subscribe over there for regular Stamping Bella videos)! Thank you Elaineabella!
Today I have 4 more AMAZING images to share… READY FREDDY? Here we goooo!
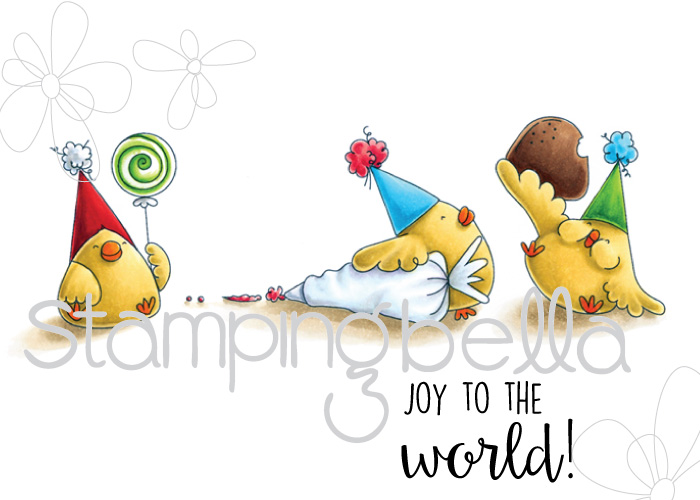
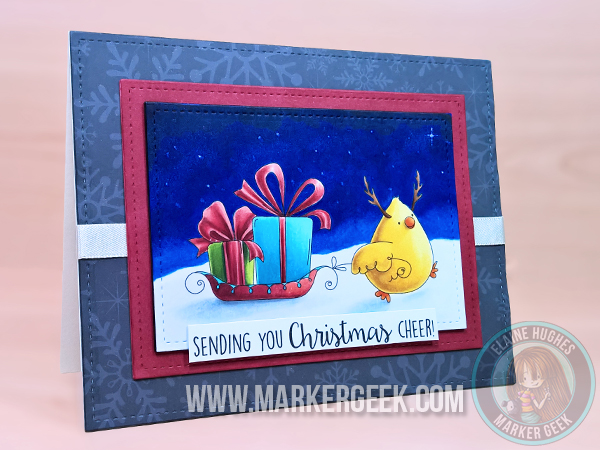
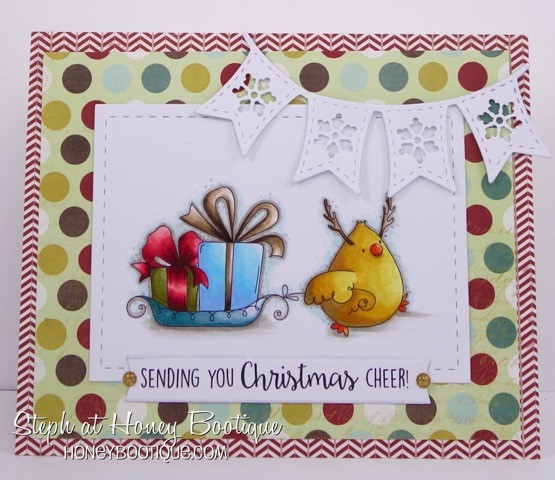
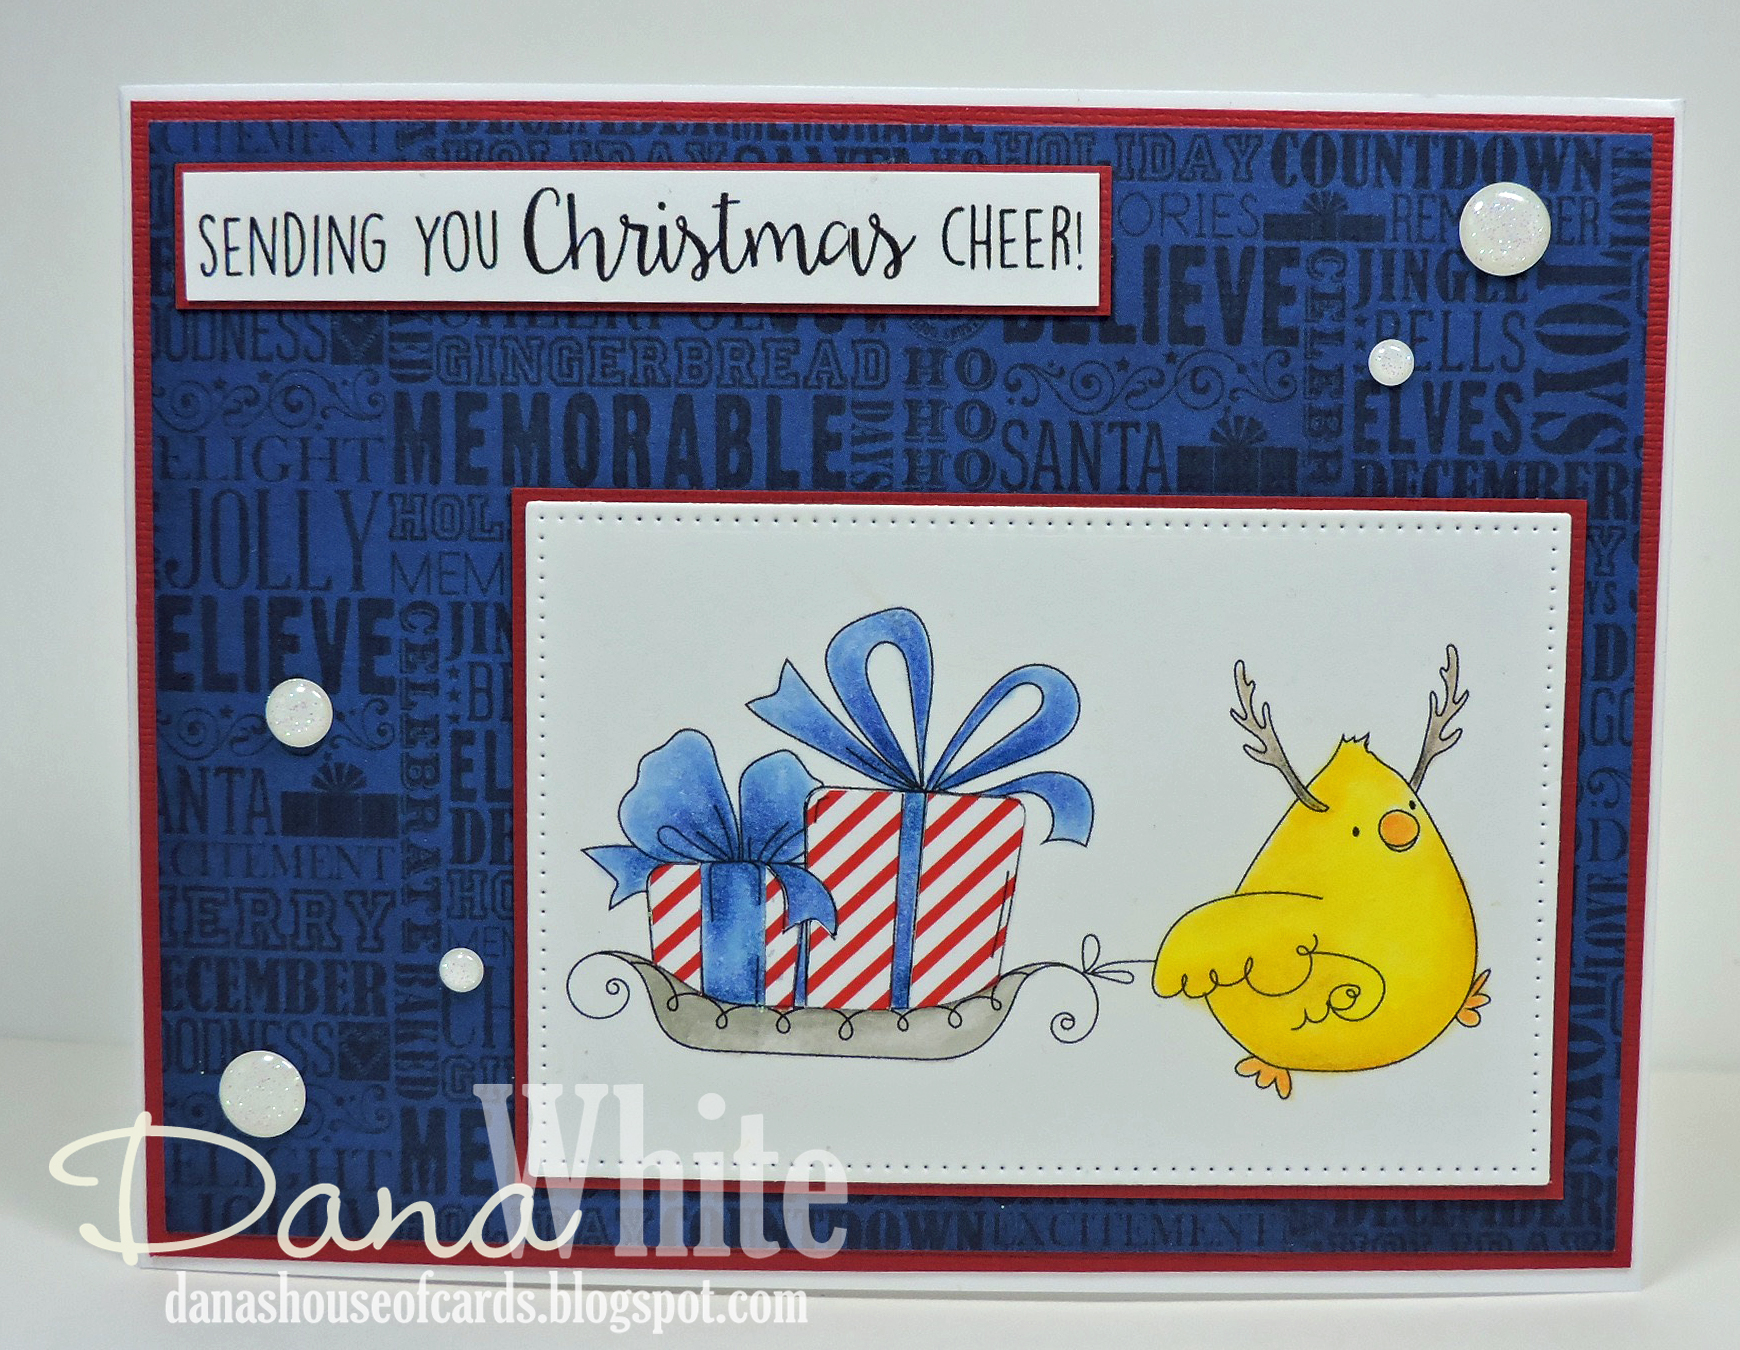
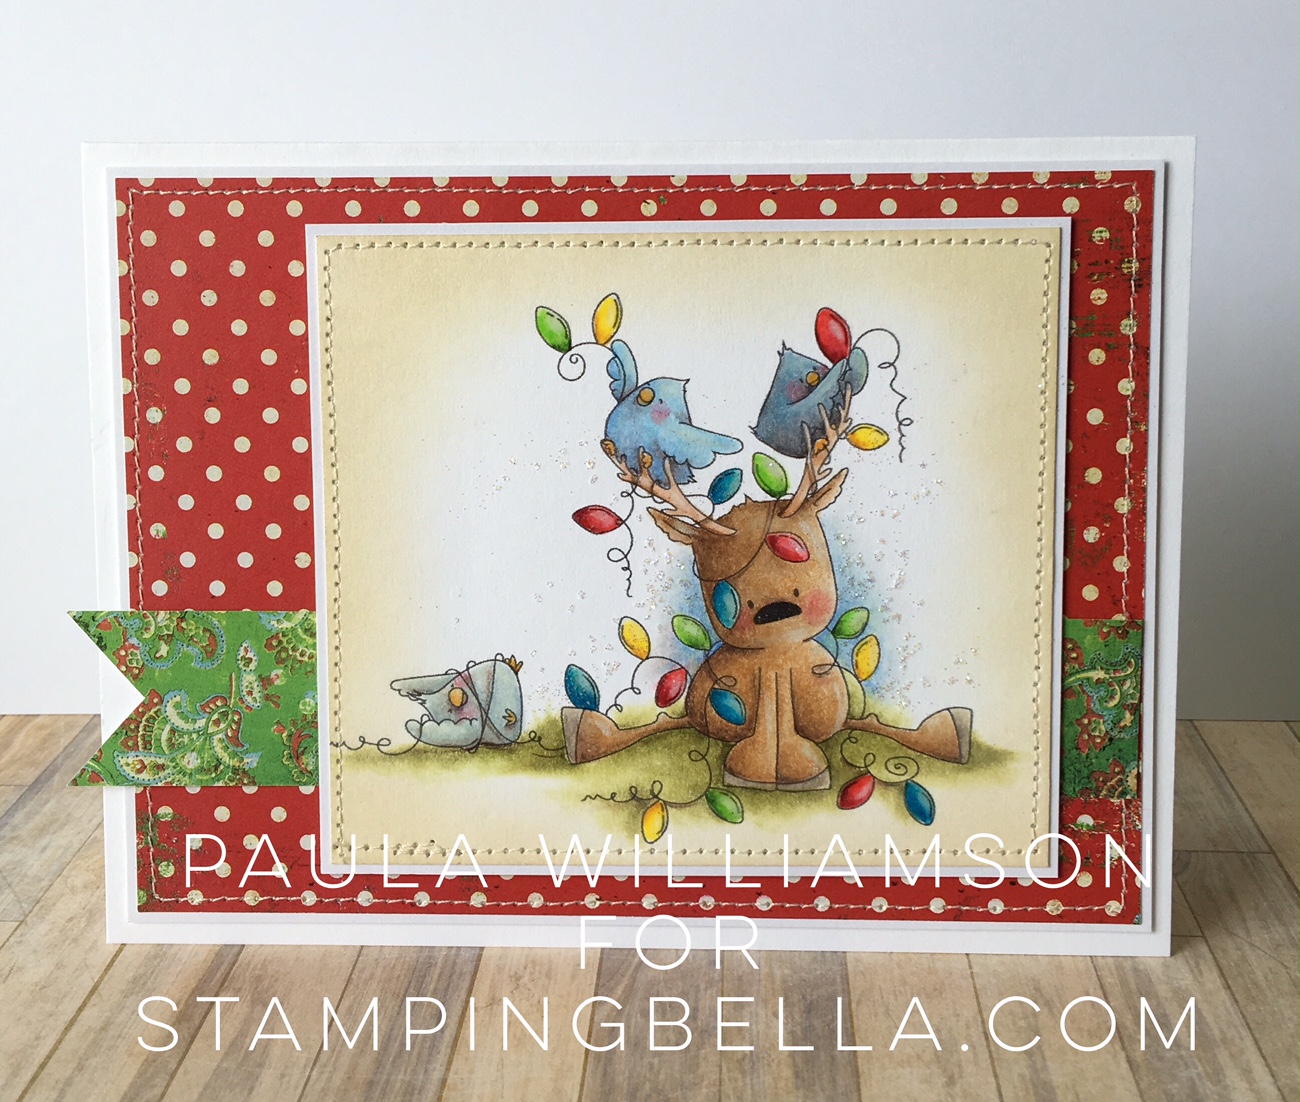
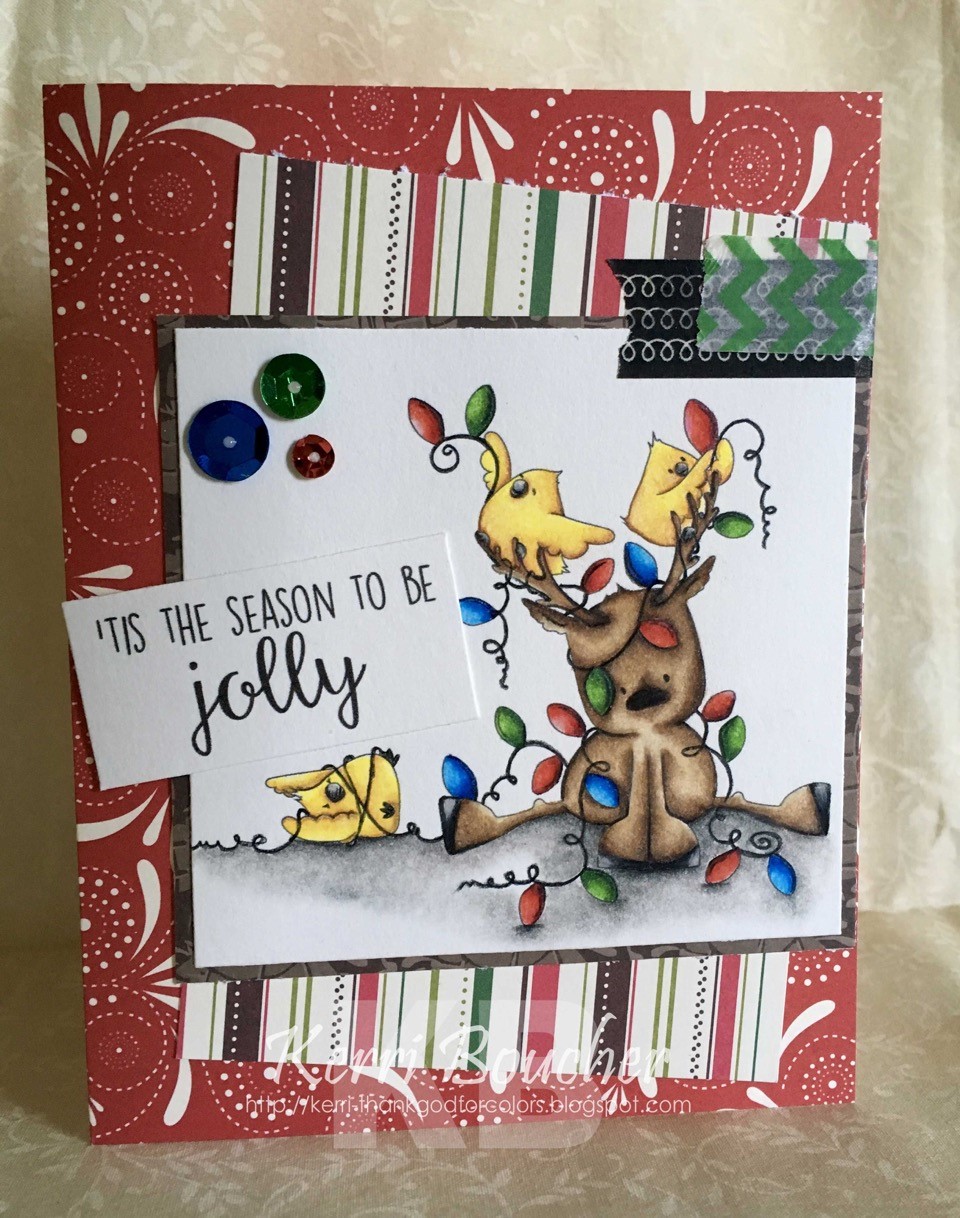
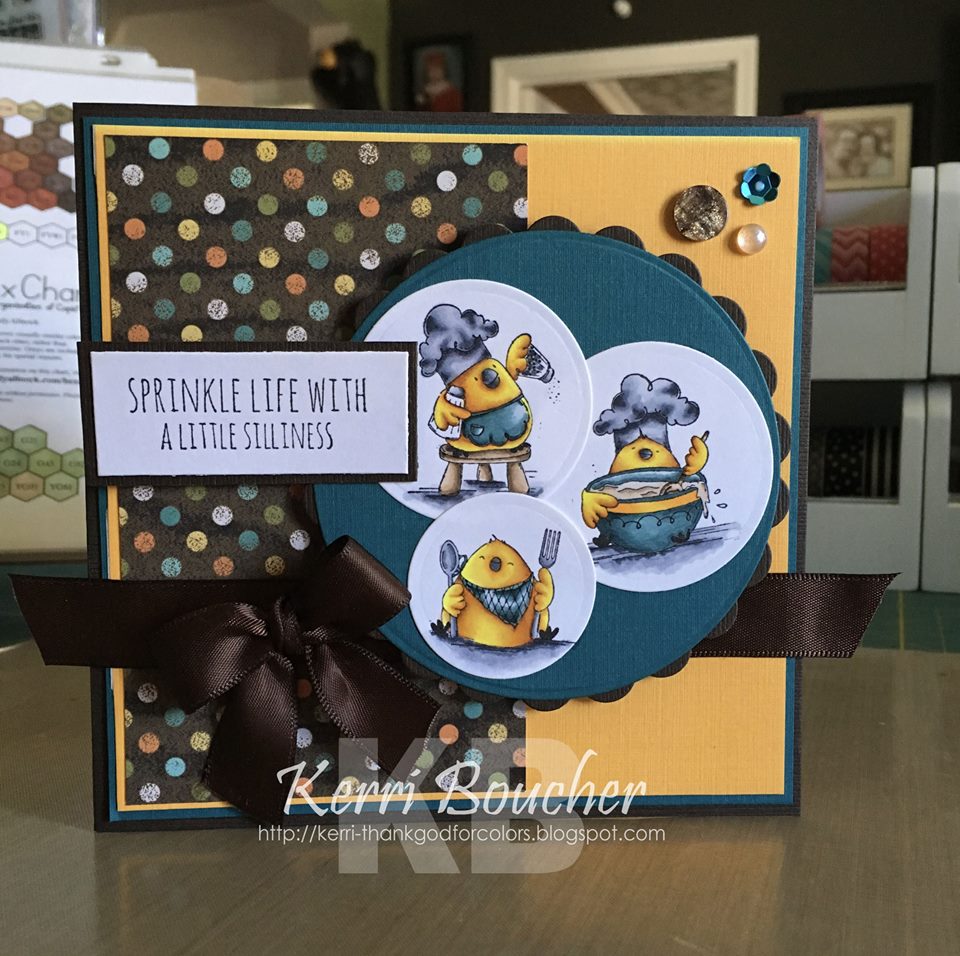
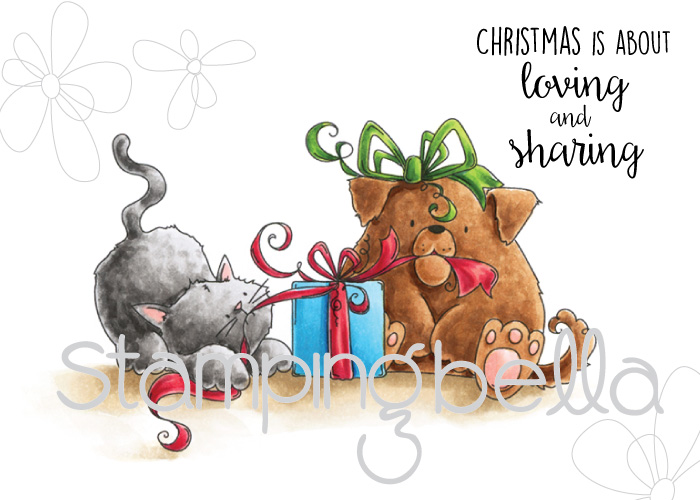
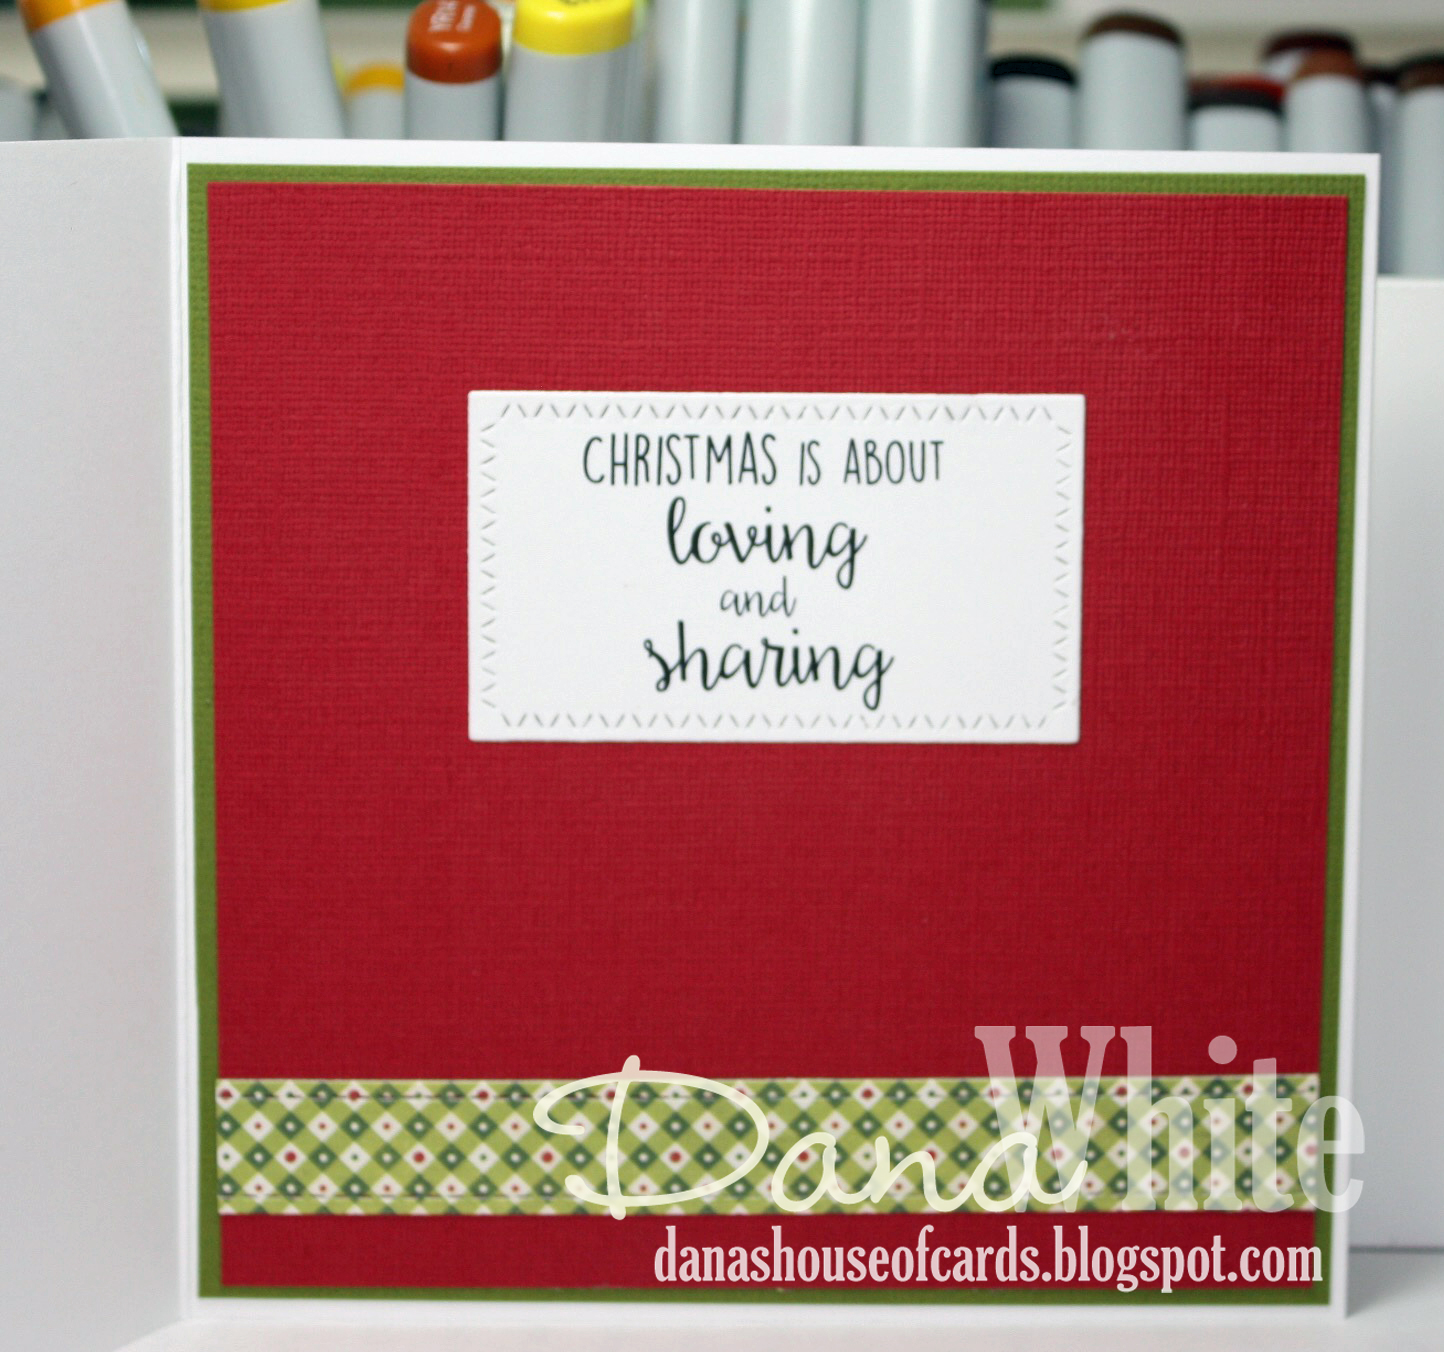
Meet CHRISTMAS TUG OF WAR.. I just love this sweet Kitty cat and doggie.. they are DEELISH!
Colouring Video:
Watch this image being coloured in the video below or in HD over on YouTube.
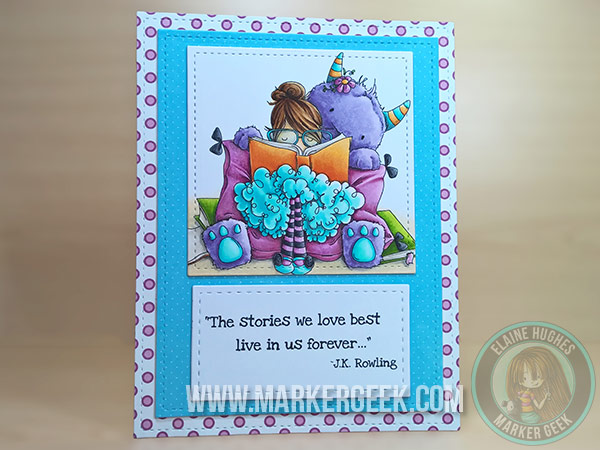
Card Making Inspiration:
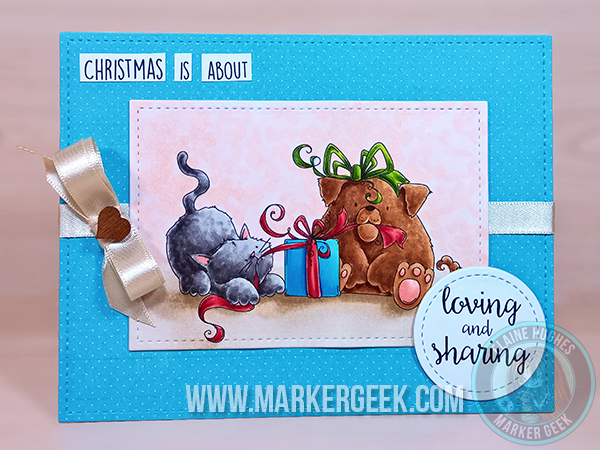
Here’s Elaineabella’s card
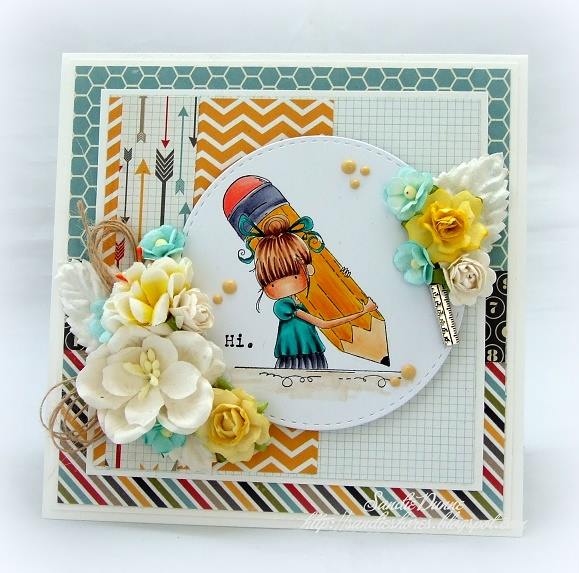
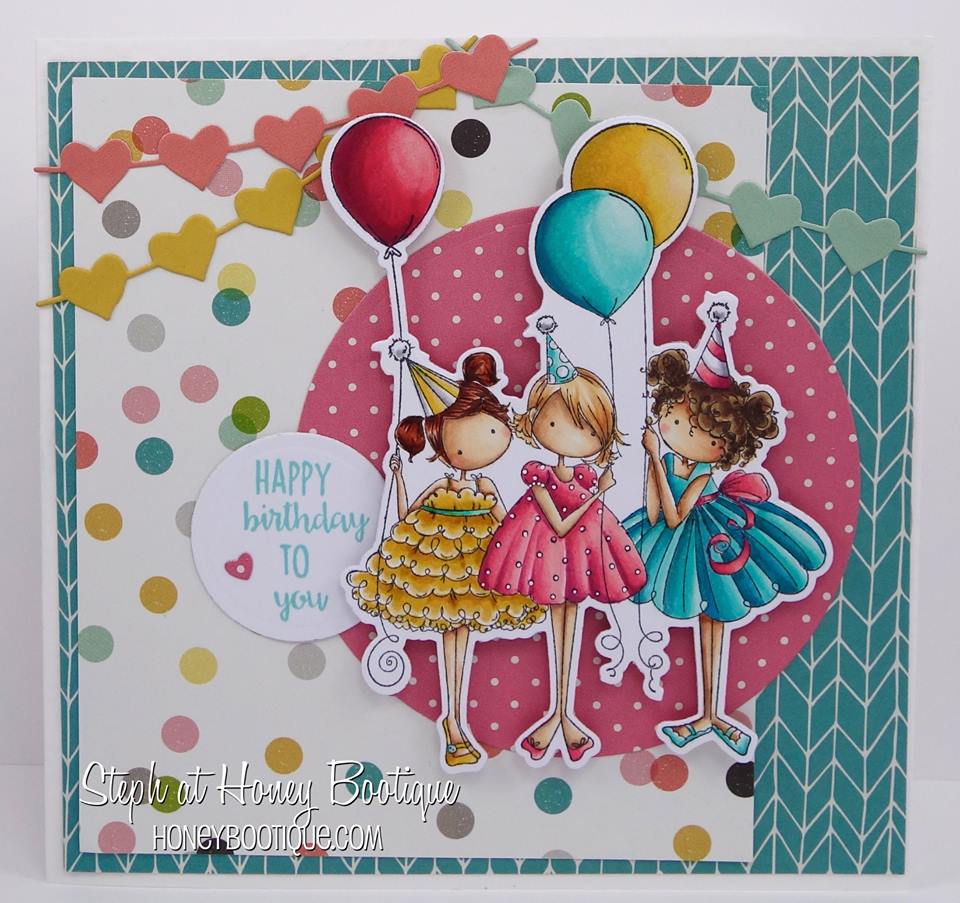
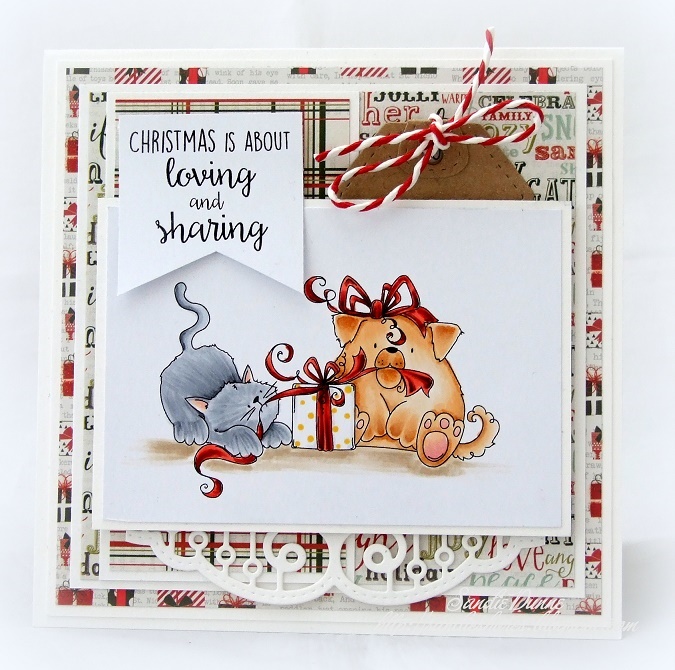
And Sandiebella’s card
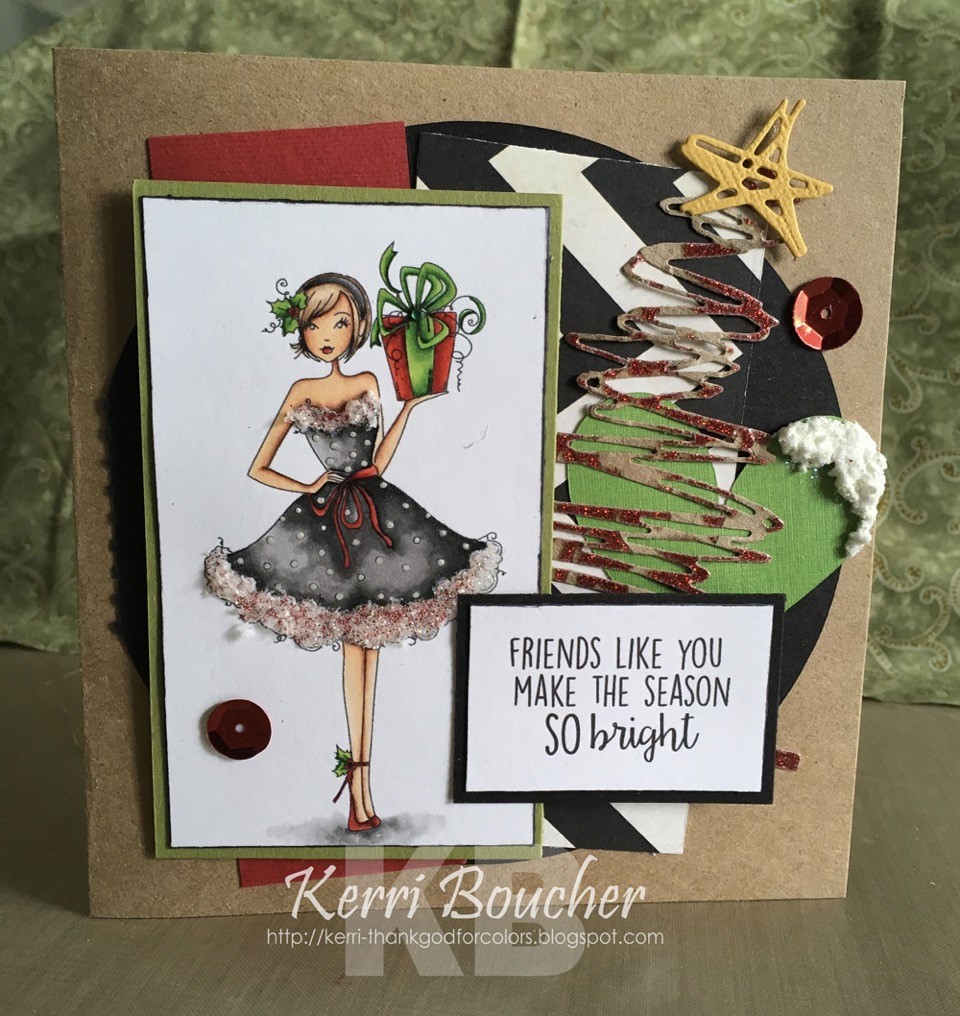
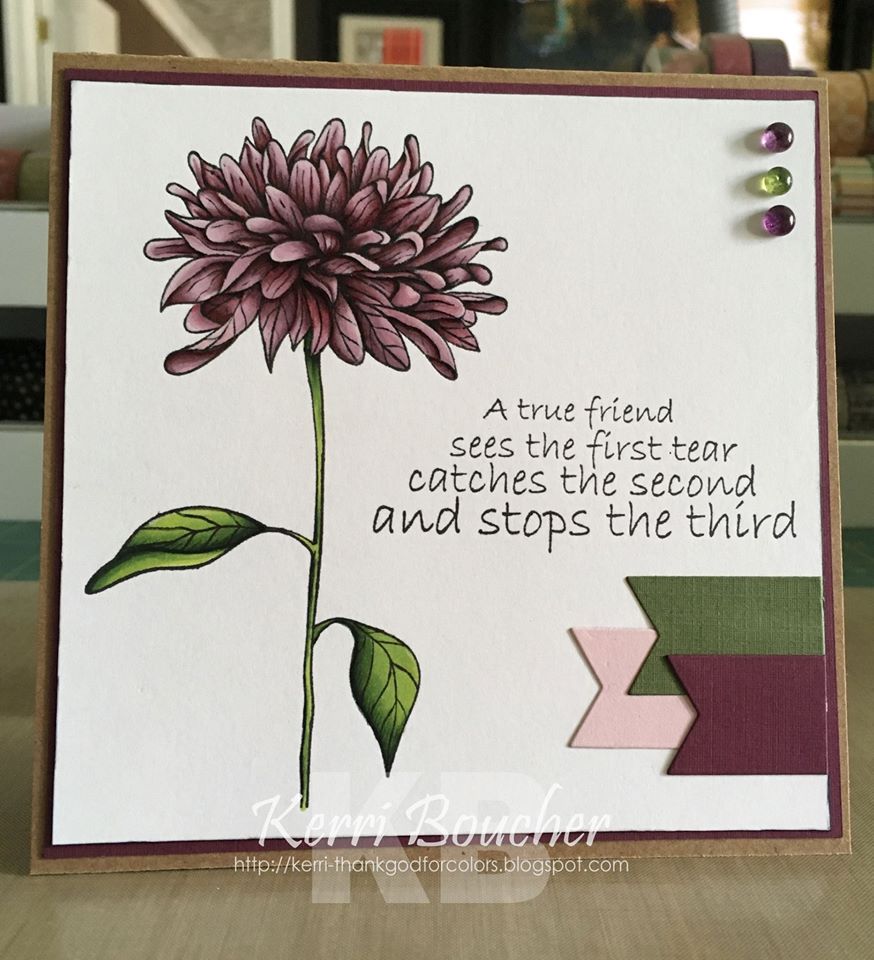
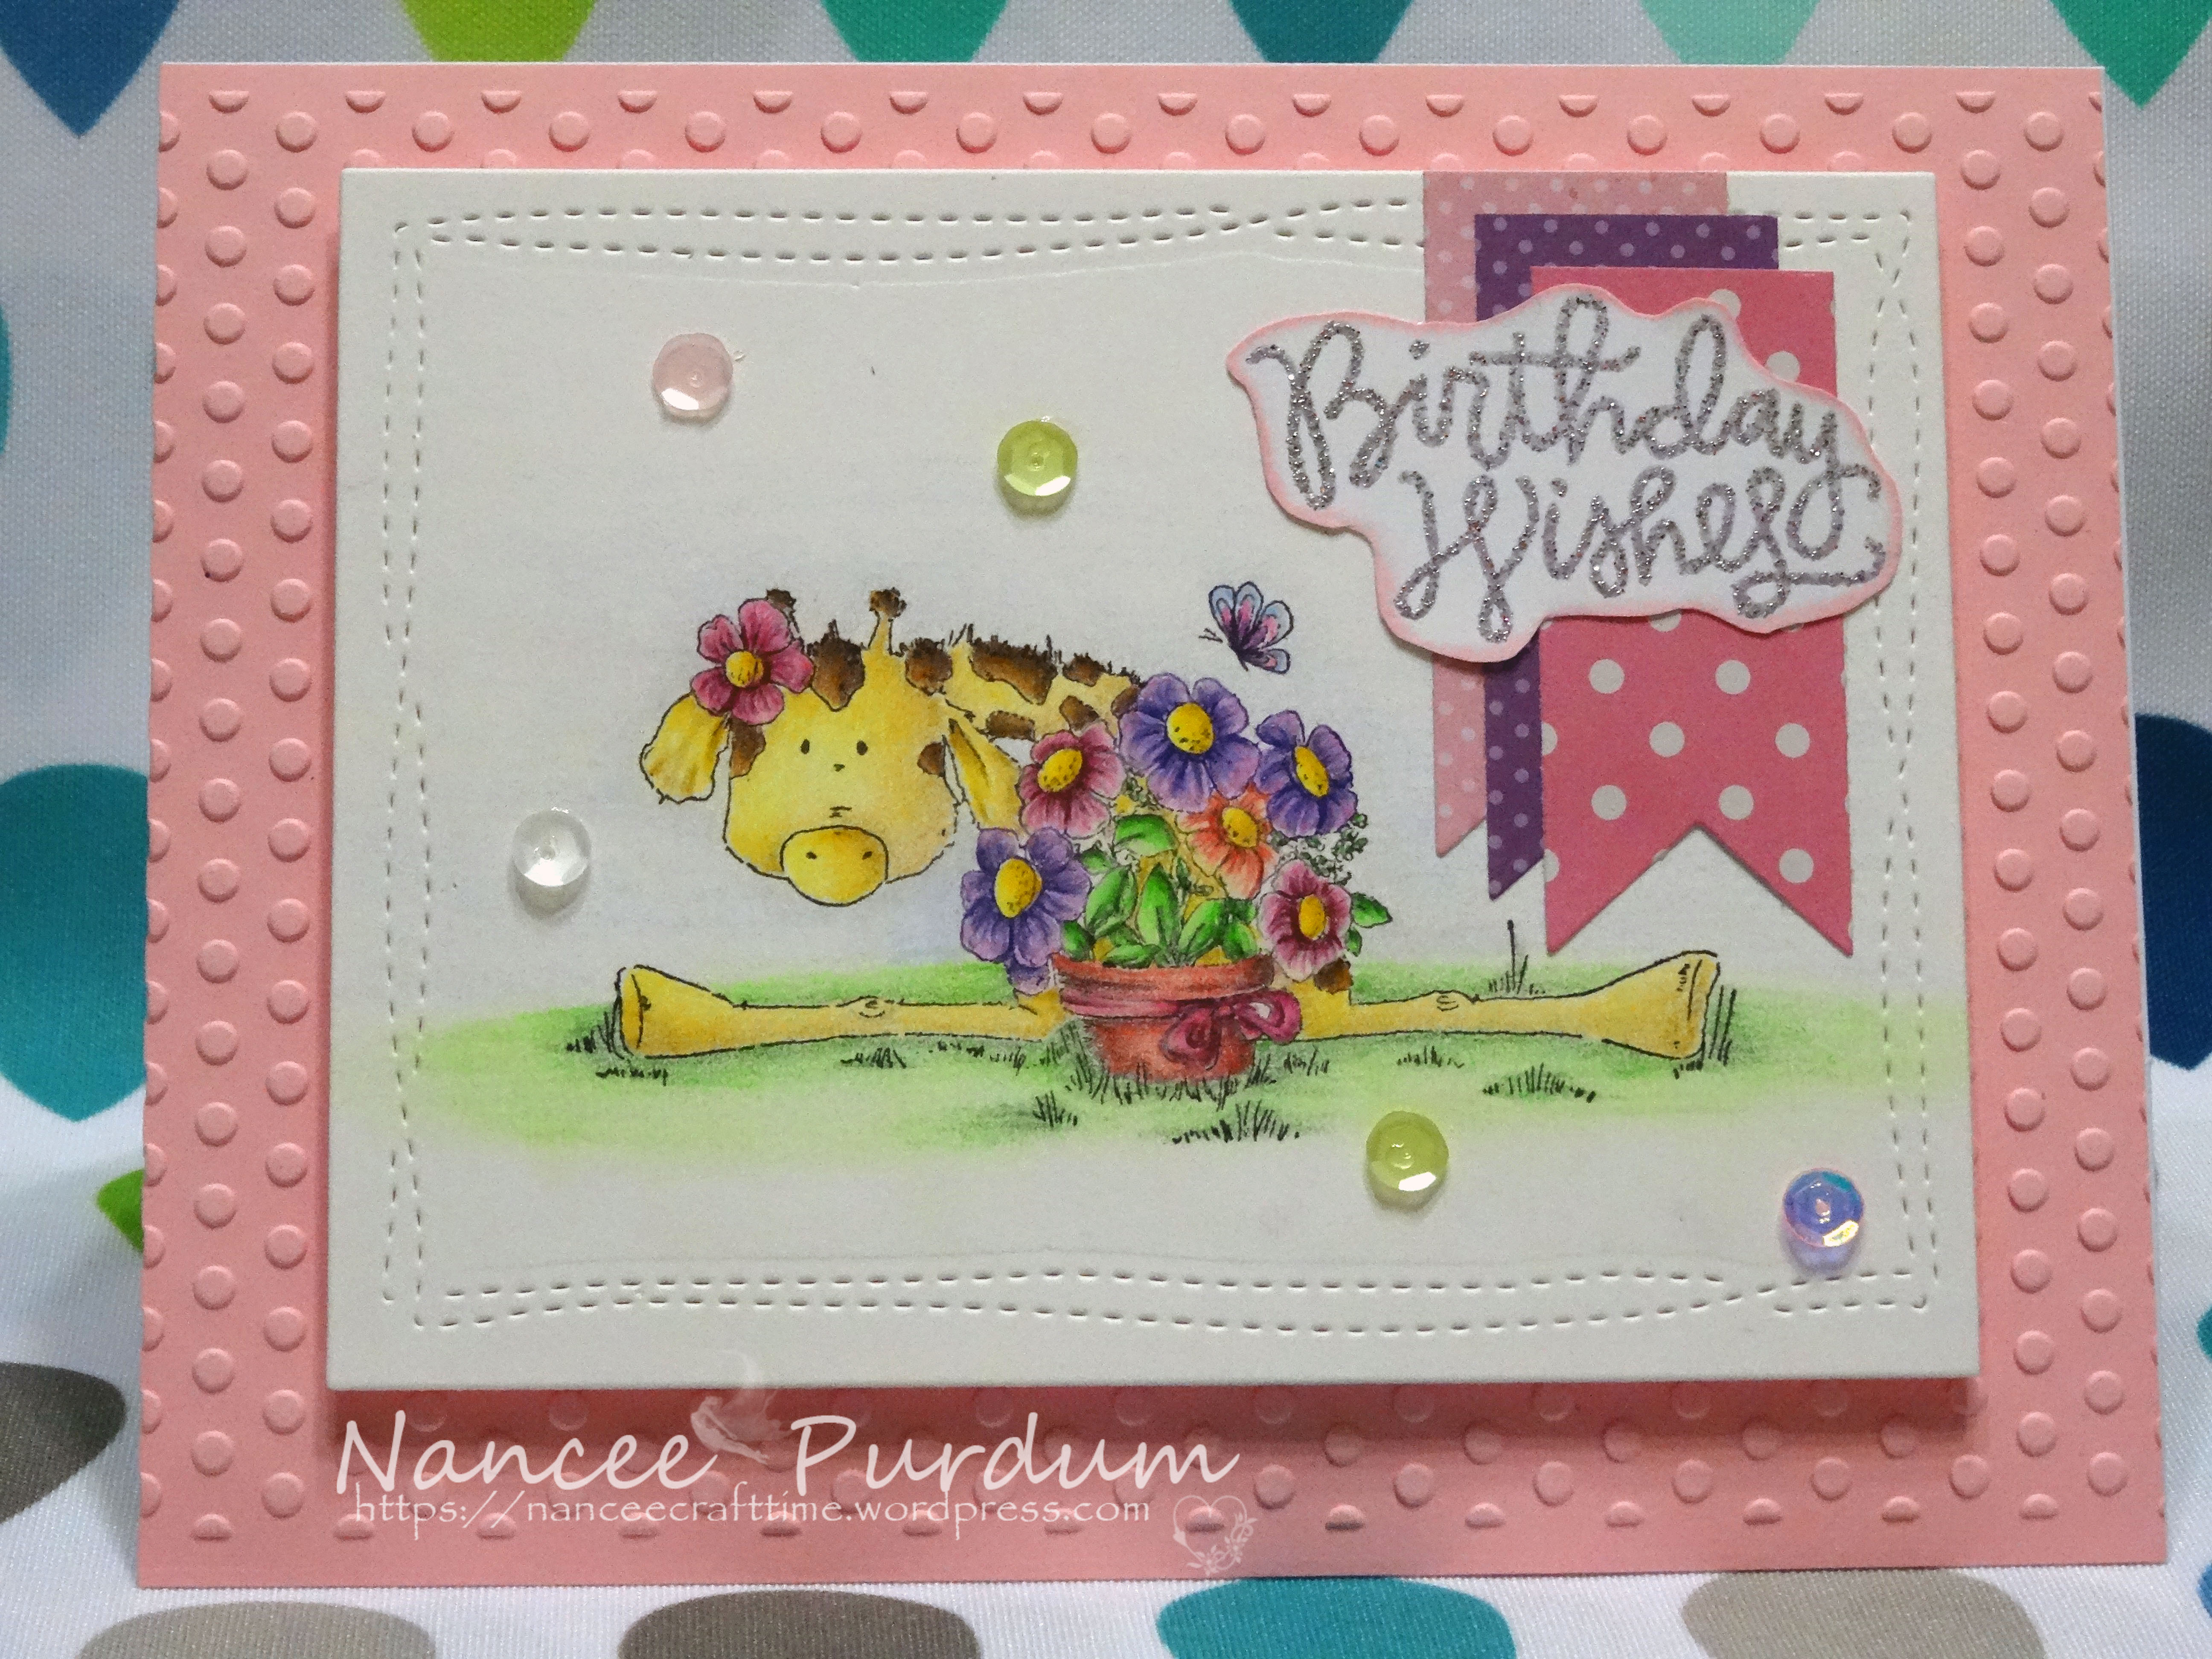
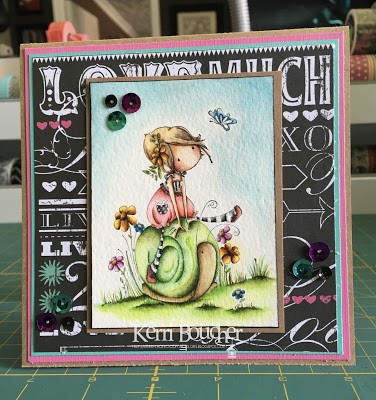
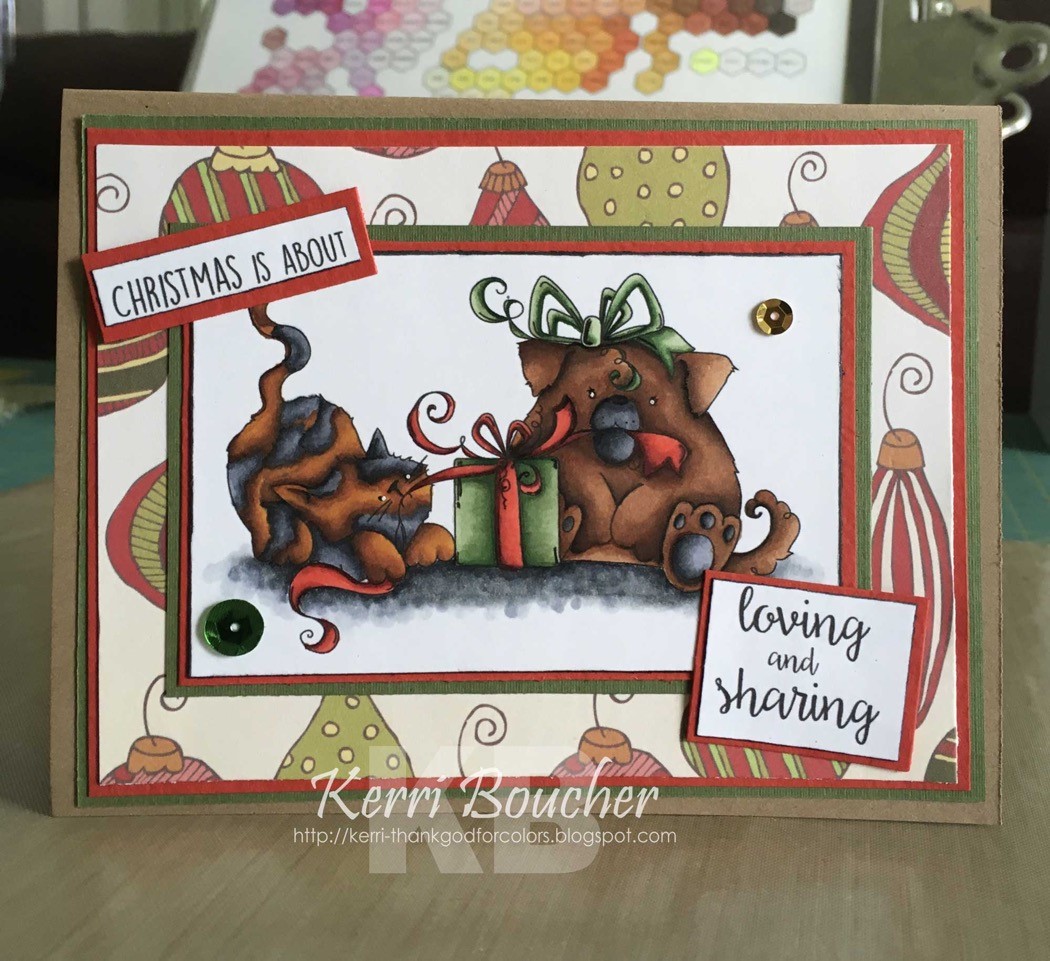
And Kerribella’s card
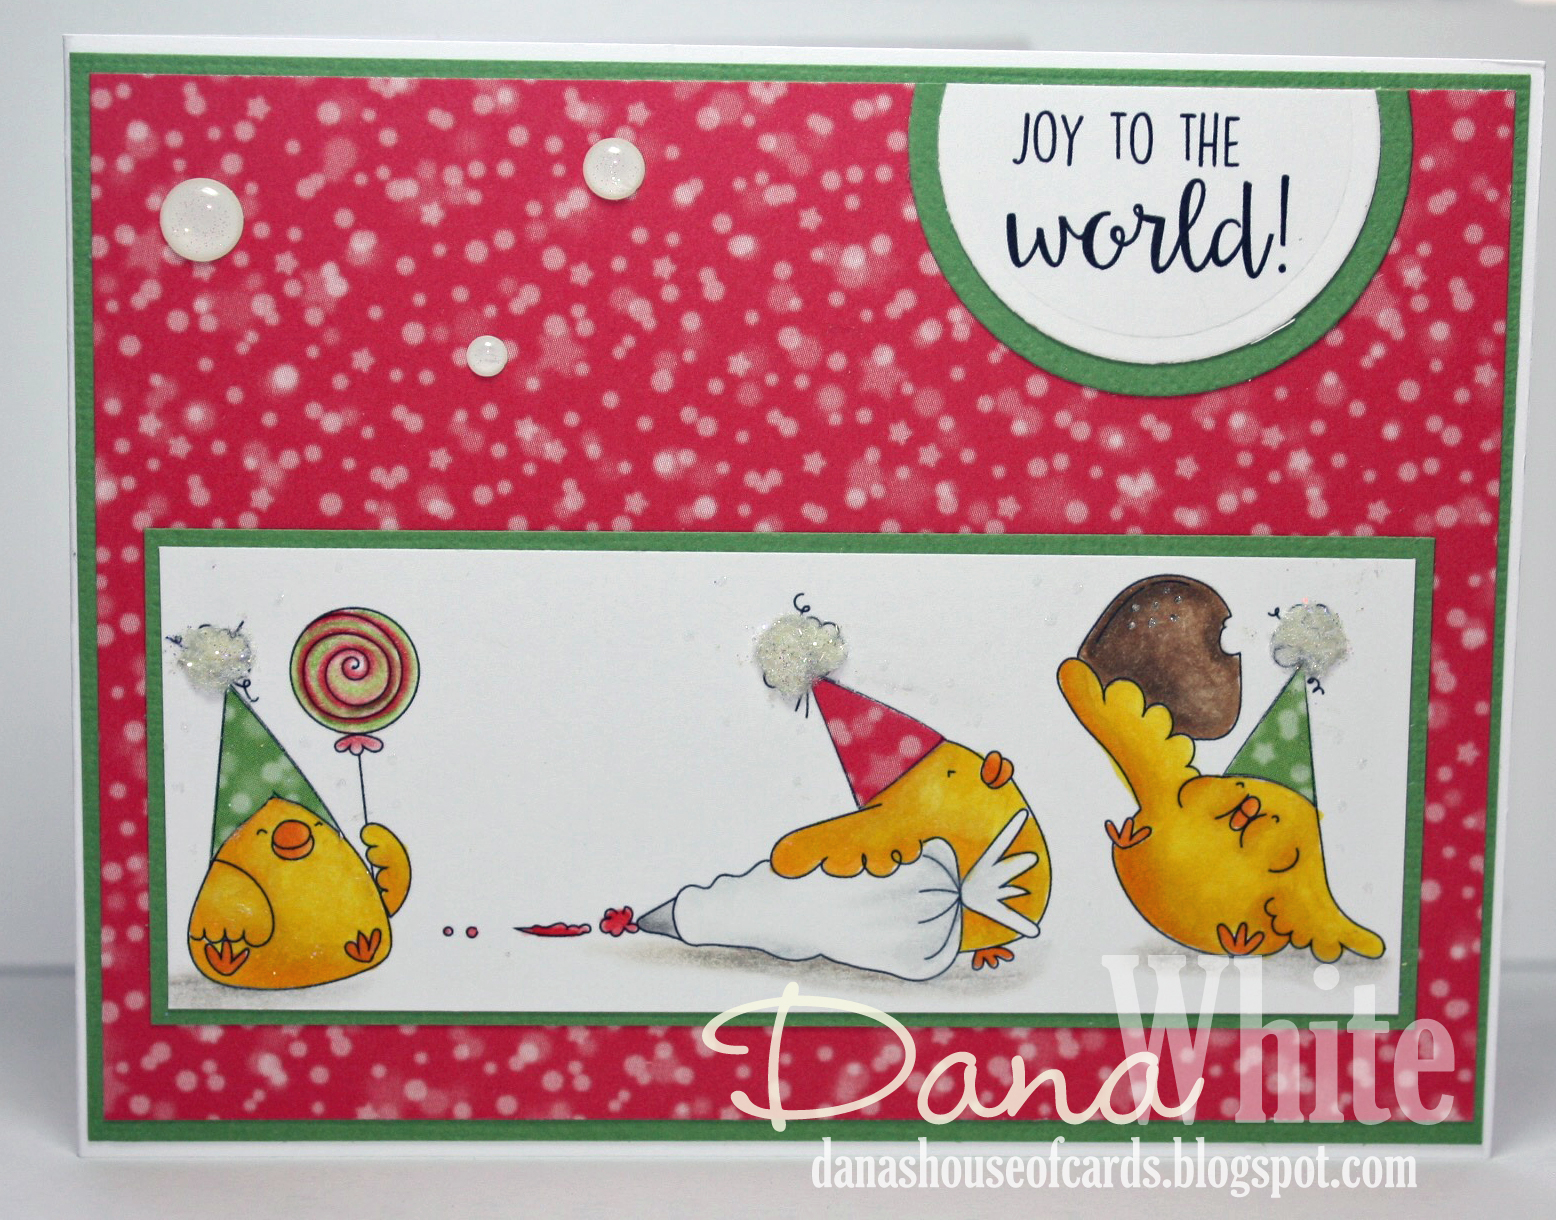
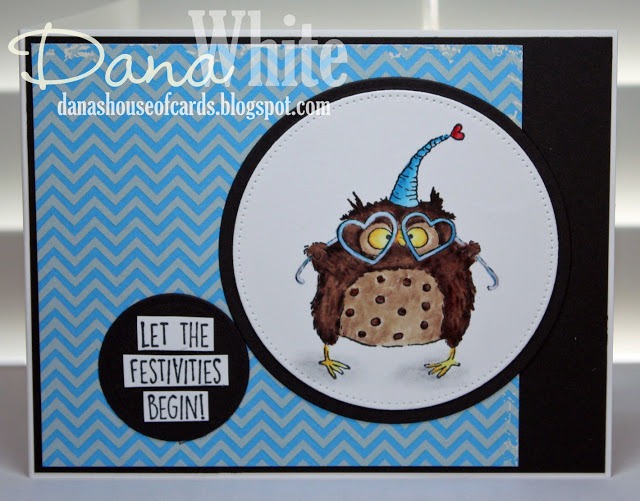
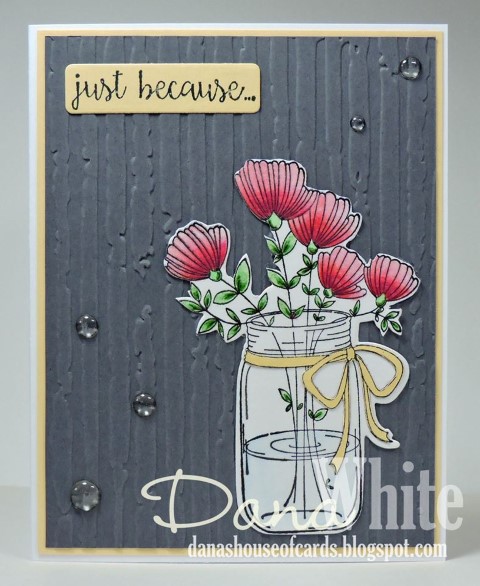
Here’s DANAbella’s card

and the inside
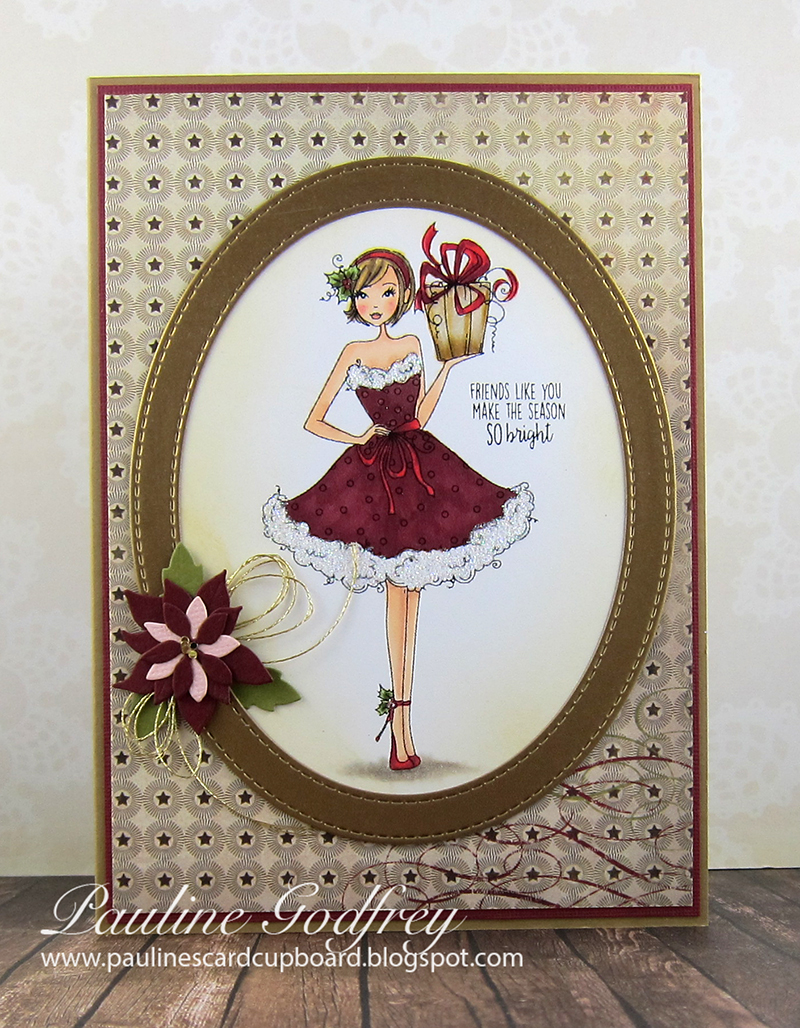
and Paulabella’s card
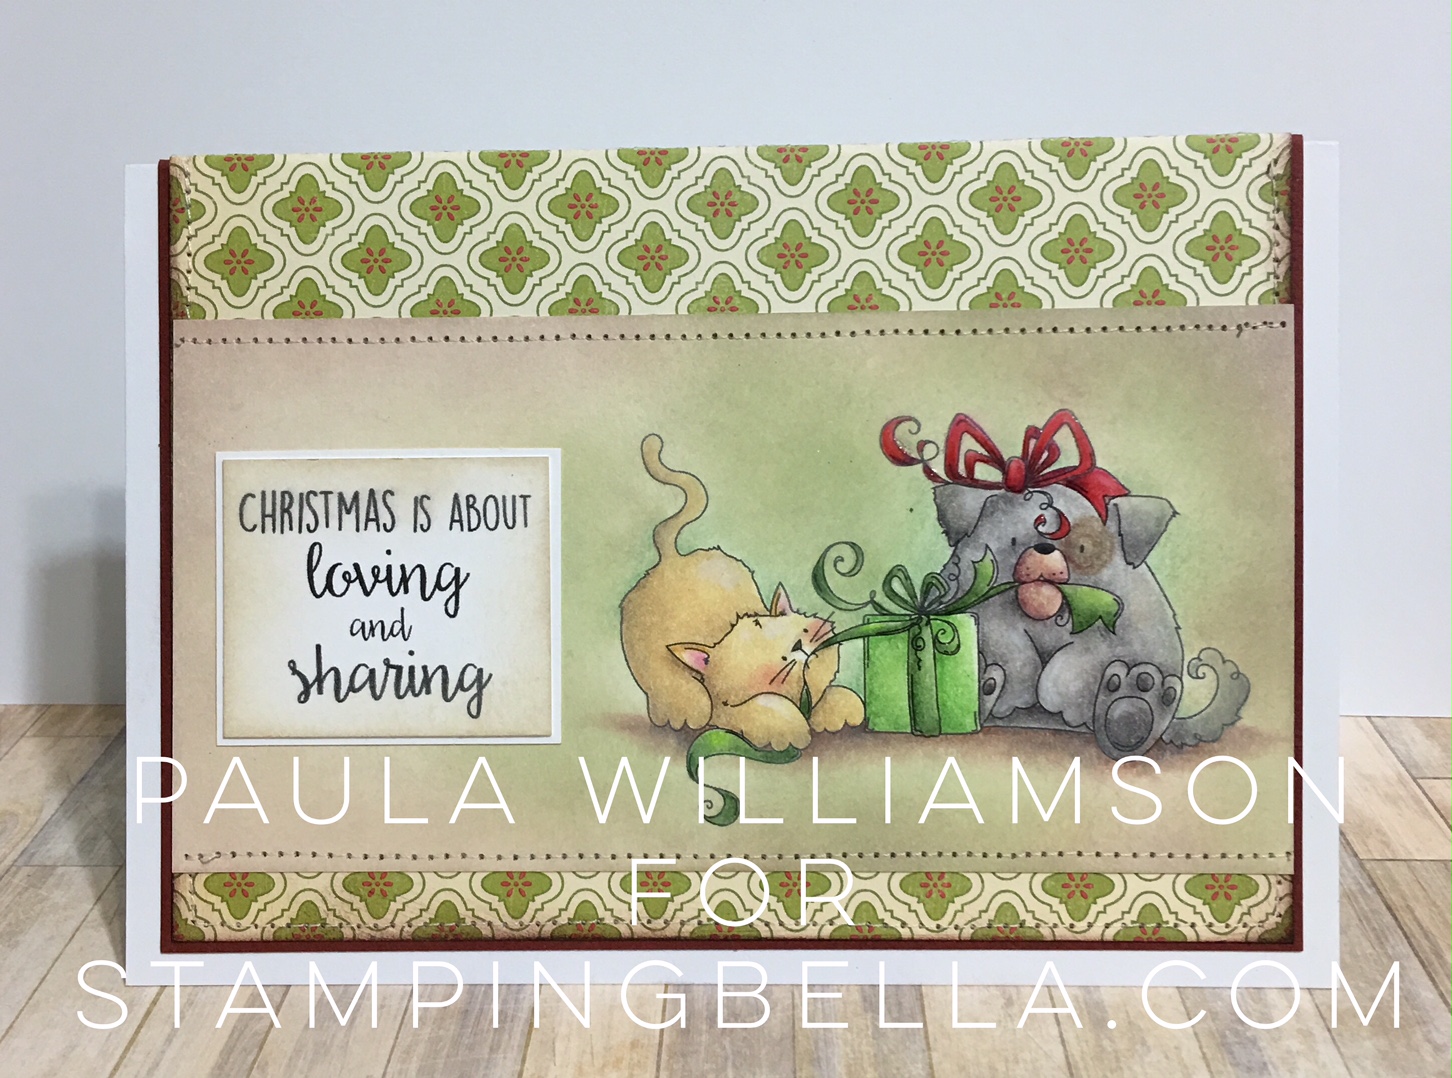
LOVE!!!
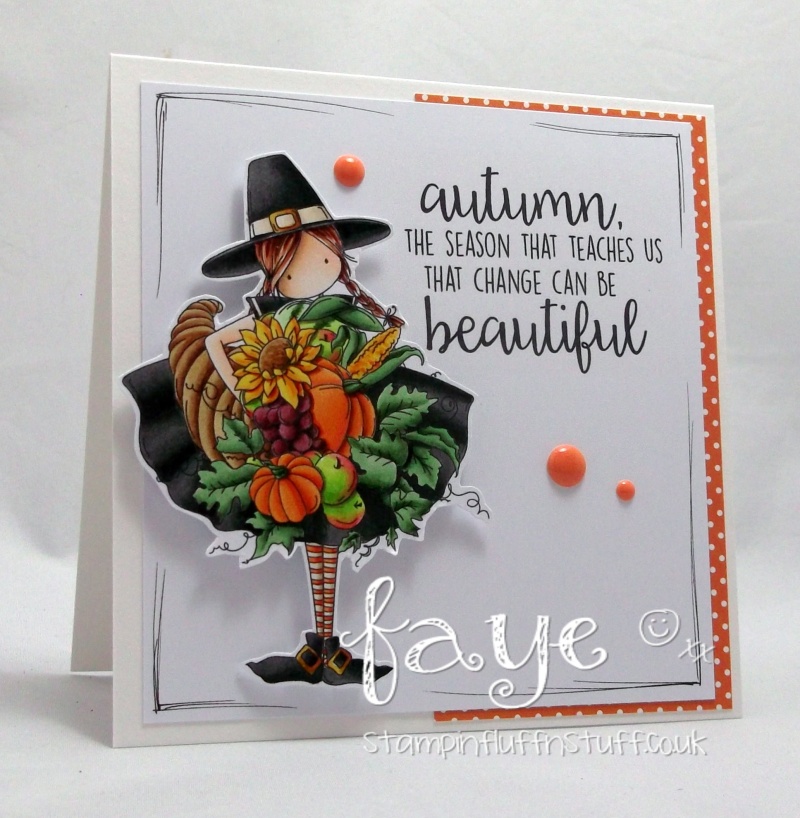
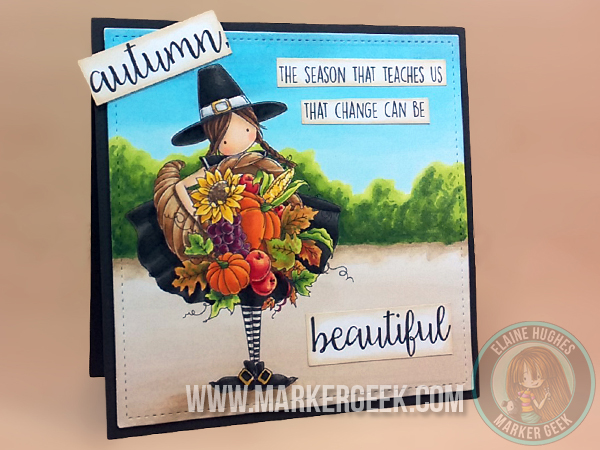
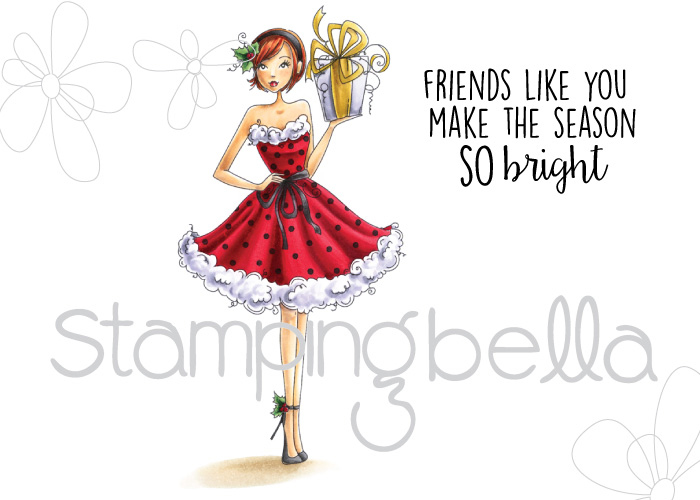
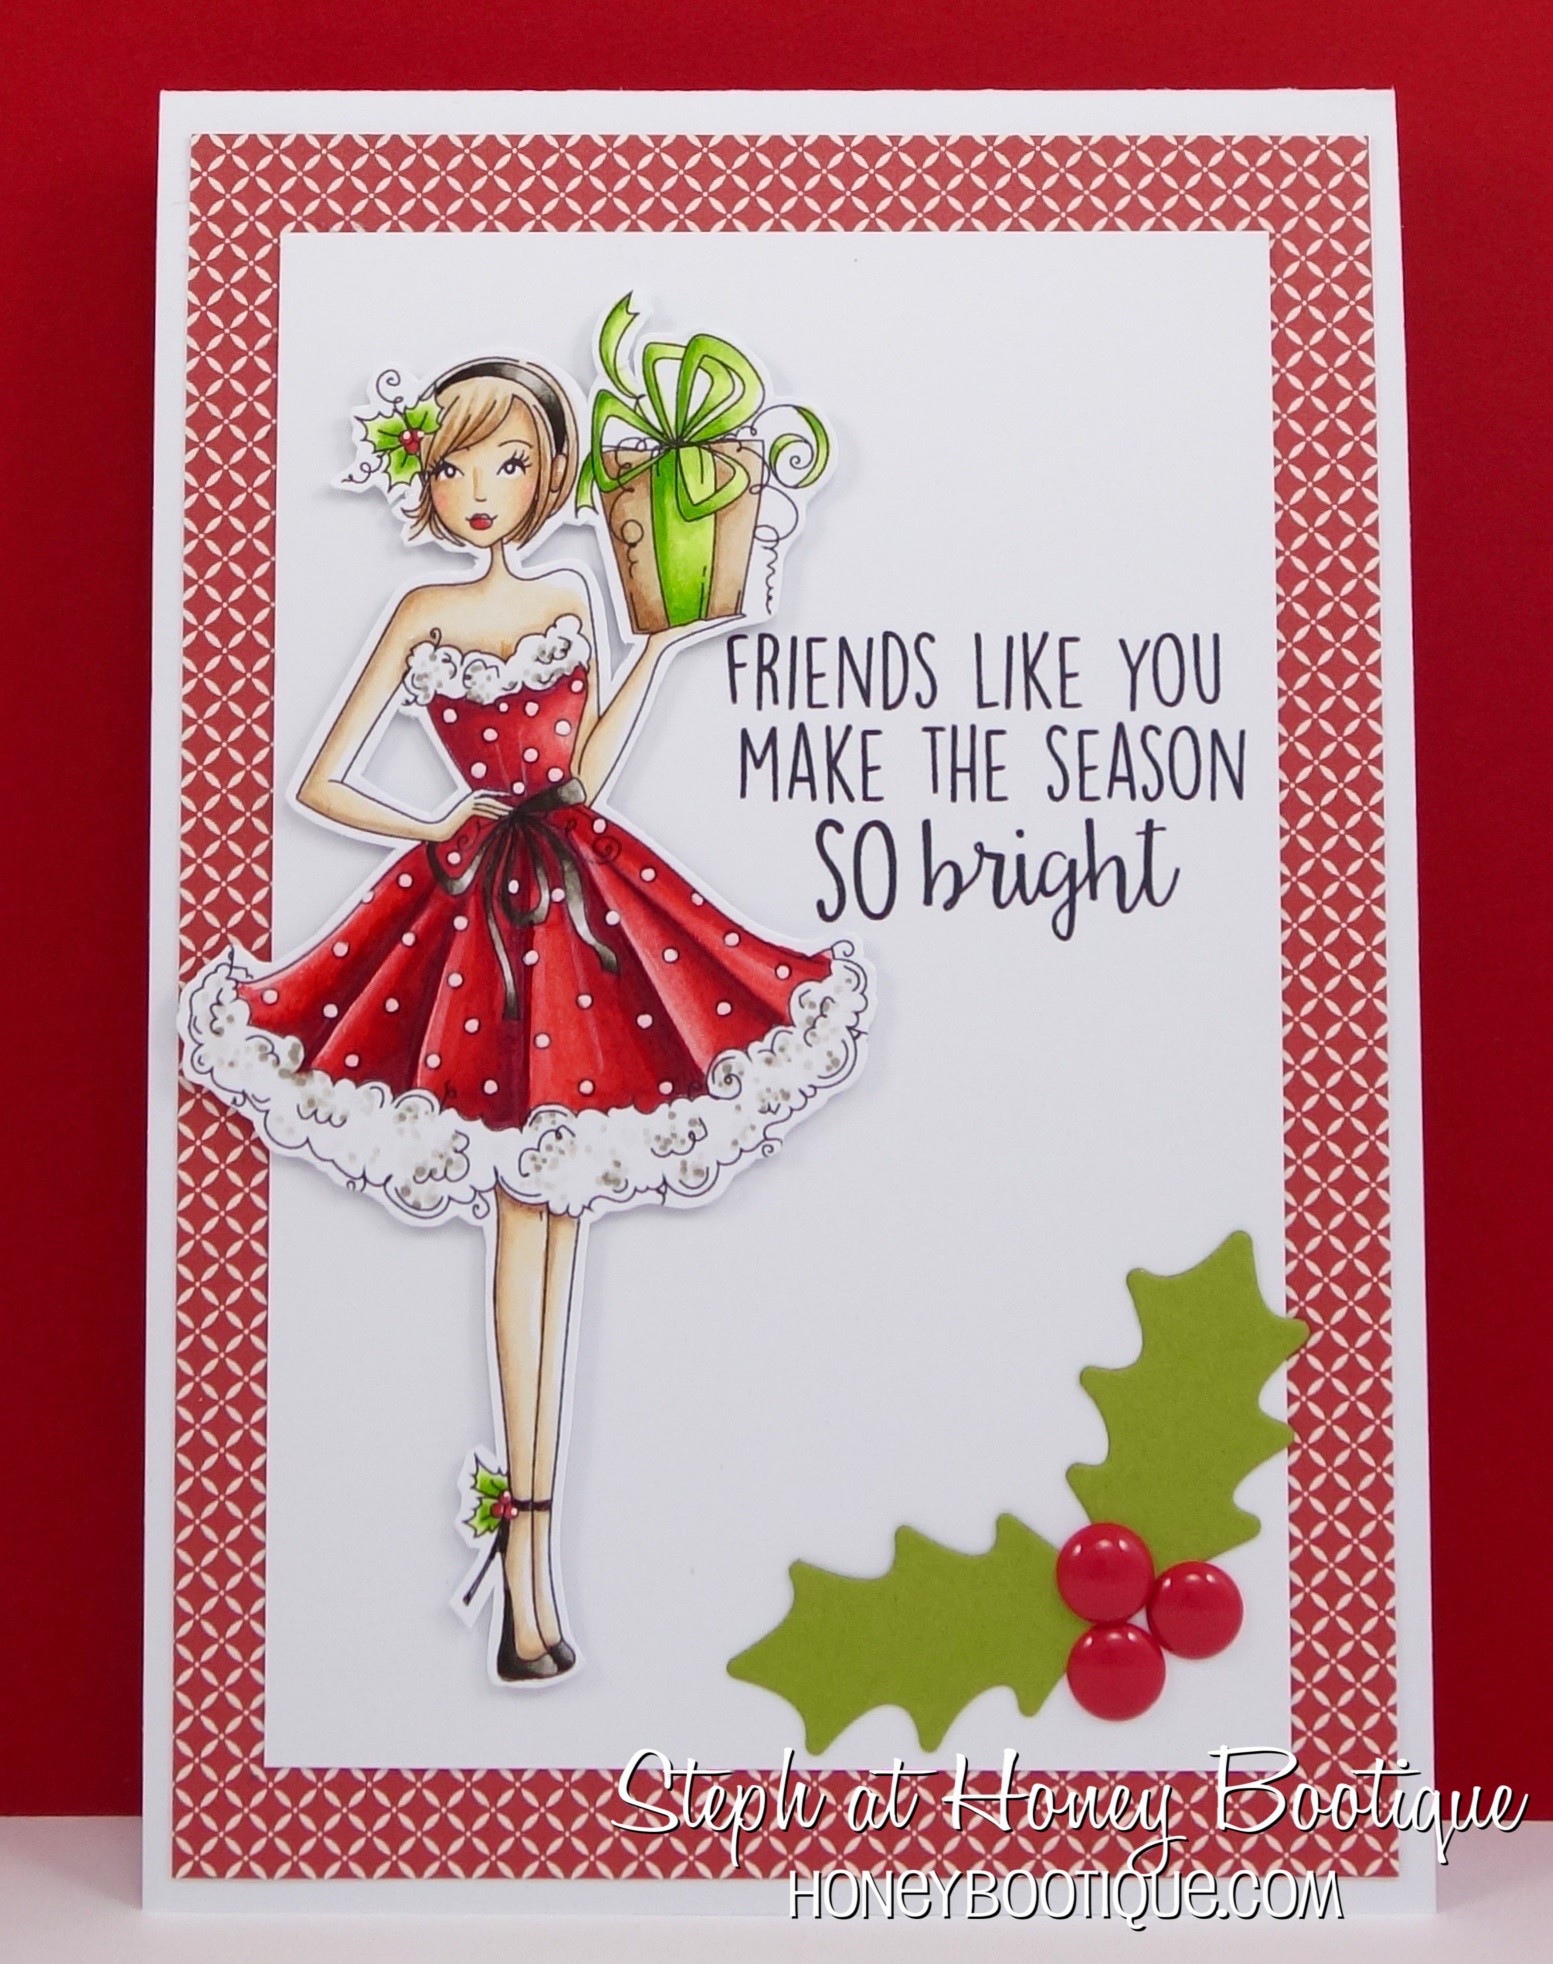
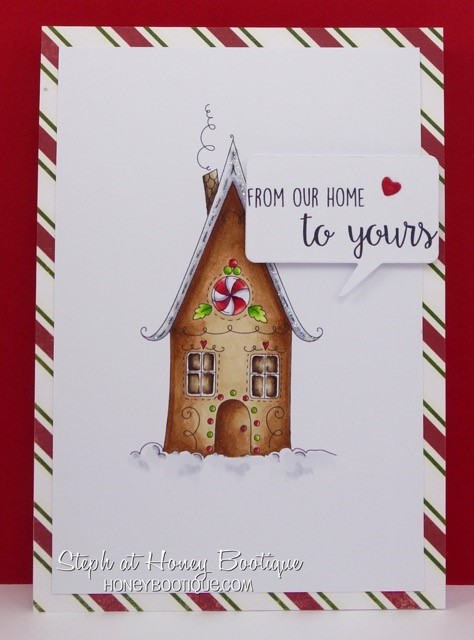
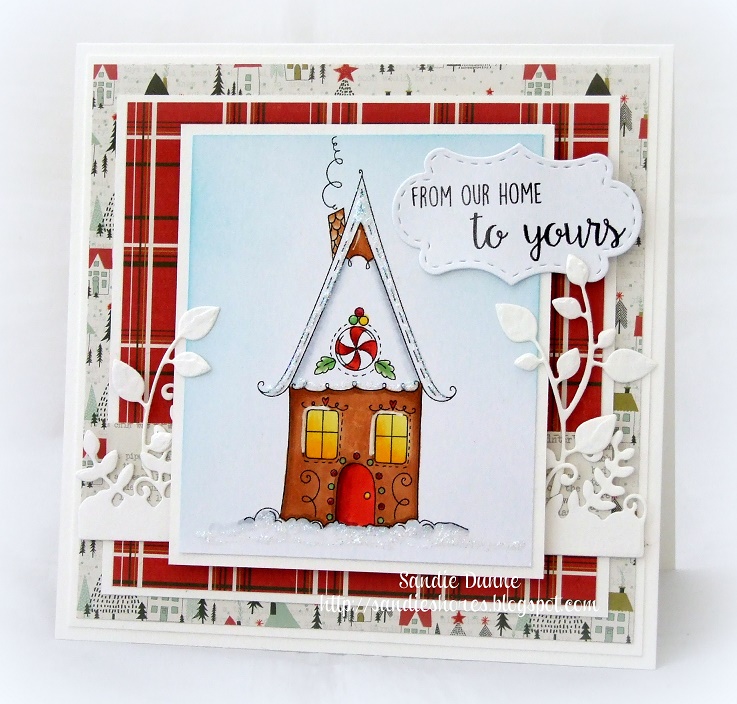
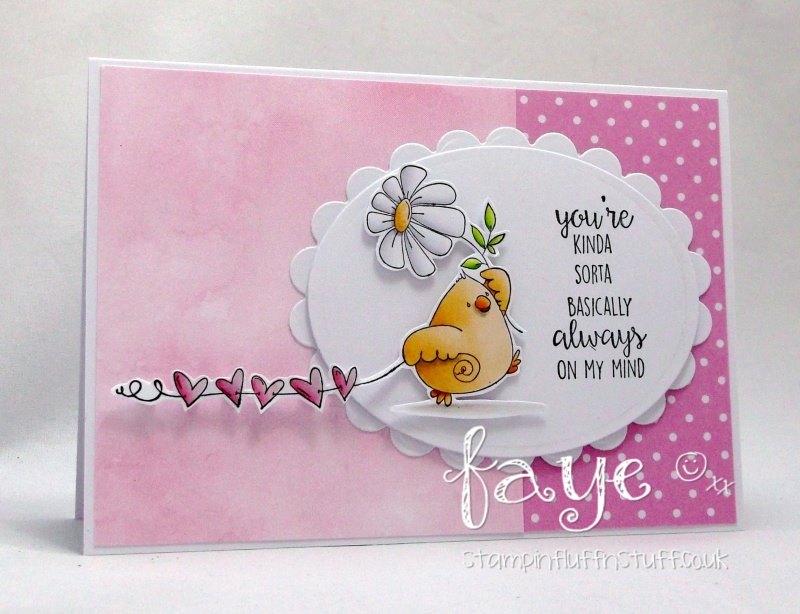
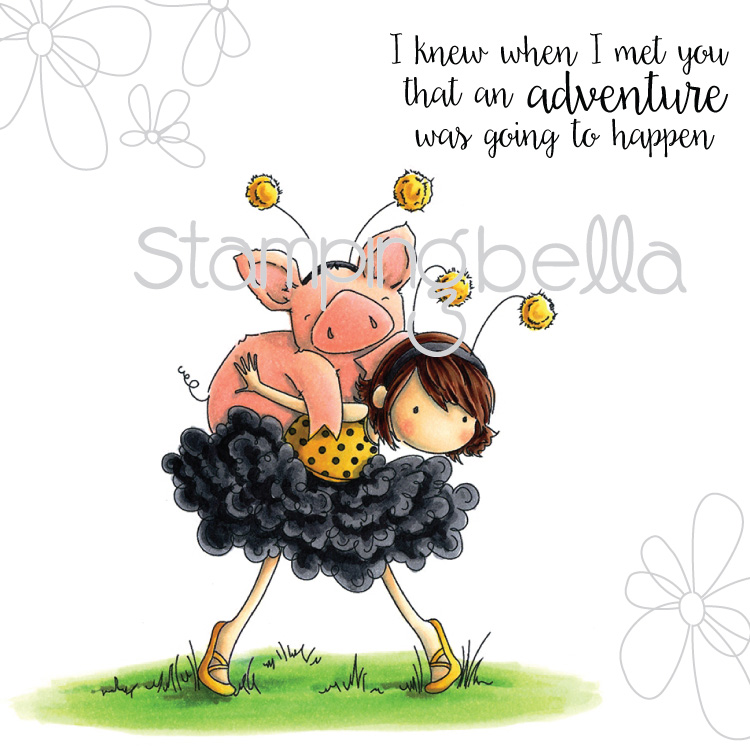
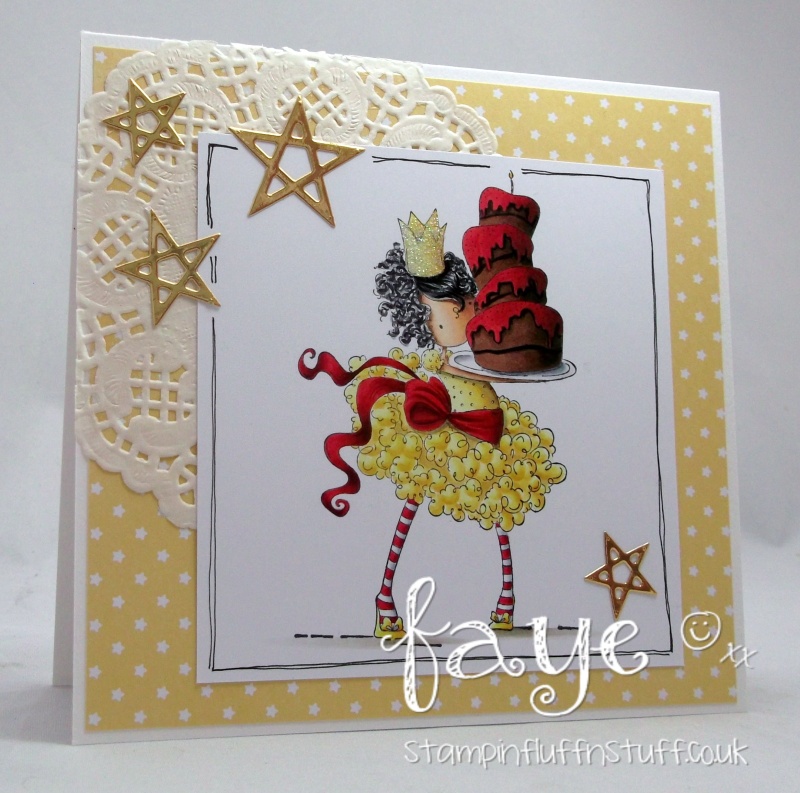
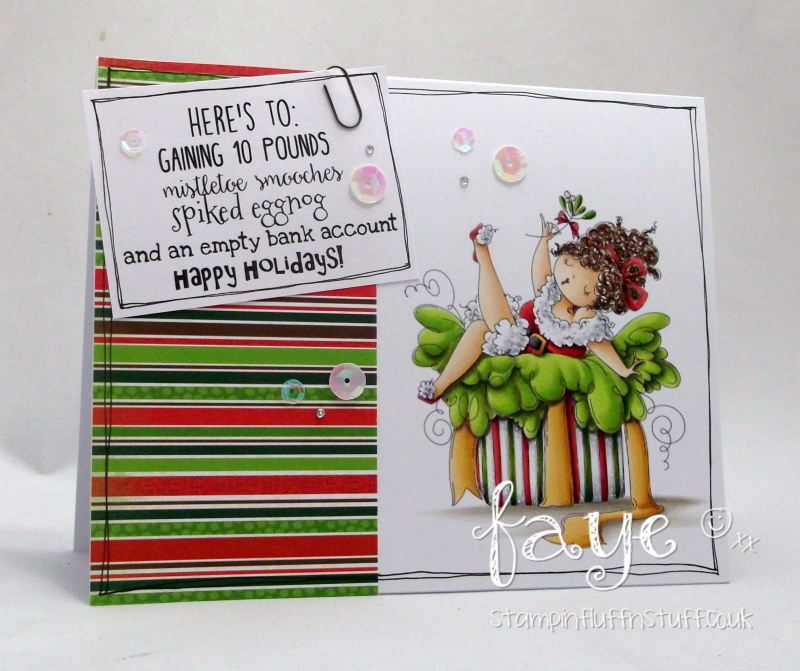
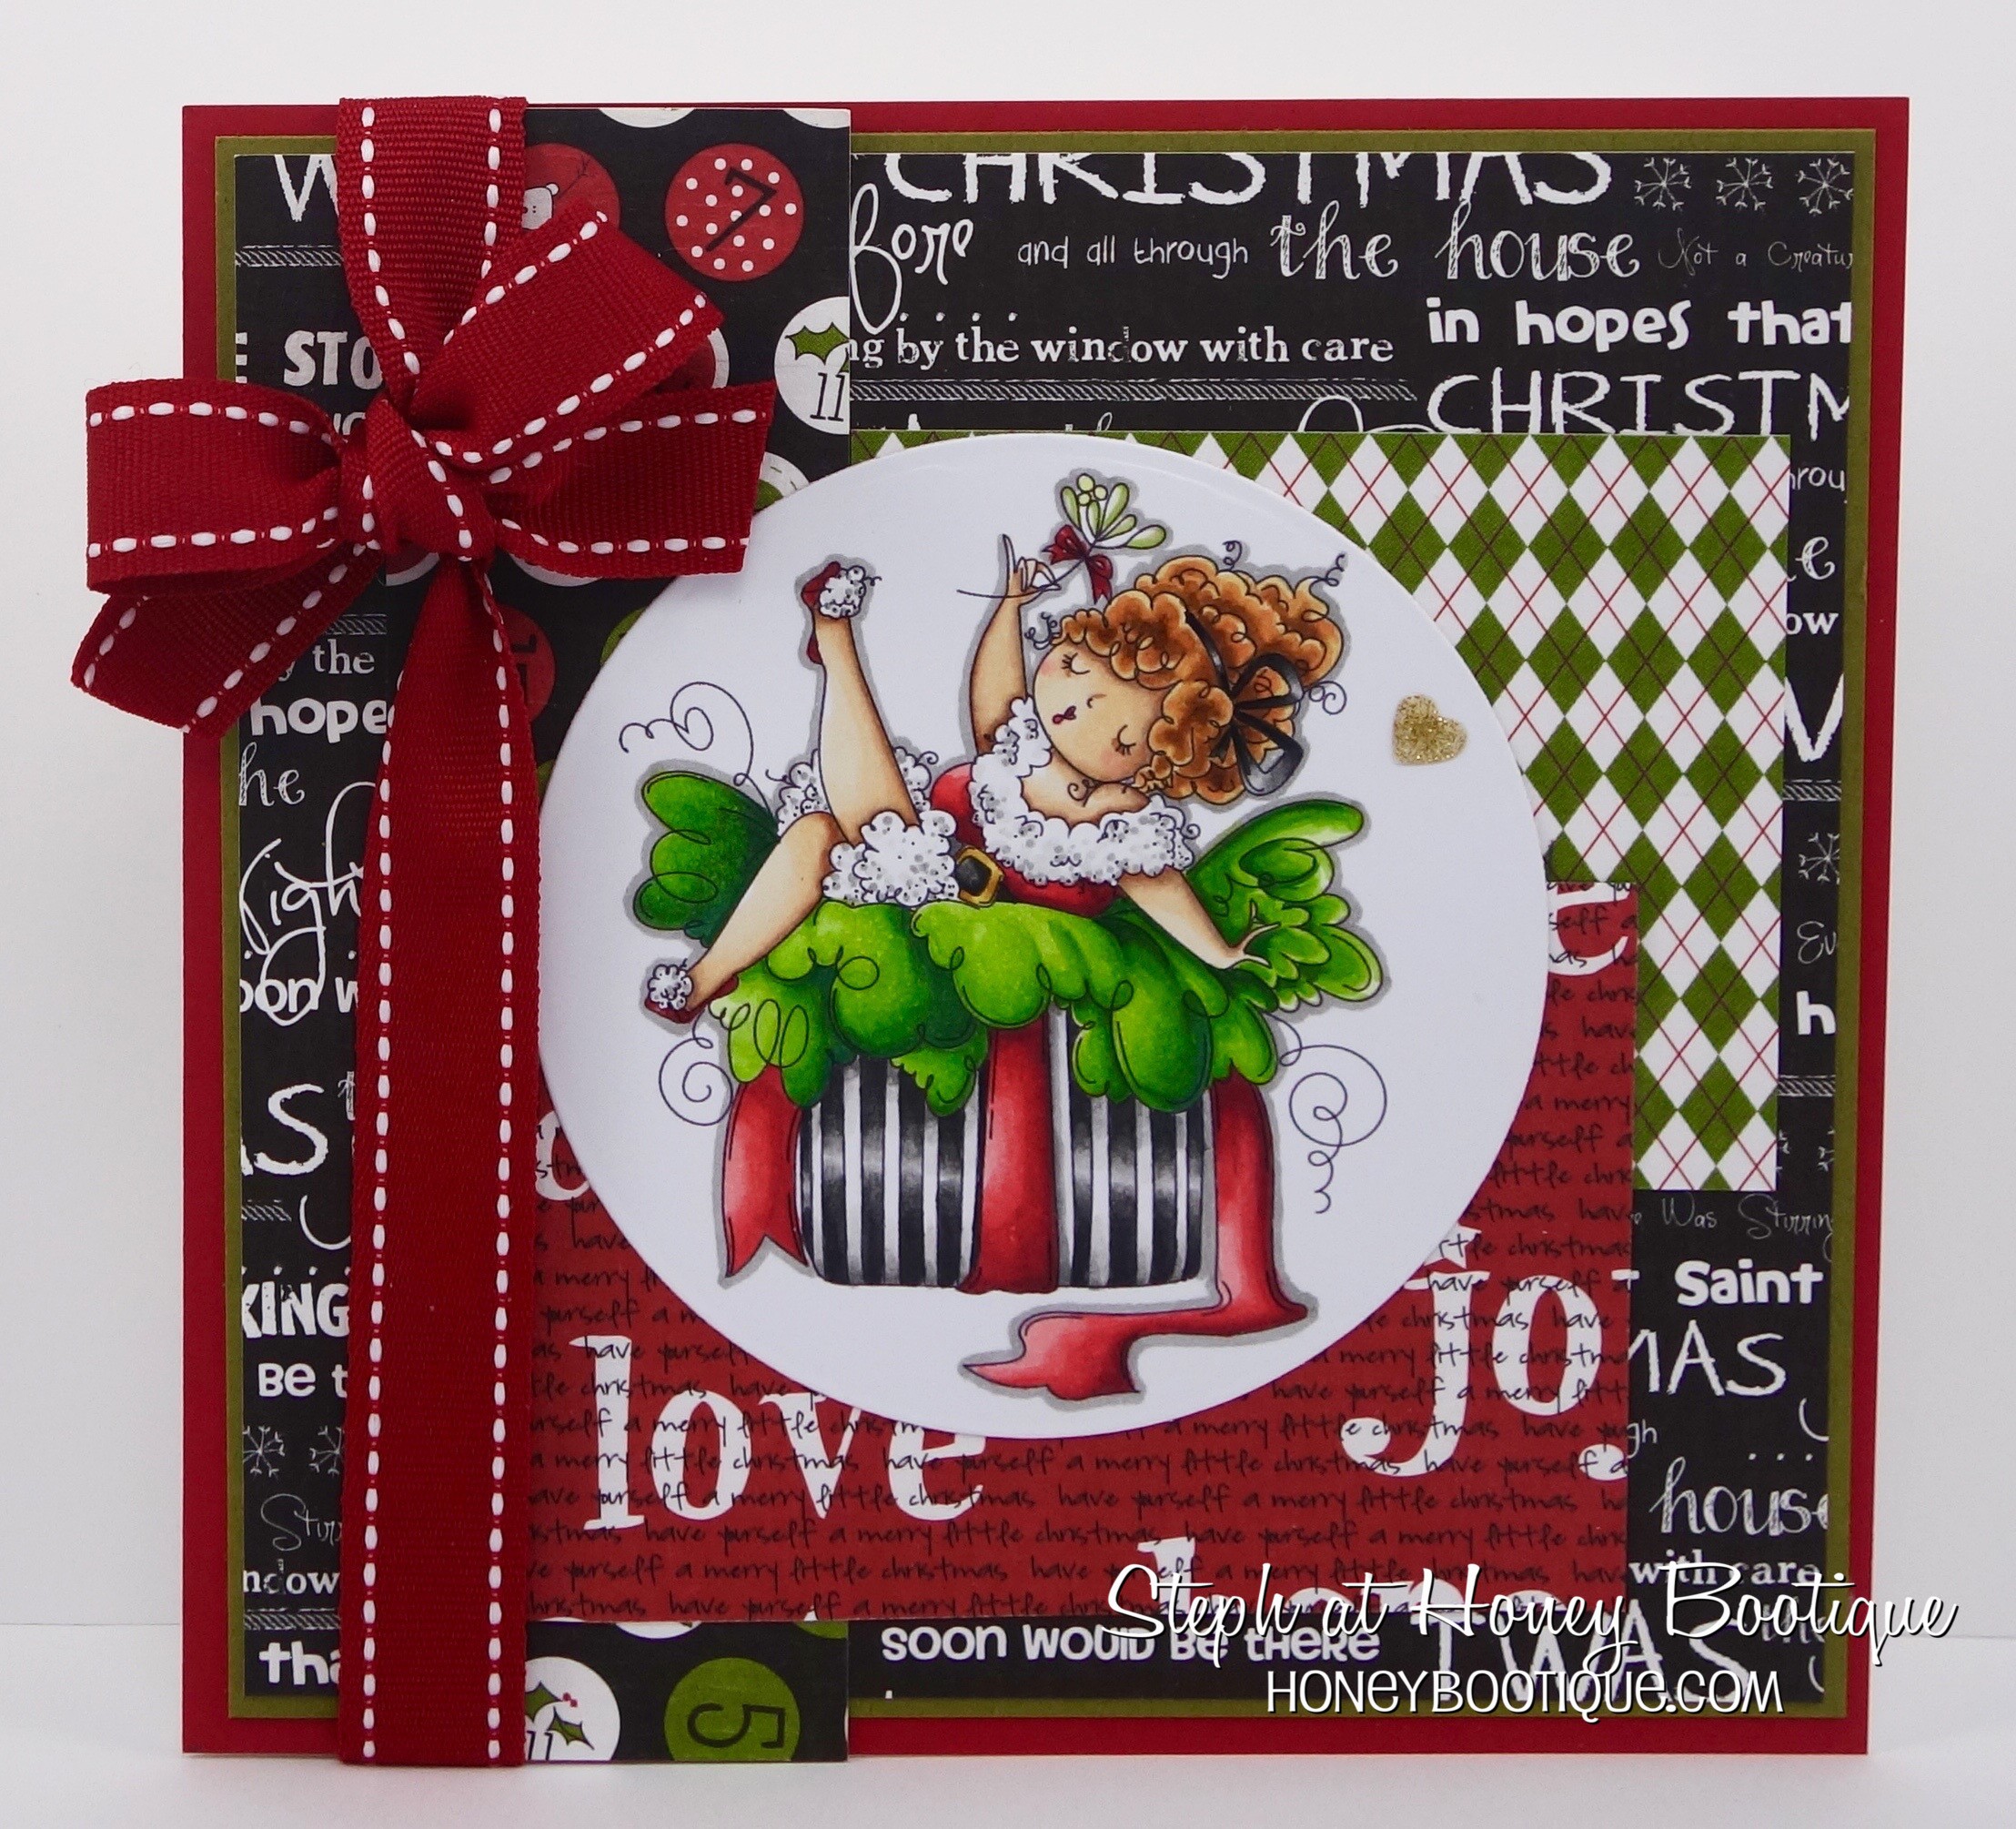
What’s a release without an EDNA you ask? It’s NOT a release! LOL.. meet EDNA under the MISTLETOE.. with her divine legs.. and puckered lips.. she’s so uninhibited and shameless LOL. I need to be more like EDNA.. and her sentiment? I can’t even…

Colouring Video:
Watch this image being coloured in the video below or in HD over on YouTube.
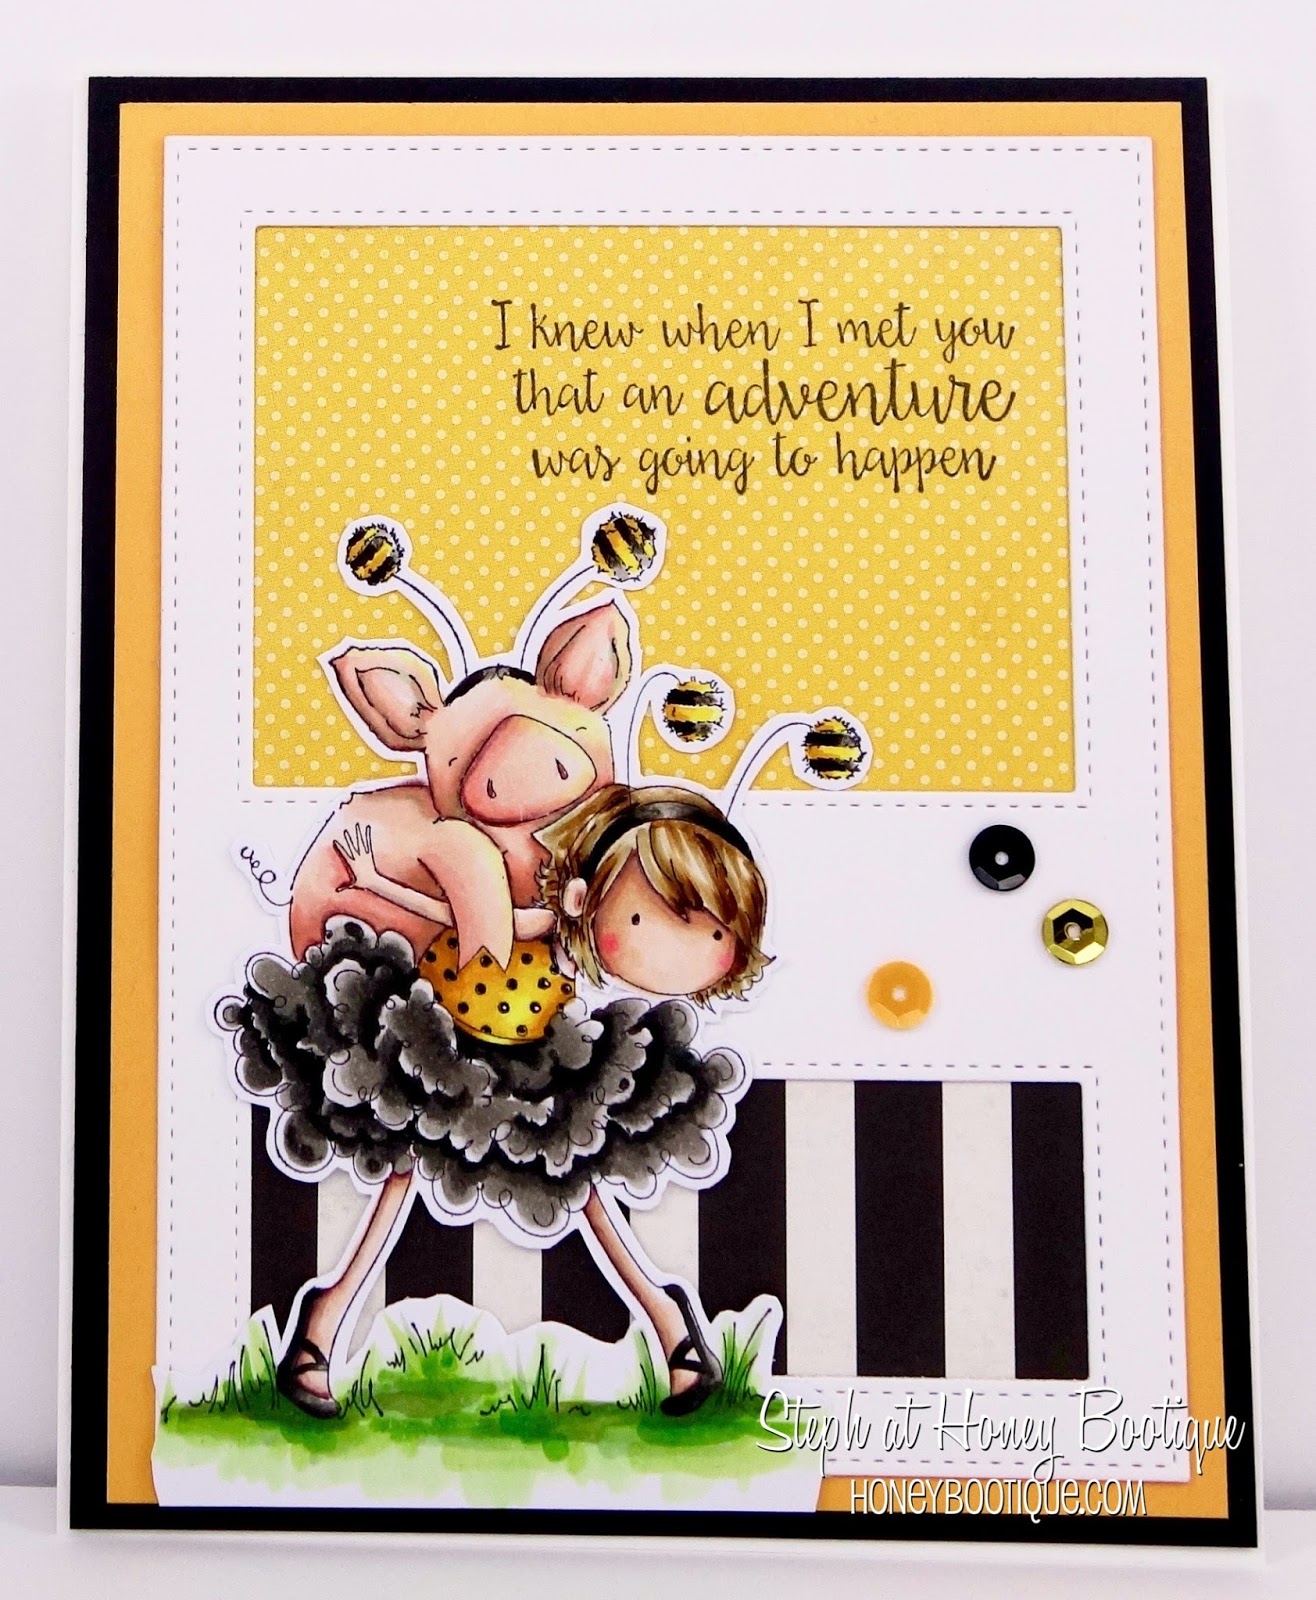
Card Making Inspiration:
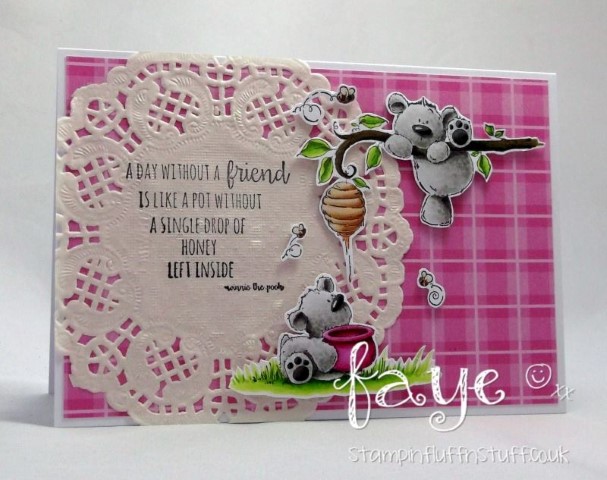
FAYE-WJ-abella used Edna under the misteltoe on this card
Here’s Shelabella’s card
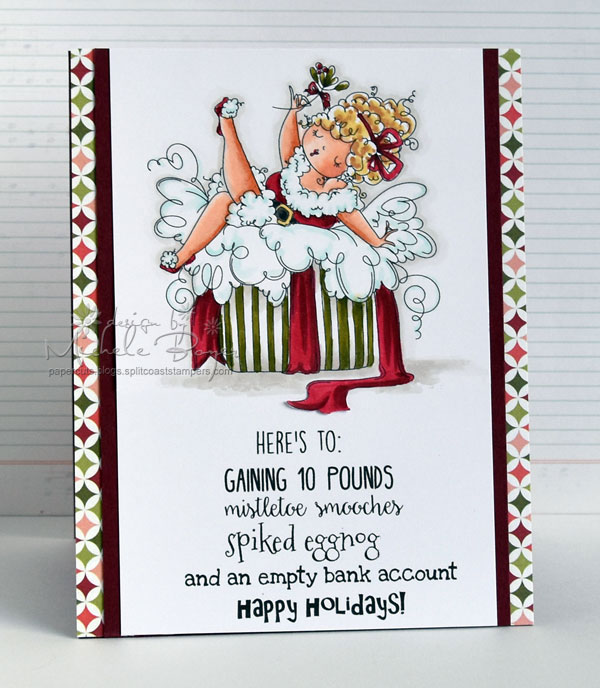
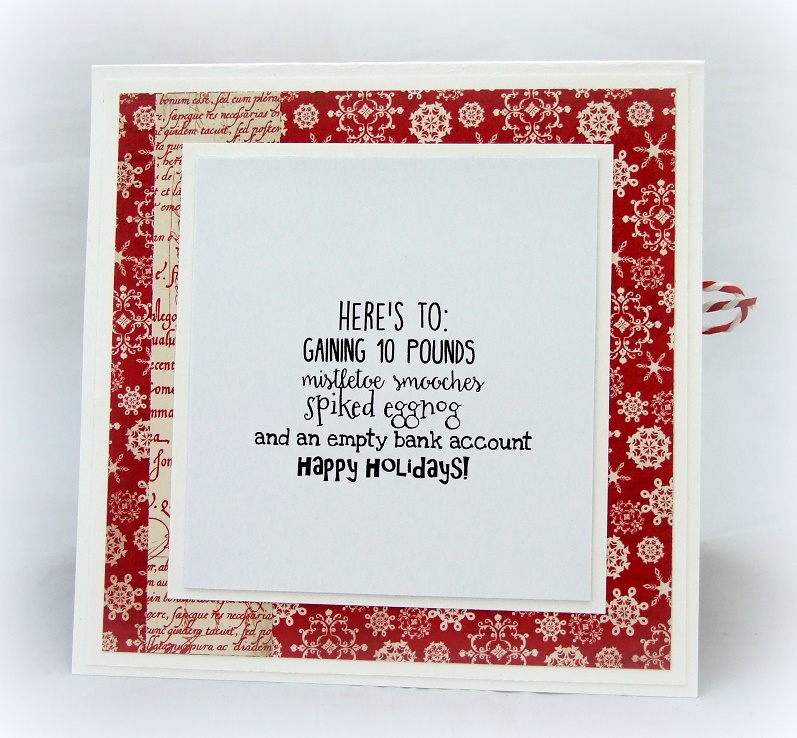
and here’s Stephabella’s card
and Sandiebella‘s card

and the inside!
Do we adore Edna or what? I know I do!
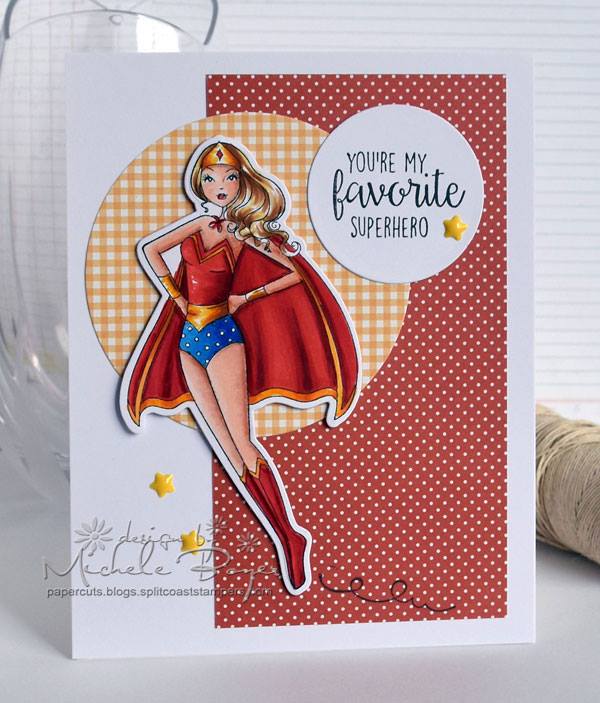
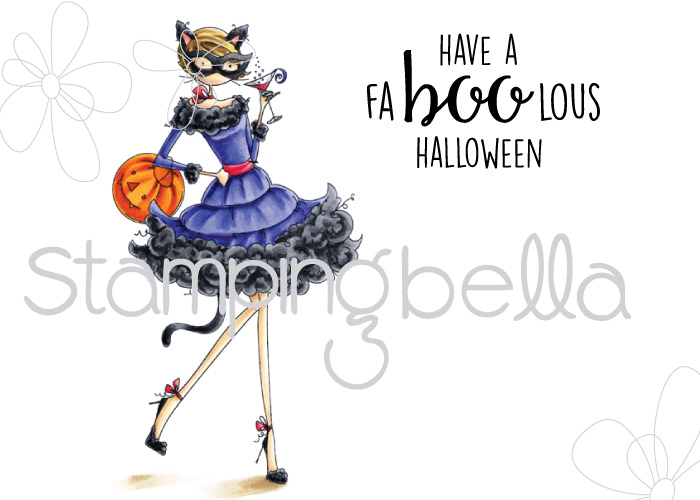
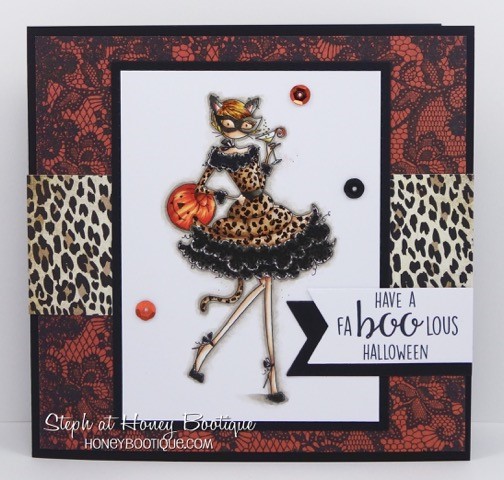
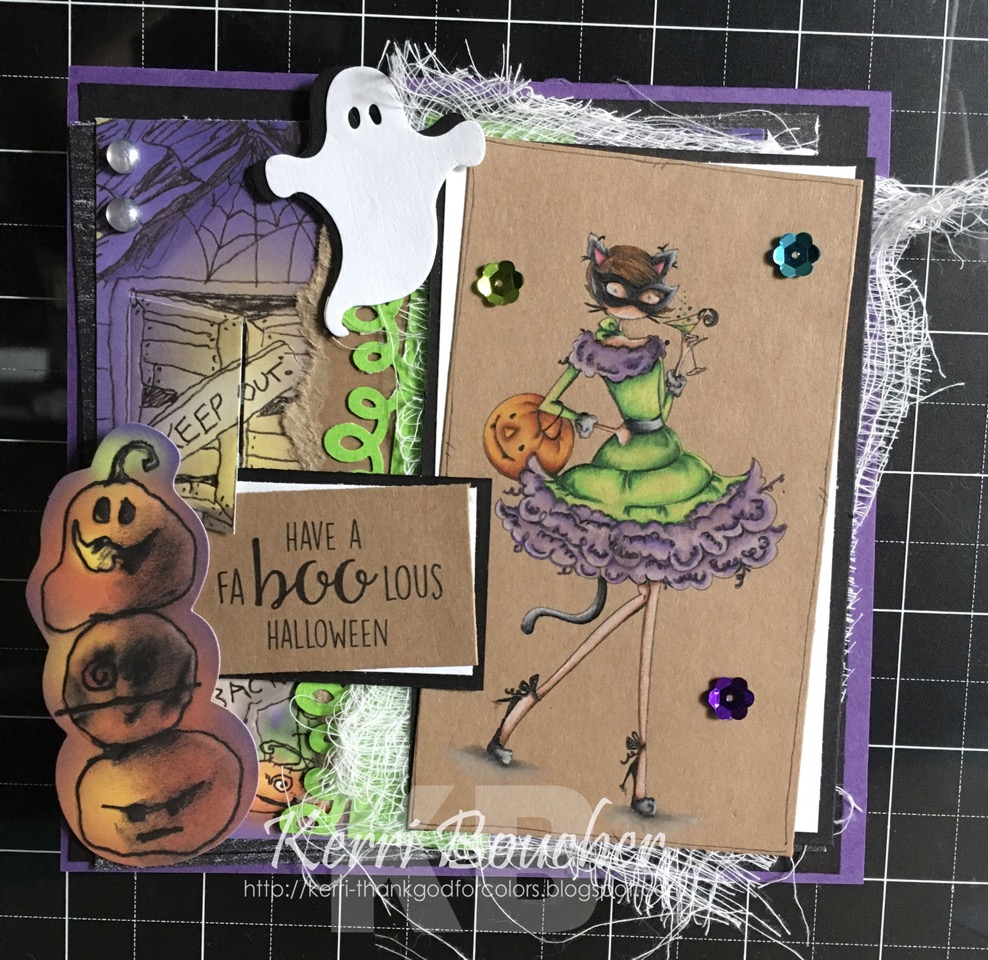
Next we have UPTOWN GIRL KITTY LOVES HALLOWEEN. what’s a release without an Uptownie? hmmmm? Isn’t she BOOtiful and faBOOlous? get it? I so funny.
Colouring Video:
Watch this image being coloured in the video below or in HD over on YouTube.
Card Making Inspiration:
Here’s Stephabella’s card.. look at the LEOPARD PRINT! WHOAAAAAA!
And here’s Kerribella’s gorgeous card!
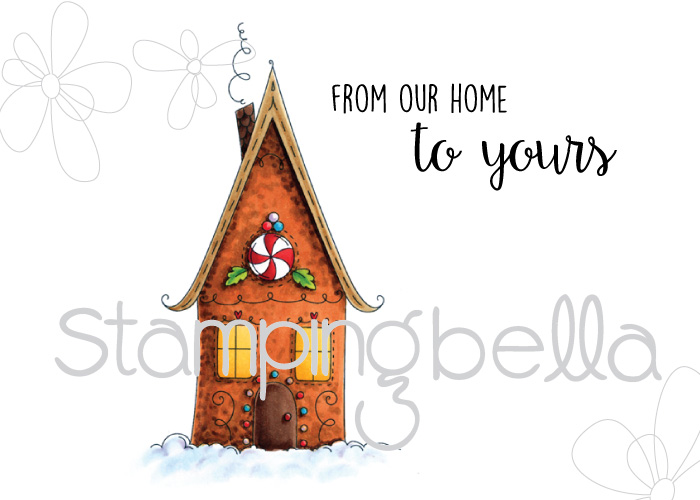
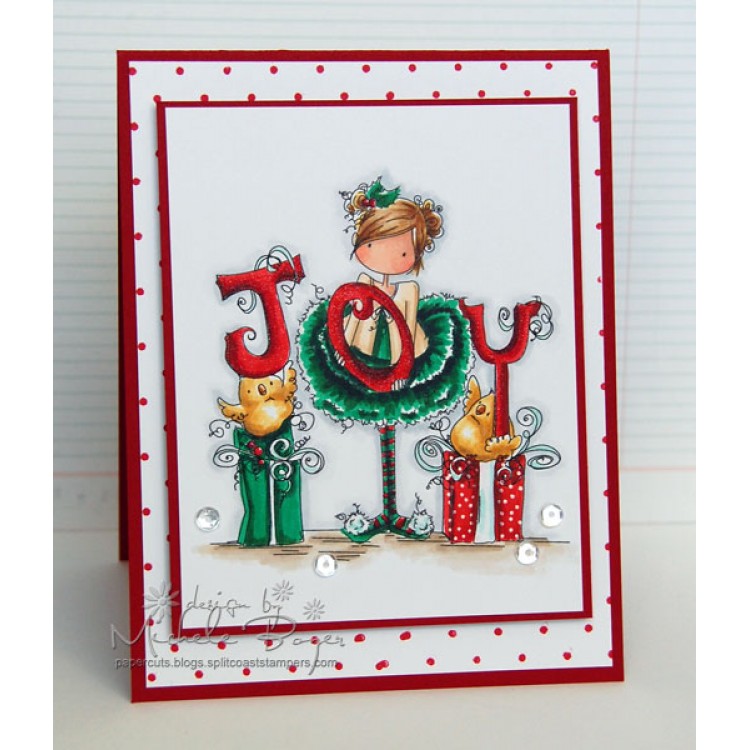
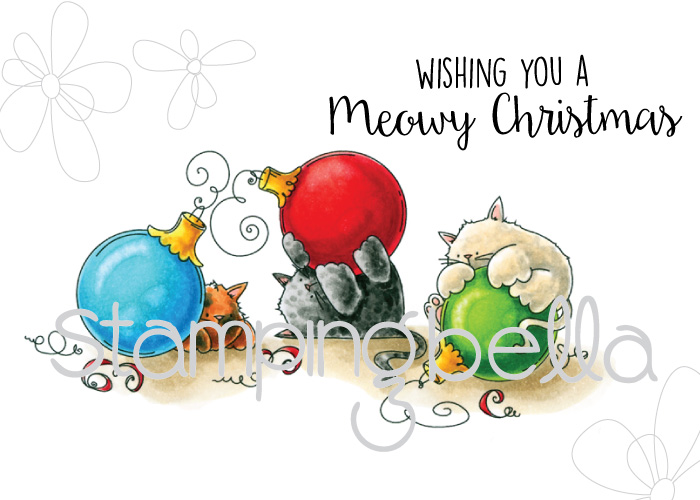
And our last sneak peek today is MEOWY CHRISTMAS.. I mean seriously.. I CAN’T and I don’t think you will either 🙂 this is a 10 stamp set.. yes 10 because I needed to make every single ribbon that exists in this image.. I loved them all! LOL. Use one kitty.. use them all.. make a “ribbon” background… the world is your oyster 🙂 This set also comes with corresponding “CUT IT OUT” dies of course.. a set of 4! LOVE these kitties do you?
Colouring Video:
Watch this image being coloured in the video below or in HD over on YouTube.
Card Making Inspiration:
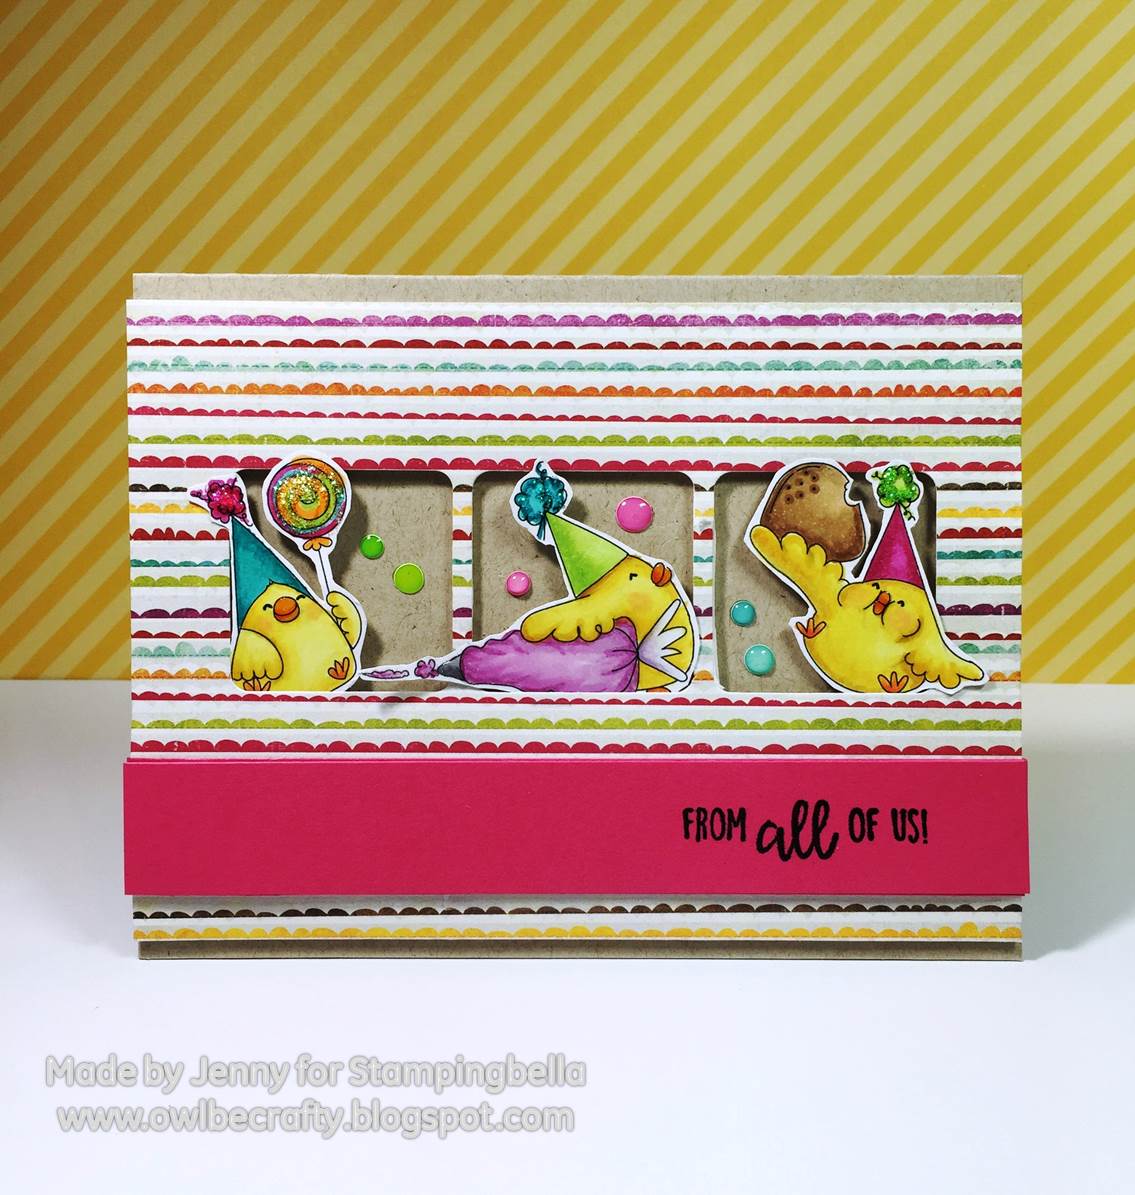
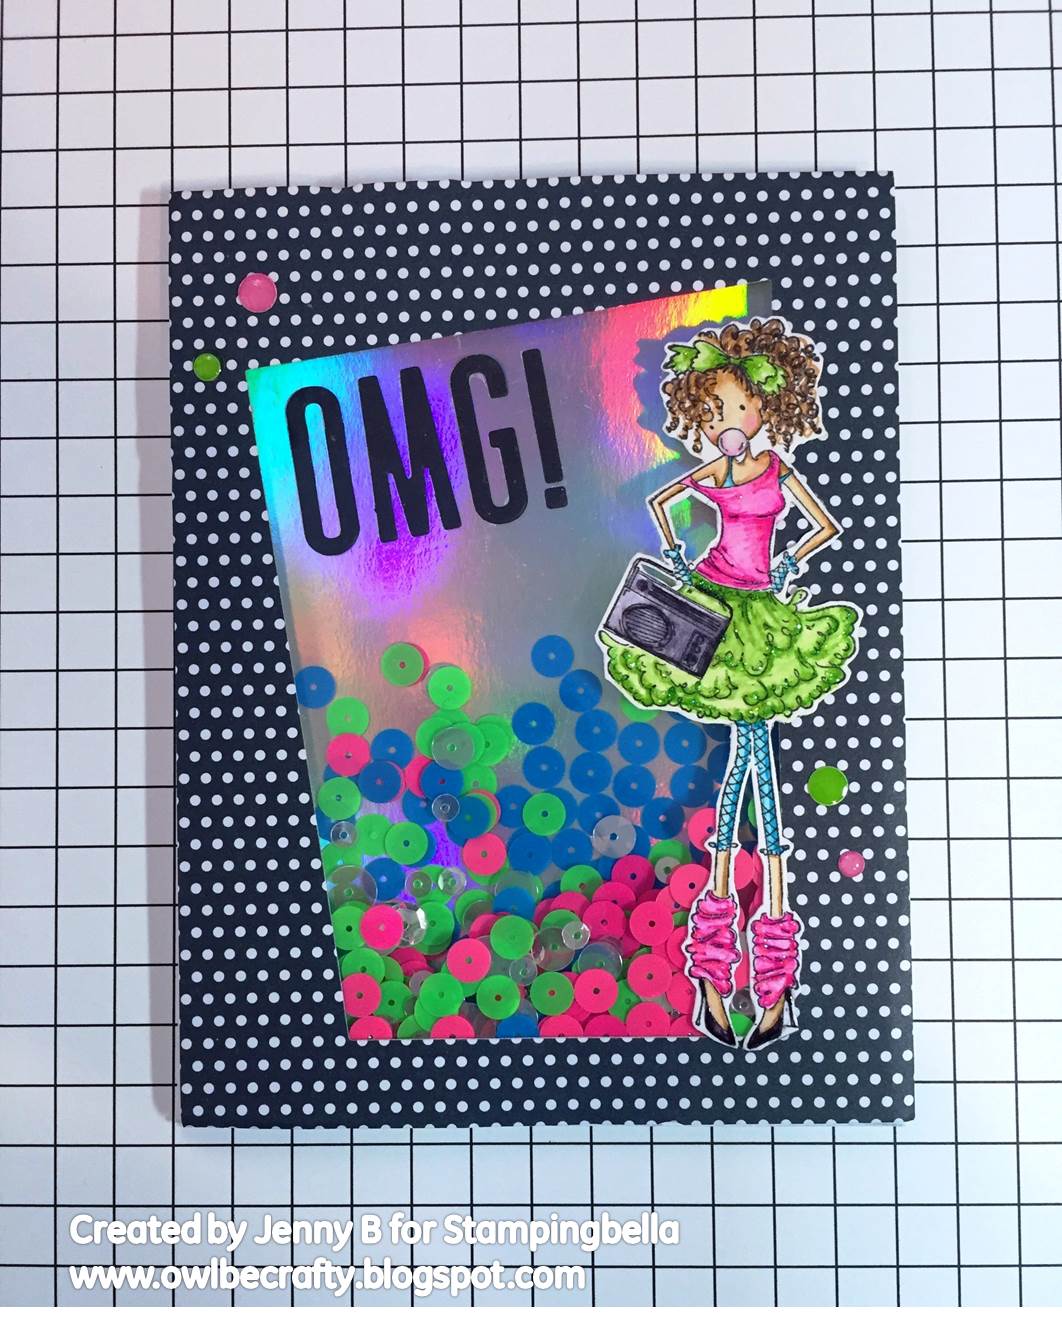
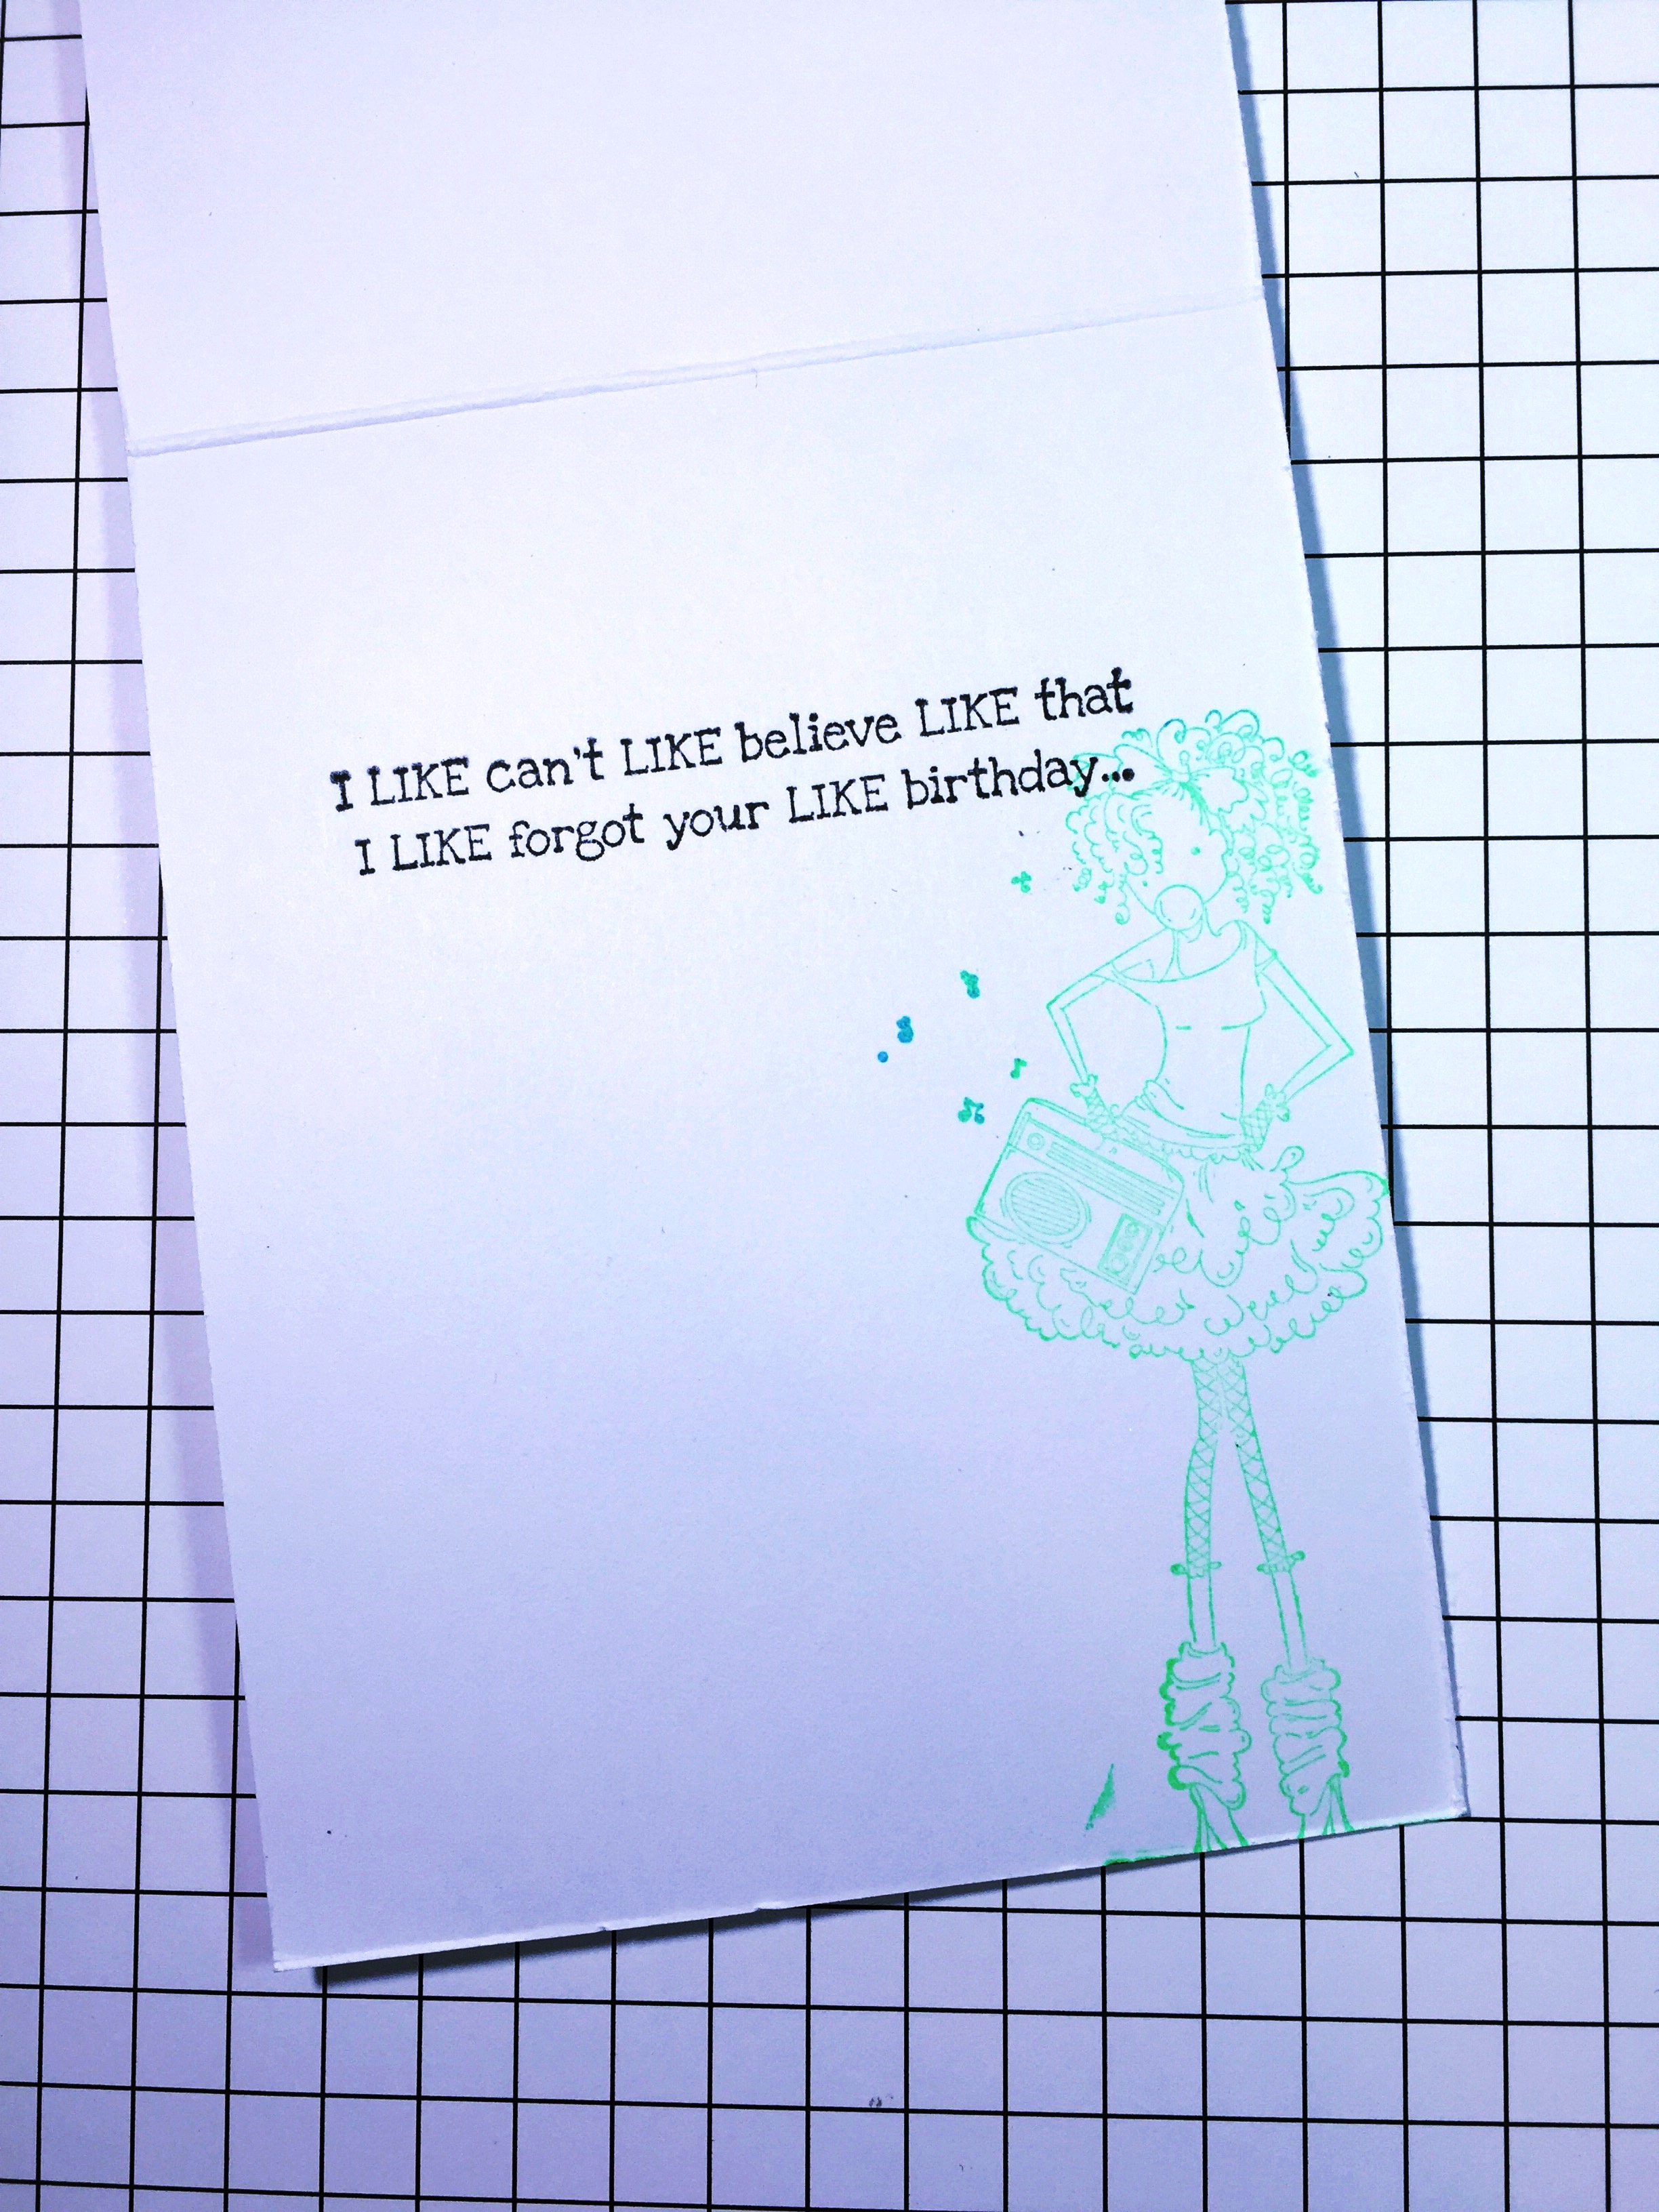
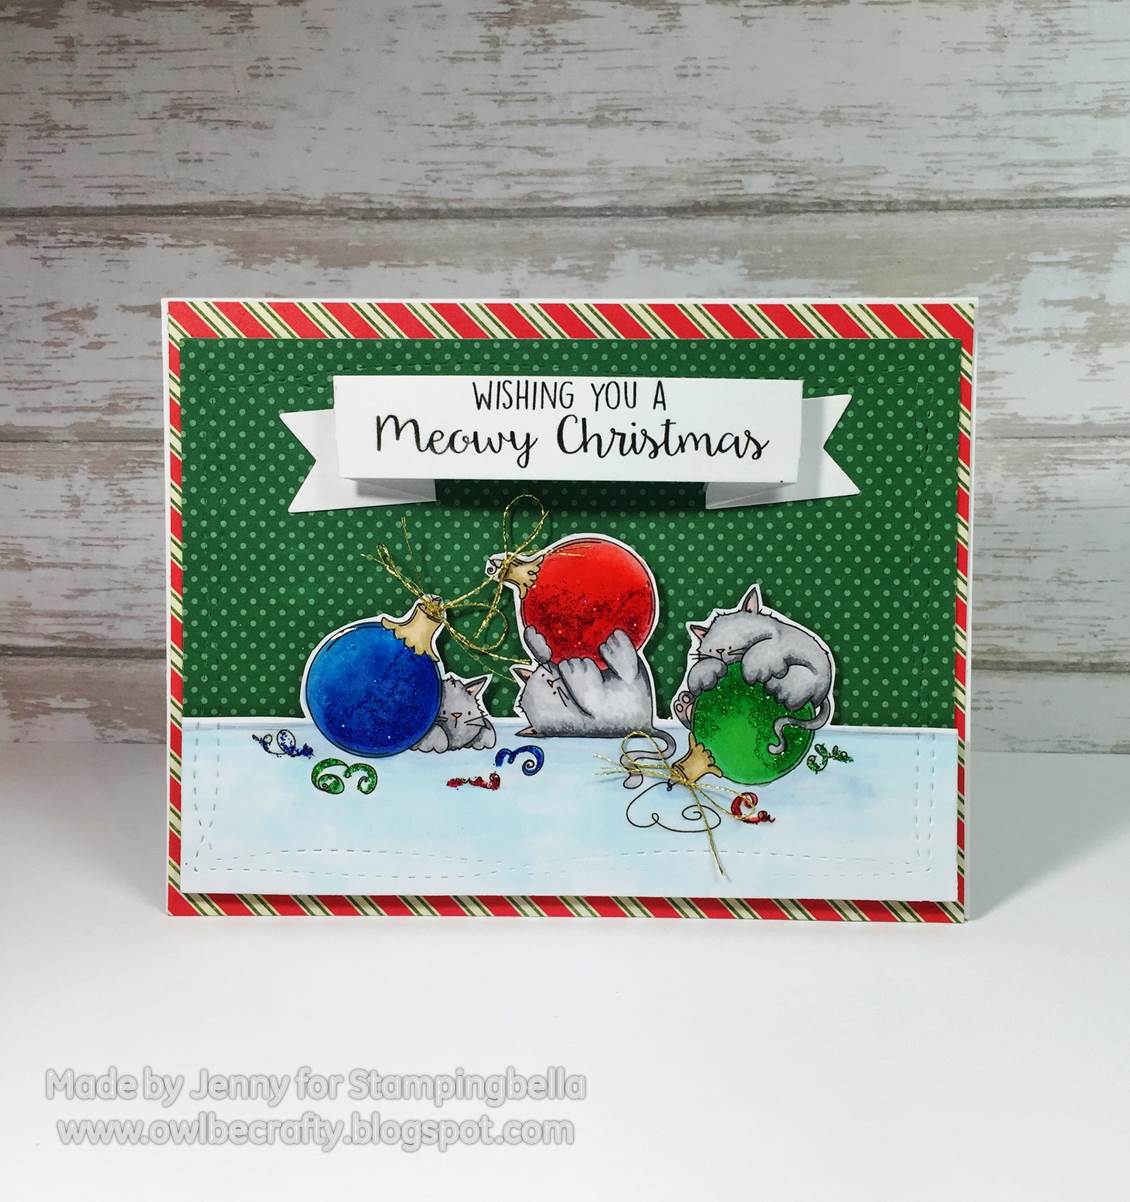
Here’s Jennybella’s card
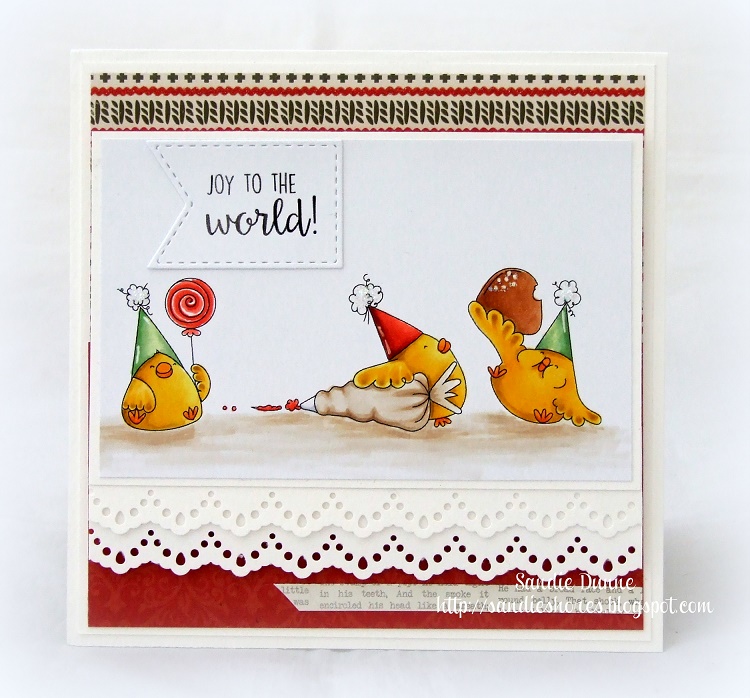
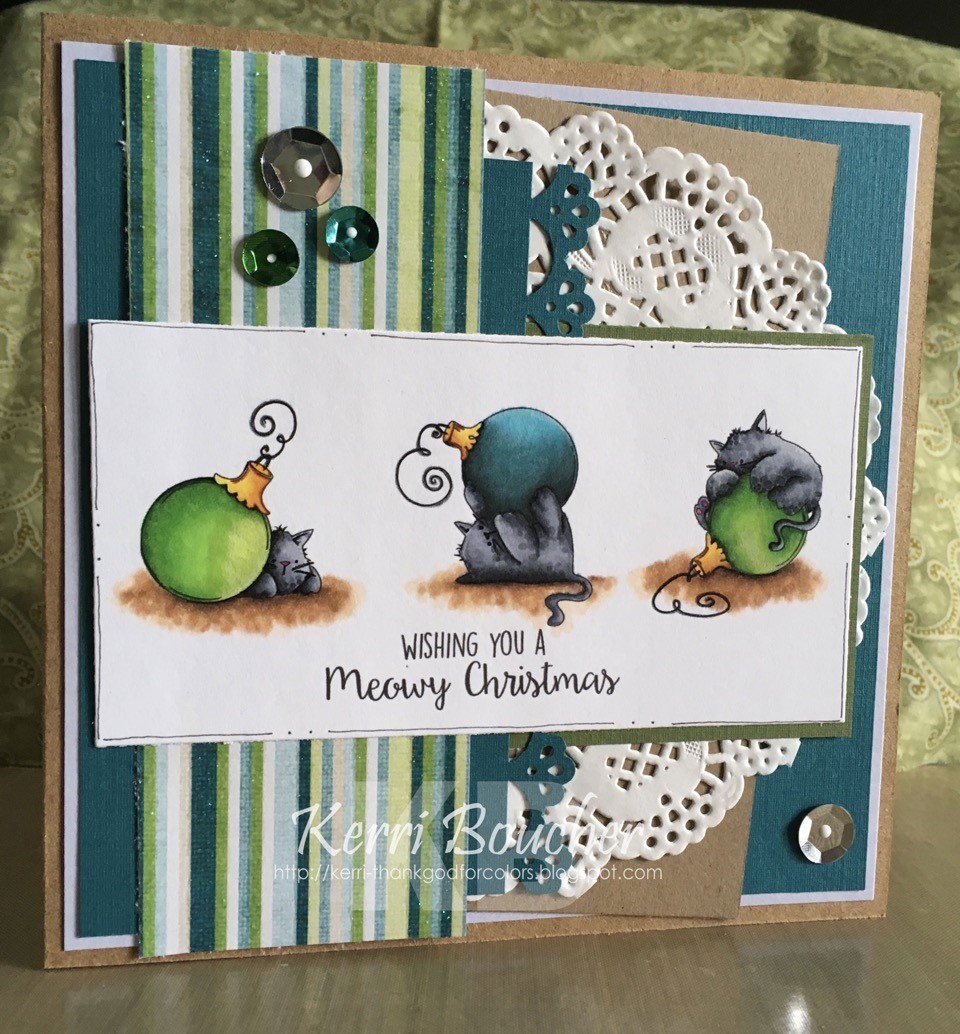
and here’s Kerribella’s card using Meowy Christmas!
SOOOOO???? Whatcha think??? Would love to hear!
Leave a comment on this post for your chance to win one of these stamps and CUT IT OUT BUNDLES!
Release date is SEPTEMBER 3rd where you will be able to purchase! Until then.. it’s you and me and a little bit of torture.
Over To You!
Remember, you can get in touch in all the following ways:
- On our Facebook page – tag us, post your Stamping Bella creations on the page.
- In our Facebook Group Stamping Bella Sistahood – share your creations, chat with other sistahs!
- On Instagram – tag @stampingbella and view our feed HERE.
- Here on the blog – share your thoughts and links to your Stamping Bella creations down in the comments section!
Mwah to da sistahs who love our RELEASE-A-PALOOZA
Em