Hey everyone! Elaineabella here with another Marker Geek Monday post to get your week off to the right start: a colourful one!
Last week we looked at colouring white, so I thought that today we should follow it up with a quick look at colouring black. Click on through for some examples and tips!

If you’re keeping things really simple, of course you could simply use a black marker or pencil. If you want to add some dimension and detail to your coloured images however, you might want to try a different approach.
Just using a black marker like one of the Copics (100 or 110) will leave you with a very flat area of solid colour. Your stamped lines will be obscured, and it just won’t look that interesting. If you’ve added shading and dimension to the rest of your image, the black will look quite odd and out of place.
Please note that throughout this post I will be referring to Copic Markers, however you can take the basic principles and apply them to whatever medium you are using.
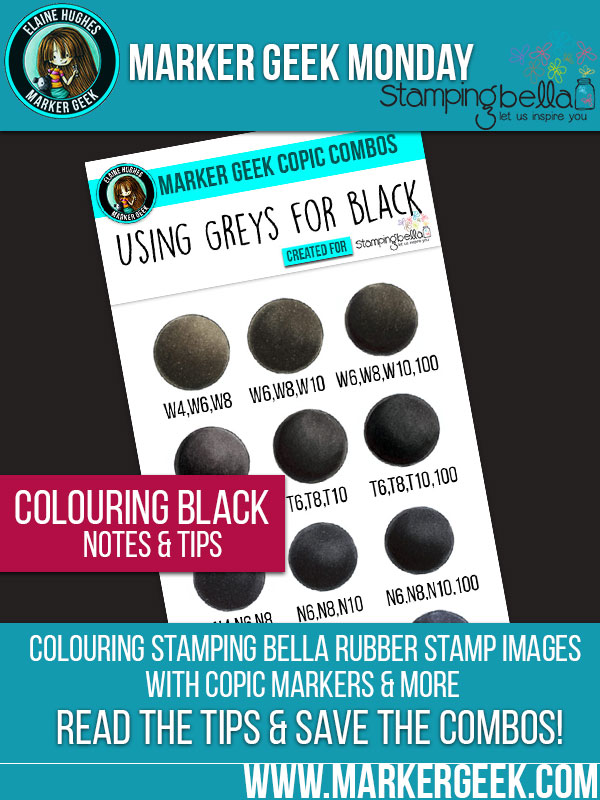
In order to represent black in our colouring, we can use greys. This allows us to give the object we’re colouring form and to create visual interest.
I often use some black along with the greys to get some nice deep shadows. You could stick to using dark greys. Experiment and see what you prefer! Different objects and lighting may call for different greys and deeper shadows than others.
Remember: Warm Greys have quite a brown tone, the Toner Greys a bit less so, the Neutral Greys are neutral in tone and the Cool Greys have a cool bluish tone. Here’s a look at them:
My personal preference is usually to reach for either the toner or neutral greys, but try out whatever you have on hand!
To add a little extra interest and to help it read as black, I like to add a little blue violet or blue to the highlight area when I colour black hair. It looks less stark or greyish than leaving a white or light grey highlight.
One of my favourite combos to use is N6,N8,N10,100,BV04
Stamp Used: Stamping Bella Santa’s Speedy Delivery
On Santa’s belt, boots and glove I used Copic C4,C6,C9
Stamp Used: Stamping Bella Close Ups In Love
To colour the black hair on this one I used Copic N4,N6,N8,N10,BV02
If you try out the techniques shown in any of the posts with your Stamping Bella stamps, be sure to share! We would love to see the results and hear how you feel about them. Show off your creations in the comments below and even better, share your own favourite tips with us. Let’s talk colour!
If you are posting your images online, we would love to see them on Instagram and all the platforms mentioned above. To make it easier for us to find you just use #markergeekmonday and/or #stampingbella as a hashtag. Even better tag me @markergeek and @stampingbella . We love it when you connect, so don’t be shy!
If you’re on Facebook join us in our private chat group Stamping Bella Sistahood to share your creations there and chat all things Stamping Bella related!
Until next time, HAPPY COLOURING!
MWAH
Elaineabella
Comments are closed.
Oh thanks so much for sharing! I’ve never tried the BV copics with the blacks. I’m going to give that a try! 🙂
thnks for this awesome post.