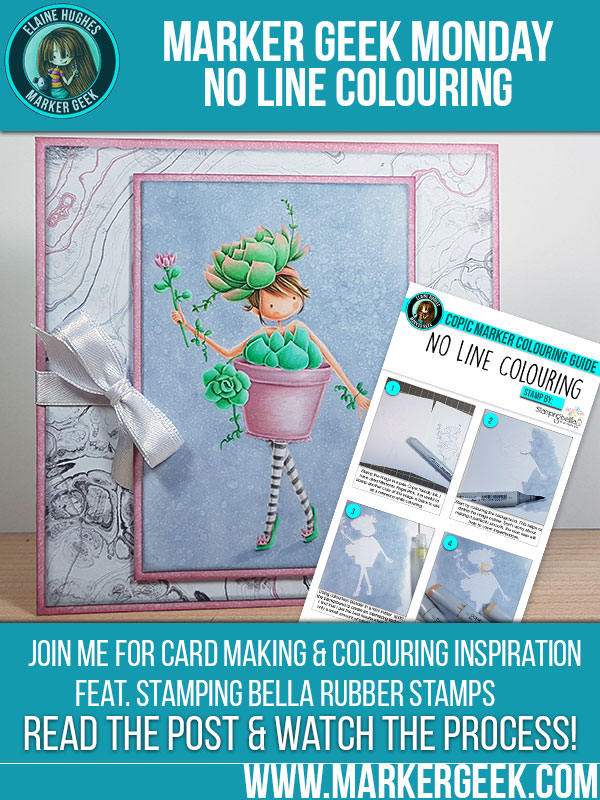
It’s time for another dose of Marker Geek Monday to kick-start your crafty week! This time I’m indulging in a favourite technique I haven’t done for quite some time.

No Line Colouring is a colouring technique that you can do with any medium – I’m demonstrating it using Copic Markers and coloured pencils, but you can apply the same principles to whichever medium you prefer.
Instead of stamping an image using black ink, you use a pale colour of ink that blends into the colouring giving the impression of “no lines”. The result is a softer, more natural look.
I’ve done a fair amount of No Line colouring in the past, but haven’t made the time to do it more recently. I’m glad I took the opportunity to do so this past weekend, as the process proved quite therapeutic. Because there are no bold outlines to do the work of defining each area of the image, it requires a little more thought and concentration to colour and shade each area to create the form and define areas. The key to this technique is using shadows and highlights to separate and define details. As such, my brain spent less time wandering and more time focusing on the task at hand.
Here’s the finished card featuring my “No Line” coloured image:
Stamp Used: Stamping Bella Tiny Townie Susie the Succulent
When choosing the image it just had to be Susie the Succulent – she’s one of my favourite images so far this year. If you are new to No Line colouring you might want to start with a simpler image that has less small detail areas. Or you could just jump in and challenge yourself – you have nothing to lose and lots to learn from the process!
I took some photos during the colouring process and have popped them into a basic, quick guide for you. You will find a list of the Copic Markers I used towards the end of the post.
A closer look at the finished colouring:
Background: C2 plus 0 colourless blender in a mister.
Skin: E000,E00,E11,E93
Hair: E41,E43,E44
Succulents: G00,YG41,YG45,R30
Pot: RV91,RV32
Tights: W00,W2,W4,W6
I also used a mixture of Faber-Castell Polychromos pencils and Prismacolor pencils to smooth out some of the Copic colouring and to refine the details and add extra shading.
Let’s talk colour! Get in touch via the comment section and let me know what you thought of this post. Also feel free to post any colouring questions you would like answering.
If you are posting your images online, we would love to see them on Instagram and all the platforms mentioned above. To make it easier for us to find you just use #markergeekmonday and/or #stampingbella as a hashtag. Even better tag me @markergeek and @stampingbella . We love it when you connect, so don’t be shy.
If you’re on Facebook join us in our private chat group Stamping Bella Sistahood to share your creations there and chat all things Stamping Bella related.
Until next time, HAPPY COLOURING!
MWAH
Elaineabella
Comments are closed.
Gorgeous colouring, love it!
I keep wanting to try the technique. You’ve pushed me over my self-imposed edge…today’s the day. Your card is simply amazing. Thanks so much for your clear instructions.
Okay, you got me at “challenge”, “nothing to lose”, “lot’s to learn.” And the image is so stinkin’ cute. Plus, your instructions give some good tips.
I love your tutorials – now I look forward to Mondays! I’ve been meaning to try no-line coloring and you’ve inspired me to try it sooner rather than later.
This is so cute! I had never done much no line coloring until a few months ago. I find that I love it! It is so therapeutic! Thanks for sharing! ?