


Marker Geek Monday is here again! I am pretty sure my brain is still somewhere back in February, but I’ve been informed that we’re actually almost done with May. Must be all the colouring occupying my thoughts. Ha! Today I’m combining a couple of my favourite things and showing you how to create some fun and simple cards using Copics and Distress Inks together.
Copic Colouring Over Distress Ink Backgrounds
I love creating Distress Ink backgrounds, especially using the “wrinkle free distress” technique of smooshing the ink pads on a craft mat, spritzing with water and then laying your cardstock on top. So much fun. Often I will pop a die cut or fussy cut image on the top, or use a simple sentiment, or die cut the pieces I’ve created to embellish a card. I thought however, that this time I’d try making the image a more integrative part of the design and stamp directly on the Distress Ink background before colouring with Copic Markers.
Distress Inks are a water-based dye ink. They will not harm your Copic Markers. If you’re concerned though, always perform your own tests before committing to a project!
Here are the cards I created using this technique, there is a step by step photo guide below.
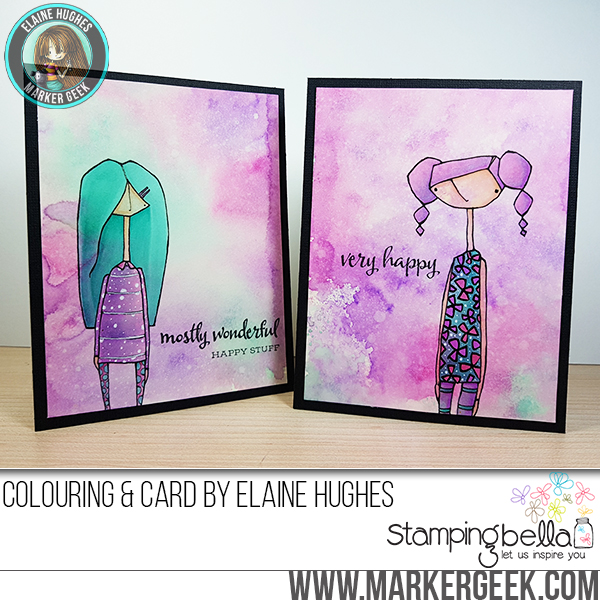
Stamp Sets Used: Stamping Bella Danielle Donaldson veryHazel stamp set and Stamping Bella Danielle Donaldson mostlyNaomi stamp set
These were so much fun to create and really didn’t take long at all, as I created the background pieces at the same time and kept the other details to a minimum.
Step by Step:
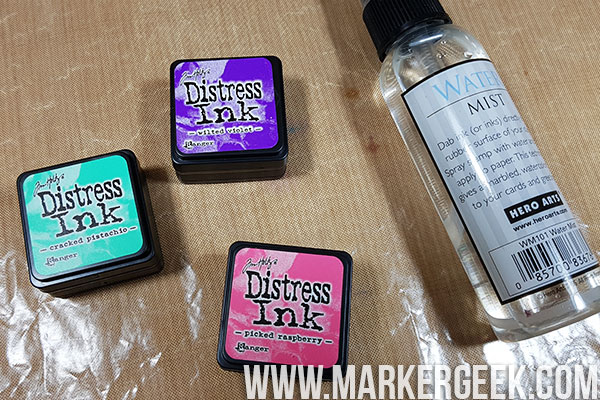
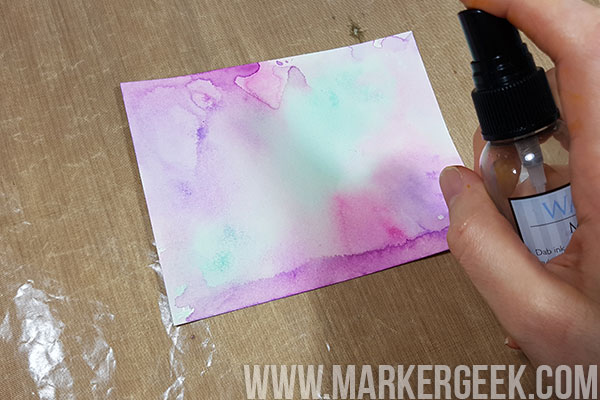
Firstly I took three colours of Distress Ink. I use the mini ink pads, but the standard size ink pads work just the same! I also grabbed a spray bottle filled with water.
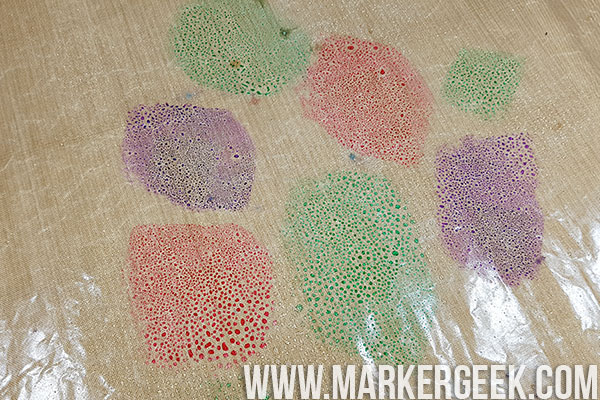
I smooshed the ink pads on my craft mat then spritzed the ink with water. Try different combinations, quantities and arrangements – experiment!
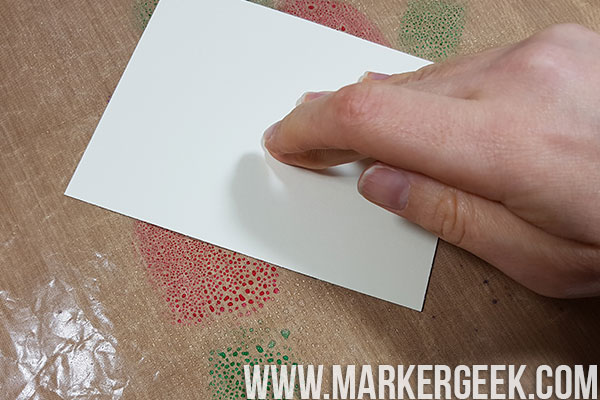
I laid my paper on top. Again, experiment with this – see what happens if you just drop the paper in, press it down, drag it a little. You will get different results every time, no matter what you do!
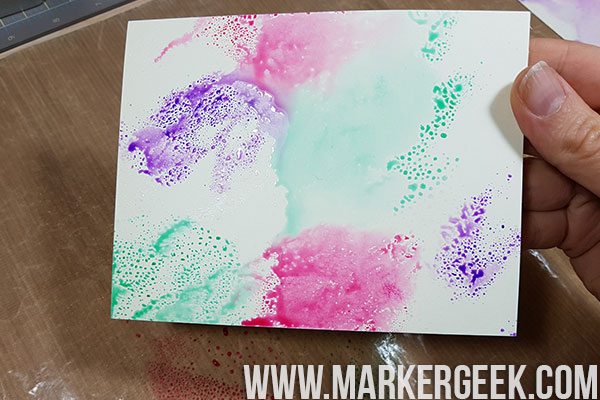
This is what I got from my first pass, so I pressed different parts of the card down in the ink again, picking up colour in the blank areas. Just be careful – too much and you may make mud!
Better!
I created a few different pieces using the same application of ink – no need to waste it, pick it up with more paper, an art journal or tag.
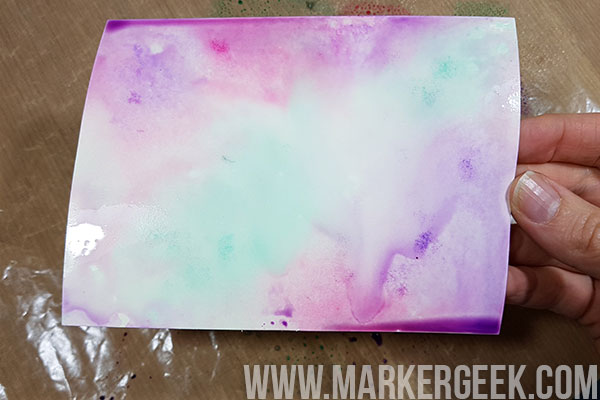
I then dried my piece with a heat tool. You can also leave them to dry naturally, I’m just impatient!
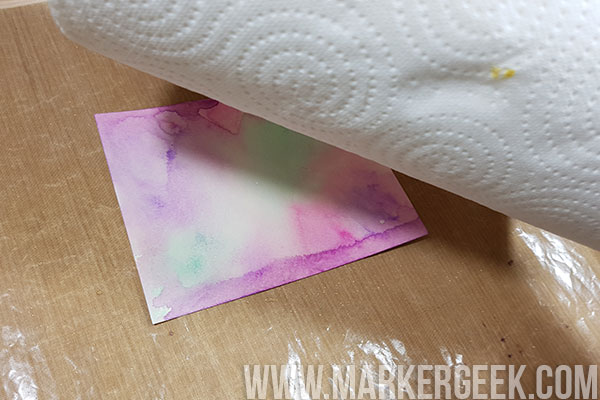
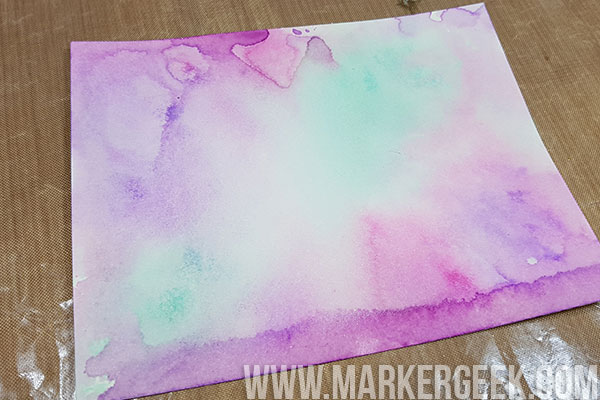
When the piece was dry I gave it a light misting with water again, and lifted it with paper towel, to create that water spot texture I love.
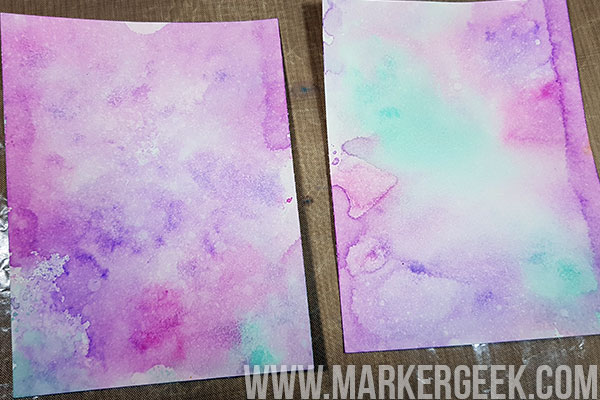
Here are my two favourites from the pieces I created during this session.
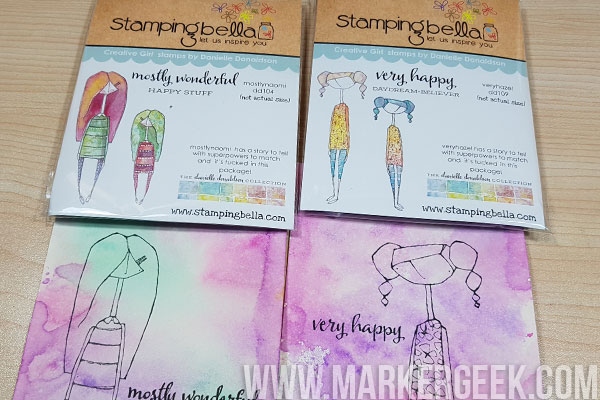
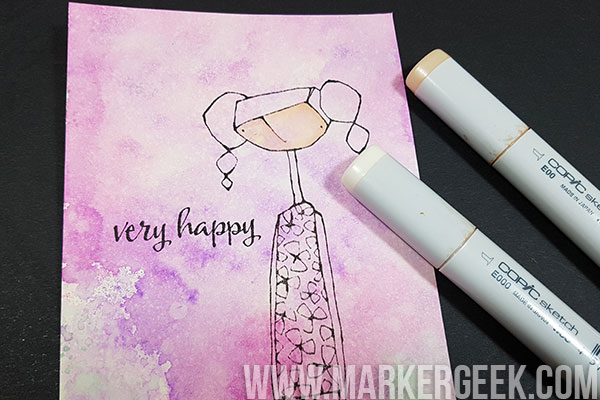
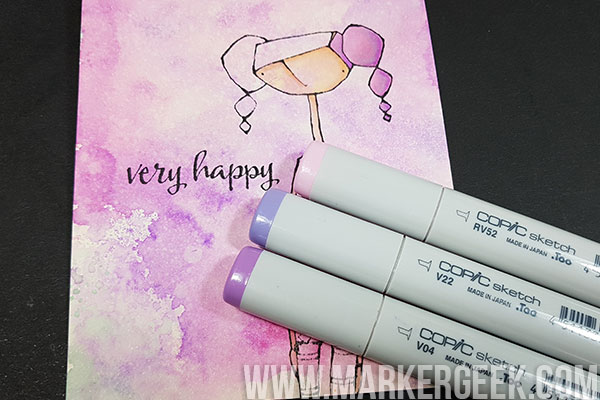
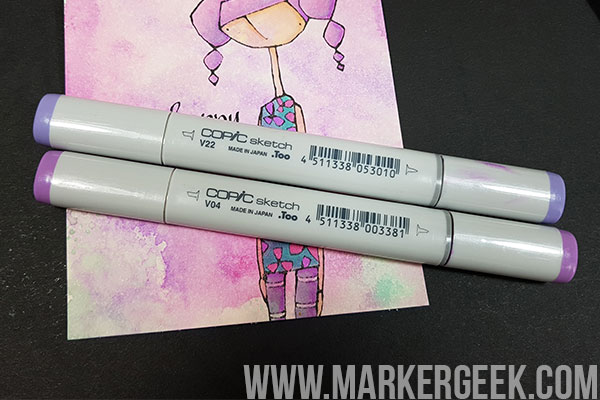
I then grabbed a couple of my Danielle Donaldson stamp sets and stamped the larger characters and the sentiments on my backgrounds using my MISTI stamp tool and favourite black dye based ink. Time to do some Copic colouring! This is really fun, as the coloured/textured background gives you a starting point and due to the translucent nature of the Copic ink, is still visible through the colouring and shading.
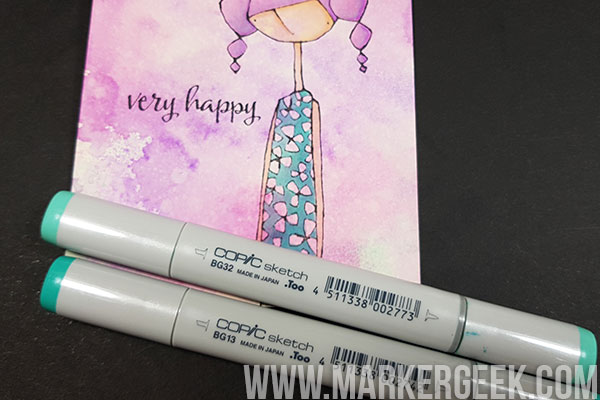
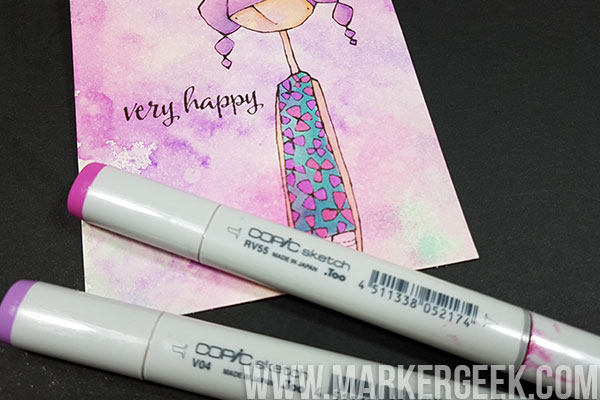
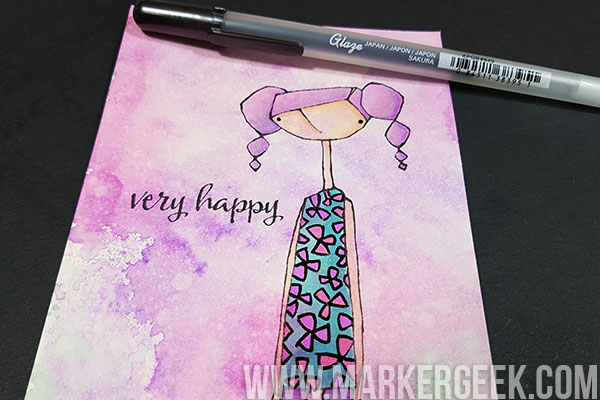
I decided to use a Sakura Glaze pen in black to accentuate the pattern on her top.
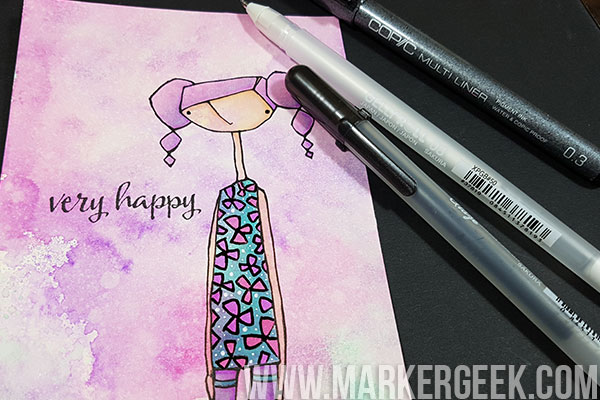
I then added some extra details using a white Sakura Gelly Roll classic pen and went over the stamp outlines with a Copic Multiliner to make them a little bolder.
Love how these turned out, and it was a lot of fun working over the top of a Distress Ink background! I hope you’ll give it a try too.
Over To You!
Let’s talk colour! Get in touch via the comment section and let me know what you thought of this post. Also feel free to post any colouring questions you would like answering.
If you are posting your images online, we would love to see them on Instagram and all the platforms mentioned above. To make it easier for us to find you just use #markergeekmonday and/or #stampingbella as a hashtag. Even better tag me @markergeek and @stampingbella . We love it when you connect, so don’t be shy.
If you’re on Facebook join us in our private chat group Stamping Bella Sistahood to share your creations there and chat all things Stamping Bella related.
Until next time, HAPPY COLOURING!
MWAH
Elaineabella
I like the background but I don’t like the background. I’m on the fence about it and I don’t have any distress inks so unless I bought some, I can’t do this anyway. I also don’t have a craft mat so I would have to use cling wrap on my dining room table. Thanks for showing us though. I wish I could afford to get some more Copic’s. I need to win a contest!
Very interesting results. It makes a very quick, easy, random background, so the focus is REALLY on the image. The fact that the Distress ink is always reactive with water means that it “doesn’t ” react with the alcohol markers? I never really thought to try it. Thanks for another creative way to use all of our supplies.
I love this! Would this work using zig clean color brush markers? What about prismacolor pencils? Definitely want to try this! Thanks for the inspiration 🙂 x
Love this idea and will have to try this!!!! Thanks for sharing and I love all the ideas that come from you – I read each and everyone – love receiving these, thanks for taking the time!!!!
Nice technique! Your cards look great too!
Very interesting technique; I didn’t know that you could use Copics over distress inks. I really like your examples – the technique lends itself perfectly to the Danielle Donaldson stamps. I can see if you get too heavy and dark with the distress inks that it may not come out as well. I’m definitely gong to try this!
Oh I love this! I have never done it, but have seen it a lot! Just might have to give this a try in the very near future! 🙂 Thanks so much for sharing! 🙂