


Hey everyone! Elaineabella here with your regular Marker Geek Monday feature! Since we’re now well into November I thought I would get a wriggle on with finishing off some of my coloured images to pop on Christmas cards. Click through to check out how I added a pretty snowy background to Rudolph the Skating Reindeer using Copic Markers.
Rudolph the Skating Reindeer:
The adorable Rudolph was added to the Stamping Bella collection in our recent Holiday 2016 release. There are three Rudolph stamps (with coordinating Cut It Out die sets available too), all of them equally adorable and perfect for creating sweet, fun Christmas or winter themed cards.
You can watch me colouring Rudolph the Skating Reindeer in the video below or in HD over on YouTube.
Just too sweet isn’t he? Let’s give him a little setting to help create a beautiful Christmas card to send!
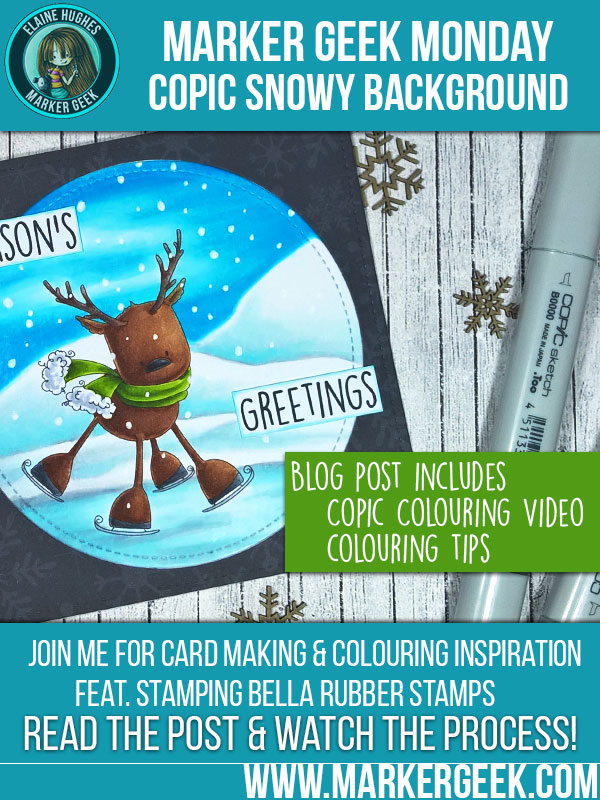
Colouring a Snowy Background using Copic Markers:
Since Rudolph is out skating, or at least giving it his best effort, I thought a snowy background would be perfect.
As you will see in the video below, I map things out with one of my lightest colours. This allows me to have a rough idea of what I’m colouring, and also to adjust things as I go along. Layering is key, and as you will see I go back and forth between areas, deepening the shading as the scene develops.
Watch me colour the snowy background using Copic Markers in the video below or in HD over on YouTube.
Copics Used: 0, B0000, B000, B00, B01, B02, C0, C2, C4
Adding some snow at the end is really fun, and easy to do. All you need is a white gel pen and a little patience! Take care to work in a way that means you don’t smear the spots as you go – if you find this tricky try working from the top left corner across to the right if you are right handed, and from the top right corner across to the left if you are left handed. This should help you avoid smudging with your hand as you work. Vary the size and placement of the spots so that it looks natural. Make sure you add a few on top of the main character/image, so that it looks like the snow is falling all around.
If you’re not feeling confident, practice on a piece of scrap paper first.
Finished Card & Details:
To see the finished card and get all the supply info, pop on over to my Marker Geek blog where you will find it all in this post: Adding a Snowy Background using Copic Markers.
Over To You!
If you try out the techniques shown in any of the posts with your Stamping Bella stamps, be sure to share! We would love to see the results and hear how you feel about them. Show off your creations in the comments below and even better, share your own favourite tips with us. Let’s talk colour!
If you are posting your images online, we would love to see them on Instagram and all the platforms mentioned above. To make it easier for us to find you just use #markergeekmonday and/or #stampingbella as a hashtag. Even better tag me @markergeek and @stampingbella . We love it when you connect, so don’t be shy!
If you’re on Facebook join us in our private chat group Stamping Bella Sistahood to share your creations there and chat all things Stamping Bella related!
Until next time, HAPPY COLOURING!
MWAH
Elaineabella
Love this stamp. This card just brings the fun to life
wow , what a cute card !! love that stamp
Wow, I love the background! Is there a possibility I could do this with other markers? I only have 4 Copics I think. If someone has a sale on them before Christmas, I am going to ask Santa for some. I’m going to watch the video and learn, learn, learn! Thanks for the help.
Oh what a great way to finish the image! Love this! Thanks so much for sharing! 🙂