


Time for another dose of inspiration from one of the Bellarific Babes. It’s Design Team Thursday and this week Faye-WJ-abella has a fun technique to share.
Hey Peeps, it’s Faye here today 🙂

Sponge. Perhaps I’m being a little presumptuous here. But. Sponge. Not just for washing baby arm pits. I know, it’s an overwhelming thought. So, while you let that sink in for a moment, let’s talk about backgrounds.
My style is very clean and simple. But every once in a while, I fancy a little ‘pop’ of colour behind an image. Sometimes, if I feel like getting ink all over my hands, nails and desk, (that’s with scrap paper in place, by the way. If I didn’t have the paper, well. Nuff said.) I’ll get the Air Brush out. And sometimes, I like to get a different fix of Messy. I know, the shocks just keep coming, don’t they?
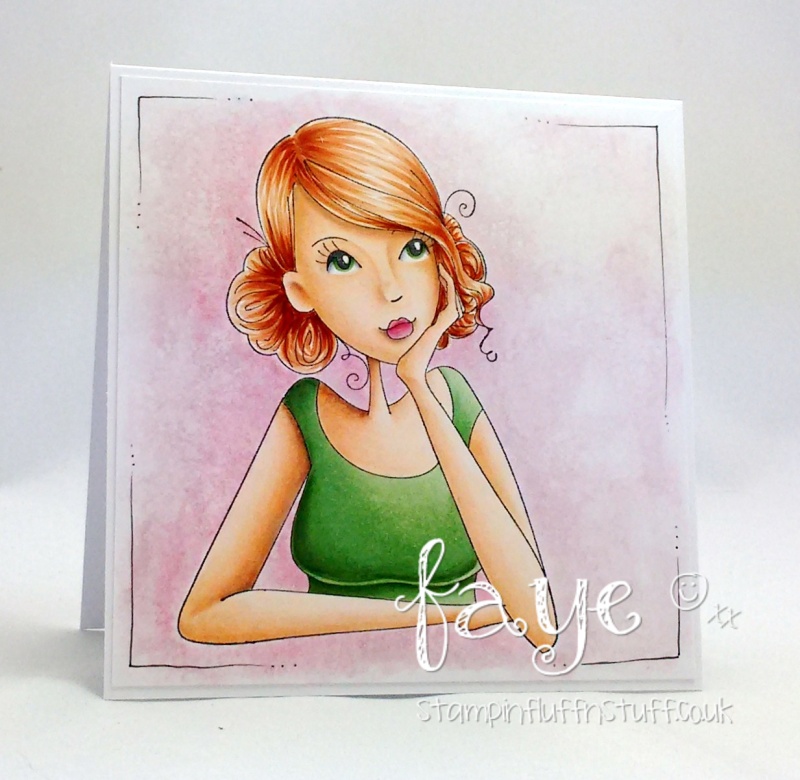
So, let’s take Thinkingofyouabella, who, is perfect for a little Arty Farty Background Moosh. Now, before I tell you that I am going to colour around the edge of the image with RV91 and R81, as rough and messy as I like… You want to do this part first. Trust me, colouring the background first is a must.
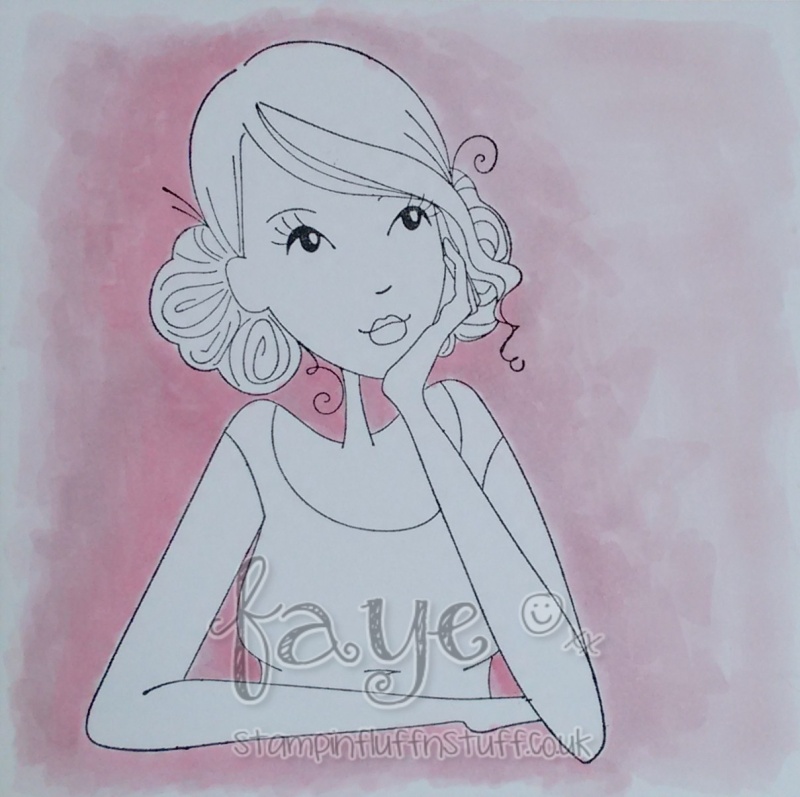
You’ll notice I have already decided my Light Source will be Top Right, which is why I have more of the R81 on the left hand side.
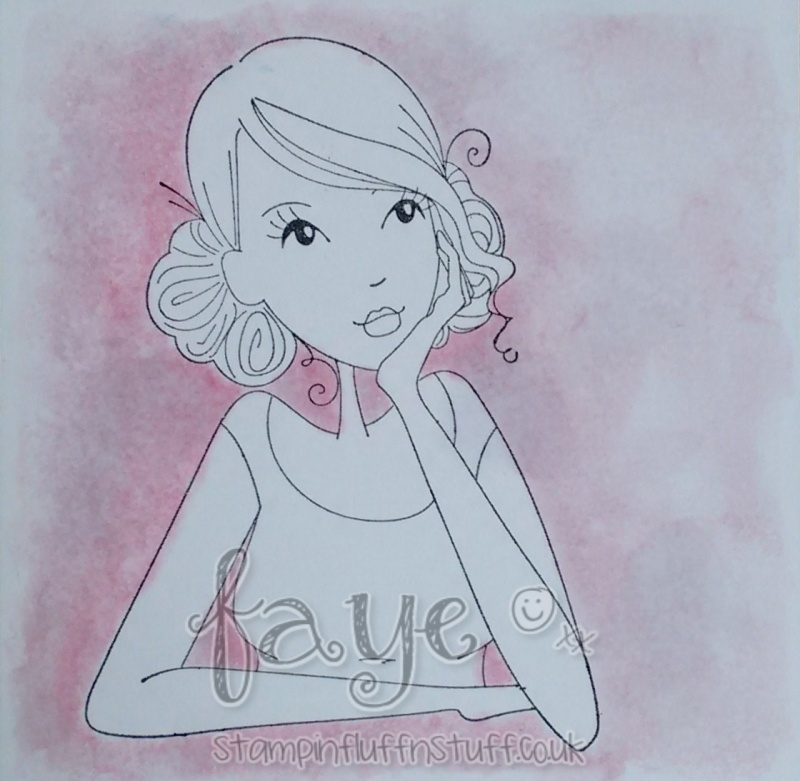
Now, you’ll want a plate, or a Craft Mat, or something you can squirt some Colourless Blender on. Dip your piece of Sponge, (or in fact any fabric with some texture to it, (Put the Bath Towel back please!)) in the Colourless Blender and then apply your Sponge, to the background ink. One pink elephant. Two pink elephants. Three pink elephants. Stop. Move around your image until you have Mooshed the whole lot with the Sponge. You may need to re-dip your sponge as you go.
It’s worth noting that you get different effects by:
- Using different fabrics.
- Varying the amount of pink elephants you count.
- Changing how much Colourless Blender you start with.
I used a lot of wet as that was the effect I wanted, but if you use less, the texture of whatever you are pressing against the paper shows more. So play around.
Now the Mooshing is done, we can colour the image.
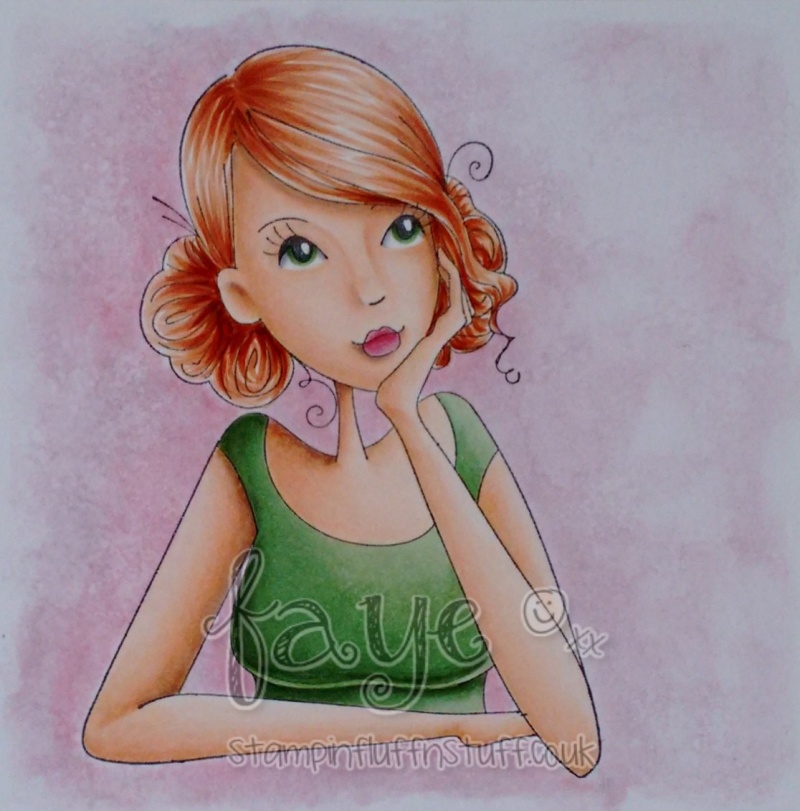
Finally, I doodled some and called her done. But that’s only because I chickened out of doing the thing I had planned to do. Maybe I’ll show you that another time 😉
Have a great day.
Faye x
Over To You!
We hope you’ve enjoyed checking out Faye-WJ-abella’s tutorial and are feeling inspired to try it out yourselves. If you do, make sure you drop by and share with us! You can get in touch in all the following ways:
- On our Facebook page – tag us, post your Stamping Bella creations on the page.
- In our Facebook Group Stamping Bella Sistahood – share your creations, chat with other sistahs!
- On Instagram – tag @stampingbella and view our feed HERE.
- Here on the blog – share your thoughts and links to your Stamping Bella creations down in the comments section!
Happy Stamping!
great idea!!
Beautiful. Love the background
Great Idea! And… great advice to do the background first. The background is often an afterthought for me.
What Copic colors did you use for coloring the image?
Hi Patti 🙂
Copics Used…
Background; RV91, R81
Skin; E000, E00, E21, E70
Eyes; G24, C1, C3
Lips; R81, R83, R85
Hair; E11, E13, E15, E37
Top; YG61, G21, G24, G94
Faye x
Love your terminology …. “mooshed”. It’s perfect!
Oh what a great idea! I have used an old dish towel before but never though of using a sponge! I’m definitely going to try this! I am so loving all of the inspiration the blog has been giving! I so look forward to reading each and every one of them! Such great ideas! 🙂
Love the background! Thanks for tips!
Oooh love this…. gonna have a mooosh this afternoon!
Christine x
Thank you so much!
I especially loved the hair color combinations and the skin tones used.
Wow, I don’t have that kind of sponge but I do have some texture pieces of material and no, I will not be using one of my mom’s bath towels. I value my life! LOL
I love what you do and I might try it, I will save this to my crafts folder so I can try it. Thanks for all the inspiration.