


It’s DT Thursday time! This week Sandiebella is sharing the instructions to make her gorgeous Balloonabella Magic Slider Card.
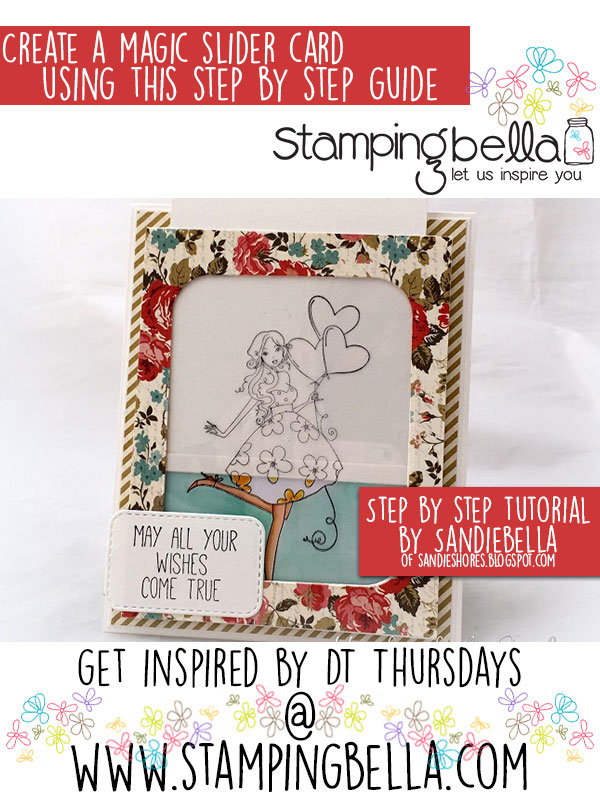
Magic Slider Card Step by Step
Supplies:
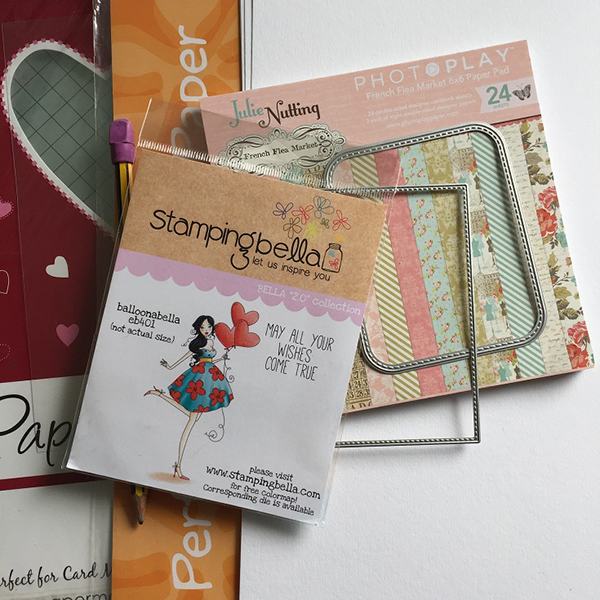
Step by Step Guide:
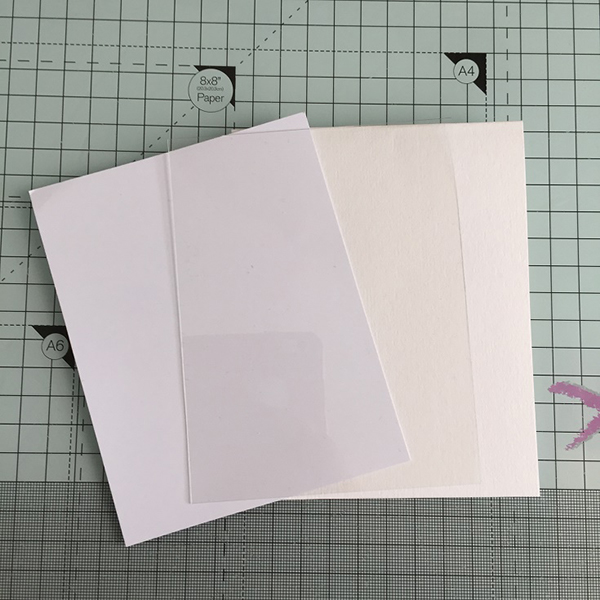
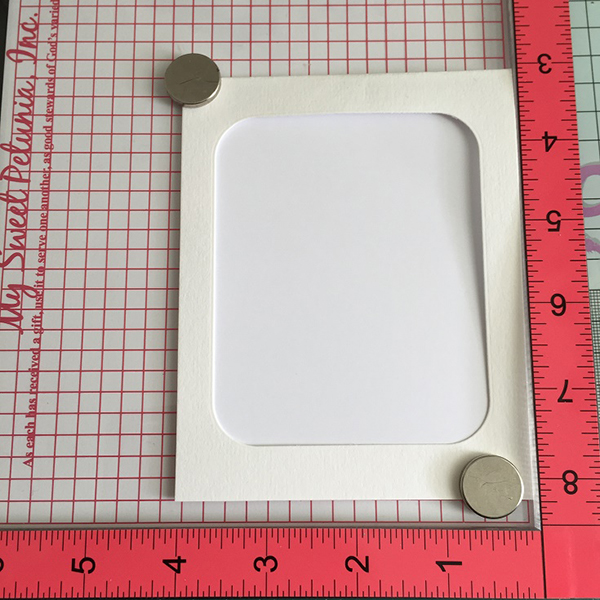
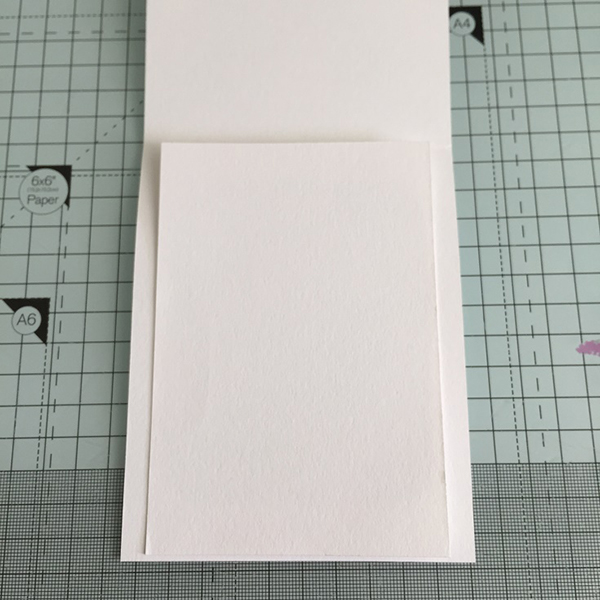
Cut a piece of white card measuring 4.25″ x 10.5″ and fold in half for the pocket. Cut a piece of card for the image, and a piece of acetate, both measuring 4 1/8″ x 5 1/8
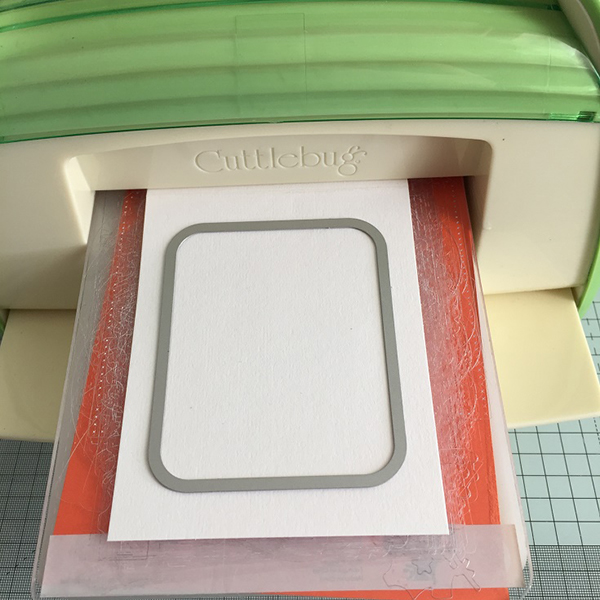
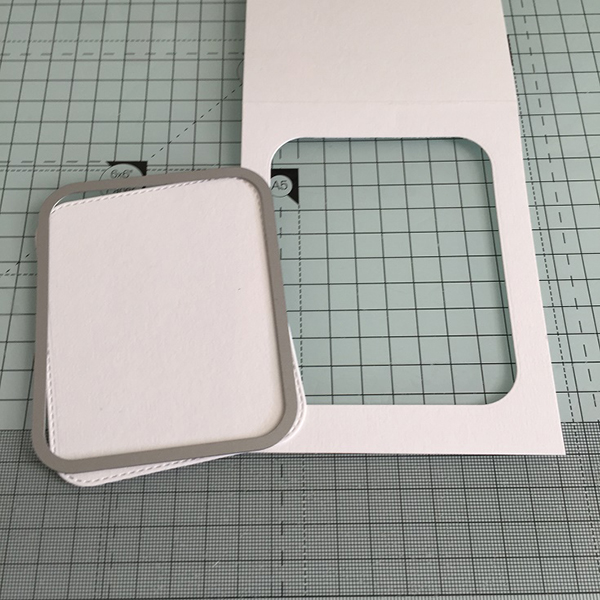
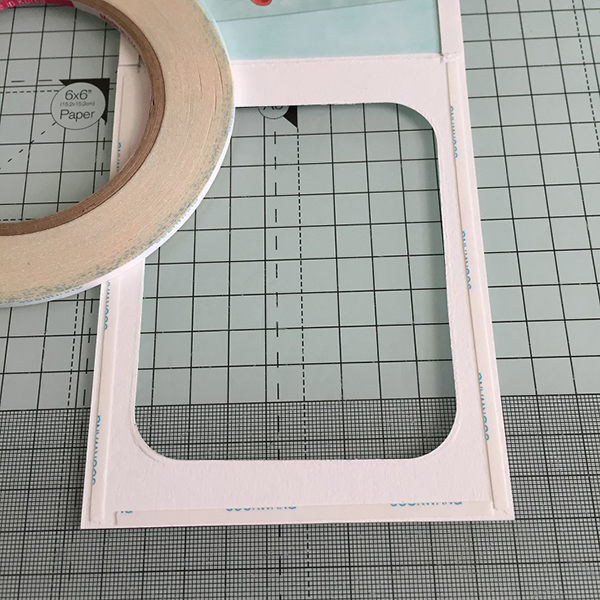
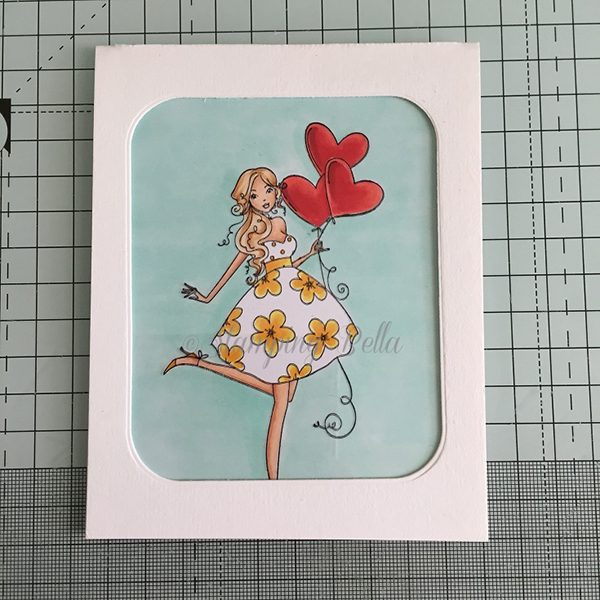
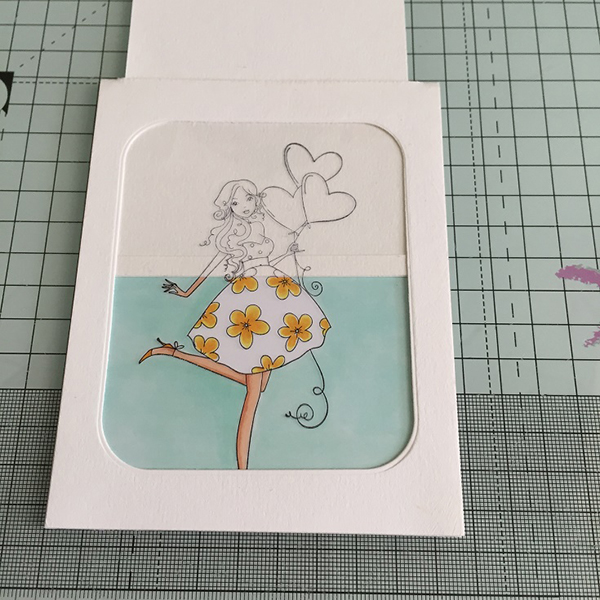
On the front panel of the folded card, cut a window using a rectangle die.
Position the folded card on a stamping tool, if yo have one. If not, you can use a stamp-a-ma-jig or take a chance and eyeball it. Line up the stamp so that it will be directly in the middle.
Remove the pocket and place the white blending card exactly where you had the pocket. Stamp, using a suitable ink for your colouring medium.
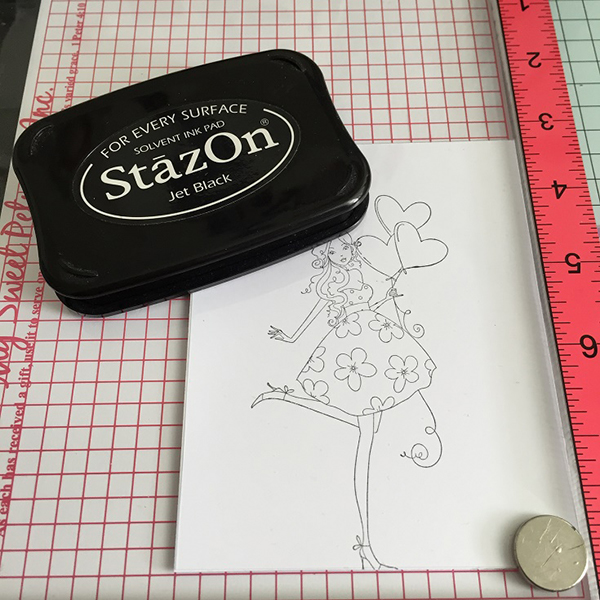
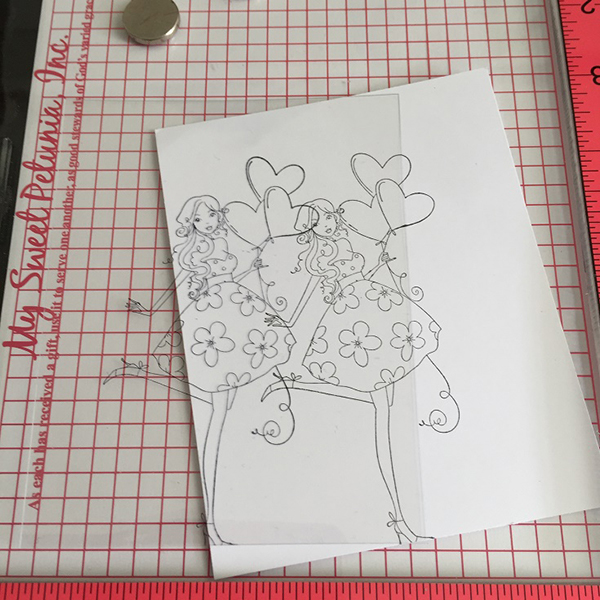
Place the acetate directly on top of the stamped image and stamp again, using a solvent ink, such as StazOn or Archival.

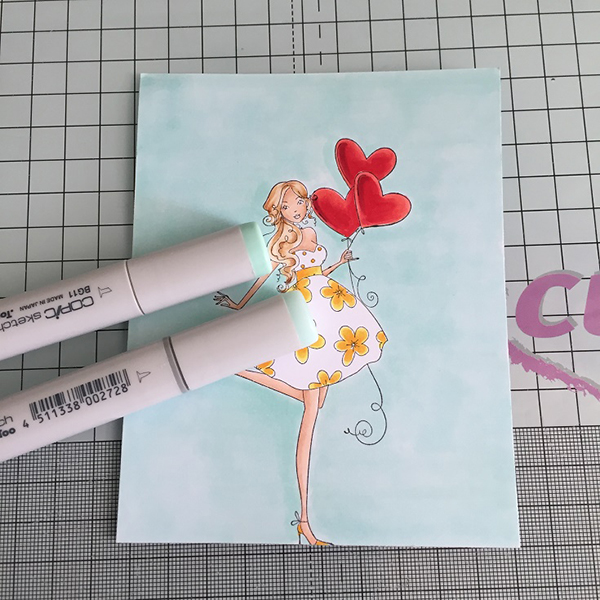
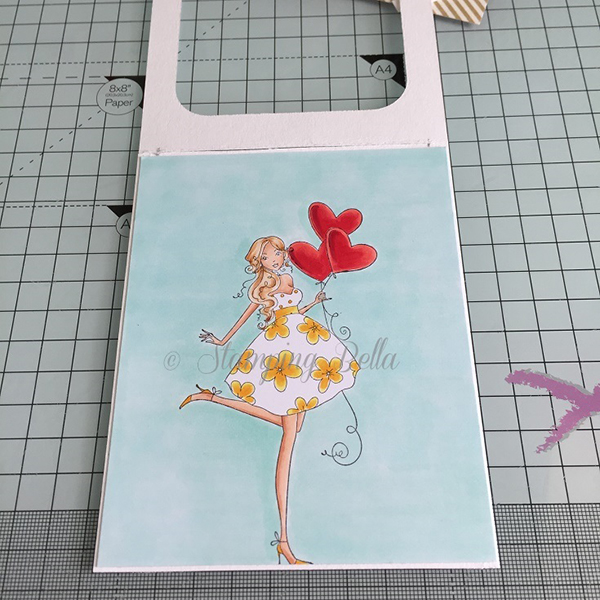
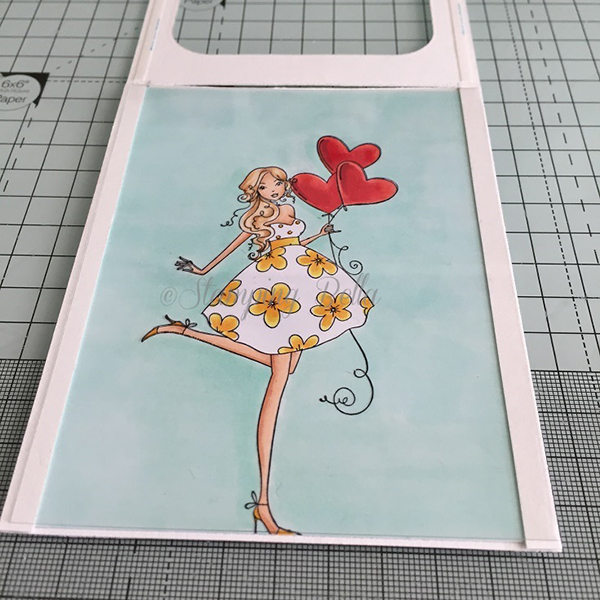
Colour the image using your preferred medium
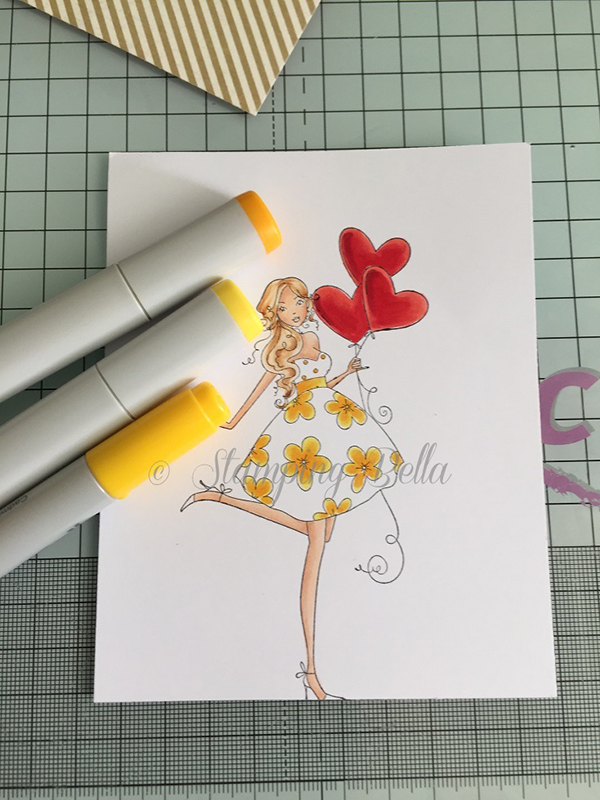
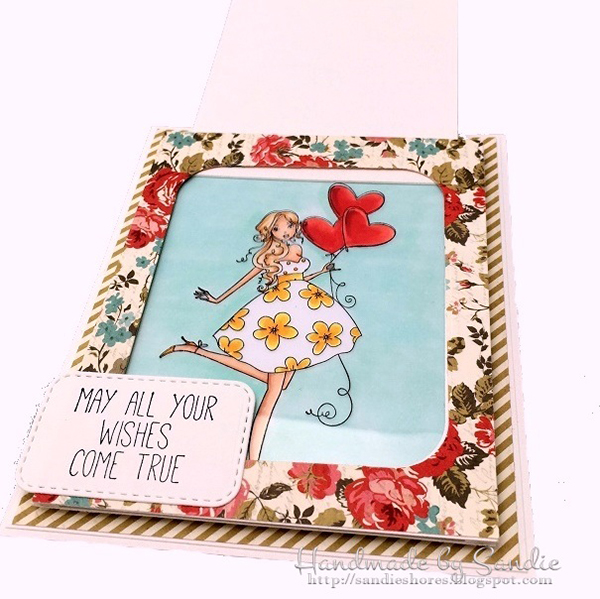
Colour in the whole background. The more colour you add to the background & image the more it pops when you reveal it by pulling up the slider. Set the image aside once you are happy with it.
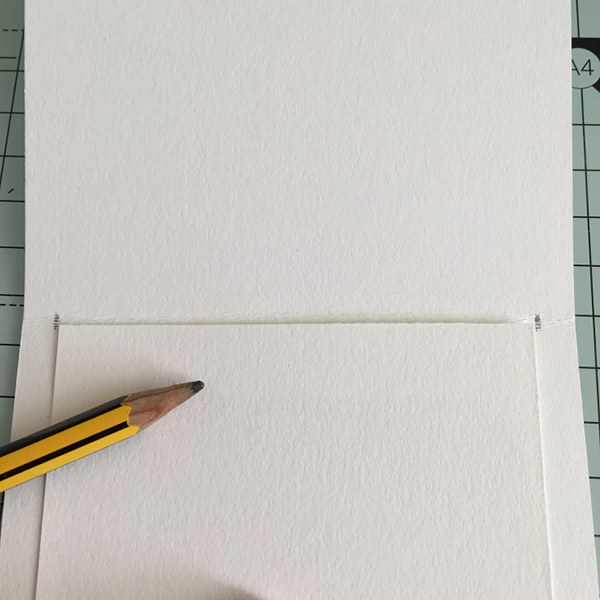
Cut a piece of white card about 1/4″ wider than your window, and 1/8″ shorter than the length of the pocket
Position the slider over the window and, using a pencil, mark each side.
Using a craft knife, or scoring board, make a slit between the 2 pencil marks.
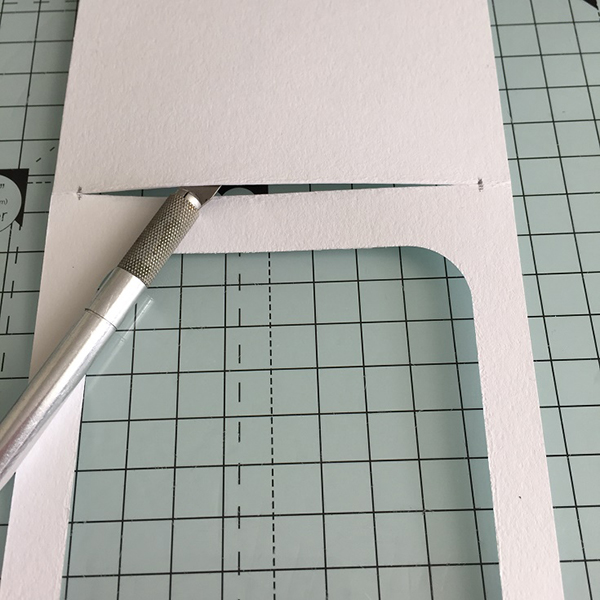
Ensure the slider tag will fit into the slit, ensuring it’s not too tight.

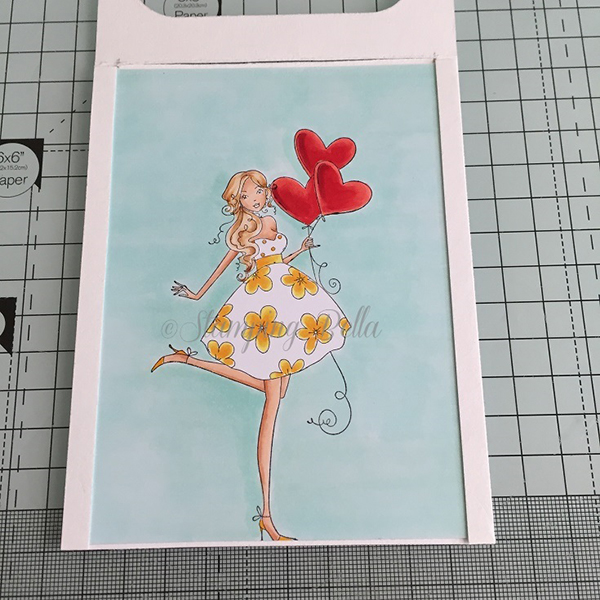
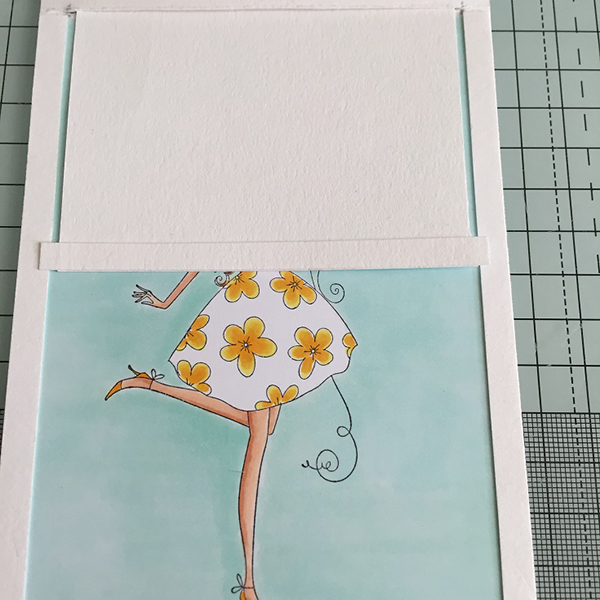
Adhere the coloured image to the inside back of the pocket.
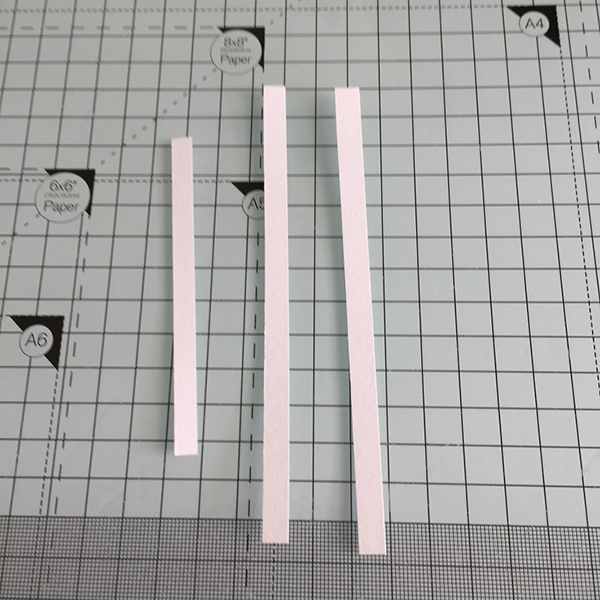
Cut 2 strips of white card measuring 1/4″ x 5 1/8″ and one measuring 1/4″ x 3 1/4″
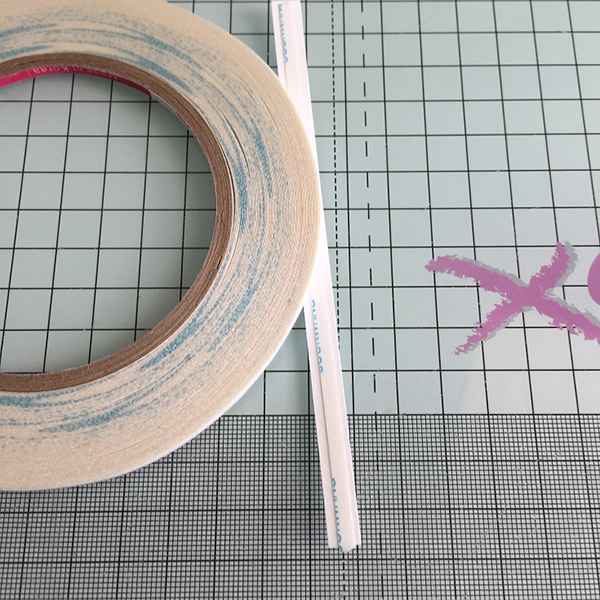
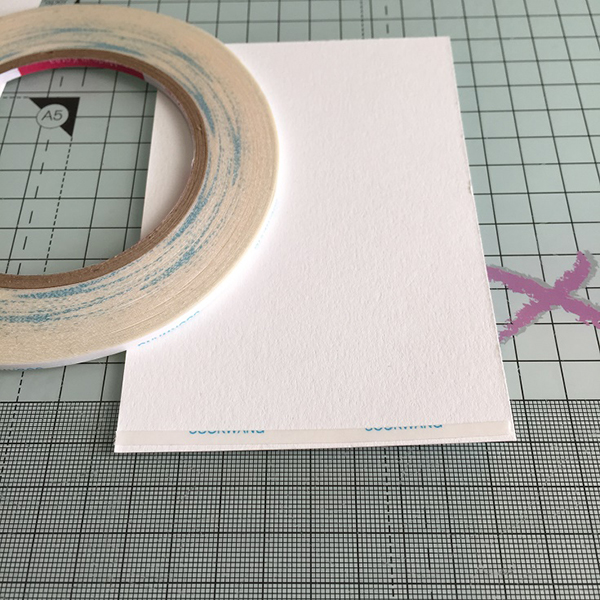
Apply some 1/8″ double sided tape to the long strips and adhere them along each side, lining them up with the outside edge.
Apply a strip of tape across the bottom of the slider tag and adhere the shorter strip of card, ensuring it’s lined up to the bottom edge.

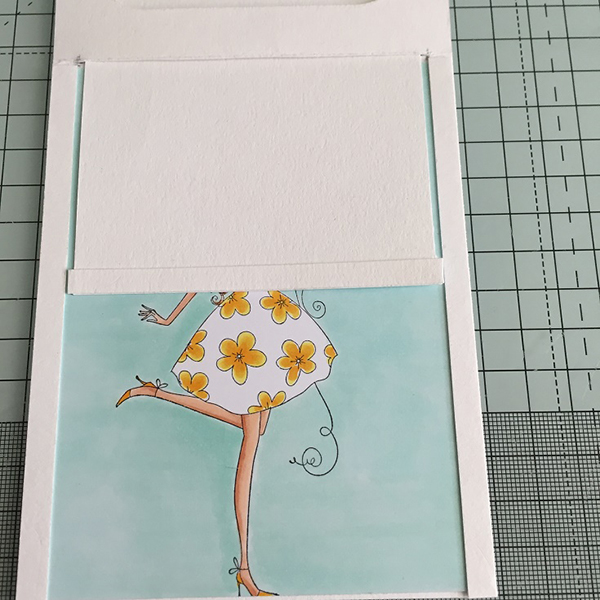
Insert the tag into the pocket and line it up in the centre. Trim off the excess on the bottom of the tag, so that it’s inside the 2 vertical strips. This will be the tracks to keep the slider tag in place.
On the inside of the front panel, apply some 1/8″ tape on all 4 sides, keeping towards the outer edges.
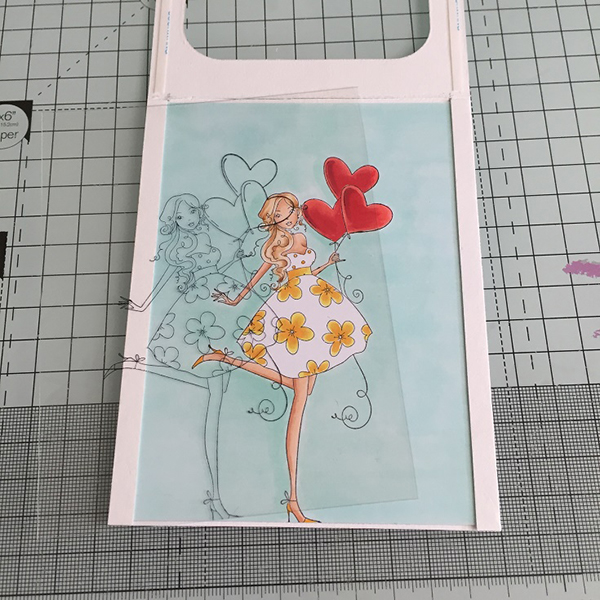
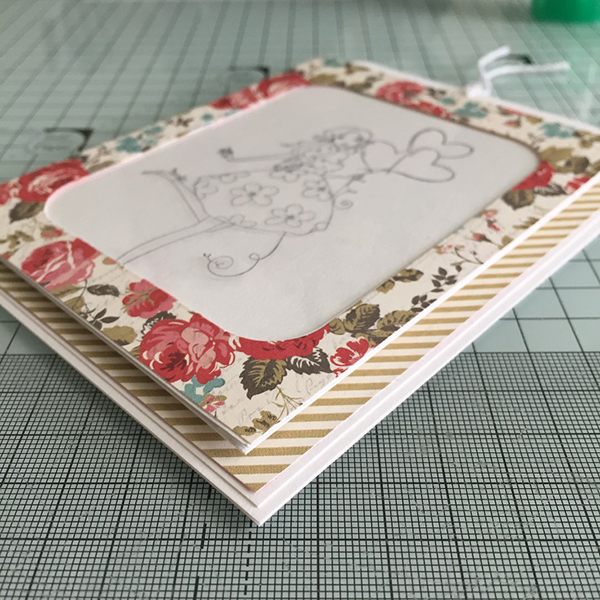
Line up the acetate on top of the image so that the images are directly on top of each other. Remove the backing from the tape on the front and fold down to adhere the acetate to the inside front of the pocket. At this point, the front and back of the pocket are still separate
Open up the front and apply a strip of tape across the bottom of the image, about 1/8″ up from the bottom. This will seal the bottom so that the slider tag won’t fall out, and also raises the tag up so that it sticks up out of the pocket. Also apply 1/8″ tape along the length of the white strips you previously added.
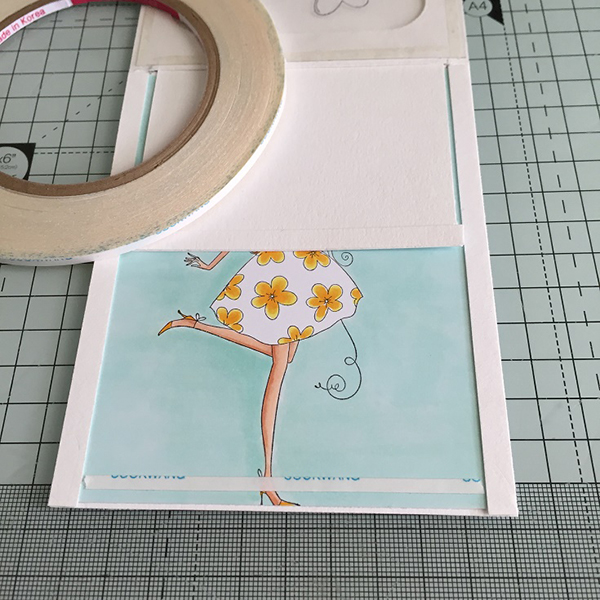
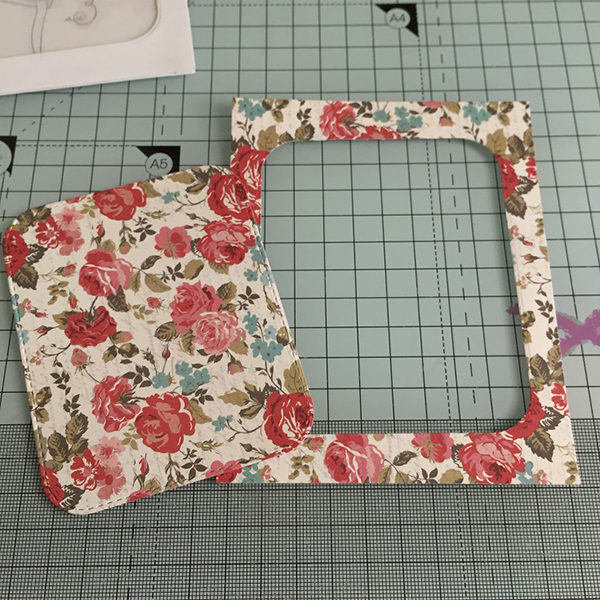
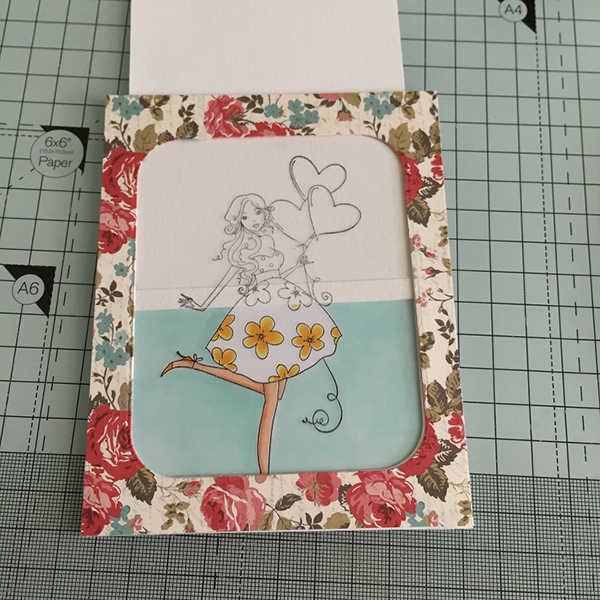
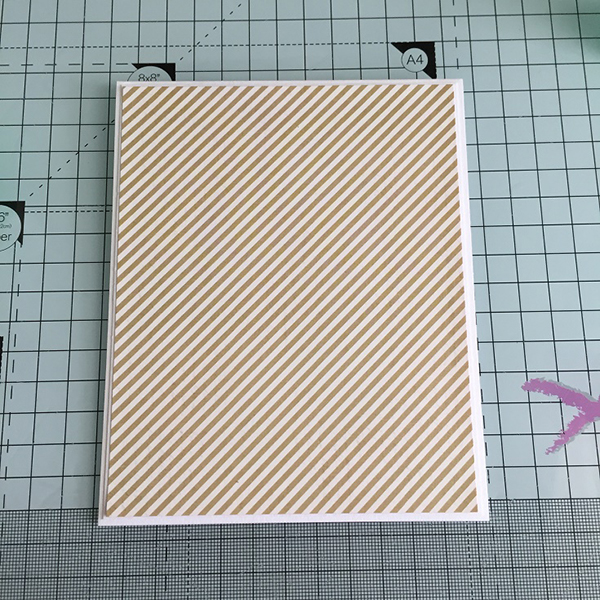
Adhere the patterned paper you cut earlier.
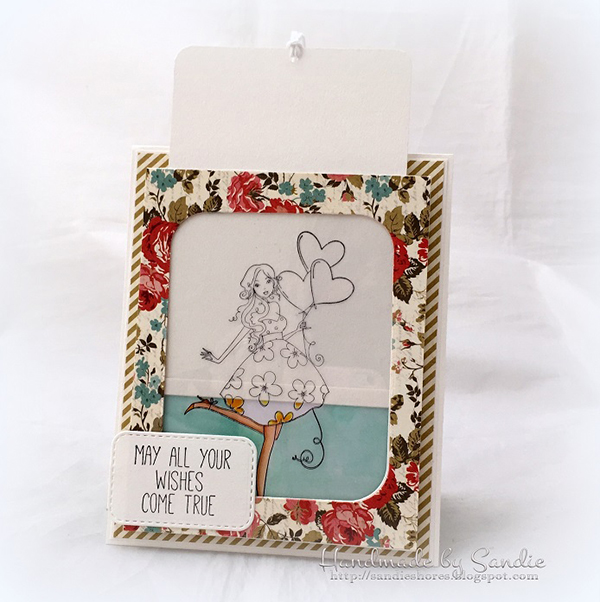
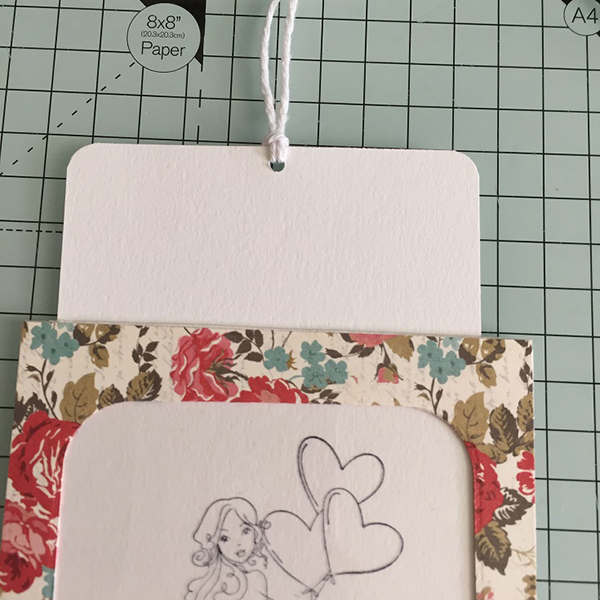
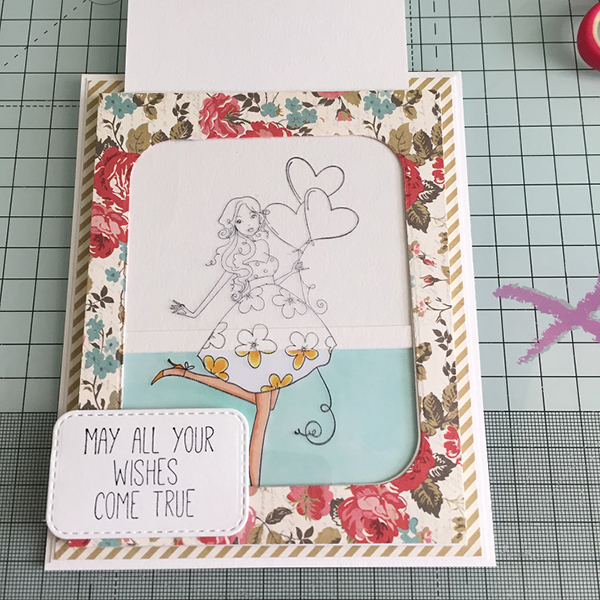
Pull up the slider tag and round the corners, Punch a hole in the centre and thread some twine through. This completes the slider pocket.
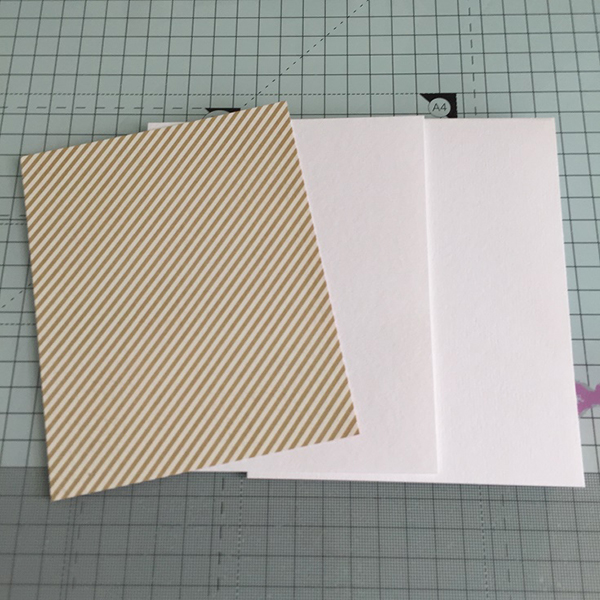
For the card base cut a white piece of card measuring 4 1/8″ x 5 1/8, and a piece of patterned paper measuring 4″ x 5″ Adhere them together.
Apply foam tape to the back of the slider pocket and adhere it to the front of the card base.
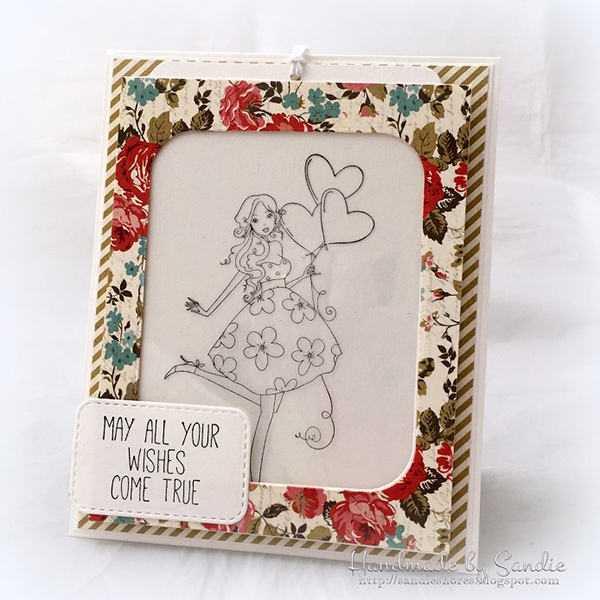
Stamp the sentiment onto white card and adhere to the bottom left corner.
Over To You!
If you try out the techniques shown in any of the posts with your Stamping Bella stamps, be sure to share! We would love to see the results and hear how you feel about them. Show off your creations in the comments below and even better, share your own favourite tips with us. Let’s talk stamping!
If you are posting your images online, we would love to see them on Instagram and all the platforms mentioned above. To make it easier for us to find you just use #stampingbella as a hashtag. Even better tag @stampingbella . We love it when you connect, so don’t be shy!
If you’re on Facebook join us in our private chat group Stamping Bella Sistahood to share your creations there and chat all things Stamping Bella related!
Until next time, HAPPY STAMPING!
MWAH
Elaineabella
Fabulous tutorial, not tried one of these but I will now. Love Jane x
Beautiful. Thanks for the tutorial – it makes construction so much easier to understand. TFS
Lovely tutorial – will be trying this out this weekend!
What a great tutorial! Thanks so much for the details on making this card! Great card! 🙂
What a great card! I have passed on the tutorial to stamping friends of mine. Will I make this card? I don’t have a lot of the stuff to make it but I might just keep it in case I ever can make it. It’s a beautiful card and I love how it’s done. How do you guys come up with this stuff, anyway? LOL
I just received this and last month. I can’t wait to use it to make this great card.
I just received this stamp last month. I can’t wait to use it to make this great card.