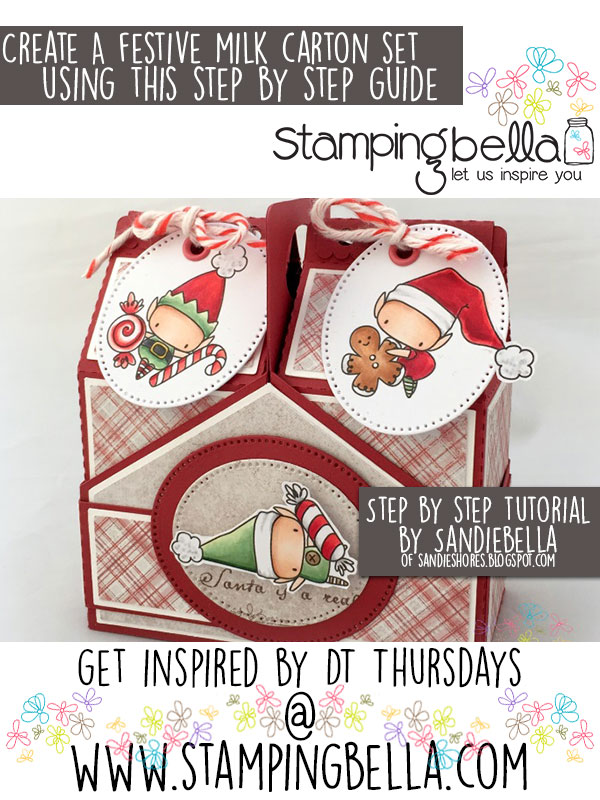
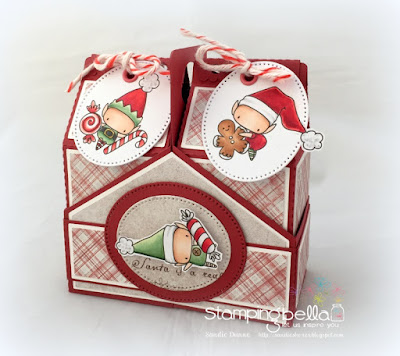
We’ve got a fab and festive DT Thursday make from Sandiebella for you today! This one was much requested after the release peeks last week.
REMINDER: don’t forget you can use the discount code joy2017 to receive 15% off your order totals until Monday 16th October!

Supplies:
The Littles Elves with Treats rubber stamps
Flip 90 degrees and score at 0.5″, 1.75″ and 4.5″
Fold and crease all the scorelines.
On the 8.5″ side, cut away the first, third and fifth 0.5″ sections
On the 0.5″ side section, cut away the bottom 1.25″ section and make tabs from the 2 remaining sections, as shown.
On the top, where you cut away the three 0.5″ sections, measure and mark the first section in the centre, at 1″
Score diagonally, on each side, into the corners of the next scoreline down.
Pinch the scorelines to fold inwards.
Repeat for the other side of the carton.
On the bottom, cut each of the 1.25″ sections up to the first scoreline. These are the tabs for the bottom of the carton.
Apply tape or wet glue to the two side tabs
2 x designer paper @ 1.75″ x 1″
Fold in 2 of the tabs on the bottom of the carton and taper the edges of the remaining 2. Apply tape or wet glue to the inside of one of the tapered tabs, fold down the other tab and adhere the glued tab to the outside.
Cut a piece of red card @ 1″ x 2″ and score on the long side at 0.5″
Place over the top of the carton and, using a crop-a-dile, punch 2 holes.
On the 6 3/8″ side score at 2 1/8″ and 4 1/4″
Flip 90 degrees and score at 1.5″ and 3 5/8″
Flip 90 degrees again, making sure the horizontal scorelines are at the bottom. Score up from the bottom, at 1 5/8″ and 4 3/4″ (half inch to the outside of the previous scorelines) to the second scoreline.
Cut away the 2 bottom sections on the outer scorelines.
Make 1/2″ wide tabs as shown.
On the top section, measure down 1.5″ on each of the score lines, and mark with a pencil. On the outer edges of the top section, measure up from the bottom, and mark at 1.5″
Cut diagonally, from pencil mark to pencil mark, on both sides.
This is how your crate should look now.
Remember, you need to make 2 of these.
Apply tape or wet glue to the back top section of one of the crate pieces.
Adhere the other piece to it, back to back.
Round the corners of the top if desired.
Cut a ‘handle’ in the top of the crate using a small oval die
Apply tape to the outside of the 1/2″ tabs, on both pieces of the crate.
Remove the tape backing from one side and make up the box
Repeat for the other side.
Pop your carton into the crate to ensure everything fits.
To make the side panels:
Cut diagonally on each side from the centre pencil mark, to the outer ones.
On the paper, mark on the 4″ side at 2″ and measure up 1 5/16″ on each side, cut as for the white card.
Adhere the paper to the white card and adhere the whole panel to the side of the box.
Score each of them at 2 1/8″ and 6.5″
Taper the edges of the 1/2″ sections to make tabs.
Apply tape to the outside ends of both pieces, on the 1/2″ tab.
Remove the tape backing from one piece and adhere to the opposite end of the other piece, to make one long belly band. Do not remove the tape backing from the other end just yet.
To add panels to the belly band you will need
2 x designer paper @ 1 7/8″ x 1.25″
Adhere the paper to the white card and then adhere the panels to the belly band.
Turn the belly band over and apply a small piece of tape to the long sections. These are used to secure the band to the crate.
Stamp the Elves onto white card and cut out using oval or circle dies. Punch a hole to the side of the Elf and add a large eyelet.
Place the cover over the top of the milk carton and thread some twine through.
Thread the twine through the Elf tag and secure with a bow.
Use the Littles Elves CUT IT OUT Dies to cut out one of the elves. Cut an oval from paper and a large oval from red card. Adhere them together and then adhere the Elf using 3D foam. Adhere the ovals to the belly band.

If you try out the techniques shown in any of the posts with your Stamping Bella stamps, be sure to share! We would love to see the results and hear how you feel about them. Show off your creations in the comments below and even better, share your own favourite tips with us. Let’s talk stamping!
If you are posting your images online, we would love to see them on Instagram and all the platforms mentioned above. To make it easier for us to find you just use #stampingbella as a hashtag. Even better tag @stampingbella . We love it when you connect, so don’t be shy!
If you’re on Facebook join us in our private chat group Stamping Bella Sistahood to share your creations there and chat all things Stamping Bella related!
Until next time, HAPPY STAMPING!
MWAH
Elaineabella
Comments are closed.
great project! thanks for sharing!
This is adorable!!
Terrific tutorial, clear and concise! Super cute project too!
Wow! Cute idea, thanks for sharing.
Such a wonderful idea Love it !!!
Oh my goodness !! How adorable is that !?! And tanks so much for sharing your technique.
WOW! What a great project and what great instructions! I will be bookmarking this one for sure! Thanks so much for sharing such a great project! 🙂