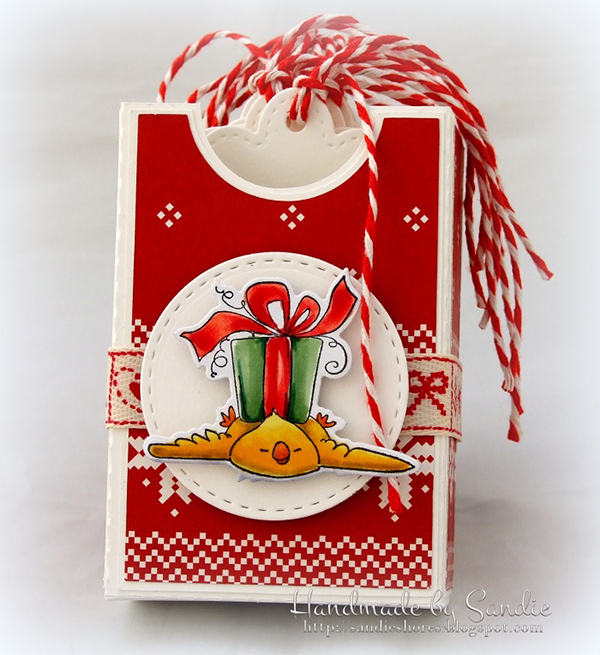
Time for DT Thursday with another fun card making project from Sandiebella to help us get through to the weekend! Click on through for Sandiebella’s fab step by step tutorial showing how to create a Gift Tag Box Set.
As a bonus for Silhouette users, Sandie has kindly included a free Silhouette Studio file download which you will find the link to in the supply list.


Cut by hand method
Flip it 90 degress, and on the 5″ side, score at 3.75″
Using a scissors, cut from the bottom up to the intersect. On the 0.5″ section, remove the bottom part of the tab and taper the ends.
Place a 1.5″ circle punch about half way over the top of the front section of the box and punch a semi circle.
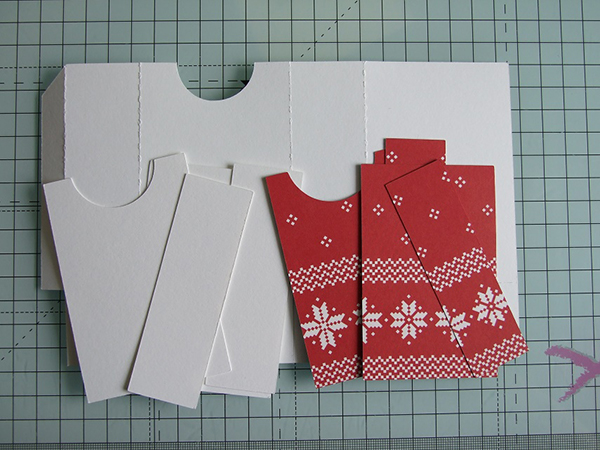
For the panels you will need to cut 2 pieces of white card measuring 1 1/8″ x 3 5/8″ and two more pieces measuring 2 3/8″ x 3 5/8″. You will also need to cut 2 pieces of patterned paper measuring 1″ x 3.5″ and two more pieces measuring 2 1/4″ x 3.5″
Adhere all the panels to the base of the box.
Apply some double sided tape to the 0.5″ tab
Apply double sided tape to the larger flaps, on the inside of the front flap and the outside of the back flap.
Remove the backing from the 0.5″ tab and form the box. Fold in the 2 smaller flaps at the bottom, remove the backing from the tape on the large flaps and close them so the the tape is all on the inside.
Cut out the tags.
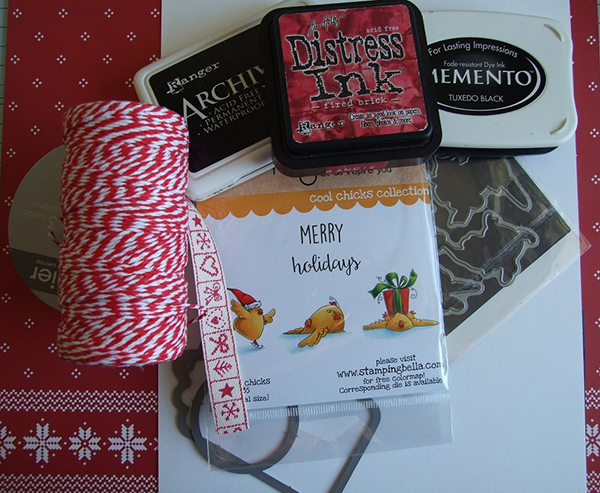
Using distress ink, stamp the chick at the bottom of the tag.
Stamp the sentiment, in black, over the image
Repeat for all of the tags.
Thread twine though the hole on the tag. You can use longer lengths of twine if you’re tying them around gifts, otherwise, you can use shorter twine and stick the tag down onto the gift.
Apply some 1/4″ double sided tape across the back of the box.
Cut a length of ribbon measuring 7.75″. Place one end of the ribbon in the centre, wrap it around the box until the other end meets the start.
Stamp one of the chicks onto some white card.
Colour with your desired medium.
Cut the image out using the coordinating die
Cut a small circle and adhere the image to it, using 3D pop dots.
Again, using pop dots, adhere the circle to the front of the box.
Hopefully I’ve inspired you to sit down and try your hands at this lovely project.
We also encourage you to share your personal favourite Stamping Bella creations with us. We LOVE to see what you’ve been creating with Stamping Bella stamps.
Another way to connect is by joining us in the Stamping Bella Sistahood Facebook Group and share your pictures.
If you are posting your images online, we would love to see them on Instagram and all the platforms mentioned above. To make it easier for us to find you just use #stampingbella as a hashtag. We love it when you connect, so don’t be shy!
Until next time, HAPPY STAMPING!
Comments are closed.
cute project! thanks for sharing….
This is fabulous, love it!
That is such a cute idea! Love it!!
So cute! Thanks for the idea.
So adorable!
Love this – thanks for the box measurements. Can’t wait to make some.
One cute project! Thanks for the tutorial too 🙂
Fabulous idea and
thanks for the cut
file!
Carla from Utah
What a cute gift idea! It’s so adorable. 🙂
These tags are really cut and really like the little box!!
Adorable!
Thanks so much for sharing! Another keeper to the bookmarks! 🙂
Wow!!! Such amazing project!!!
Hi,
I love this Gift Tag Box Set. Which company is the tag die from?
Victoria