


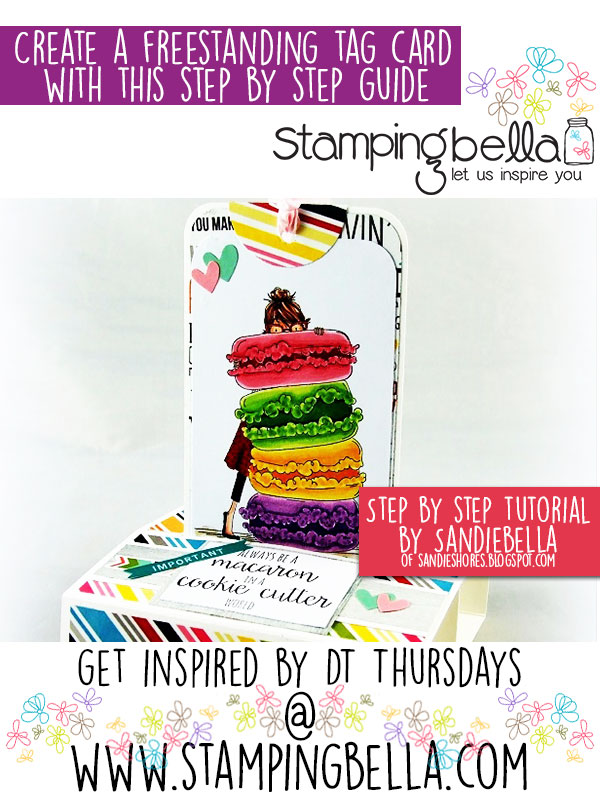
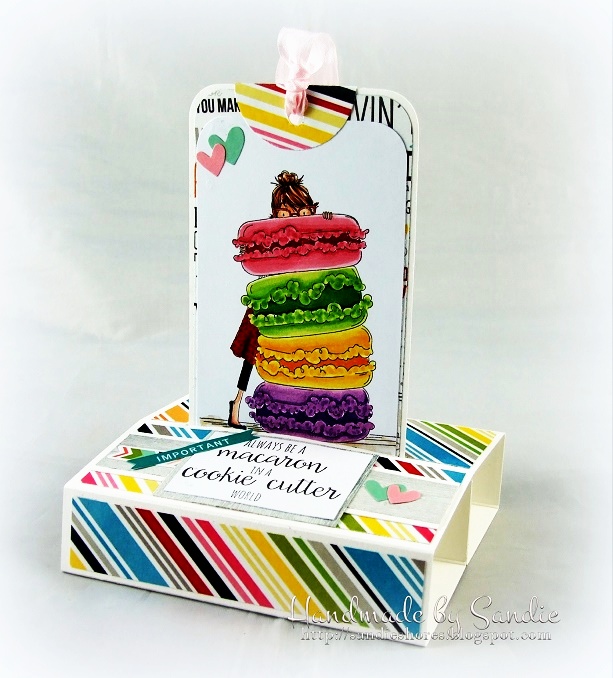
Free Standing Tag Card

Supplies:
Paper cutter with scoring & cutting blade
One piece of white card measuring 4 1/4″ x 11″
One piece of white card measuring 2 1/2″ x 5″
One piece of white card measuring 2 3/4″ x 5 1/4″
Step by Step Guide:
Score the 4 1/4″ x 11″ piece of cardstock at at 1″, 2-3/4″, 3-3/4″, 5-1/2″, 7-1/4″, 8-1/4″, and 10″.

Turn cardstock base over so that the inside is facing up. On the middle 5-1/2″ score line, make a mark 5/8″ in from both sides.


You can make this slit larger if your tag has dimension. Use a craft knife to create the desired width.

Apply double sided tape to the outside on the end 1″ scored sections. You will want to place one strip next to the score line on one, and one strip at the edge on the other side. This is necessary for holding the tag in place.


Color up the image using your desired medium.


Over To You!
Hopefully I’ve inspired you to sit down and try your hands at this lovely project.
We also encourage you to share your personal favourite Stamping Bella creations with us. We LOVE to see what you’ve been creating with Stamping Bella stamps.
Another way to connect is by joining us in the Stamping Bella Sistahood Facebook Group and share your pictures.
If you are posting your images online, we would love to see them on Instagram and all the platforms mentioned above. To make it easier for us to find you just use #stampingbella as a hashtag. We love it when you connect, so don’t be shy!
Until next time, HAPPY STAMPING!
great project! can’t wait to try it.
Thanks for the tutorial! Can’t wait to try this.
And another great project. Yep, I’ve bookmarked it! Now to find the time to try some of your great projects! Thanks so much for sharing….and with great instructions! 🙂
Oh my gosh, this is so cool! Will I ever make this one? Probably not. Do I love it anyway even though I probably will never make you? Oh yeah! Great job, Sandibella!