


Time for another fab DT Thursday tutorial from Sandiebella!
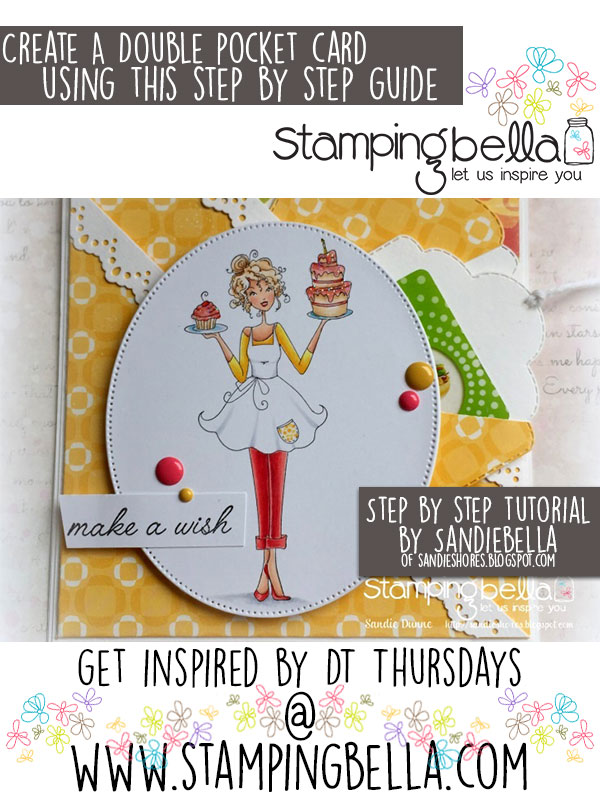
Double Pocket Card Tutorial
Supplies:
How To:
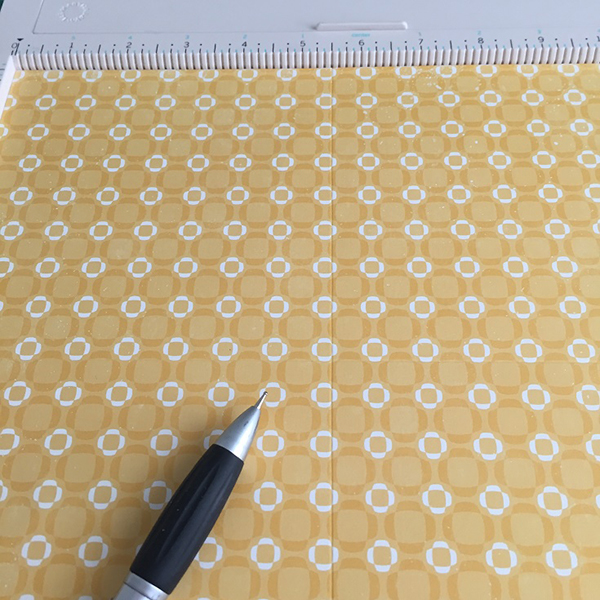
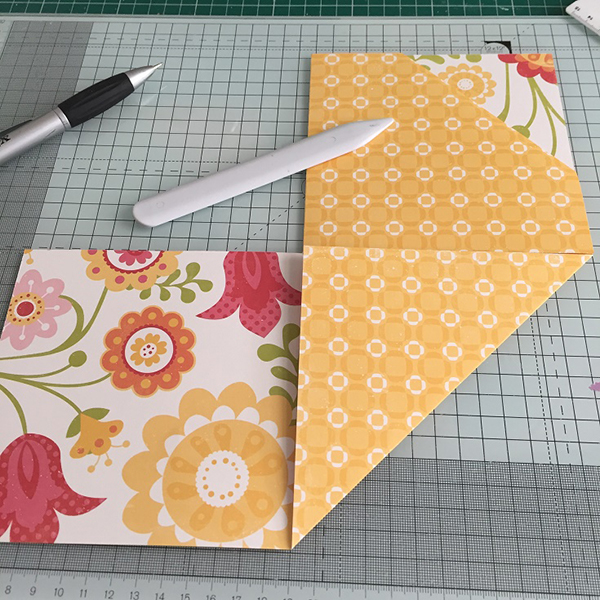
Fold and burnish all the scorelines
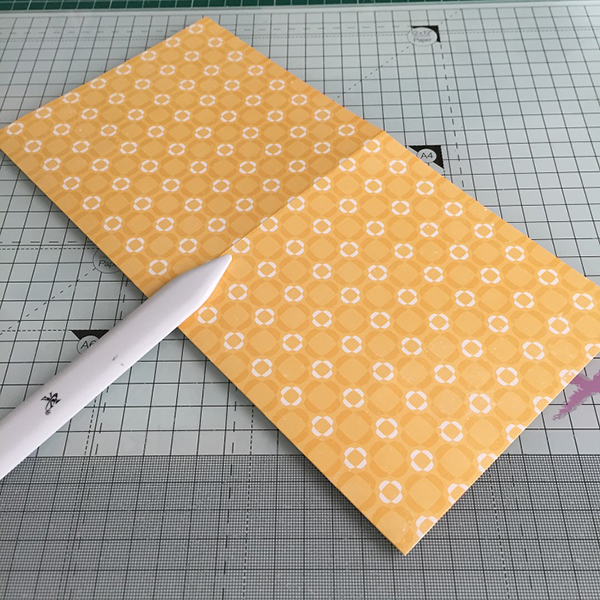
The side of the paper facing upwards will be the inside, shown behind the pockets/tags, so now is a good time to decide on which side you want.
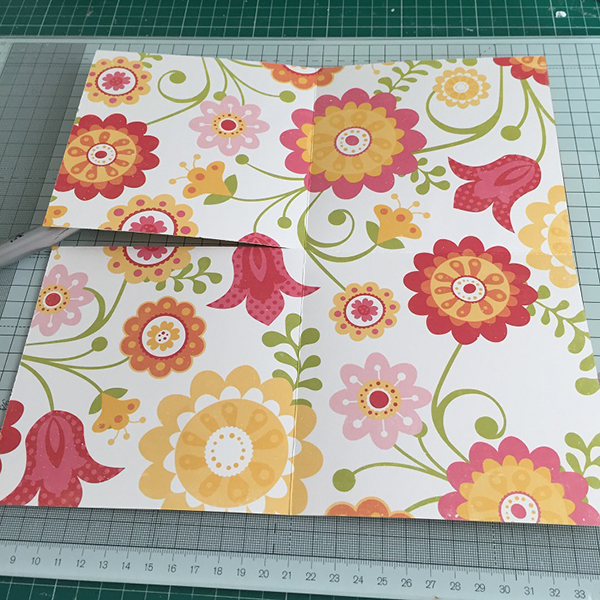
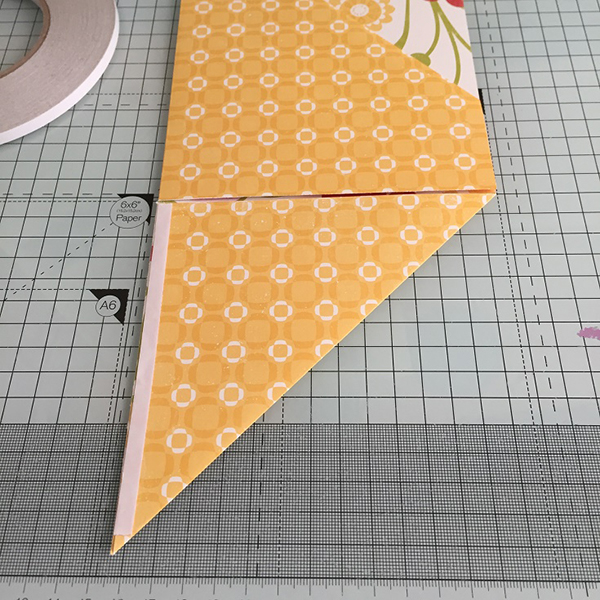
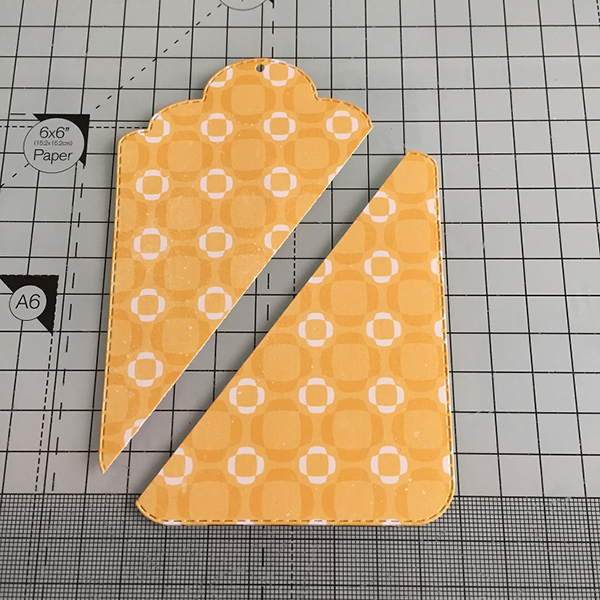
On the left side, cut across the horizontal scoreline, until you meet the vertical scoreline.
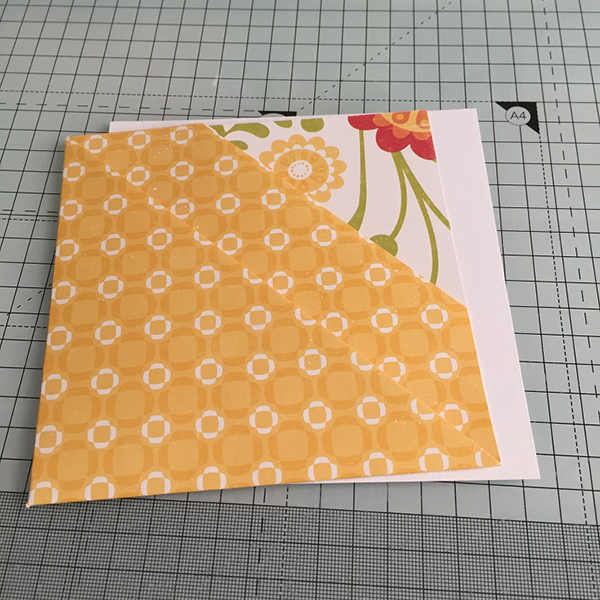
Fold down the top left corner to about 2″ away from the centre scoreline.
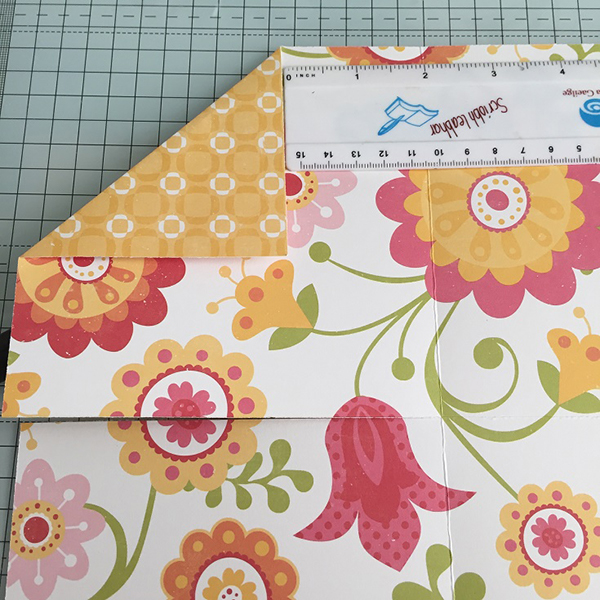
Fold up the bottom right corner and bring it to both scorelines. Burnish with a bone folder.
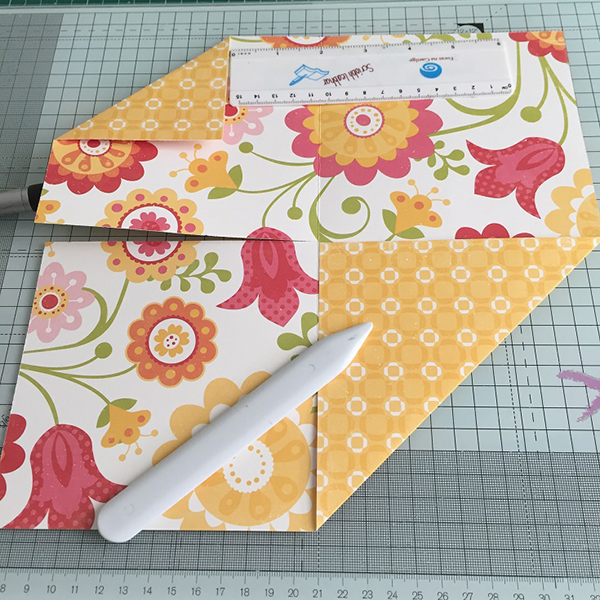
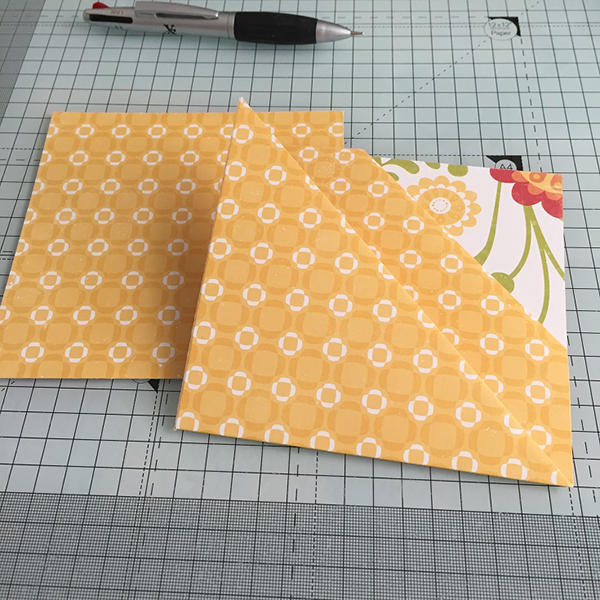
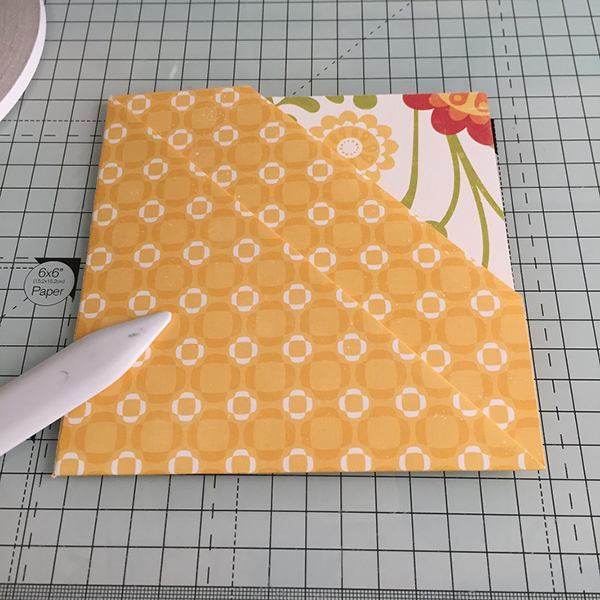
Fold the top left square over onto the right side.
Fold up the bottom half.

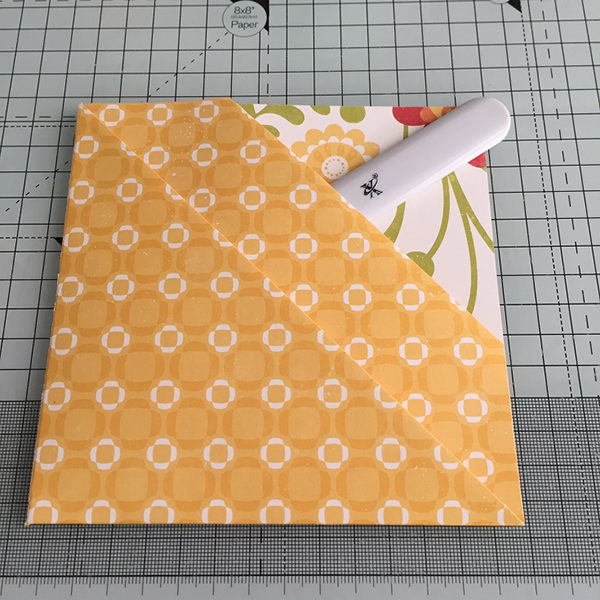
Cut off the final square, on the left, and set it aside for later.
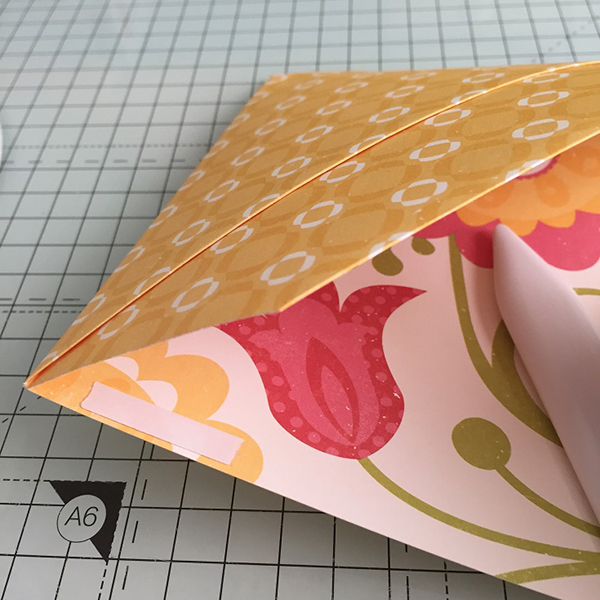
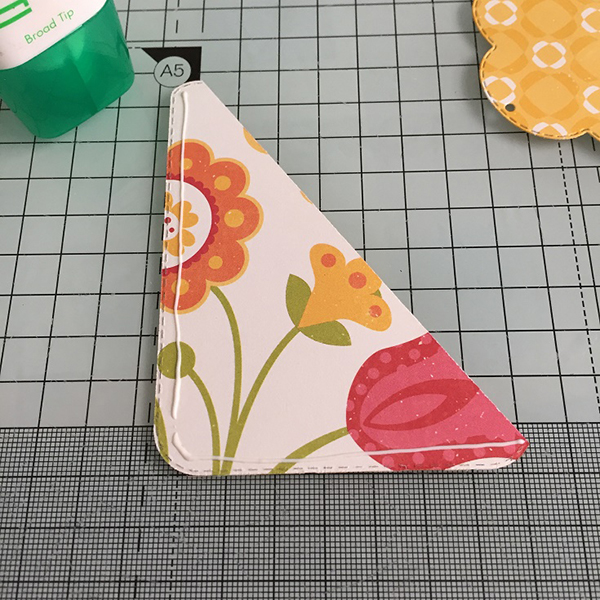
Fold down the top pocket, open up the triangle, apply glue or DS tape to the inside left and then fold back in the triangle to adhere them together.
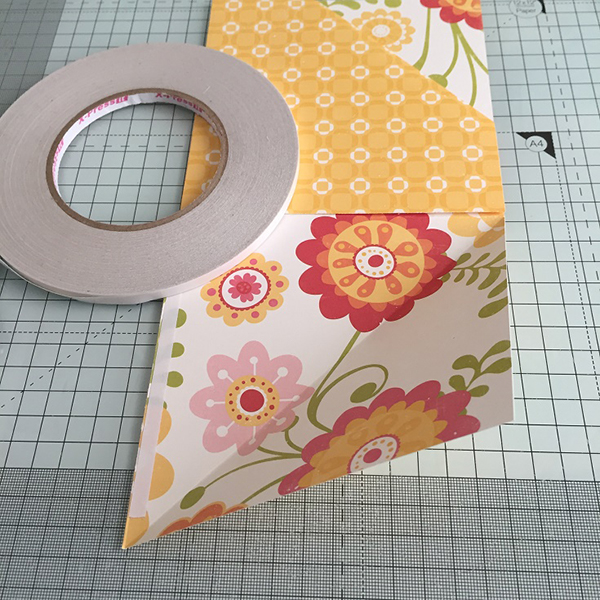
Apply glue or DS tape to the left side again and fold it back up to make the pocket.
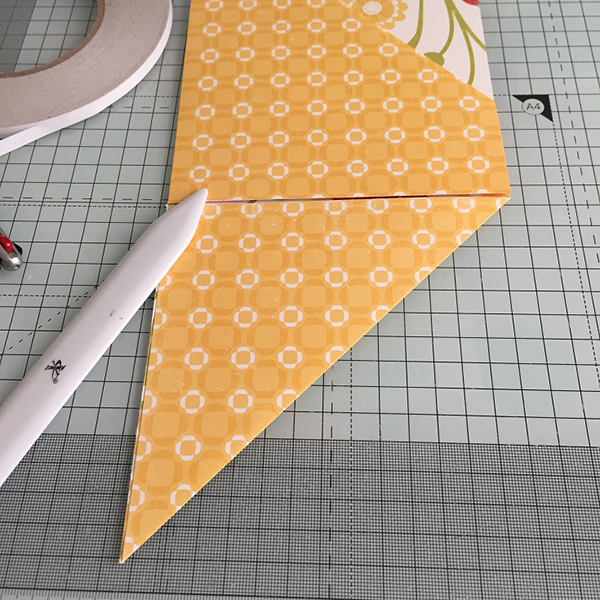
Apply glue or DS tape to the open sections at the top and side
Cut a piece of card measuring 11.5″ x 5.75″. Fold in half to make a 5.75″ card base.
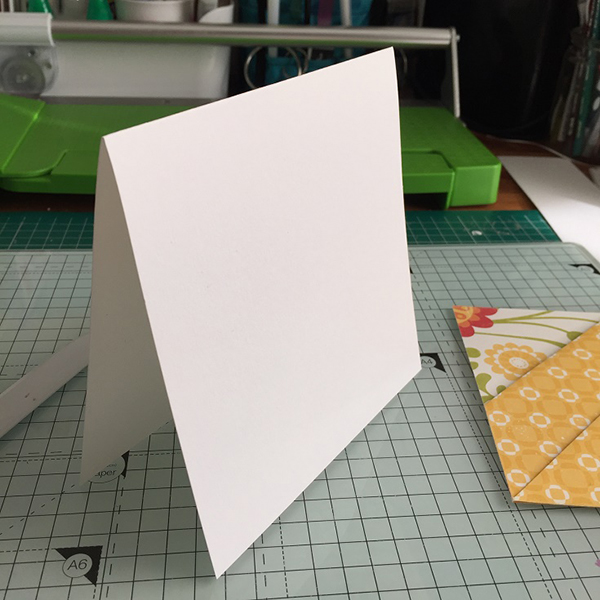
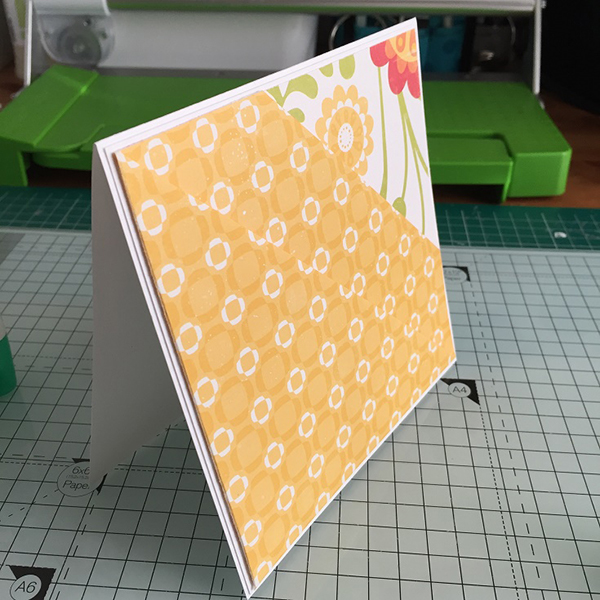
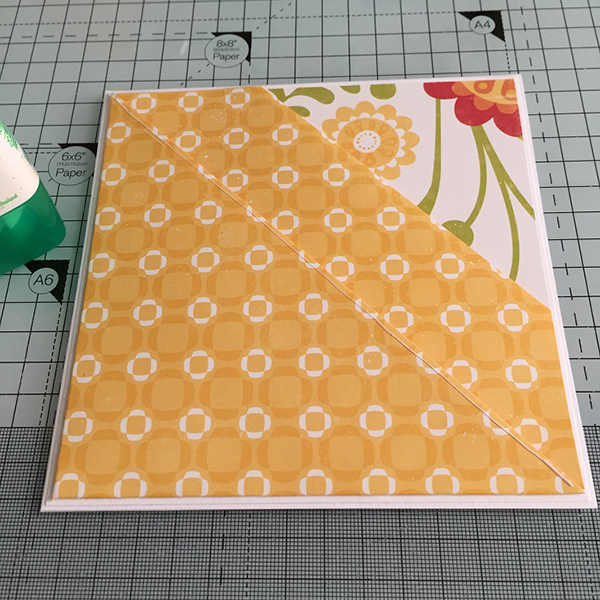
Cut a piece of white card measuring 5 5/8″ x 5 5/8″ adhere the pocket panel to it to make the card front.
Adhere the card front to the base.
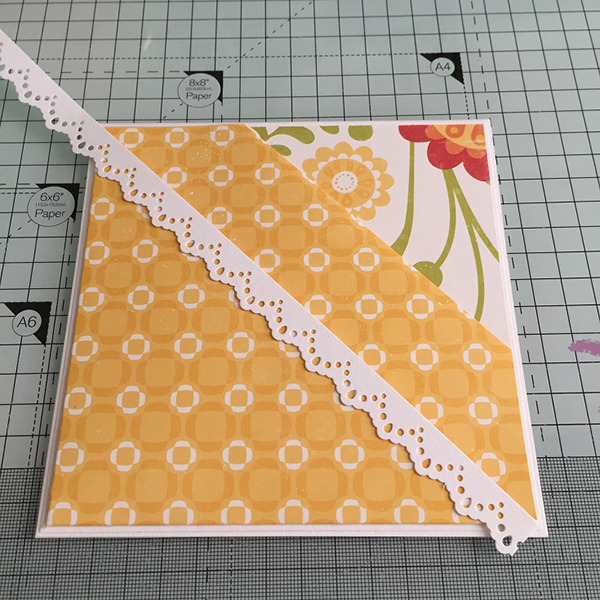
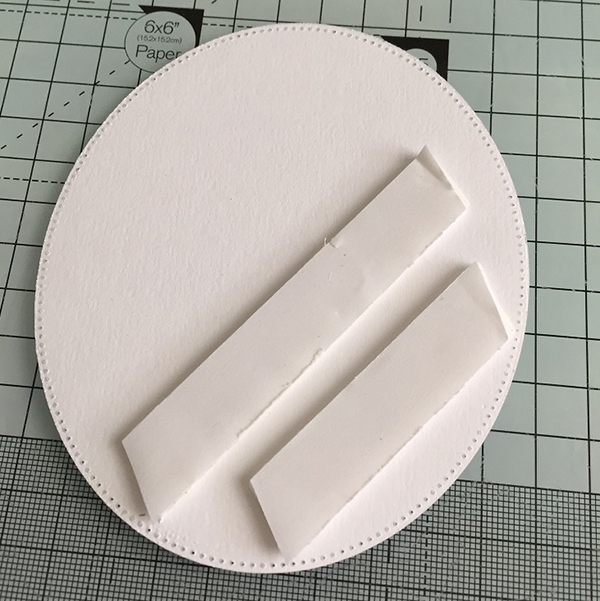
Punch/cut two border strips
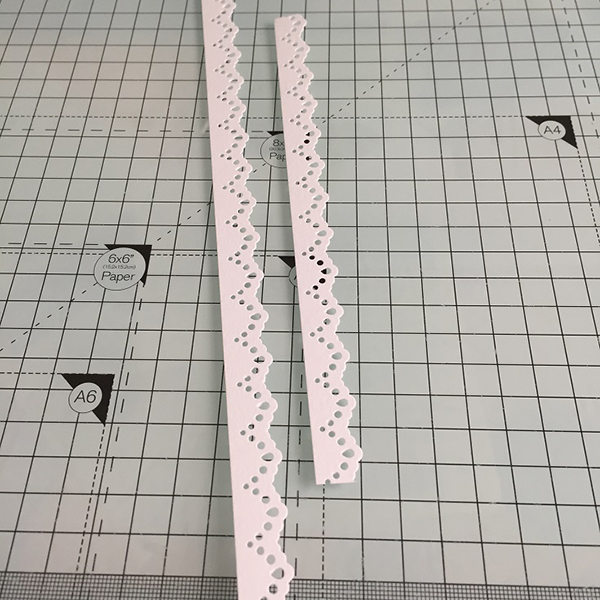
Apply a thin line of wet glue along the edge of one pocket and adhere one of the border strips, ensuring it protrudes over each end.
Cut the ends with a scissors.
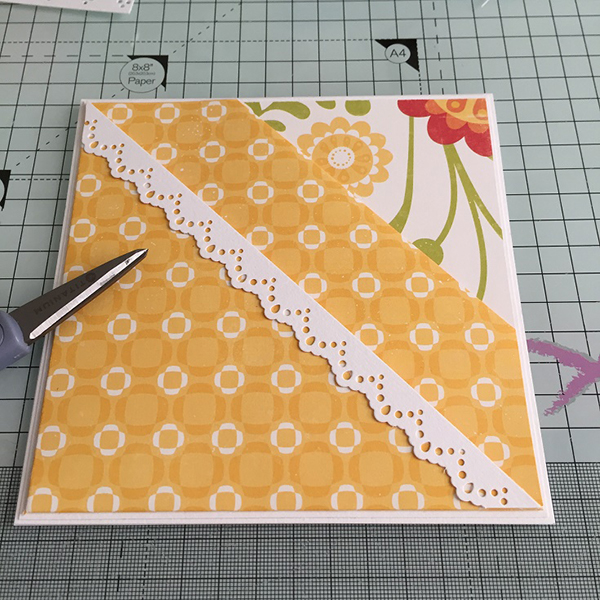
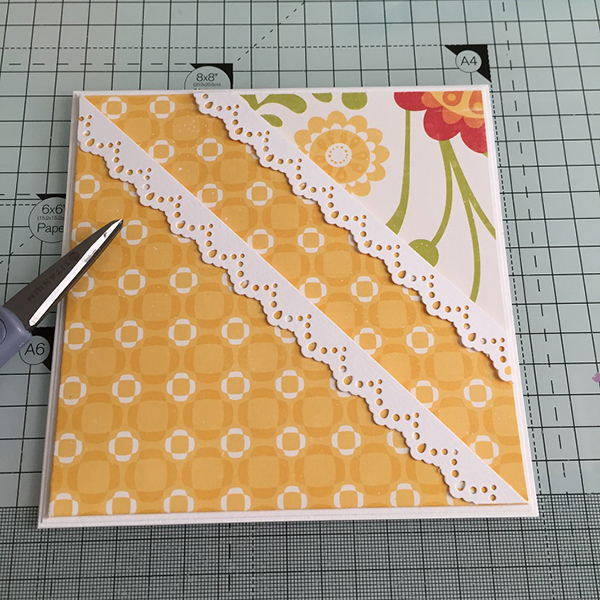
Repeat for the other pocket.
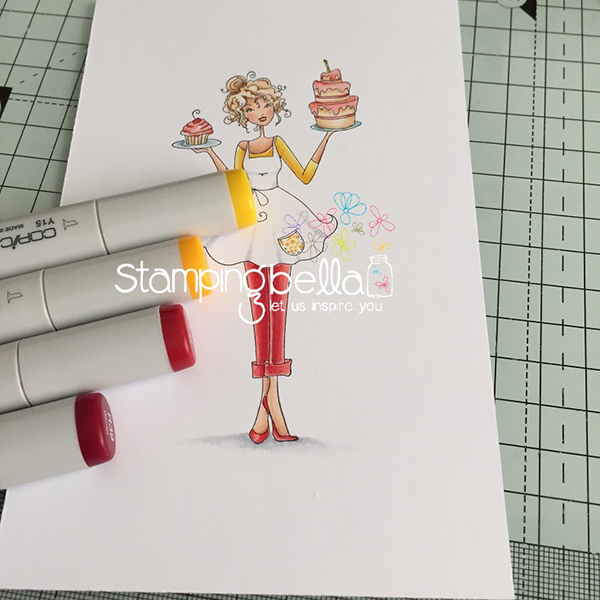
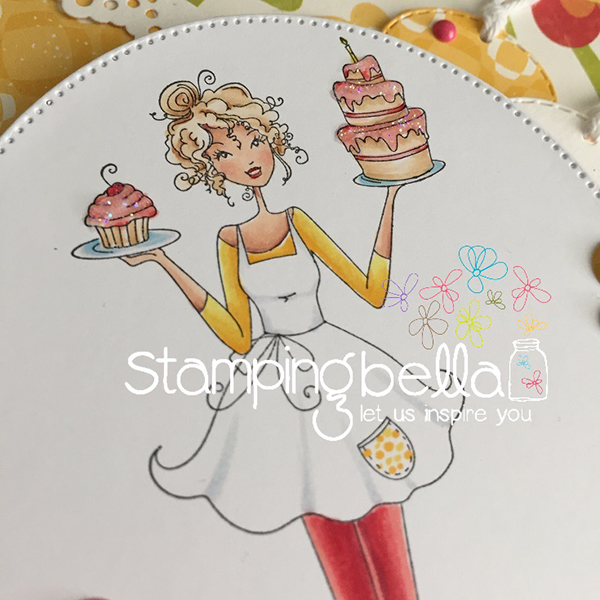
Stamp Cakeabella onto white card and colour using your preferred medium.
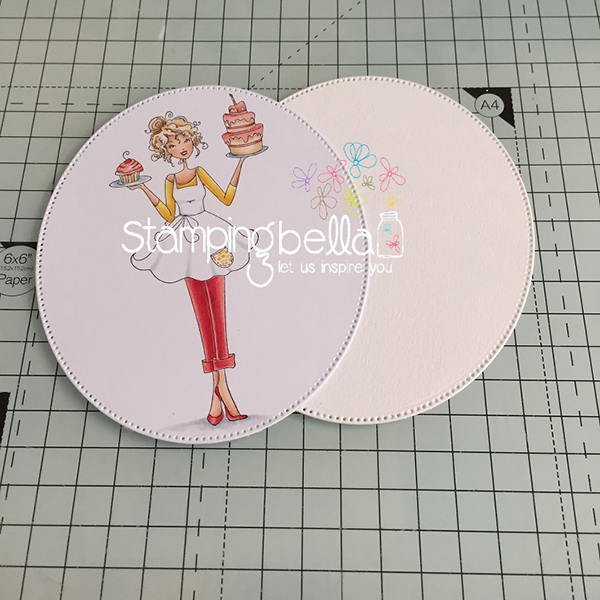
Cut out using an oval/circle die.
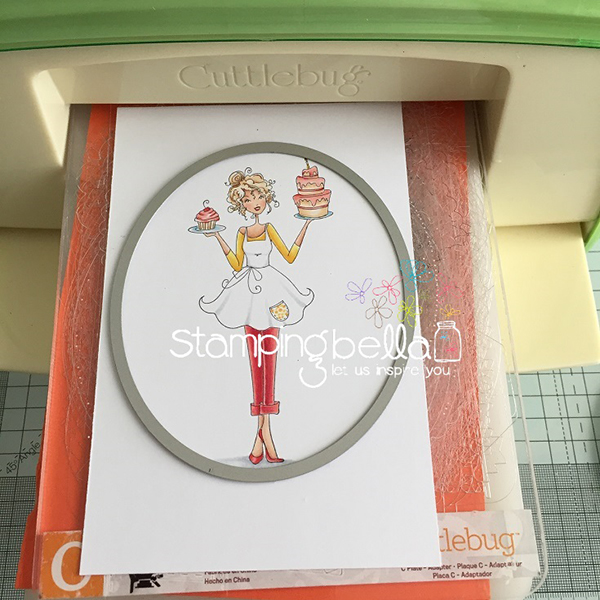
Cut a second oval/circle and adhere the image to it.
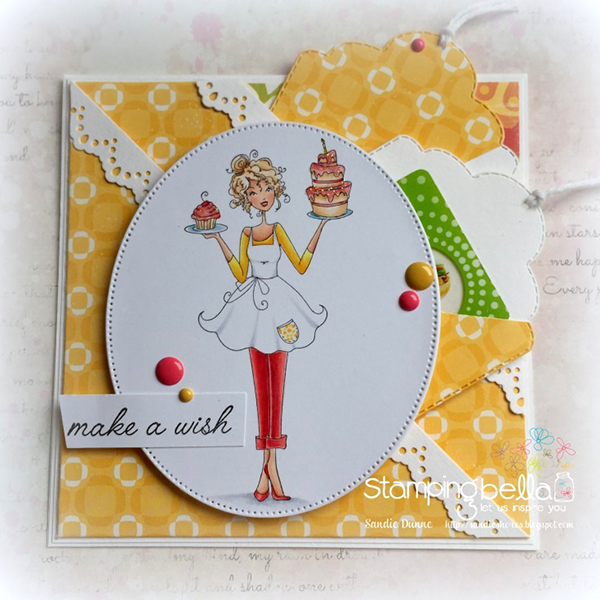
Cut 2 large tags from white card and another from the square of patterned paper you set aside.
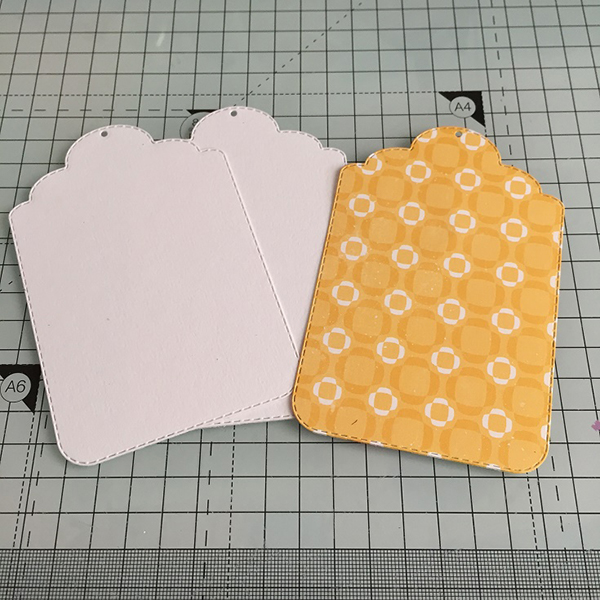
Cut the patterned paper tag, diagonally.
Apply wet glue or narrow DS tape to the 2 outer edges of the bottom section of the tag and adhere to the white tag to make a pocket.
You can use the pocket for a gift card, or cash, etc
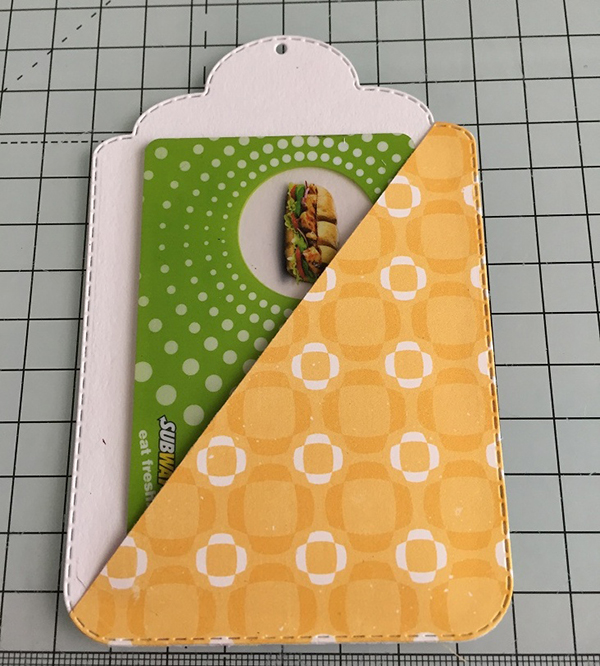
Adhere the other half of the paper tag to the other white card tag.

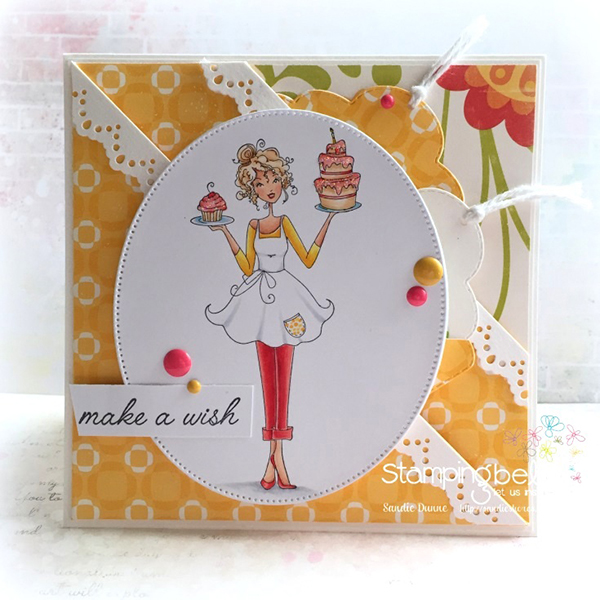
Apply 3D foam tape the back of the image, ensuring it won’t go over onto the pockets.
Stick the image down. Thread twine through the tags and insert them into the pockets.
Add the sentiment and any embellishments desired.
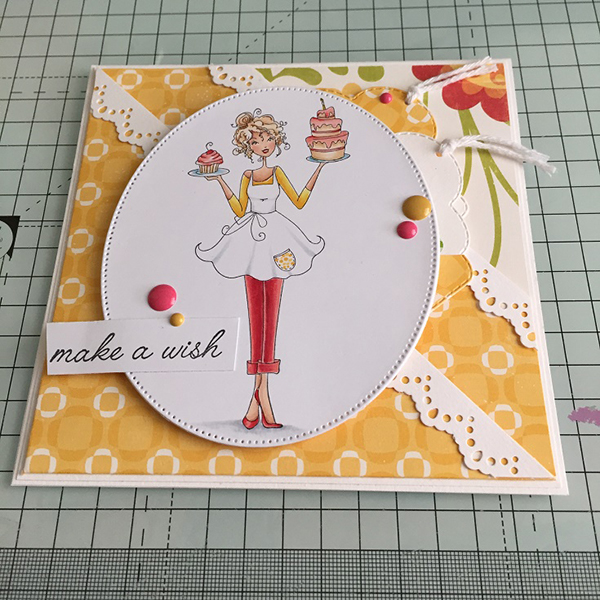
When the card is done, apply some Star Dust stickles to the cakes and leave to dry.
Over To You!
If you try out the techniques shown in any of the posts with your Stamping Bella stamps, be sure to share! We would love to see the results and hear how you feel about them. Show off your creations in the comments below and even better, share your own favourite tips with us. Let’s talk stamping!
If you are posting your images online, we would love to see them on Instagram and all the platforms mentioned above. To make it easier for us to find you just use #stampingbella as a hashtag. Even better tag @stampingbella . We love it when you connect, so don’t be shy!
If you’re on Facebook join us in our private chat group Stamping Bella Sistahood to share your creations there and chat all things Stamping Bella related!
Until next time, HAPPY STAMPING!
MWAH
Elaineabella
Elaineabella…I absolutely love these Thursday posts. I don’t DO any of the various media, so I can’t show you my results…but…I make almost every single project. The results are always “spot on”, because of your perfect instructions and step out photos. Some of the projects are used as gifts. Nearly every one of them is saved with notes for technique and measurements. I have a binder notebook full of page protectors and pretty results for future reference. Thanks SO much. I look forward to your posts. Happy Thursday!!!!
So happy you enjoy the posts! The credit all goes to our fantastic Sandiebella though! 🙂 ~Elaine
love it! great card!
Awesome card and awesome tutorial !!
When I made my first card at a stamp class in a stamp store that has since closed up, the instructor showed us the card we were going to make. I looked at her and said “I’m a first timer at card making. There’s no way I can make this card”. She said it wasn’t hard and I could make it. It was an embossed card which I had never done before or even heard of. This was in the early 80’s I think. It was beautiful and it wasn’t that hard, it just looked like it. That’s how this card looks. I don’t think I could ever make it but it was cool to see how it done. Now if I could go to Sandiebella’s house and she could help me, well, that would be a whole ‘nother story. Thanks for showing it us.
Oh what a great design! Thanks so much for sharing the step by step instructions! 🙂