GIFT CERTIFICATE!

Treat someone special to a Stamping Bella

Click to continue

DT Thursday – Create a Double Gate Fold Card with Sandiebella!

Hey everyone, it’s time for another fantastic DT Thursday with our scoring and folding queen Sandiebella! She’s got a gorgeous Double Gate Fold Card design for you to create using her step by step guide. PLUS she’s showing off our adorable new Tiny Townie “Lacey has a Letter”.

Stamping Bella DT Thursday - Create a Double Gate Fold Card with Sandiebella! Click through for the step by step guide.

Double Gate Fold Card Step by Step Tutorial:

Stamping Bella DT Thursday - Create a Double Gate Fold Card with Sandiebella! Click through for the step by step guide.

Supplies: 

White card
Patterned papers
Ribbon
Embellishments of choice
Scoring board and bone folder
Adhesive

Stamping Bella DT Thursday - Create a Double Gate Fold Card with Sandiebella! Click through for the step by step guide.

How To:

Cut one piece of white card measuring 5.75″ x 8.75″
Score at 3″

Stamping Bella DT Thursday - Create a Double Gate Fold Card with Sandiebella! Click through for the step by step guide.

Cut another piece of white card measuring 5″ x 10″
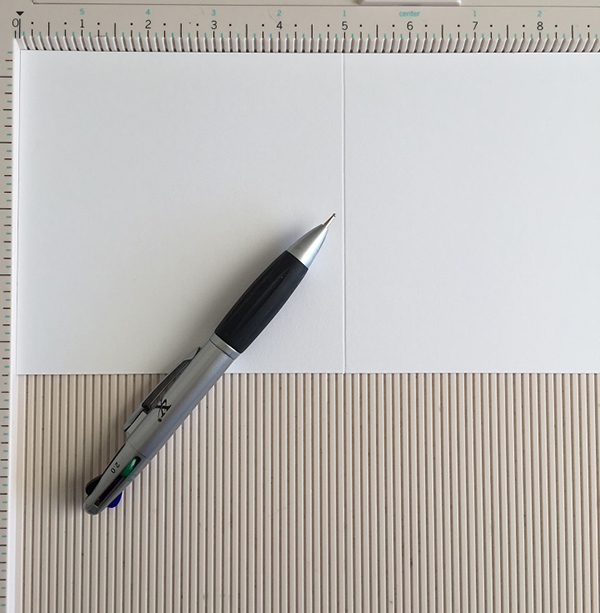
Score at 5″Stamping Bella DT Thursday - Create a Double Gate Fold Card with Sandiebella! Click through for the step by step guide.

Fold both pieces of card as shown. Use a bone folder to crease them well.

Stamping Bella DT Thursday - Create a Double Gate Fold Card with Sandiebella! Click through for the step by step guide.

Cut one piece of white card measuring 5.5″ x 5.5″ and two pieces measuring 2.75″ x 5.5″
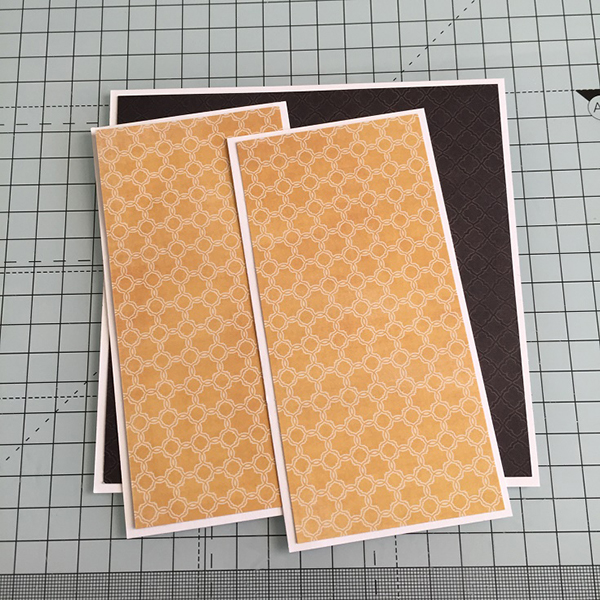
Cut one piece of patterned paper measuring 5 3/8″ x 5 3/8″ and two more pieces measuring 2 3/8″ x 5 3/8″
Layer and adhere the patterned paper onto the card.Stamping Bella DT Thursday - Create a Double Gate Fold Card with Sandiebella! Click through for the step by step guide.

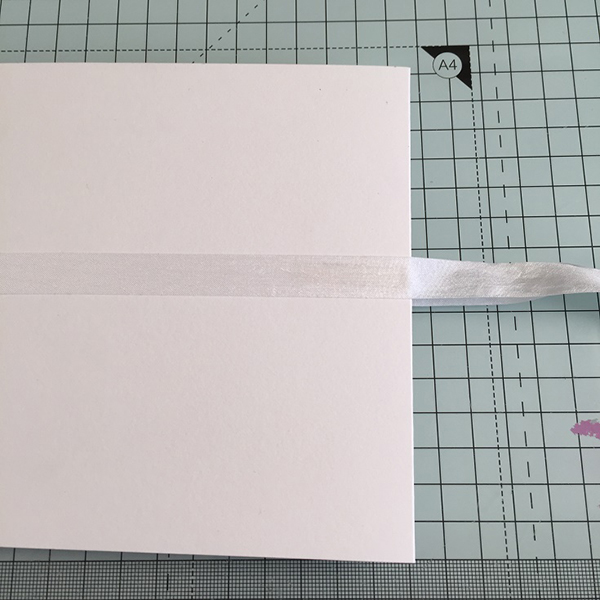
Cut a piece of white ribbon, approx 17″ long. On the 5.75″ side of the bottom base layer, apply a strip of double sided tape about 1/4″ in from the edge. Adhere about 3″ of the ribbon down, as shown. Apply another piece of tape to secure the ribbon further.

Stamping Bella DT Thursday - Create a Double Gate Fold Card with Sandiebella! Click through for the step by step guide.

Adhere the card/paper panel over the ribbon.

Stamping Bella DT Thursday - Create a Double Gate Fold Card with Sandiebella! Click through for the step by step guide.

Adhere the other 2 panels on the smaller sections.
Stamping Bella DT Thursday - Create a Double Gate Fold Card with Sandiebella! Click through for the step by step guide.

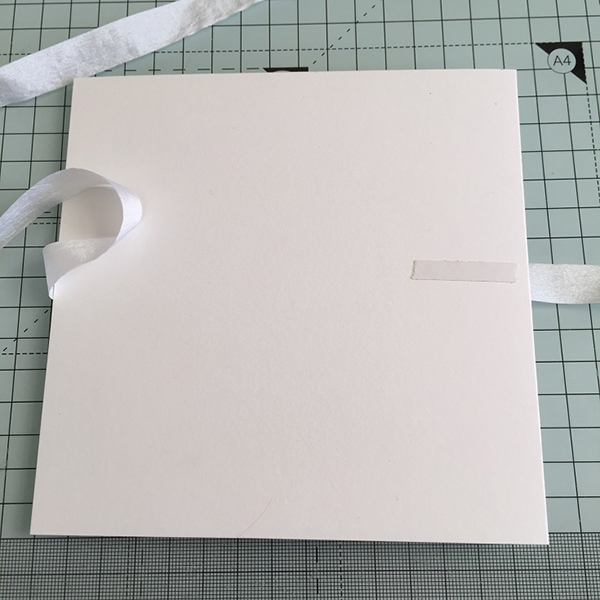
Turn the card over and apply a small piece of double side tape on the right.
Stamping Bella DT Thursday - Create a Double Gate Fold Card with Sandiebella! Click through for the step by step guide.
Bring the ribbon around and across the back of the card, securing it on the tape. When you flip the card into the upright position, the ribbon should be on the left side.
Stamping Bella DT Thursday - Create a Double Gate Fold Card with Sandiebella! Click through for the step by step guide.

Cut TWO pieces of white card measuring 4.75″ x 4.75″ and TWO pieces of patterned paper measuring 4 5/8 x 4 5/8″. Adhere the patterned papers down onto the white card to make 2 panels.
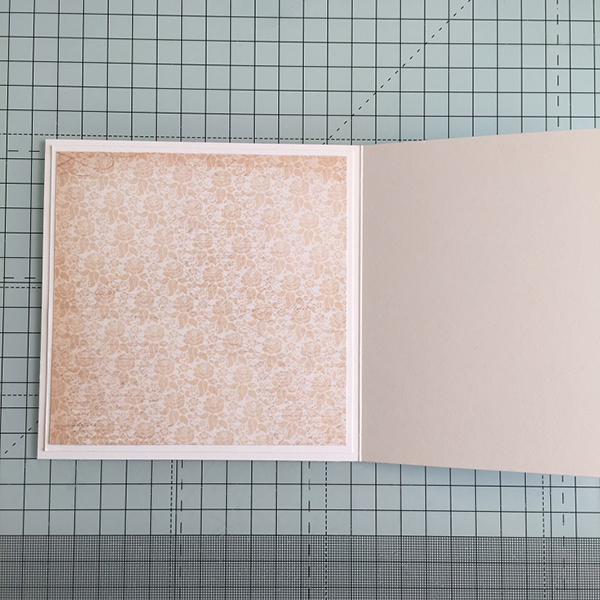
Taking the 10″ x 5″ piece of white card, fold it in half  with the opening on the LEFT. Adhere one of the panels to the inside.Stamping Bella DT Thursday - Create a Double Gate Fold Card with Sandiebella! Click through for the step by step guide.

Fold over and apply a small strip of double sided tape about 1/4″ in from the edge.

Stamping Bella DT Thursday - Create a Double Gate Fold Card with Sandiebella! Click through for the step by step guide.

Cut a piece of ribbon approx 10″ long. Position the 5″ square card on to the base layer and adhere the ribbon, lining it up with the ribbon on the back section.

Stamping Bella DT Thursday - Create a Double Gate Fold Card with Sandiebella! Click through for the step by step guide.

Take the second 4.75″ panel and adhere over the ribbon.

Stamping Bella DT Thursday - Create a Double Gate Fold Card with Sandiebella! Click through for the step by step guide.

Apply adhesive to the back of the 5″ sqaure inside card and adhere to the inside of the bottom base layer – centering it on all 4 sides.

Stamping Bella DT Thursday - Create a Double Gate Fold Card with Sandiebella! Click through for the step by step guide.

Colour the image using your desired medium and matt with some white card, leaving about 1/8″ border all around.

Stamping Bella DT Thursday - Create a Double Gate Fold Card with Sandiebella! Click through for the step by step guide.

Cut a 4″ square piece of card for the inside, to write your message on.

Stamping Bella DT Thursday - Create a Double Gate Fold Card with Sandiebella! Click through for the step by step guide.

Stamp the sentiment* and cut out with the sign die.
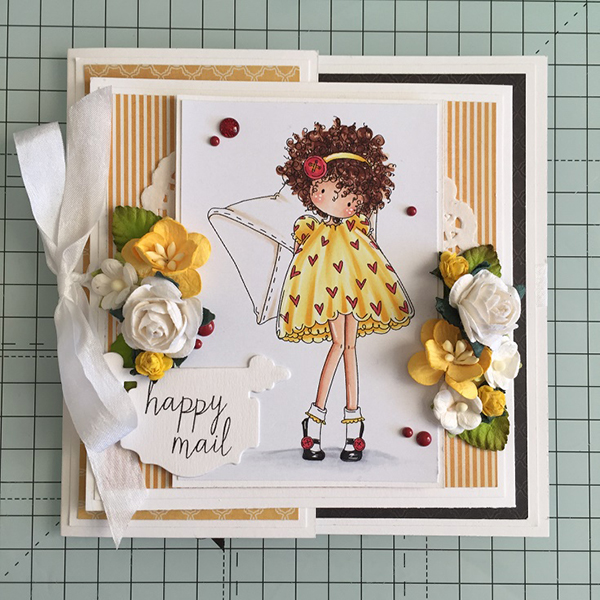
*To position the sentiment as I have, first cover the ‘mail’ with a piece of double sided tape. Ink the stamp and then remove the tape. The ink will only be on the ‘happy’. Stamp the Happy and then clean it off with a baby wipe. Cover the ‘happy’ with double sided tape and repeat the process, positioning the ‘mail’ where ever you want it to be. Stamping Bella DT Thursday - Create a Double Gate Fold Card with Sandiebella! Click through for the step by step guide.

Embellish the front panel as desired and tie the ribbon to close the card up.

Stamping Bella DT Thursday - Create a Double Gate Fold Card with Sandiebella! Click through for the step by step guide.

Stamping Bella DT Thursday - Create a Double Gate Fold Card with Sandiebella! Click through for the step by step guide.

Over To You!

Hopefully I’ve inspired you to sit down and try your hands at this lovely project.

We also encourage you to share your personal favourite Stamping Bella creations with us. We LOVE to see what you’ve been creating with Stamping Bella stamps.

Another way to connect is by joining us in the Stamping Bella Sistahood Facebook Group and share your pictures.

If you are posting your images online, we would love to see them on Instagram and all the platforms mentioned above. To make it easier for us to find you just use #stampingbella as a hashtag. We love it when you connect, so don’t be shy!

Until next time, HAPPY STAMPING!

Post navigation

10 comments

  1. Sandie, your tutorials are the best, and this one is no exception! Thank you for providing such detailed instructions and photos! What a cute image on your beautiful card, and the flowers are lovely. Someone is going to get a very special Valentine!

  2. What a beautiful card! It looks kind of complicated for me to do and I don’t have a scoring board or bone folder, although I have sharp fingernails so I use those to crease a card. I liked seeing how you did it and I will save it so I can check it out better. Maybe someday I can do this card!

Leave a comment

Your email address will not be published. Required fields are marked *