


DT Thursday time! Sandie has another gorgeous make for us to follow along with today.
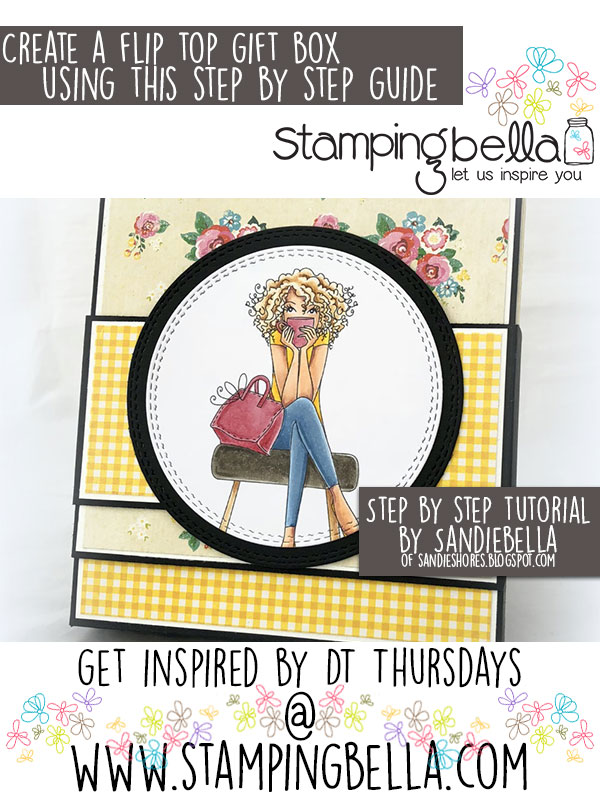
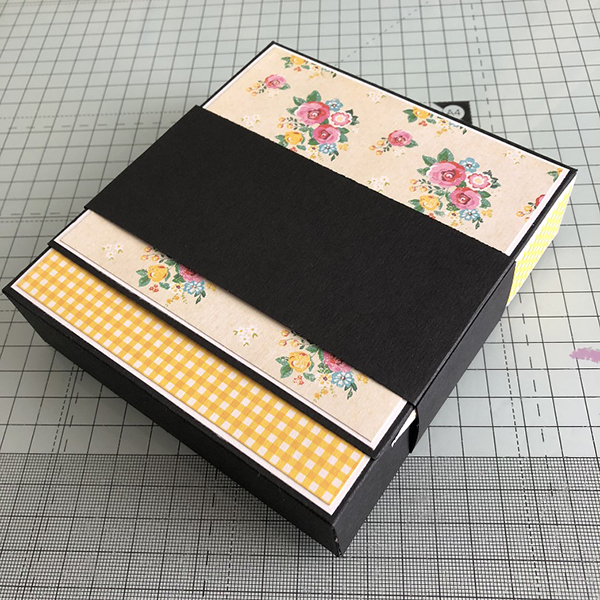
Coffee Lover’s Flip Top Gift Box
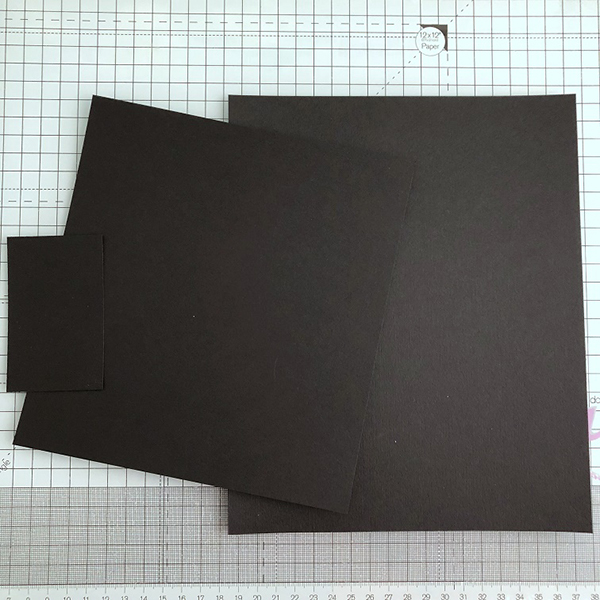
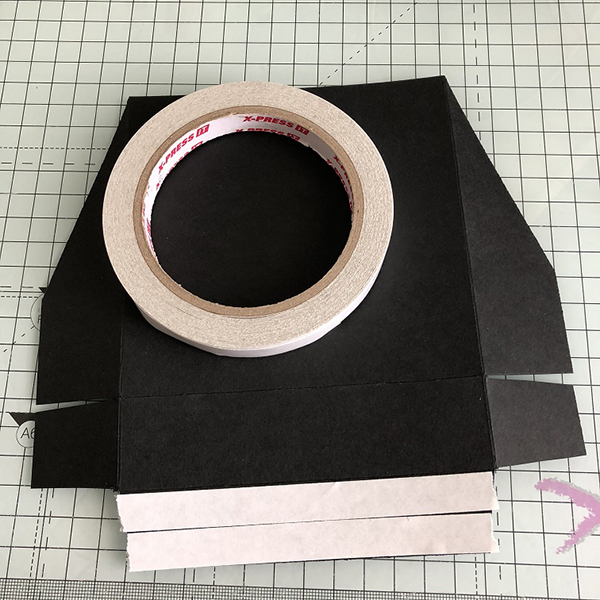
Supplies:
How to:
2 pieces @ 2.25″ x 7 5/8″
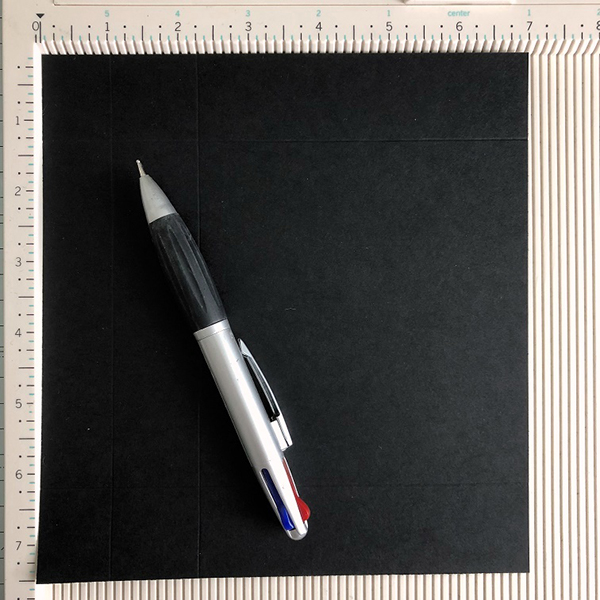
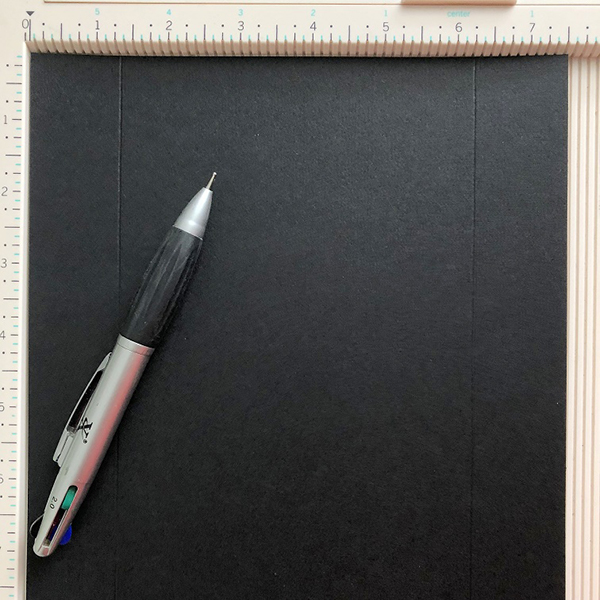
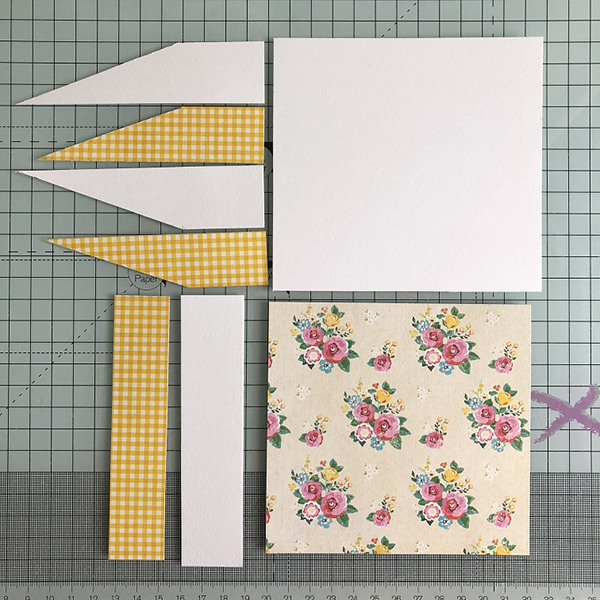
For the box top:
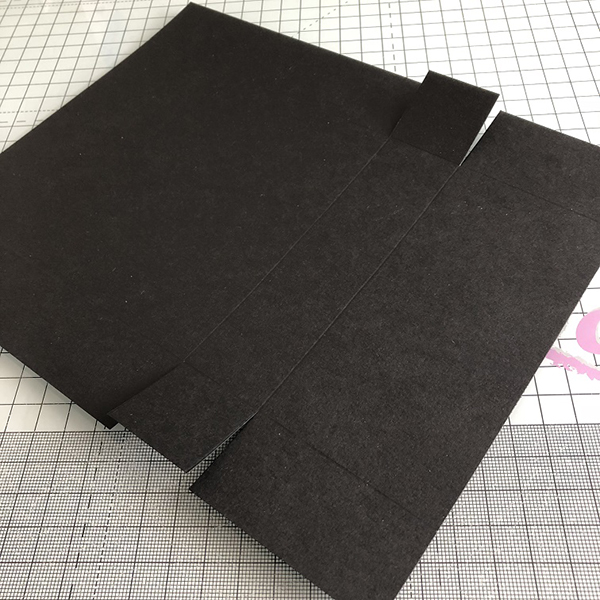
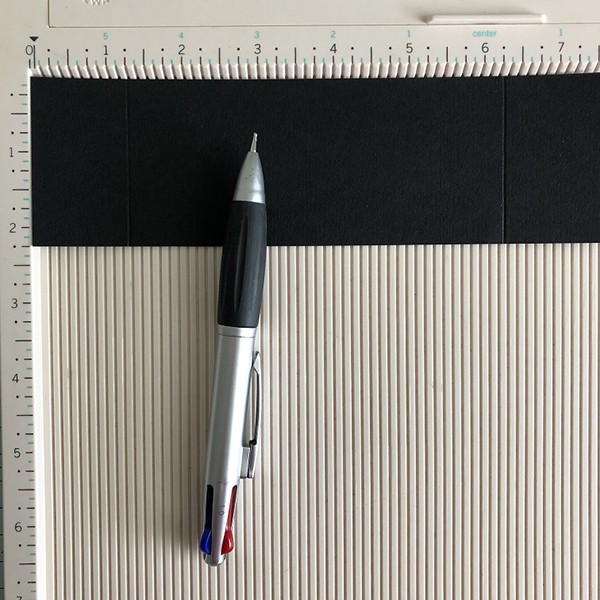
Take the 7.5″ x 7″ piece of card and score at 2.25 and 6.25″ on the 7.5″ side

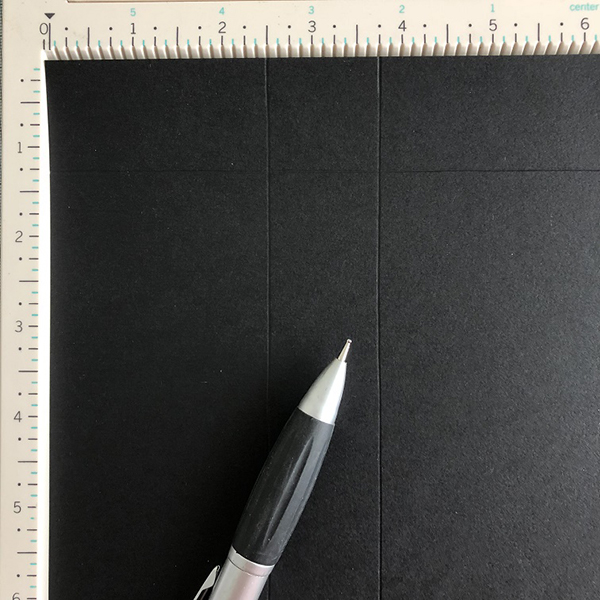
Flip 90 degrees and score at 1″ and 2.25″
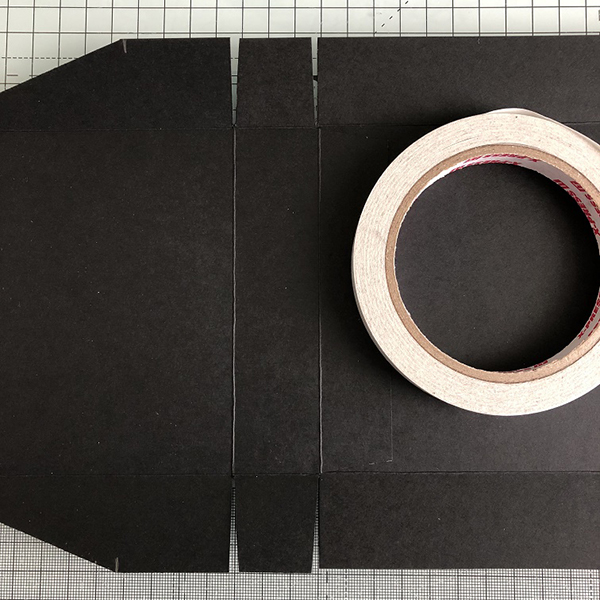
Using a scissors, cut on the 1″ and the 2.25″ scorelines in to the intersection.

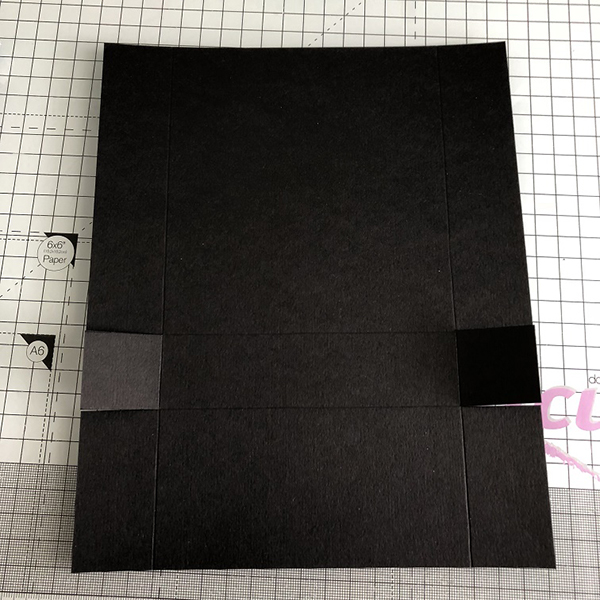
Cut away the outer 1″ sections and taper the edges of the 5″ section in the middle.
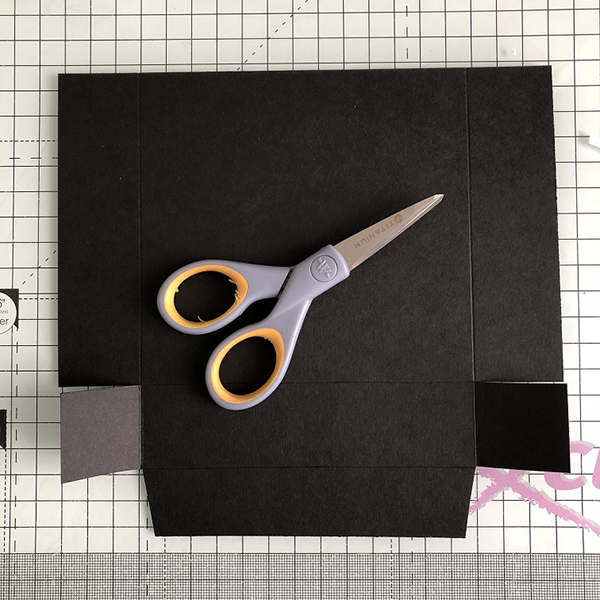
Taper the tabs on both sides.
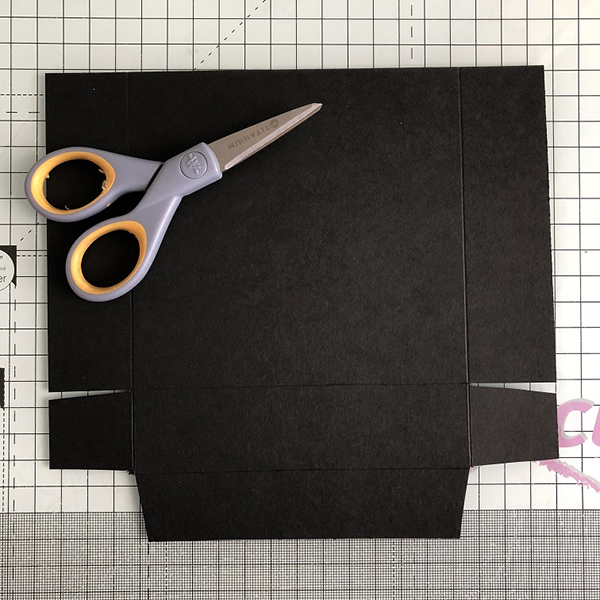
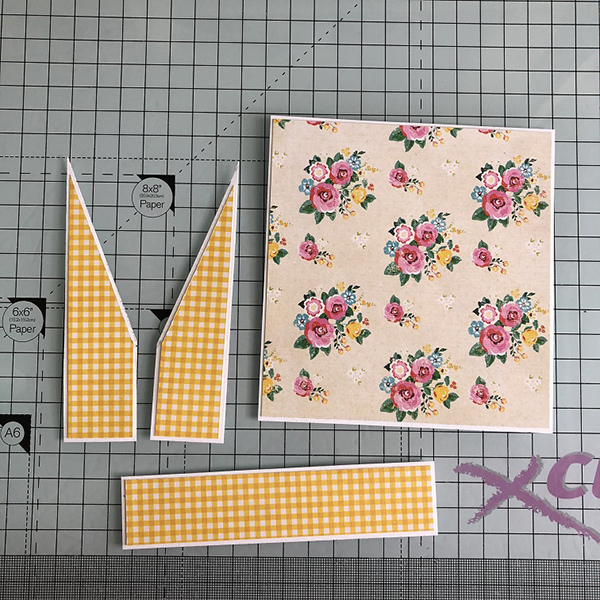
Measure down 1.5″ from the 2.25″ scoreline, on the outer section as shown, and mark with a pencil.

Repeat on the other side

Using a paper trimmer or scissors, cut diagonally from the 1.5″ pencil mark to the inside scoreline.
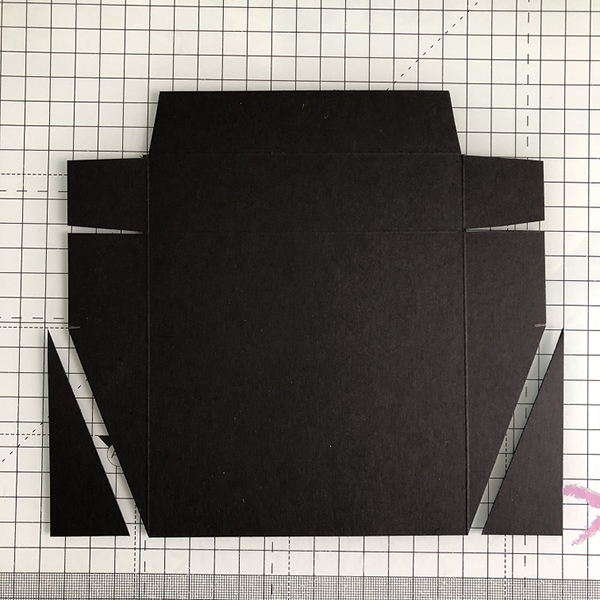
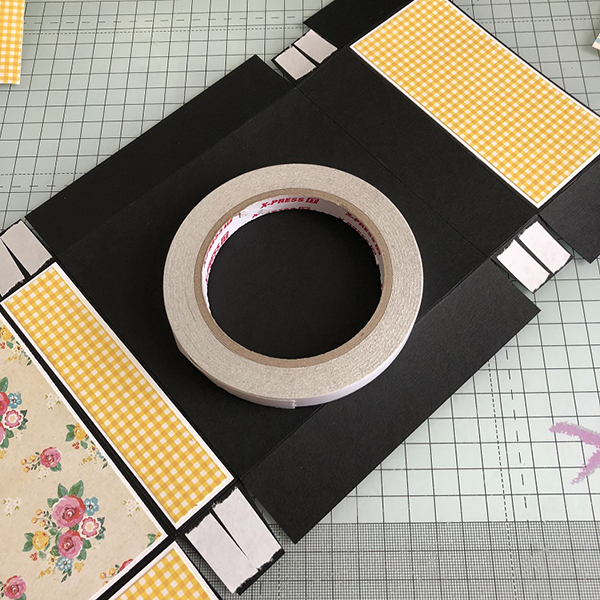
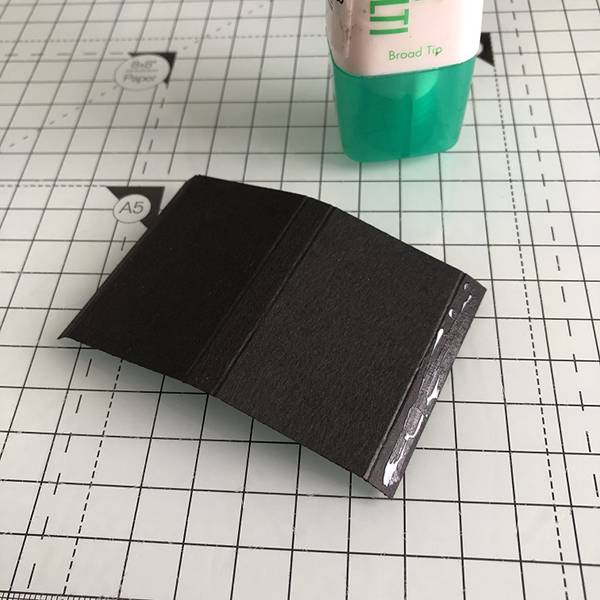
Apply double sided tape to the 5″ section and set aside.
For the box base:
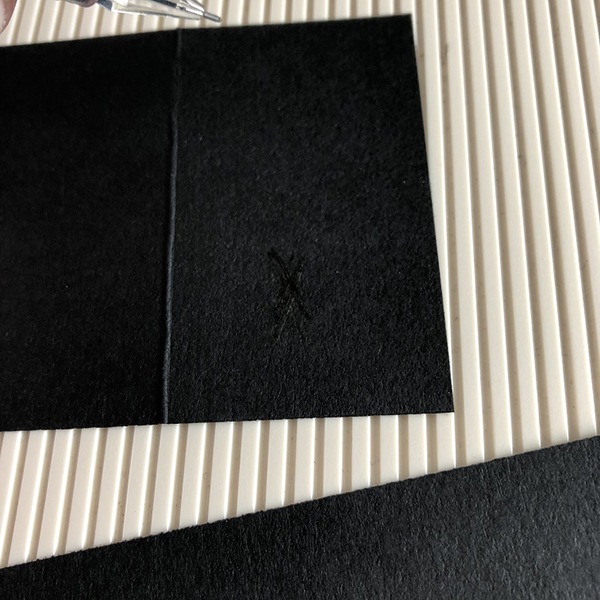
Take the 7.5″ x 9.25″ piece of black card and score at 1.25″ and 6.25″ on the 7.5″ side.
Flip 90 degrees and score at 2.5″ and 3.75″
Create 2 tabs by cutting on the 2.5″ and 3.75″ scorelines, in to the intersection.
Taper the tabs on both sides.

To construct the box:
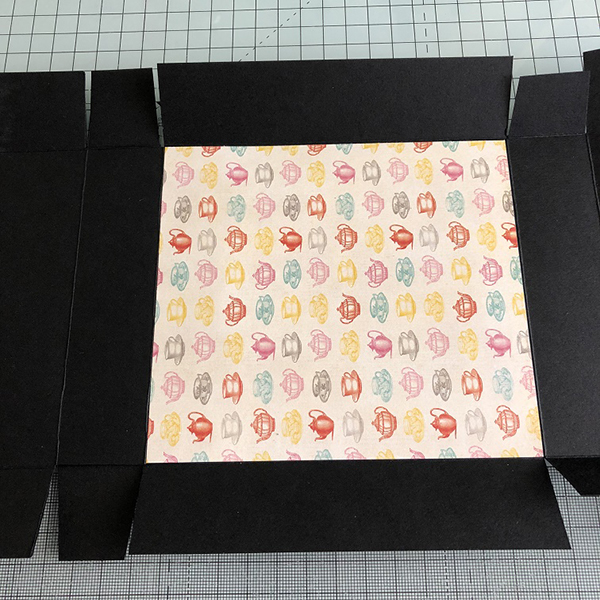
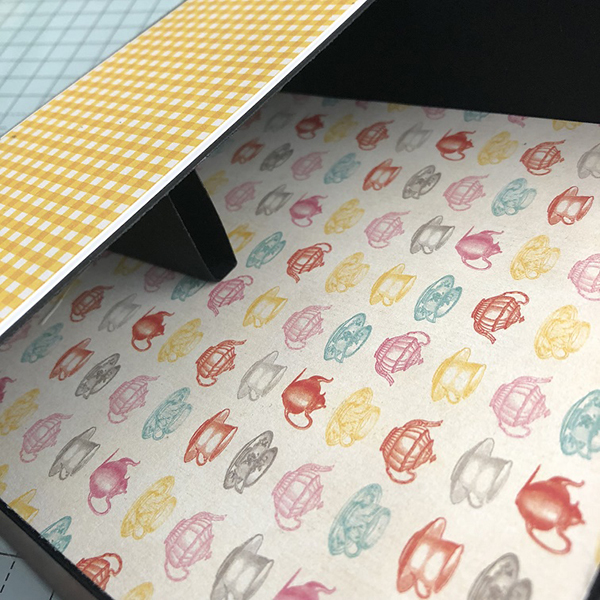
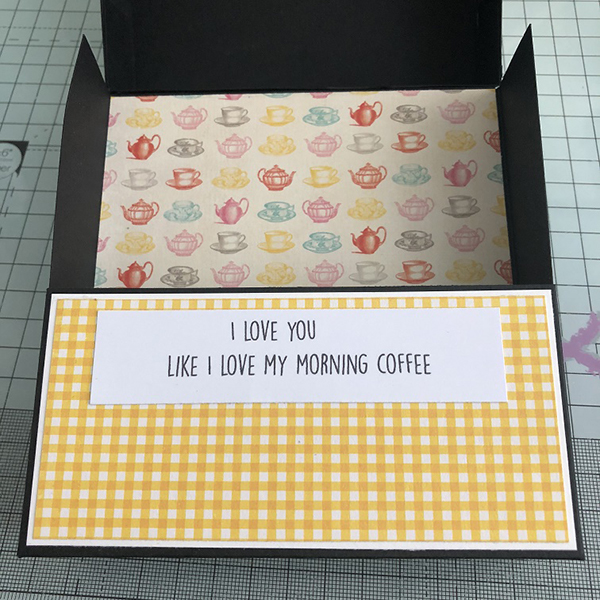
Cut a piece of patterned paper measuring 4 7/8″ x 5 3/8″ and adhere to the centre panel on the inside of the box.
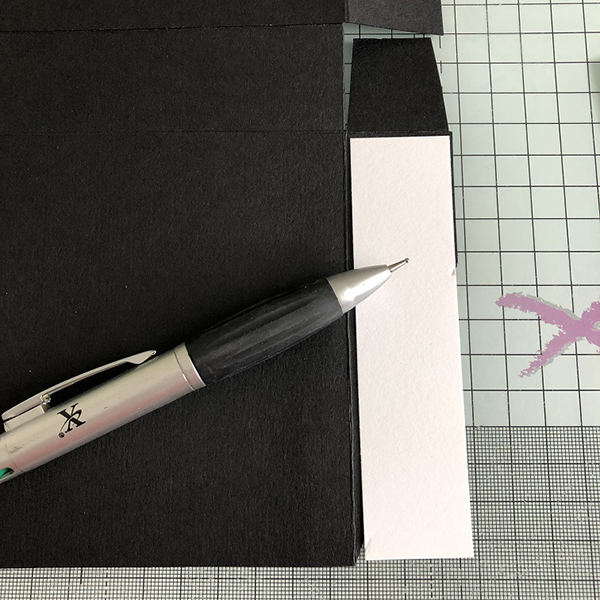
Cut 2 pieces of white card measuring 1 1/8″ wide x 4 5/8″ long. Lay one piece on top of the wedged side of the box top to use as a guide for cutting. Mark with a pencil and cut diagonally. Repeat for the other side.
Cut pieces of white card measuring:
- 4 5/8″ x 4 7/8″
- 4 7/8″ x 1 1/8″
- 2 3/8″ x 4 7/8″
- 4.5″ x 4.75″
- 4.75″ x 1″
- 2.25″ x 4.75″
- 4.75″ x 1″ (times 2 for the wedged sides, use the wedged white card pieces as a guide for the diagonal cut)
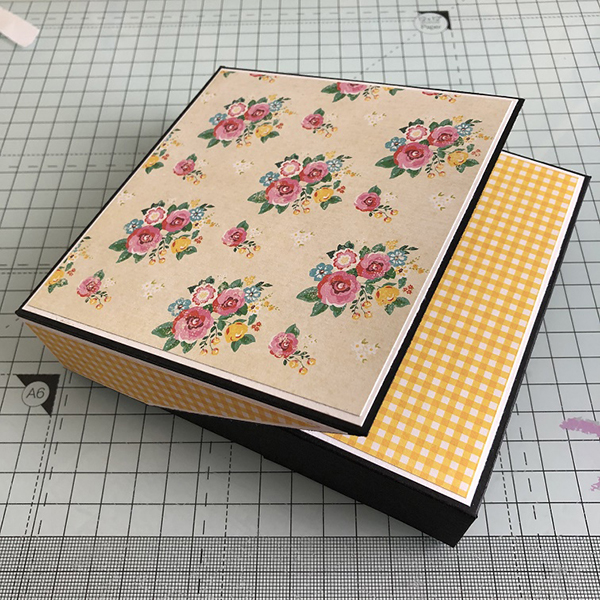
Adhere the patterned paper to each of the white card pieces and adhere to the top part of the box.
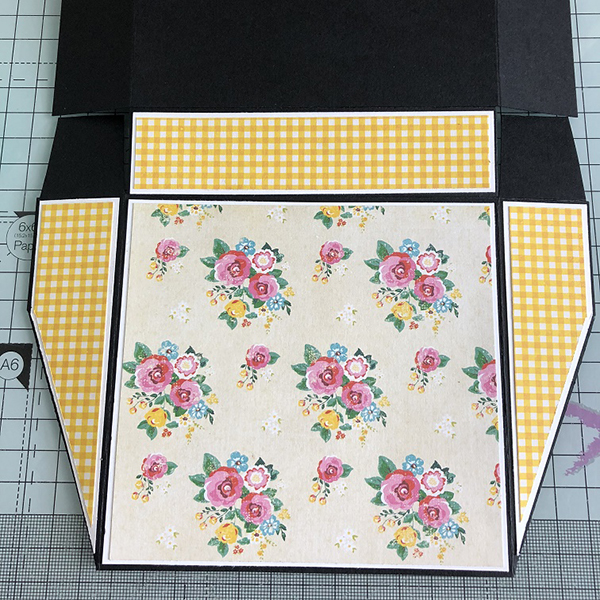
For the base front panel, cut one piece of white card measuring 2 3/8″ x 4 7/8″ and patterned paper measuring 2.25″ x 4.75″ and adhere to the 2.5″ section at the end of the box base
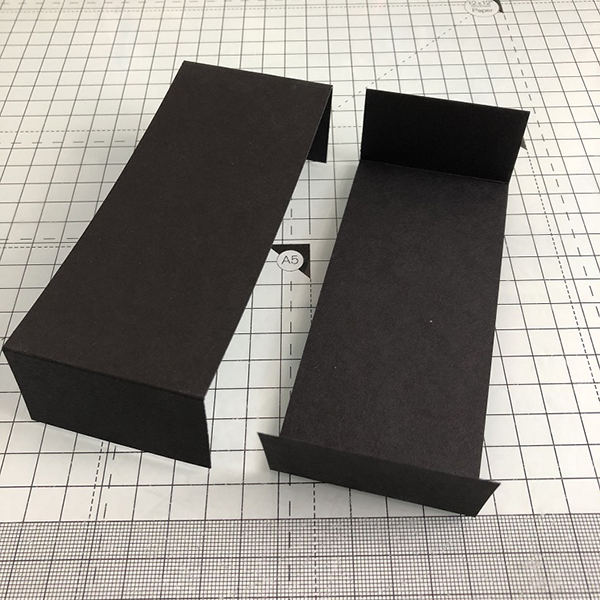
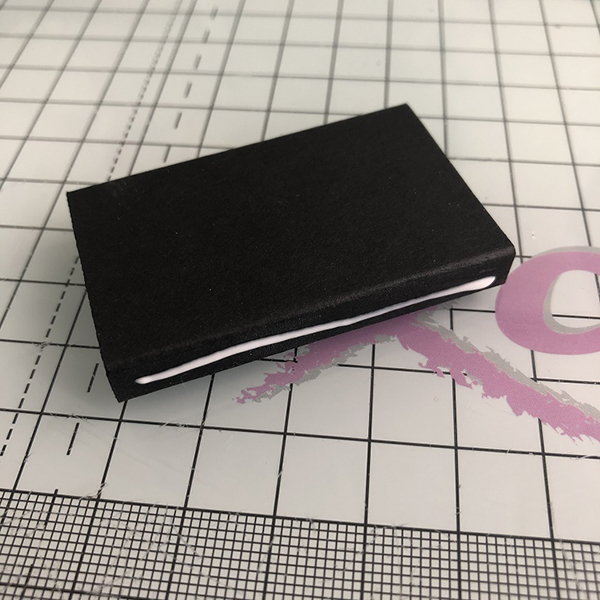
Apply double sided tape to the outside of the 4 tabs and adhere them to the inside of the box to create the box shape.
Apply double sided tape to the inside of the 2.5″ x 1.25″ sections of the box base
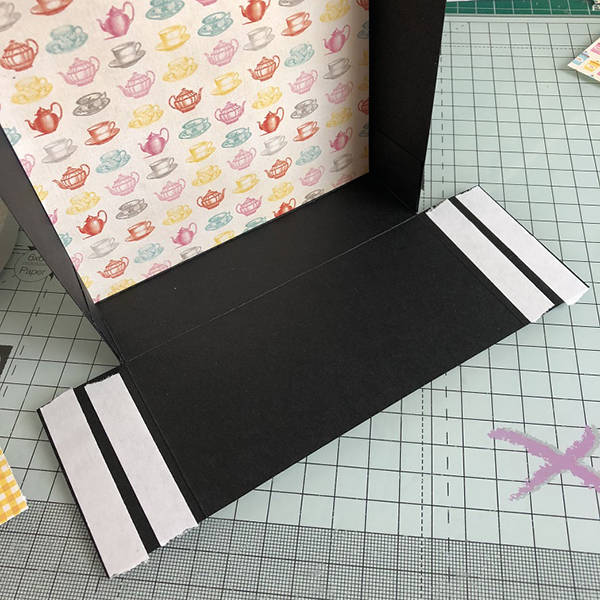
Fold up the base and adhere the 1.25″ sections to the outside of the box sides.
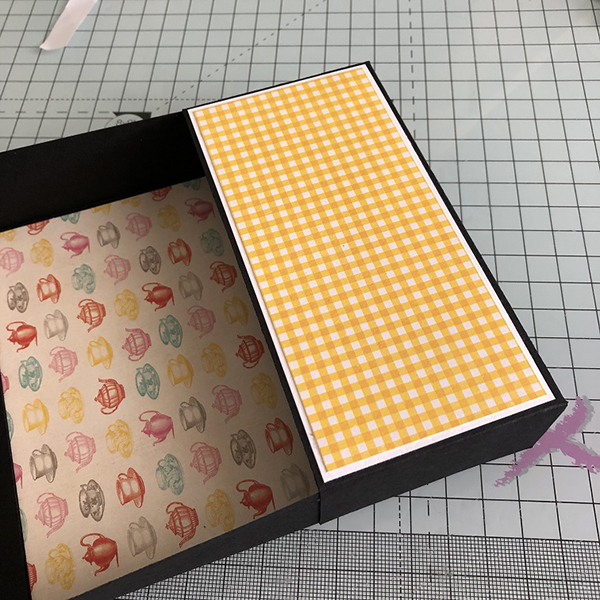
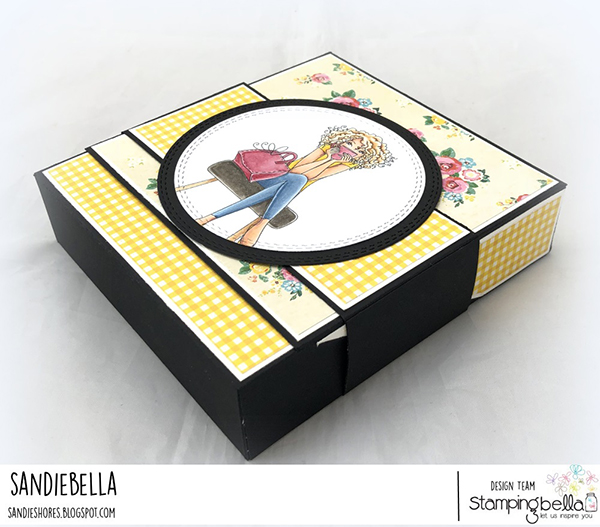
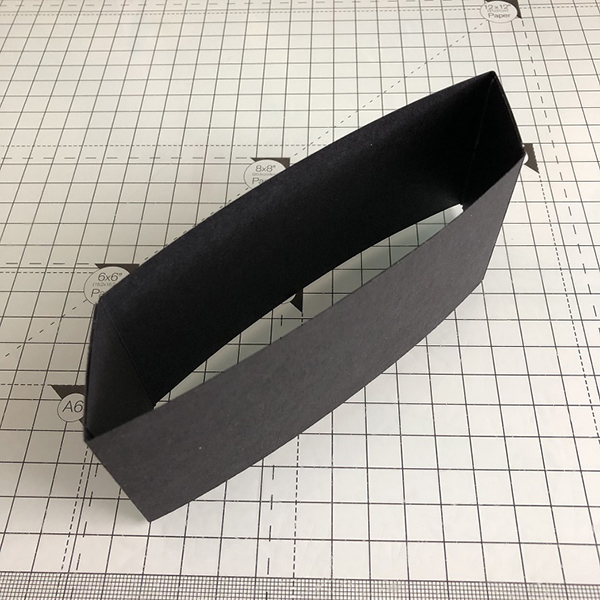
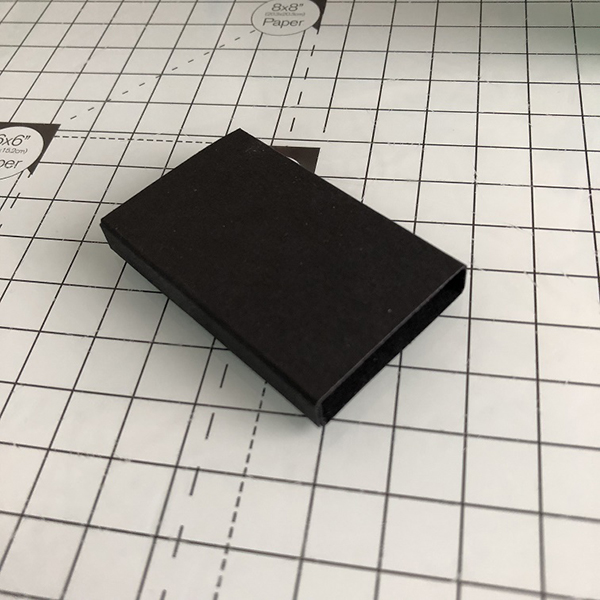
Fold the top of the box down and it should look like this.
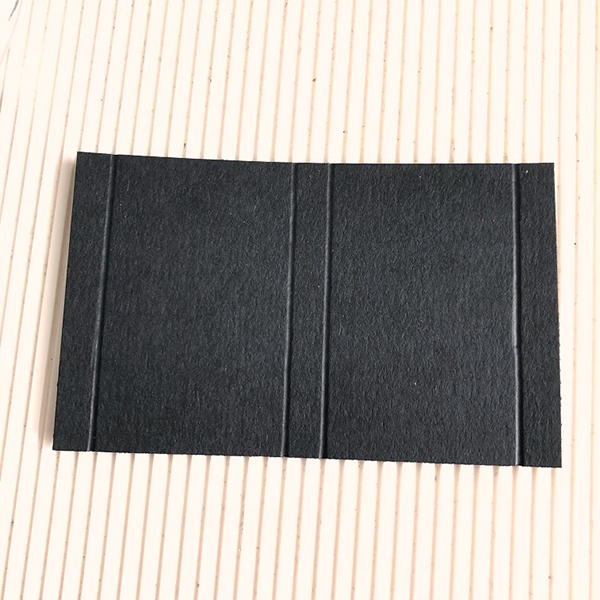
For the belly band:
Take the 2 pieces of black card measuring 2.25″ x 7 5/8″ and score both at 1.25 and 6 5/16″
Mark the 1.25″ ends on both pieces and when adhering the pieces together, ensure they are opposite ends.
Fold and crease the scorelines with a bone folder.
Apply double sided tape to the ends and adhere together (remember to have the 1.25″ pieces on opposite ends.
Slip the belly band over the box to ensure it fits.
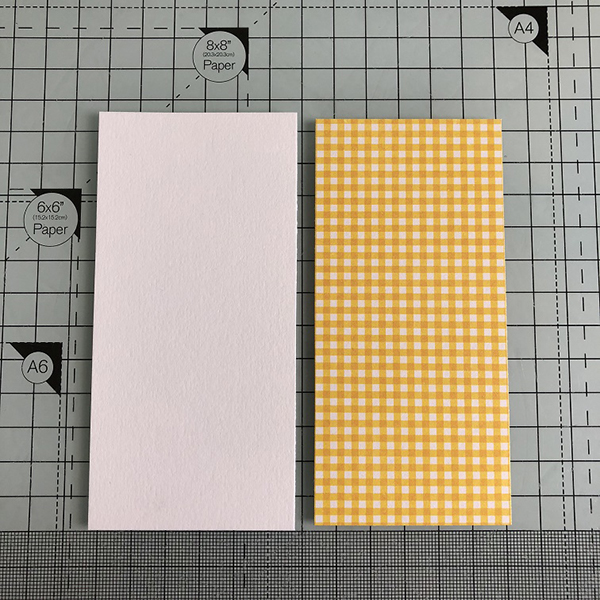
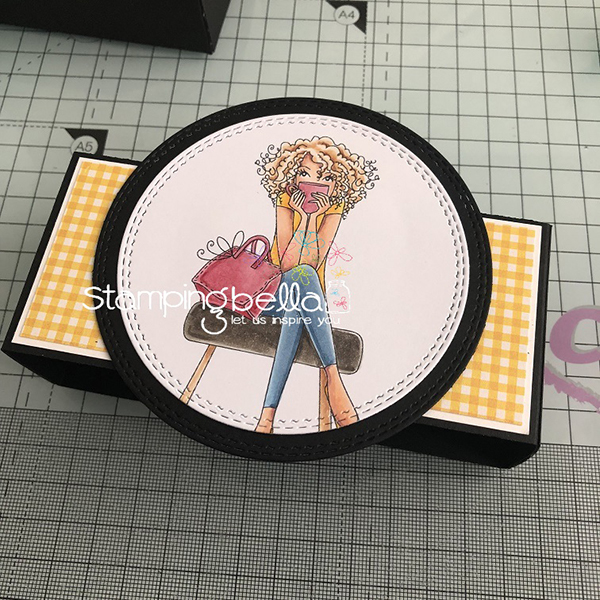
Cut a piece of white card measuring 4 7/8″ x 2 1/8″ and a piece of patterned paper measuring 4.75″ x 2″ and adhere them together. Stick them down onto the front of the belly band.

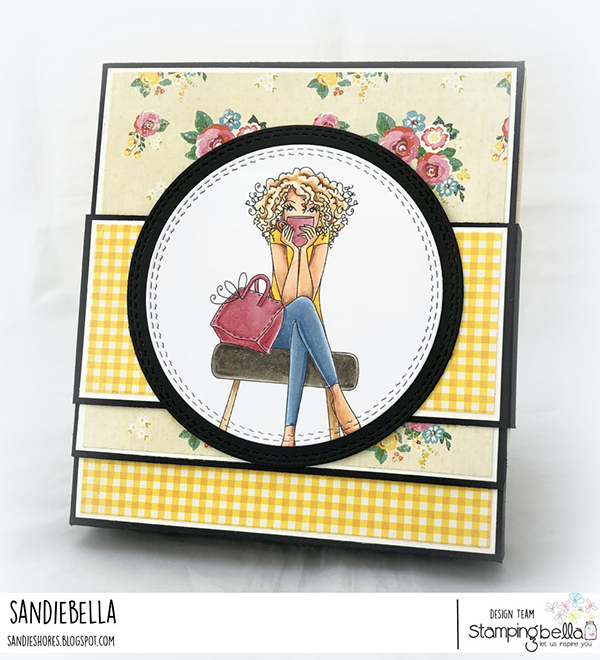
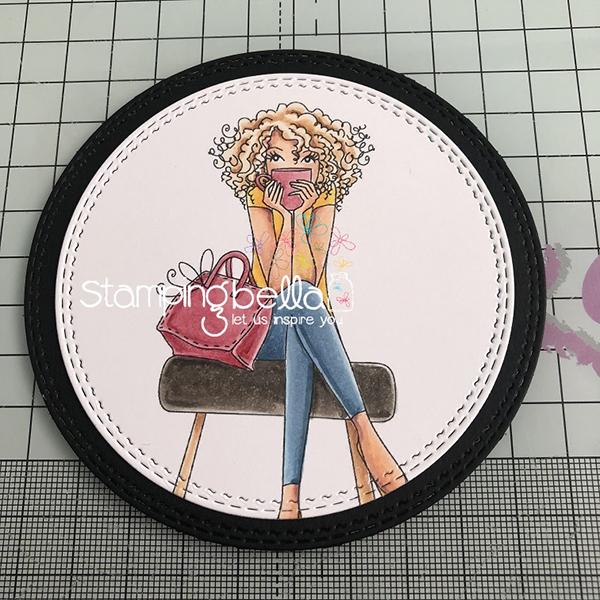
Stamp the image onto white card and colour with your desired medium. Cut it out using a circle die and then cut a larger black circle.

Adhere both circles together.
Remove the belly band from the box and adhere the image to it, ensuring to only apply glue to the centre part of the image circle.
For the divider:
Take the 2″ x 3.25″ piece of black card and score at 0.25″, 1.5″, 1.75″ and 3″
Fold and crease all the score lines, then apply glue to one end.
Adhere the ends together to make a narrow box shape
Apply glue to both 0.25″ sides
Slip the divider behind the box front, centering it.
Stamp the sentiment onto some white card and adhere to the front of the box base.
Fill the box with coffee sachets (and cookies)
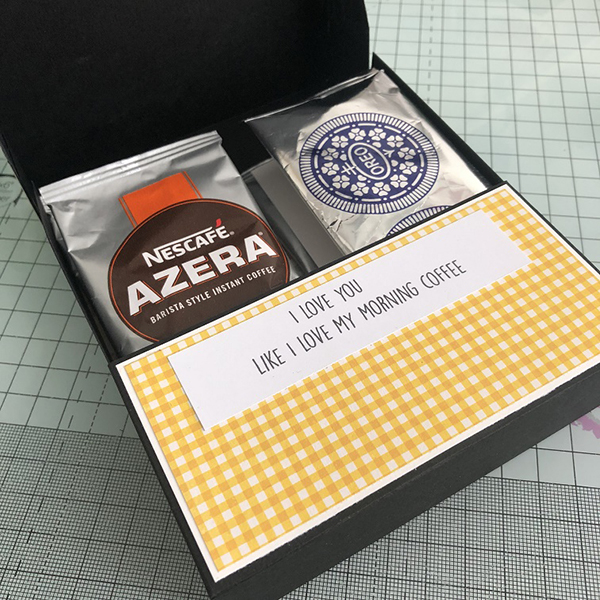
Fold the top of the box down and slip on the belly band to secure it.

Over To You!
Share your personal favourite Stamping Bella creations with us. We LOVE to see what you’ve been creating with Stamping Bella stamps. Share a link to your latest Stamping Bella card in the comments below, or an old favourite you made a while ago. Tell us what your favourite stamps are. Are there any additions you would like to see to the range? Let us know!
Another way to connect is by joining us in the Stamping Bella Sistahood Facebook Group and share your pictures.
If you are posting your images online, we would love to see them on Instagram and all the platforms mentioned above. To make it easier for us to find you just use #markergeekmonday and/or #stampingbella as a hashtag. Even better tag me @markergeek and @stampingbella . We love it when you connect, so don’t be shy!
Until next time, HAPPY STAMPING!
MWAH
Elaineabella
Wonderful tutorial and shall have to give it a go. Just a note, the second picture showing “FOR THE BOX TOP” is incorrect. It shows a picture of scoring at 1.25 and 6.25 on the 7.5 side but the directions say 2.25 and 6.25. Think you need to change it so others don’t score the wrong line.
Love this! I’m pinning it so I can make one later… Love your detailed tutorials!
superb tutorial. love all the details.
Love love love!!!!!
This is awesome! Thanks for sharing!
Looks like a great detailed tutorial. Thank you for taking time to photograph it all for us!. I love little boxes!