We have got some colourful card inspiration for you on this most Bellarific Friday! The Babes have been creating cards using stamps from across our collection, following some beautiful photo/colour inspiration.
Here’s the image they were inspired by:
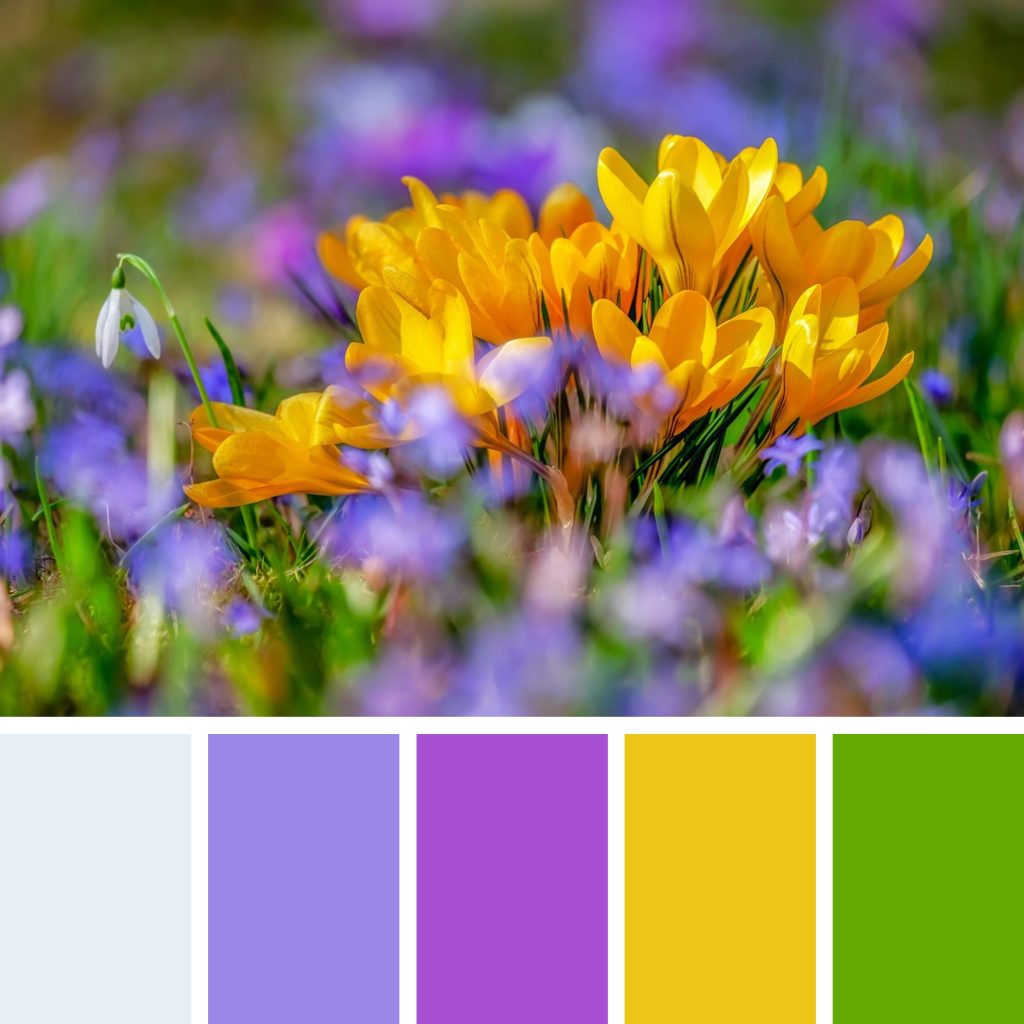
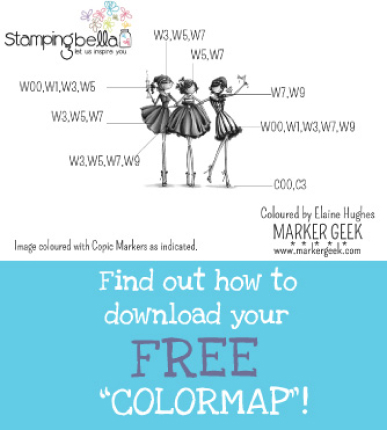
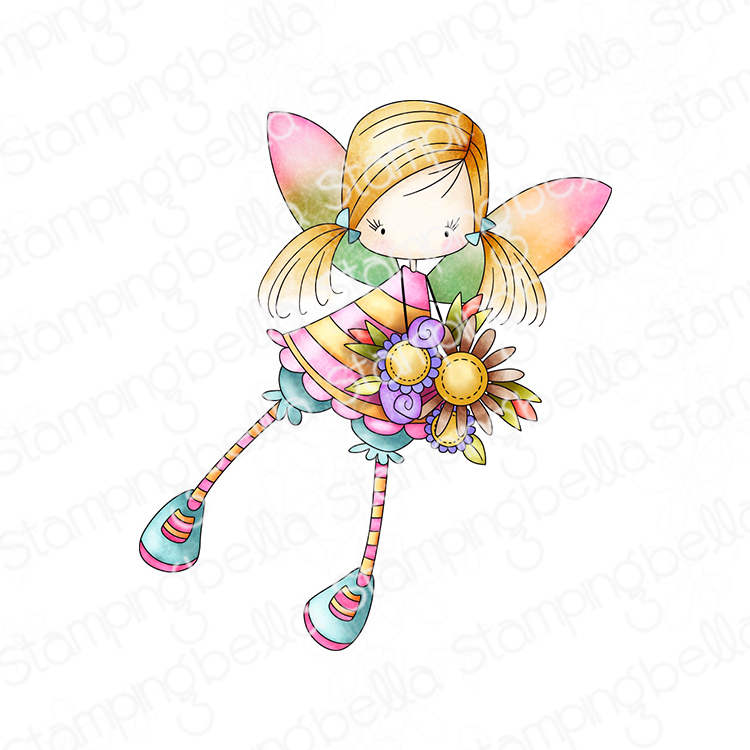
I haven’t made any cards for today myself, but I have clearly been feeling inspired by these colours, as here’s a little peek at the colouring I’ve been doing so far this week.
Loving colouring all of the purples and blue violets, and surprised myself by really enjoying some yellow.
Now on to the cards from the Babes!

Love this gorgeous pop of floral colour from Ginger!
Michele went with a sweet card featuring one of our Tiny Townie Garden Girls.
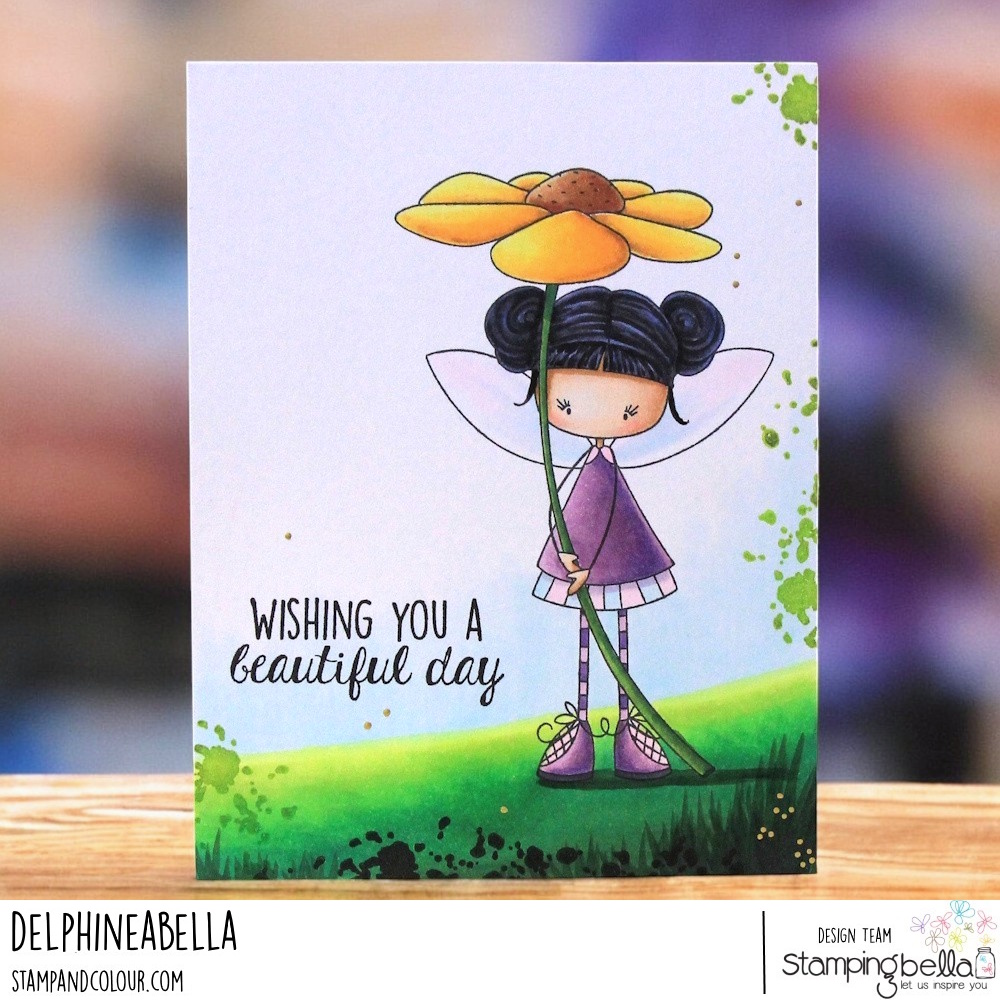
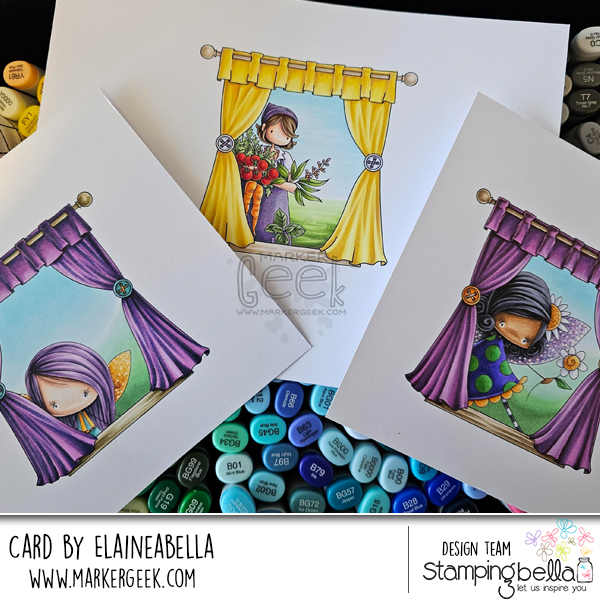
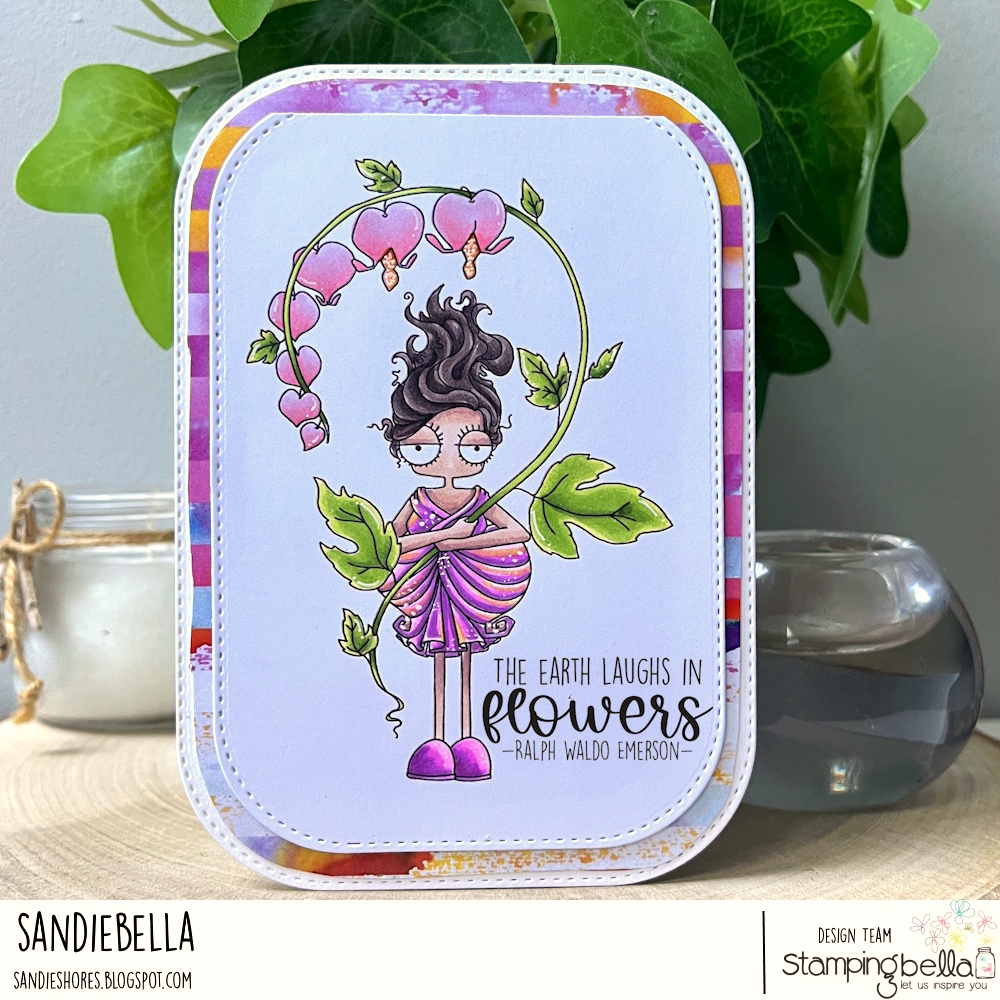
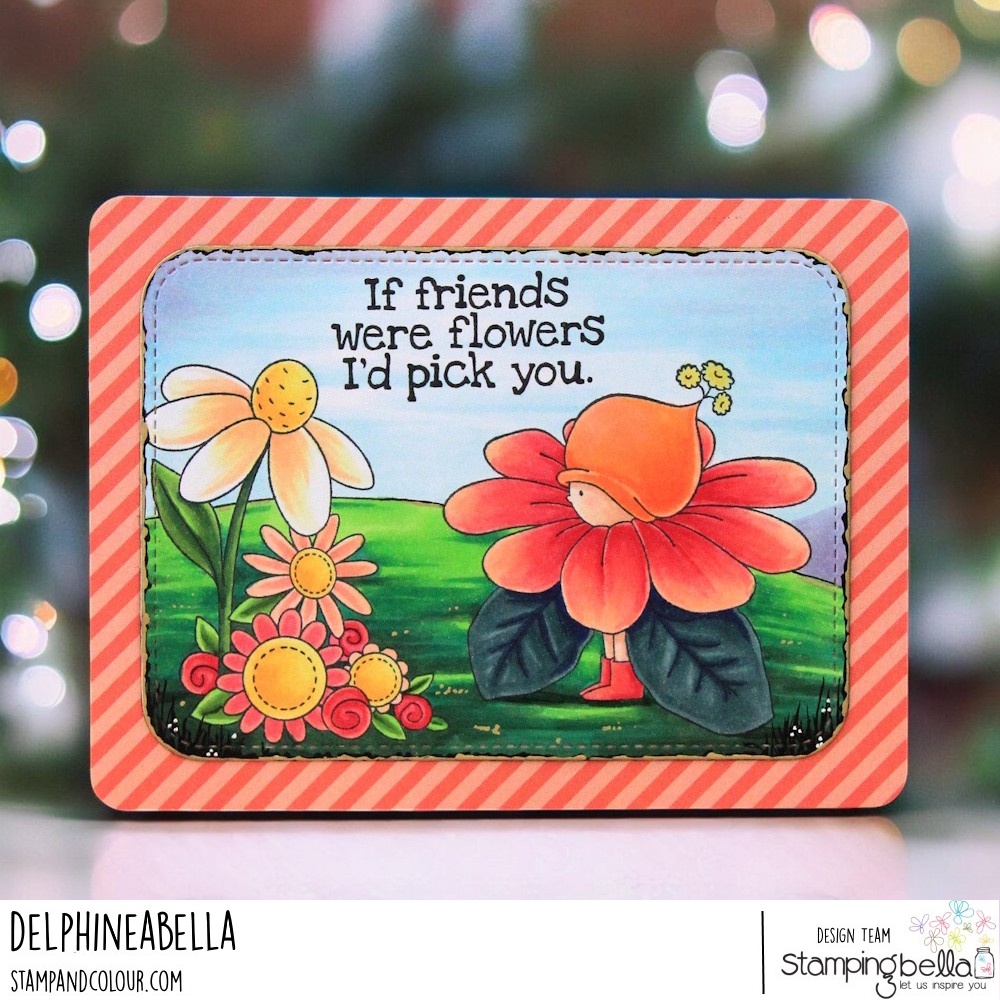
Delphine gave one of our Whimsabellas a simple but beautiful scene to stand in!
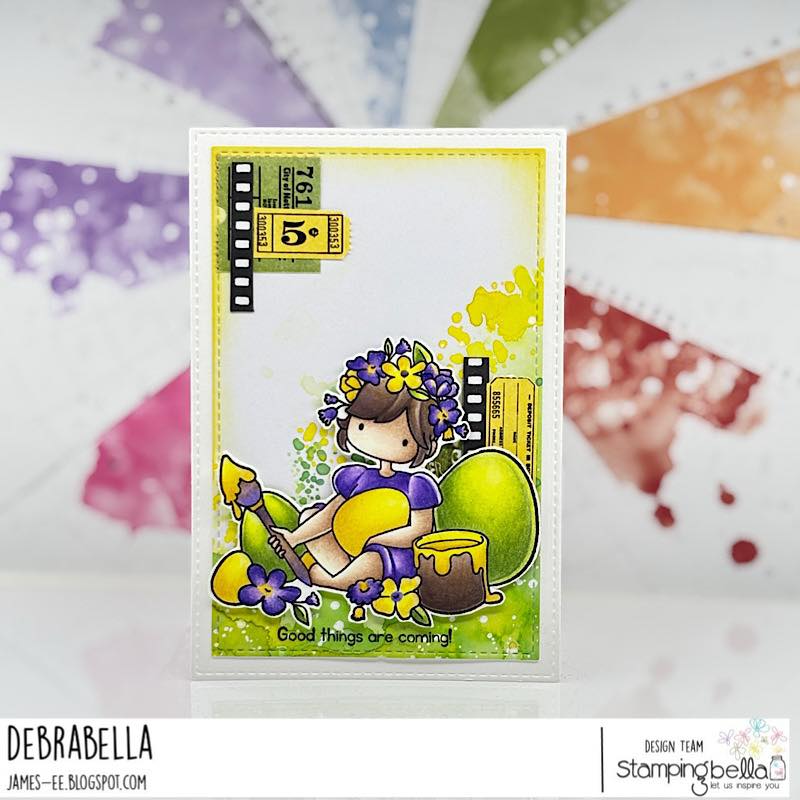
Debra has her sights on Easter with this fun card!
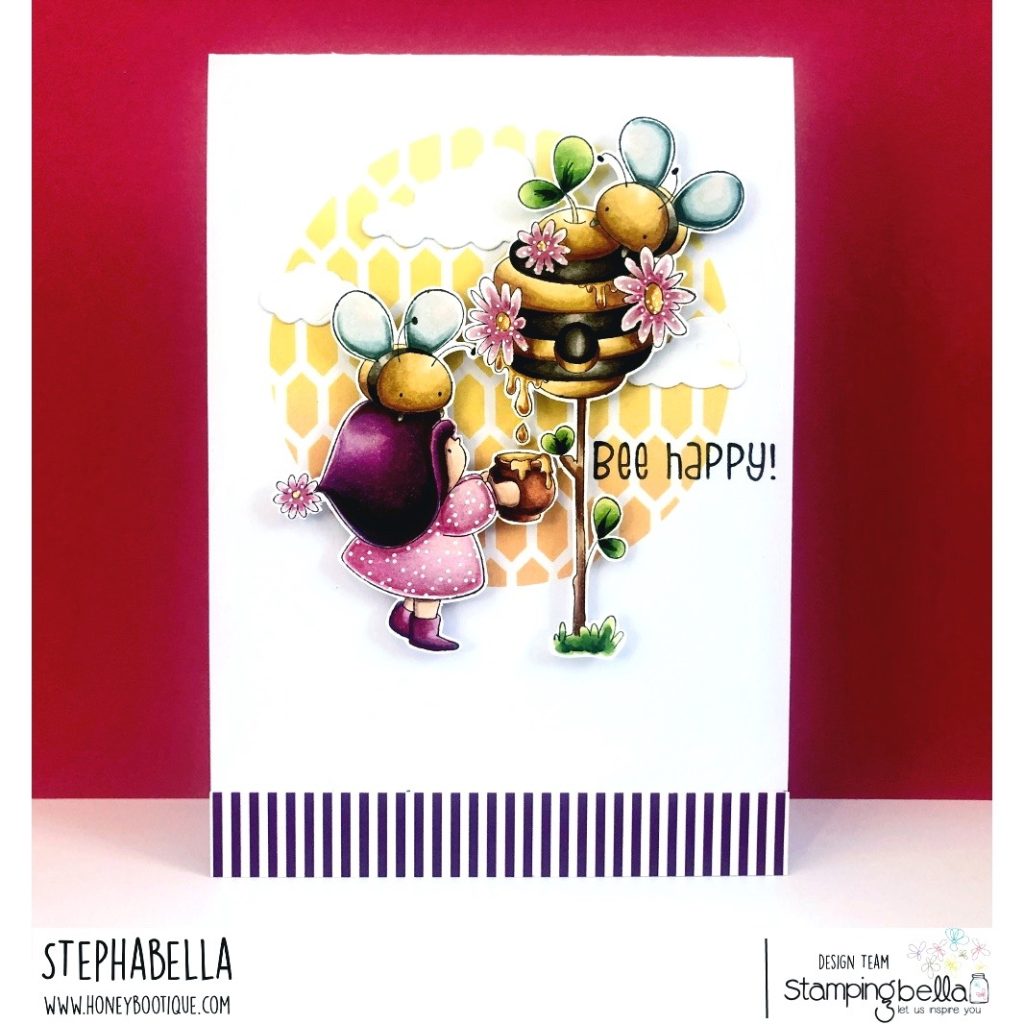
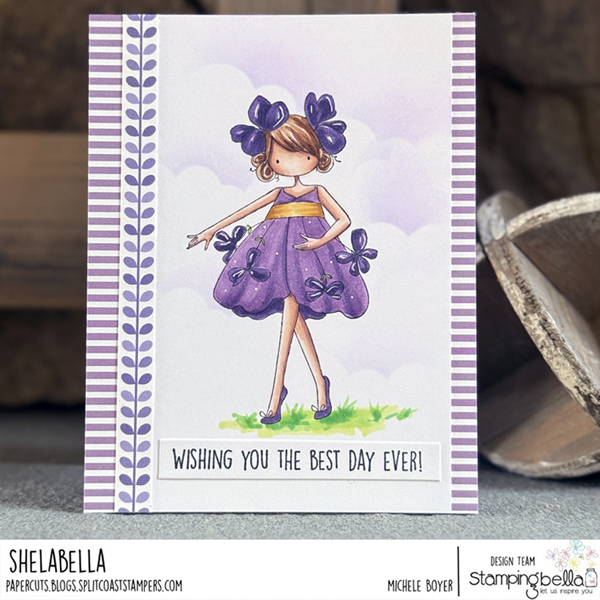
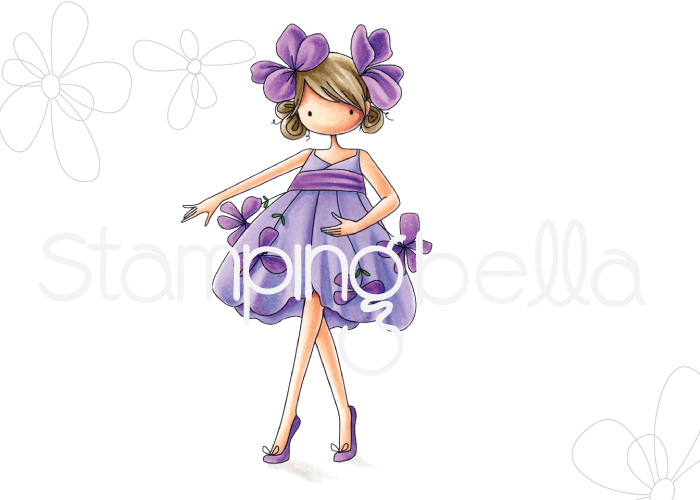
Steph spotlighted our Bundle Girl beautifully with the stencilled background!
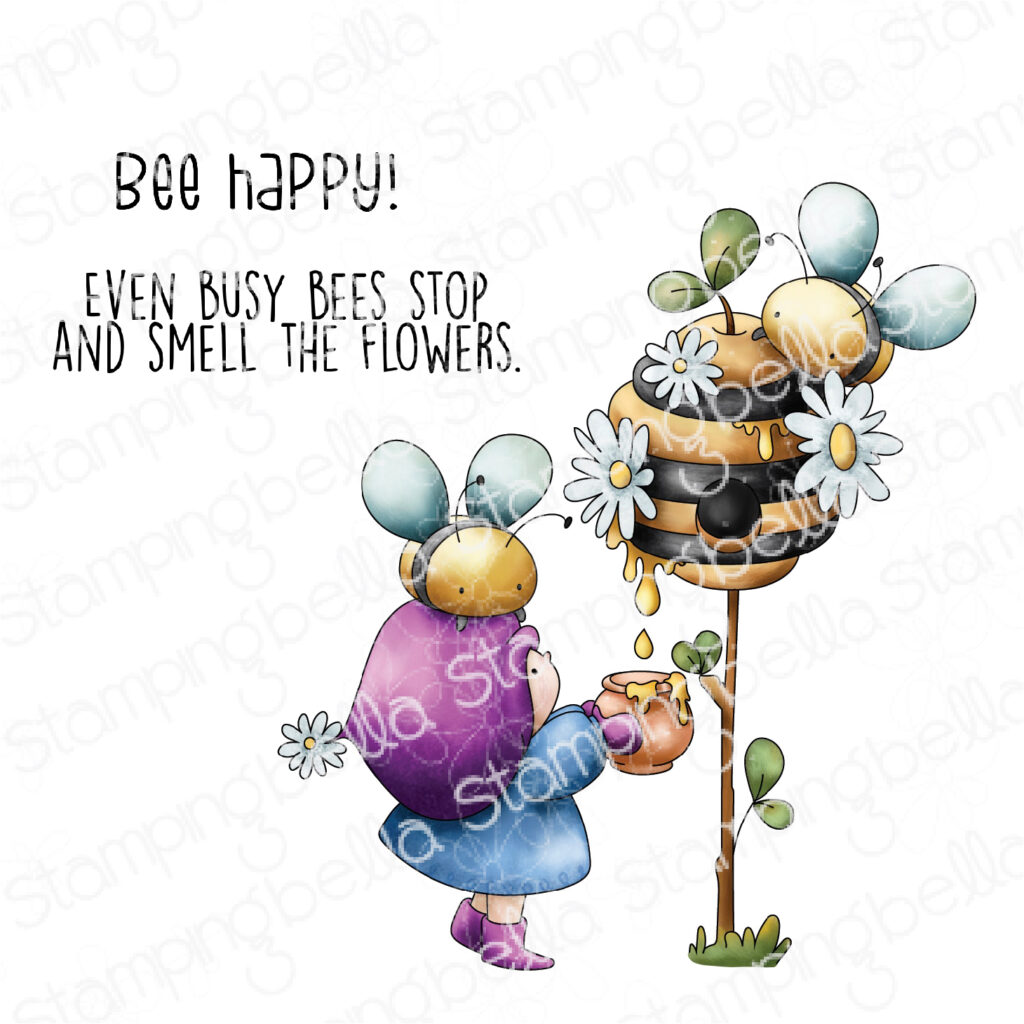
Love the colours Sandie chose for this Oddball!
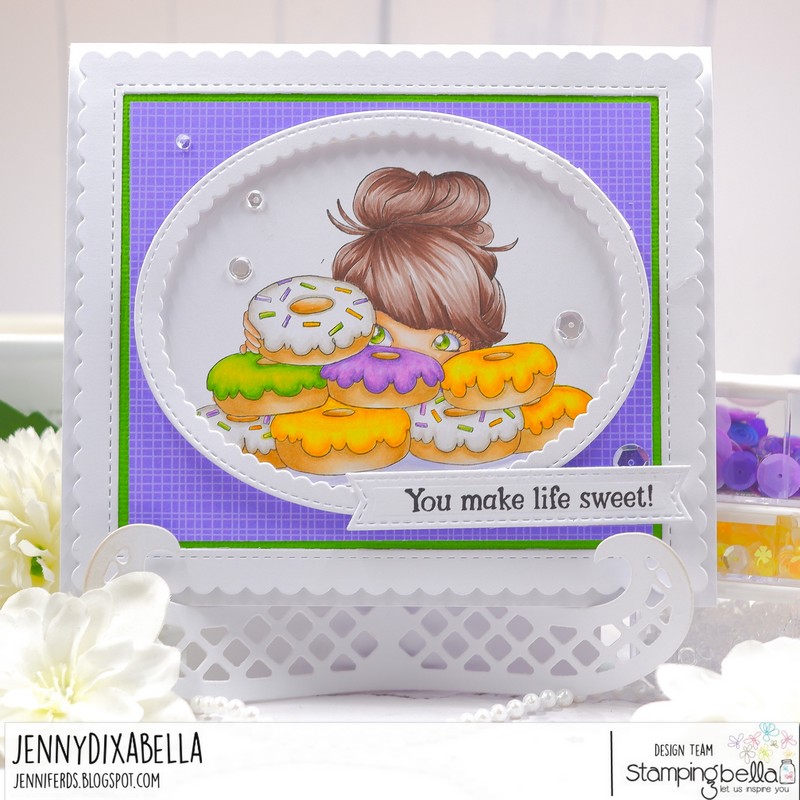
Jenny took the colour inspiration and created this fab card featuring one of our Mochi Girl stamps!
That’s it for today! Hopefully you’re feeling inspired to go and create. Don’t forget to leave us a comment below with some love for our Babes and all their hard work.
MWAH!
Elaineabella

Hi all,
Today I’m sharing how to make a one-sheet gift box using Oddball Hermes. Hermes is the Olympian deity known as the herald of the gods, and he is also regarded as the protector of travelers so the theme for today’s project is a travel gift box that can be filled with snacks, care items such as travel sized sun protection and lip balm, and even a gift card.
A good heavyweight double sided paper is essential to ensure the box is sturdy enough to support any sort of weighty gifts; however, the base can also be made with card and then decorated with designer paper for a more durable result.
Products needed:
Oddball Hermes rubber stamp
Heavy designer paper
Scoring board and bone folder
Adhesive
Selection of shaped Dies
How to:
Stamp Oddball Hermes onto blending card, colour and fussy cut around the outline.


Cut a piece of double sided paper measuring 11.75″ x 7.5″. Score on the long side at 1.25″, 5.25″, 6.5″ and 10.25″, and on the short side at 1.25″ and 6.25″


Fold on all the score lines and crease well with a bone folder.

Snip a wedge from each side of the centre 1.25″ tabs and the inner side of the four corner tabs.

Fold the centre tabs inward and apply adhesive. Bring up one side of the box and adhere at a right angle. Repeat on both sides.


Adhere the four corner tabs to the insides of the each end to form the box shape.

Fold down the lid of the box to ensure it doesn’t catch. Trim where necessary

Cut some layers using dies.

Stamp the sentiment from Encouragement Sentiments set onto one of the paper layers. Adhere all the layers down and then adhere the Oddball Hermes using foam tape or dots.
Fill the box with snacks and gift cards.

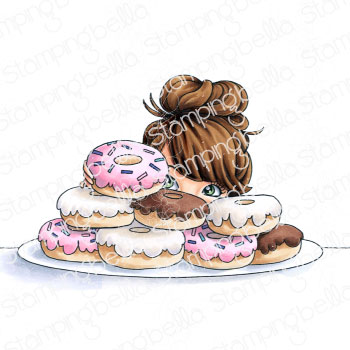
This has to be one of my favourites from our Amy Glatiotis Collection stamps. It’s just such a sweet and sentimental image.

Watch me colour this stamp in the video below. If you enjoy watching please do like the video and subscribe over on my YouTube channel.
That’s it for today! Happy stamping and colouring.
MWAH!
Elaineabella
Starting the week with some Oddball Girl Power!
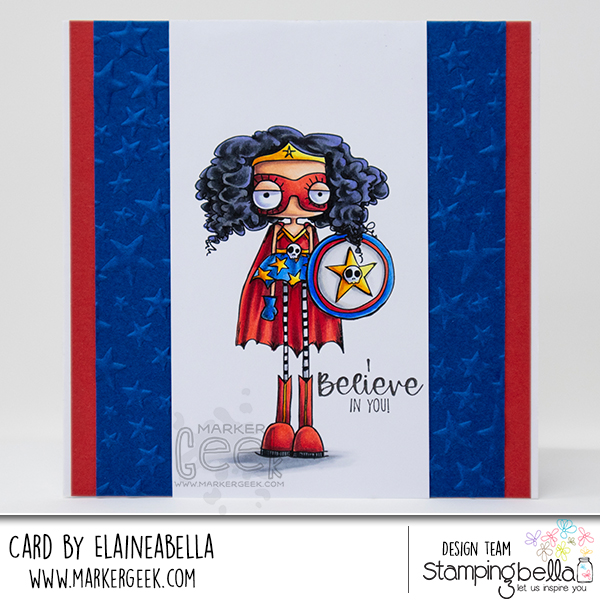
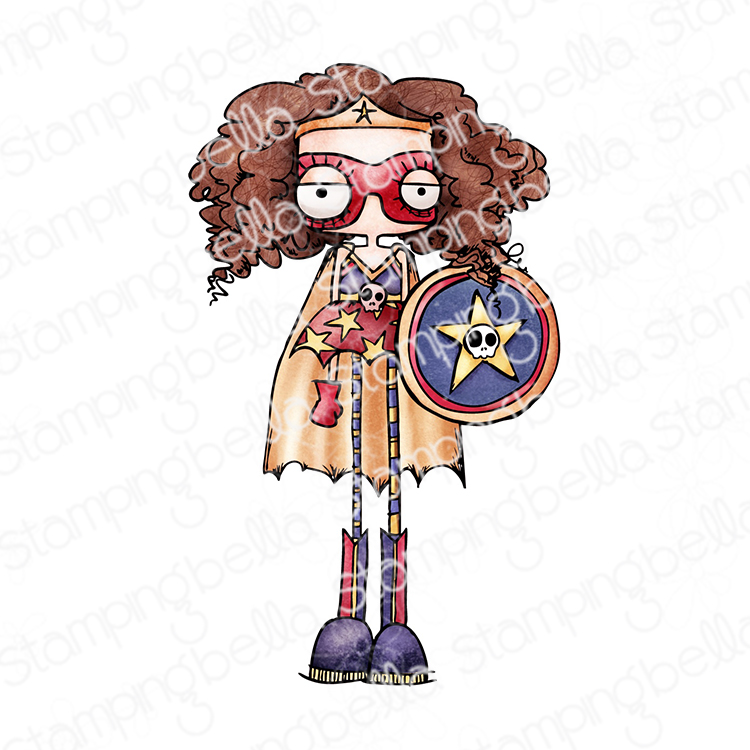
Watch me colour this stamp in the video below. If you enjoy watching please do like the video and subscribe over on my YouTube channel.
That’s it for today! I’ll be back on Wednesday with another colouring video and card featuring one of the new stamps.
MWAH!
Elaineabella
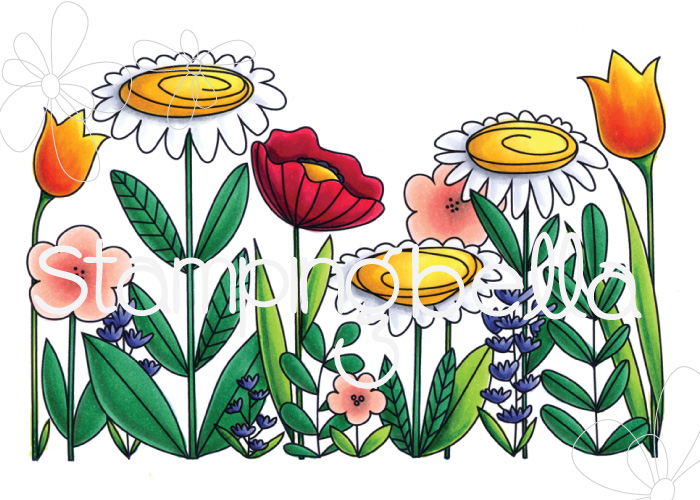
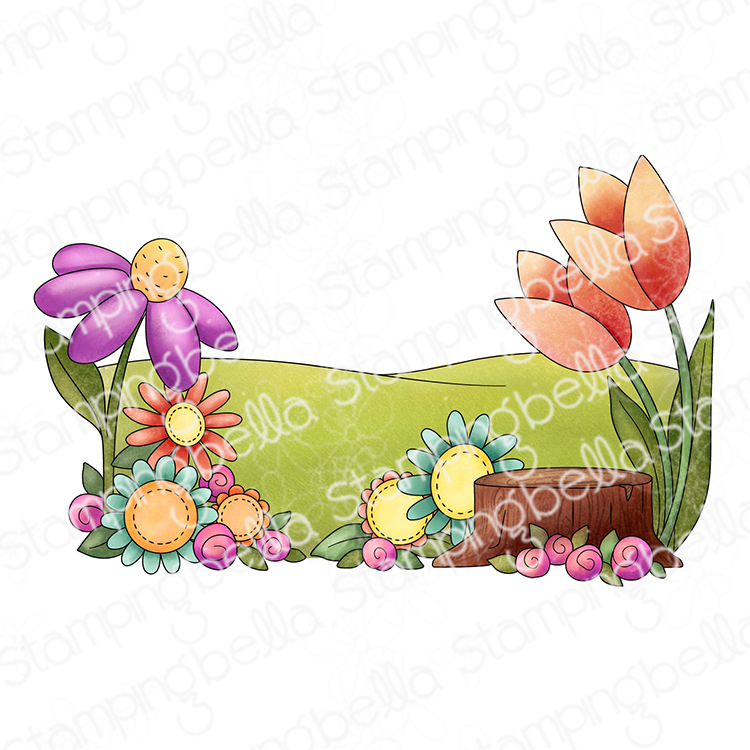
Hello everyone! Spring is officially here, so what else than a spring card for my post today? I love the Spring Backdrop stamp from our latest release so I thought I would create a scene with it. I combined it to the adorable Bundle Girl is a Flower stamp, so that she would be looking at some flowers. I didn’t do any masking (I can be lazy at times ;)), I only inked half of the Spring Backdrop stamp and I made the horizon line longer using a multiliner. At last, I added a sentiment from the Hello Spring sentiment set.
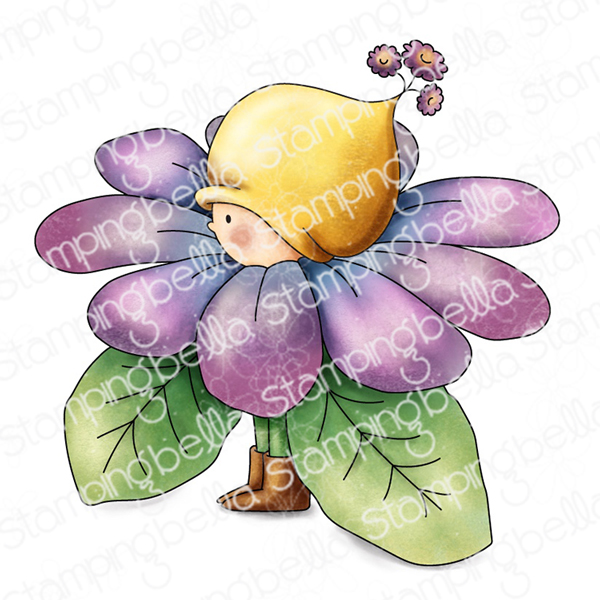
Skin: E000, 00, 11, R20
Petals: R22, RV25, 29, YR01
Leaves: B39, BG75, 78
Hat: YR02, 04, 07
Sky: B000, 00, BV00
Grass: G17, 28, YG05
Yellow: Y13, 15, 17
Big flower: Y00, 13, 15, 17, YR00 – G28, YG05, 17
Other flowers: R22, RV25, 29, YR01
Thanks for stopping by, have a lovely day! Hugs,
Delphineabella
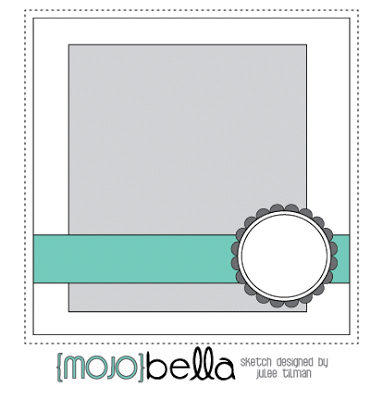
Happy Friday! We’re back with more Bellarific inspiration today to take us into the weekend. This week the Babes had a sketch to follow from our mojoBella archive!
Here’s the sketch:
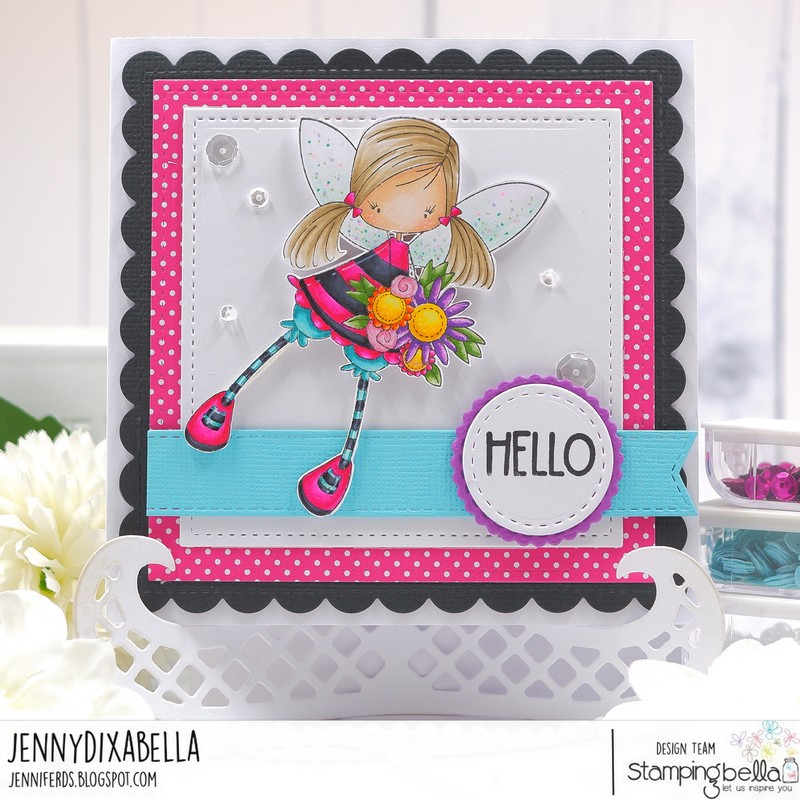
Love the bright colours Jenny used for this Whimsabella. Also loving that Jenny partially stamped our “hello spring” sentiment – one of my favourite things to do, to stretch sentiments and get more use from them.
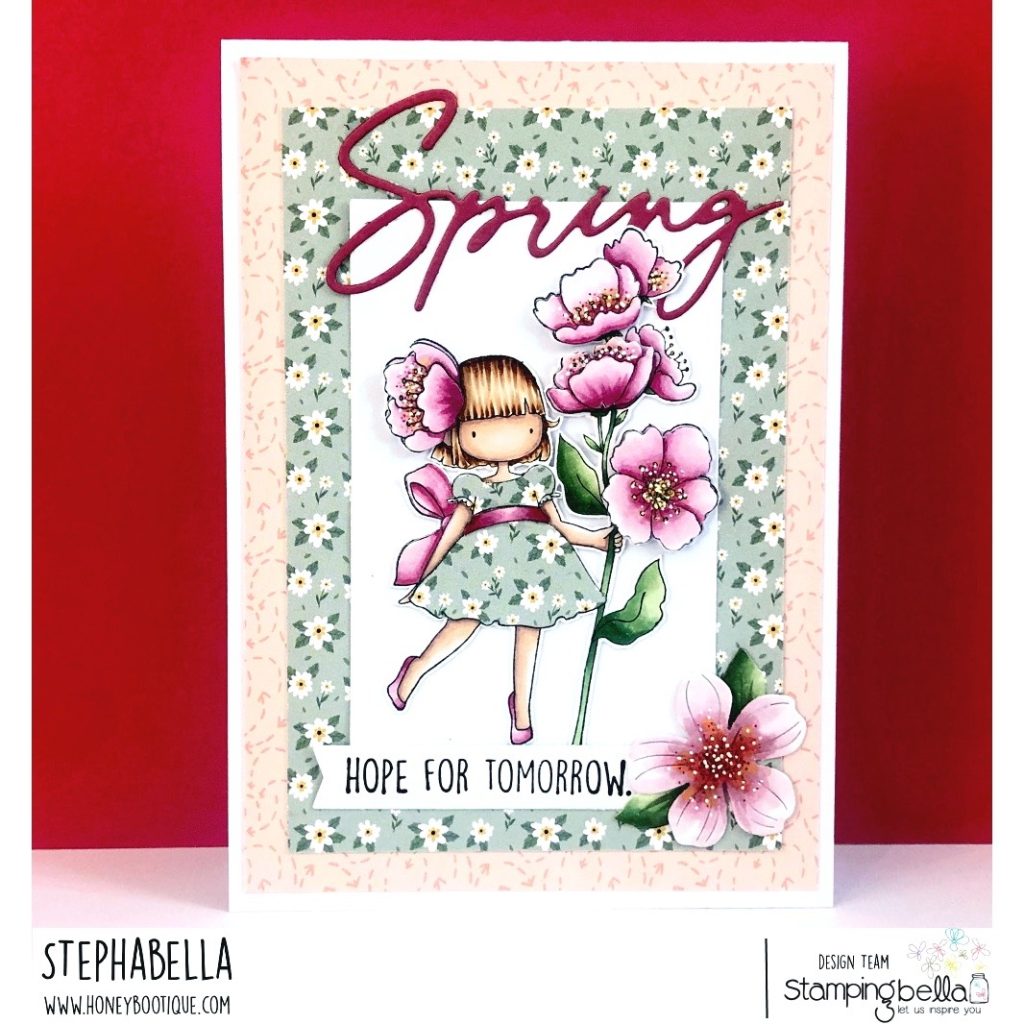
Such a gorgeous Spring card from Steph. Cherry blossoms are among my favourites, and she has coloured our little Tiny Townie beautifully. Love that paper pieced dress too! Steph also used a partial sentiment, which works so beautifully here.

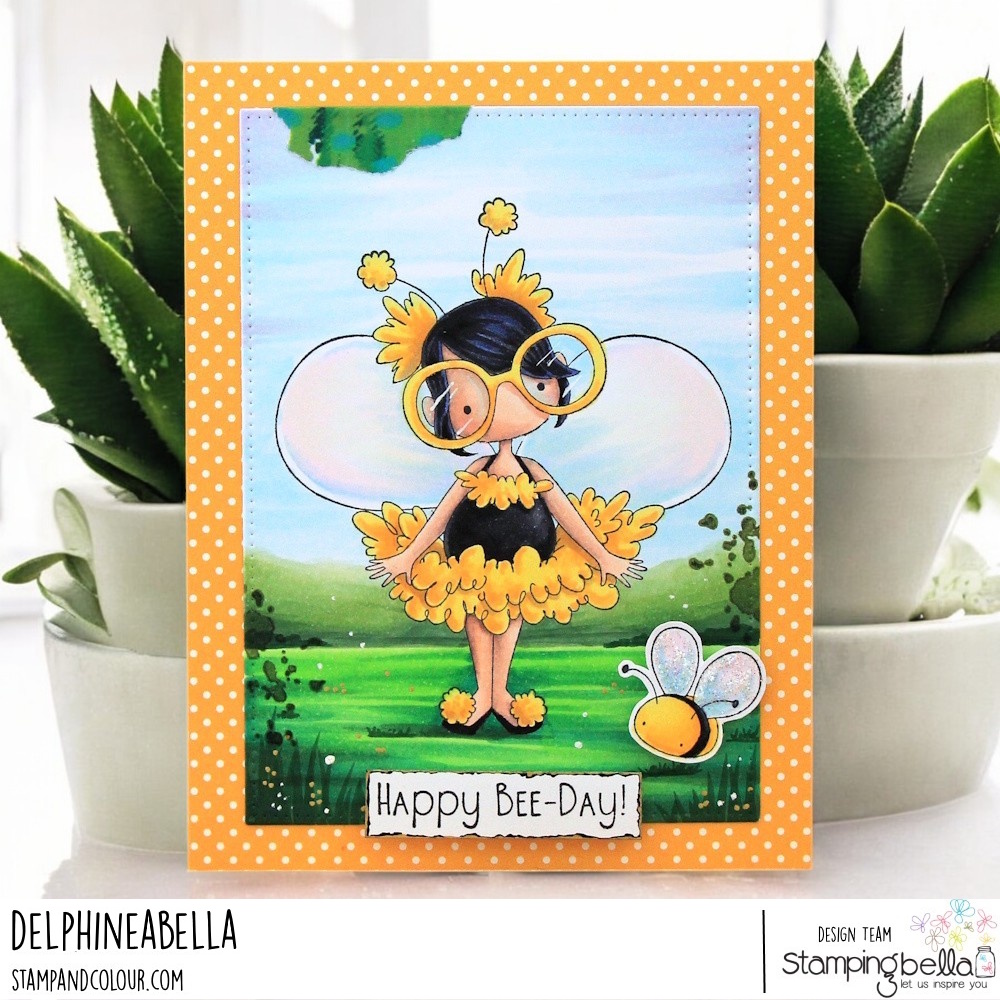
I had to usher my first bee of the year out of my craft room yesterday. It always makes me so happy to see them appearing, but I definitely prefer them out in the garden! LOVE this card from Delphine, such a gorgeous little scene for our Tiny Townie!
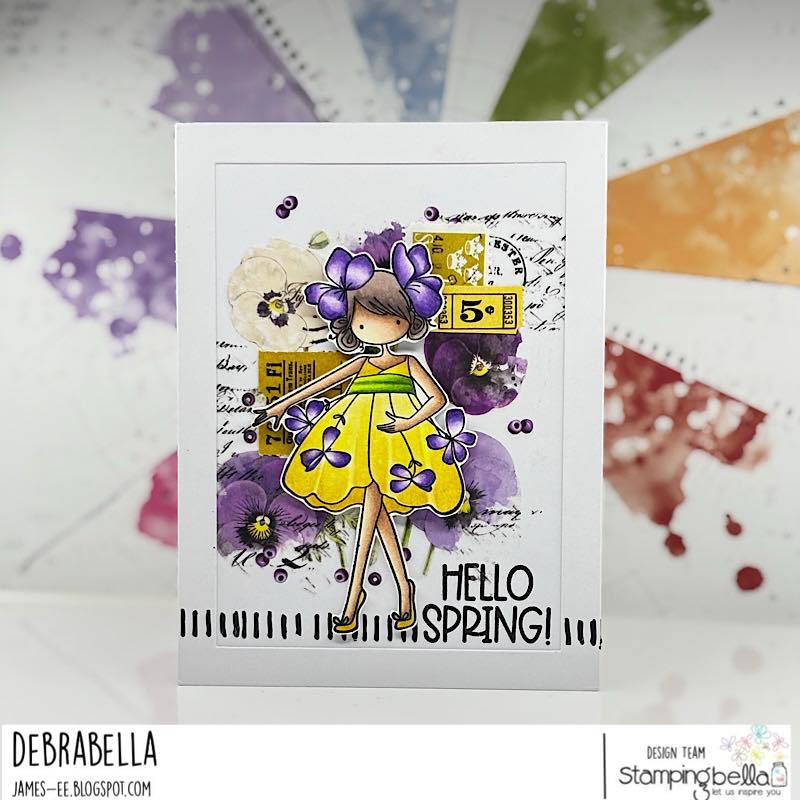
Debra went with one of our beautiful Tiny Townie Garden Girl stamps, and I love the colours and the collage background. So pretty.
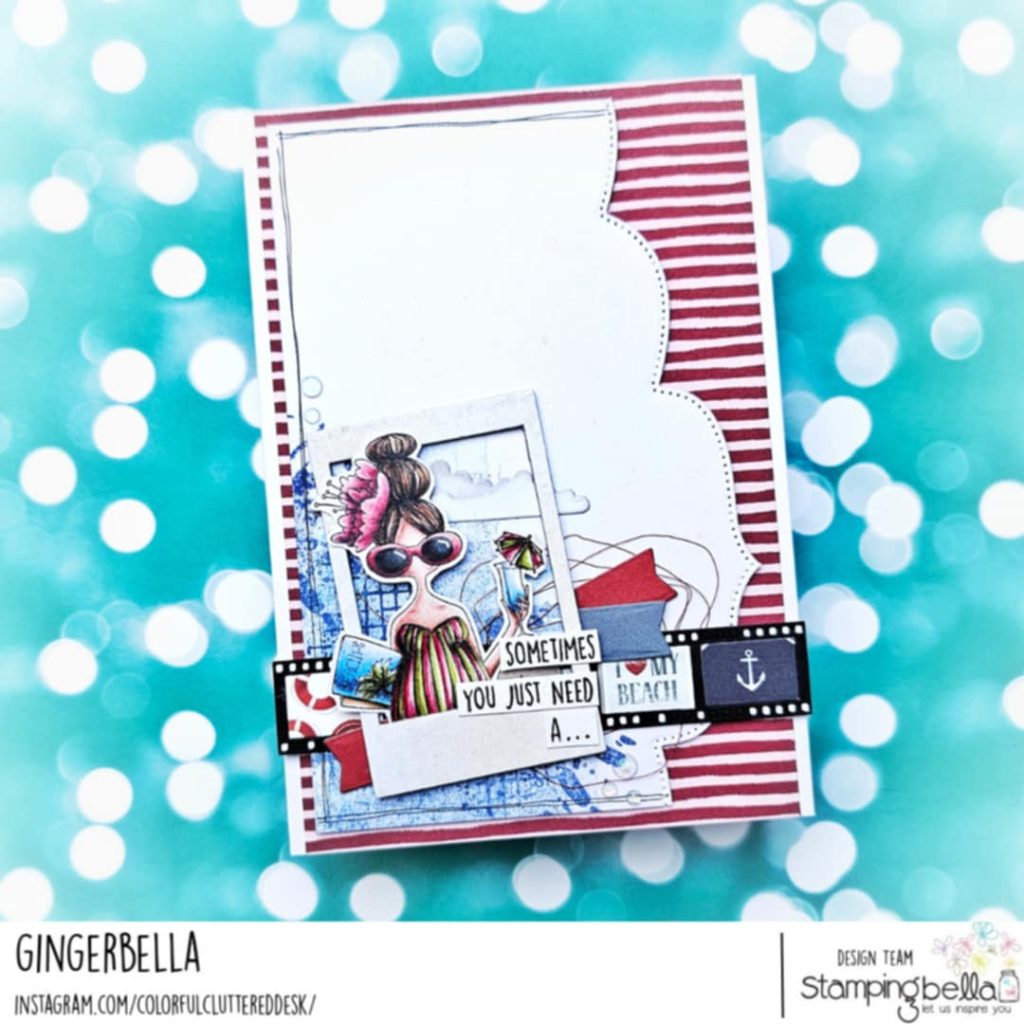
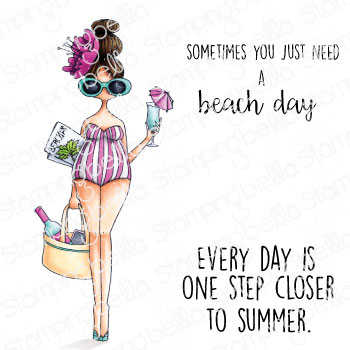
Ginger went with a beach theme featuring one of our Curvy Girl stamps, and I love it! Another partial sentiment – I love chopping sentiments up as Ginger has here, to arrange them however. It really fits the fun collage style.
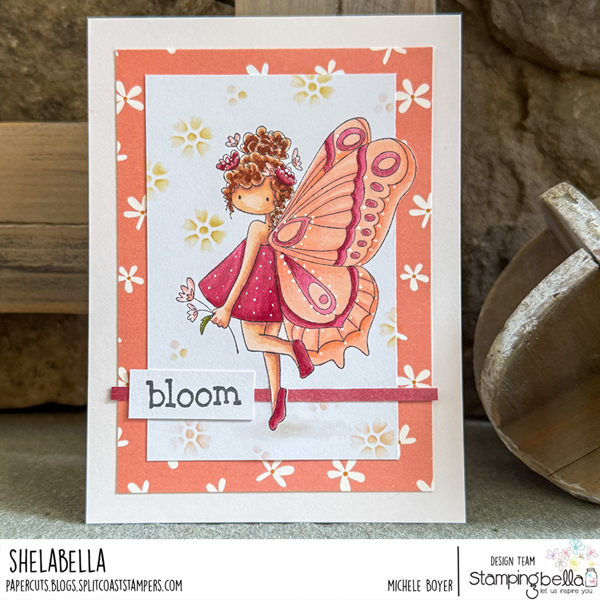
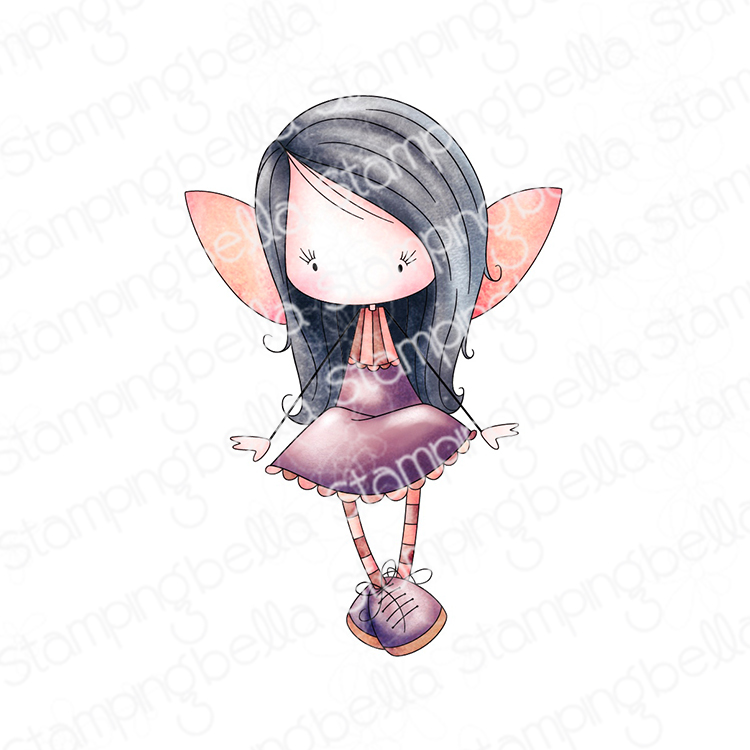
The Tiny Townie Butterfly Girl stamps are an enduring favourite. Love the colours Michele chose here. So lovely.

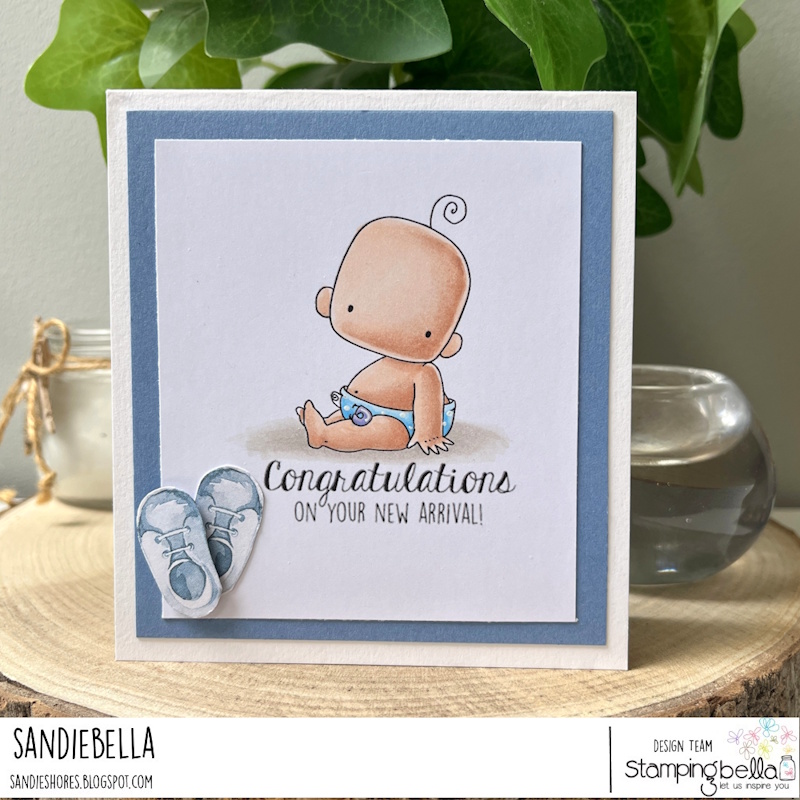
Sandie went with one of our new Baby stamps for a cute new baby card.
That’s it for today! Hopefully you’re feeling inspired to go and create. Don’t forget to leave us a comment below with some love for our Babes and all their hard work.
MWAH!
Elaineabella