Happy Bellarific Friday! This week our Babes have more gorgeous cards for you featuring stamps from our latest release.
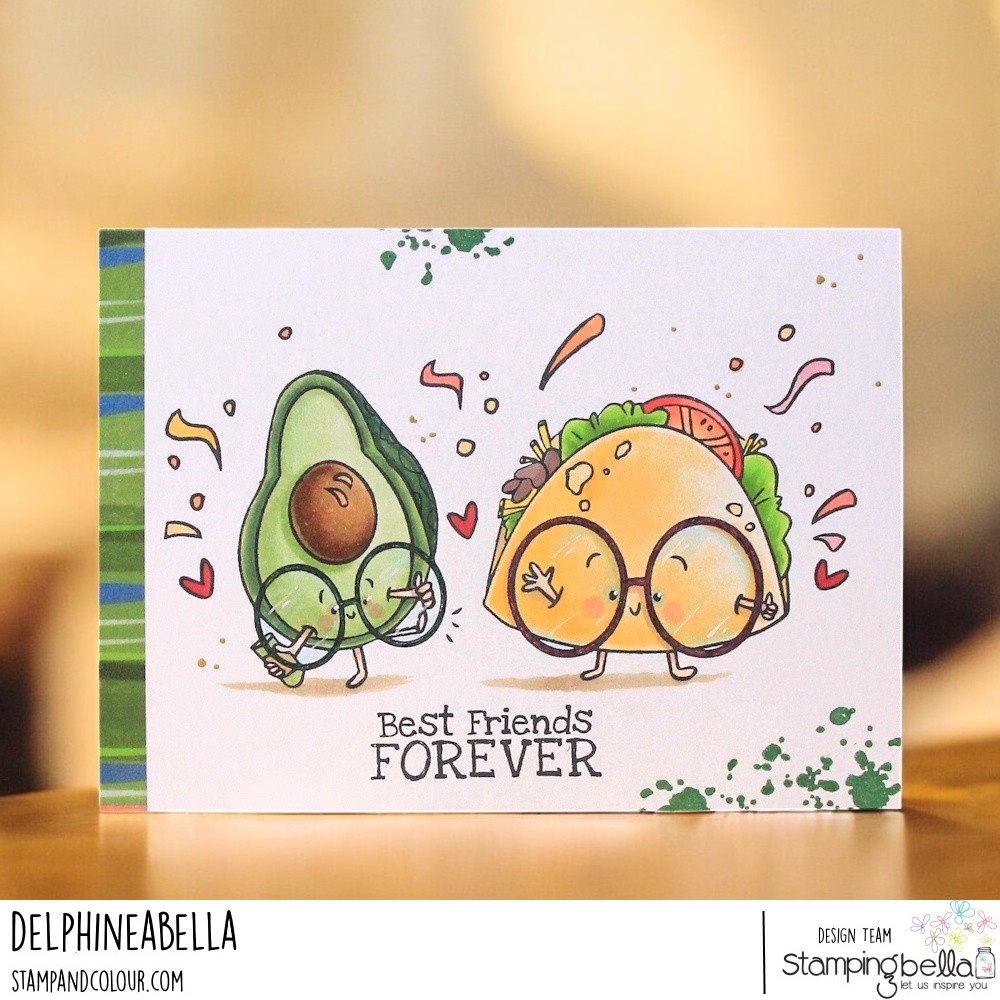
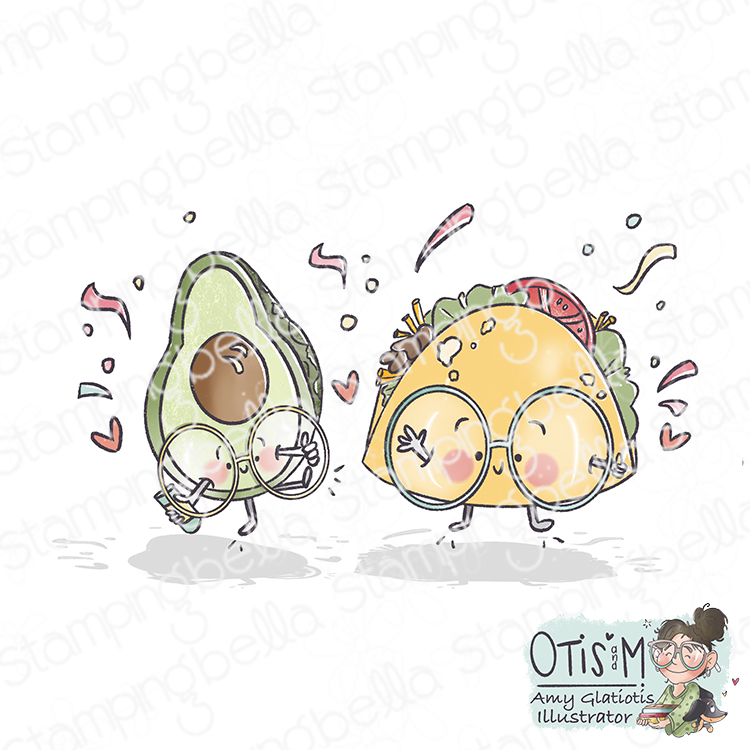
Delphine created this fun card using one of our new Spec-Tacular stamps from the Amy Glatiotis collection. SO cute, and so happy!

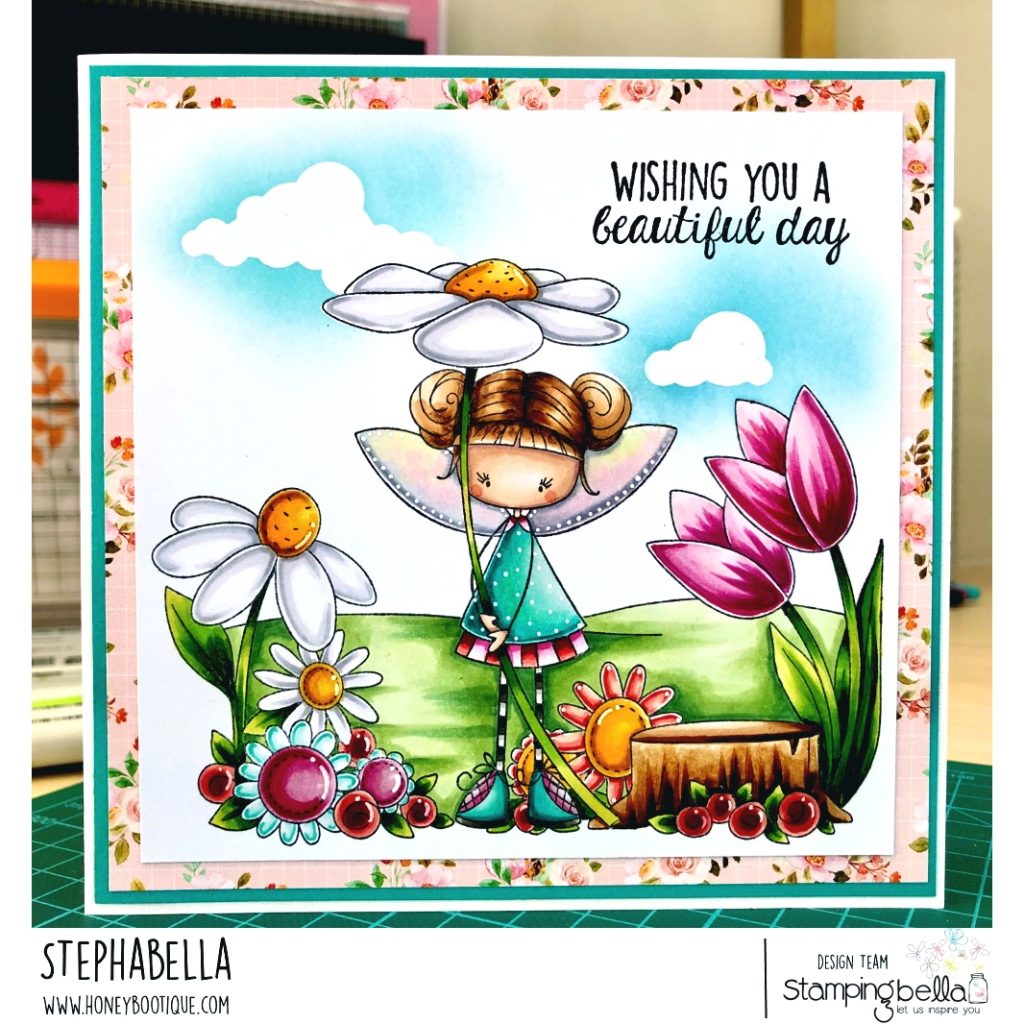
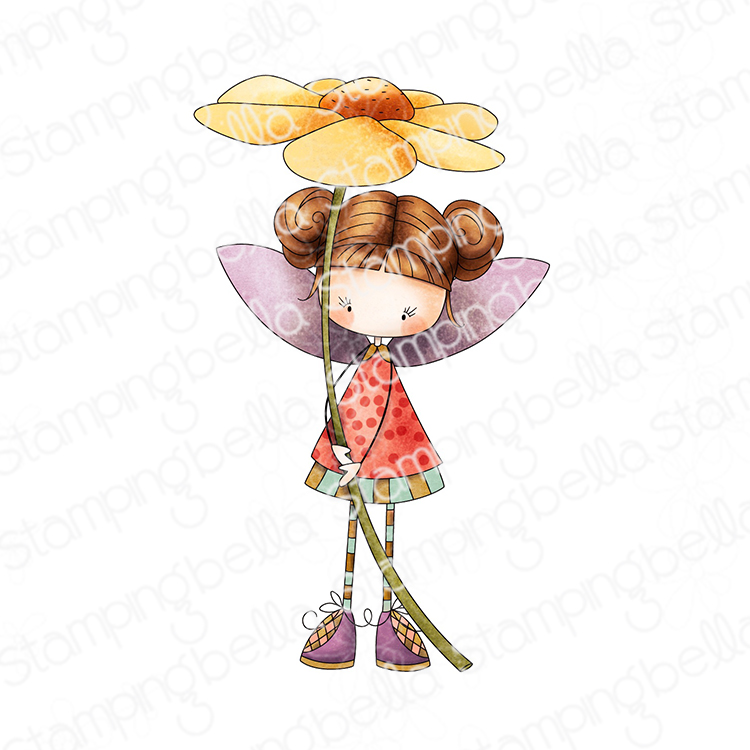
Steph created this gorgeous scene straight out of a storybook using one of our Whimsabella stamps and the latest Backdrop stamp!
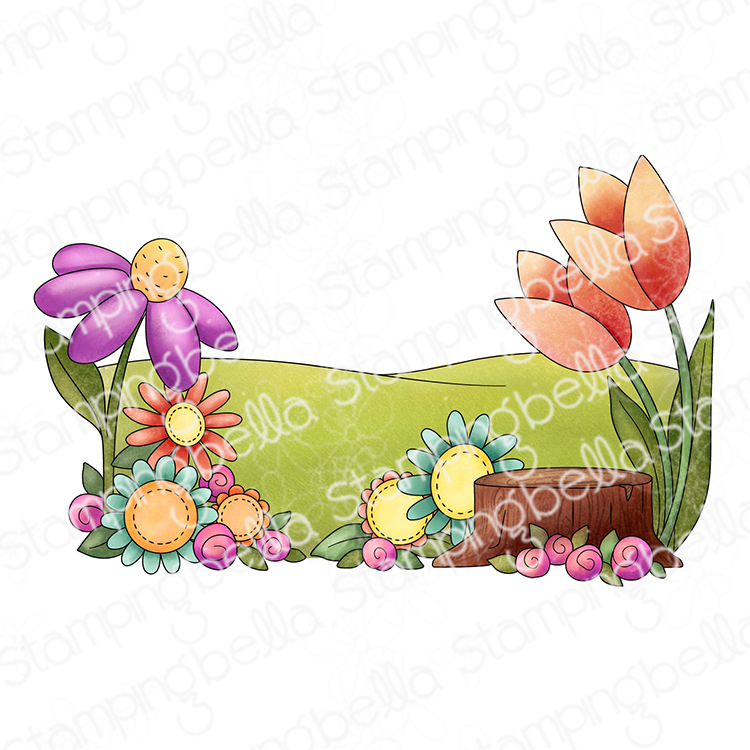
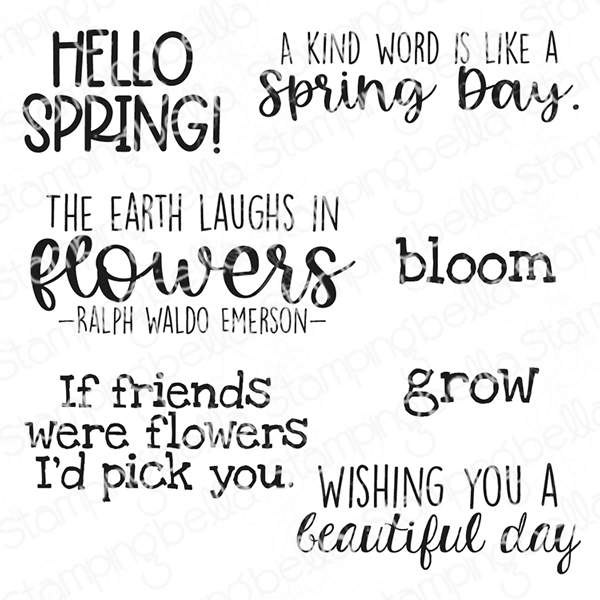
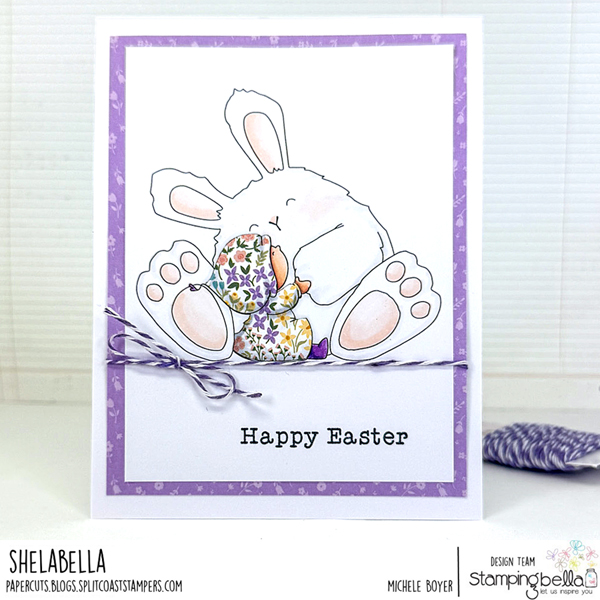
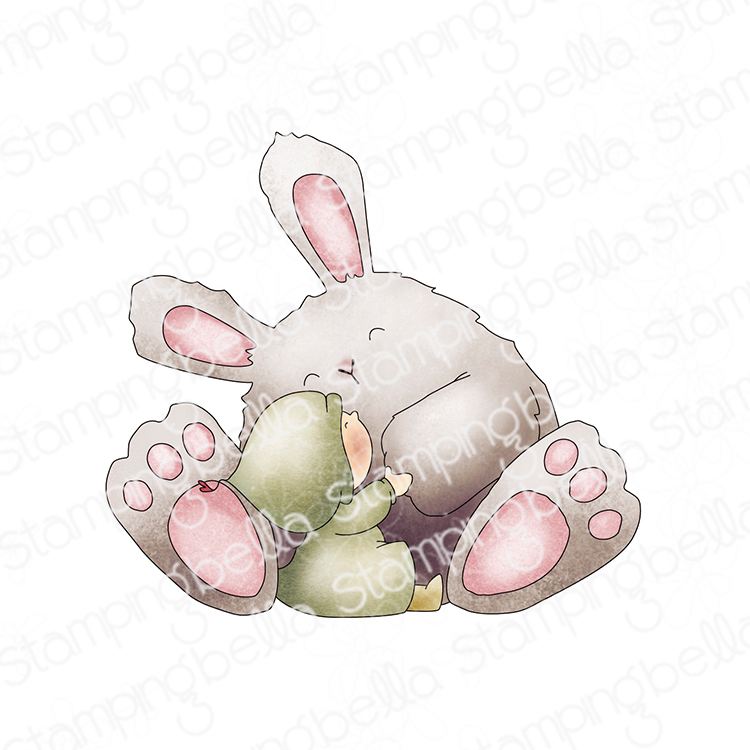
Michele did some of her signature paper piecing to gorgeous effect on this one!

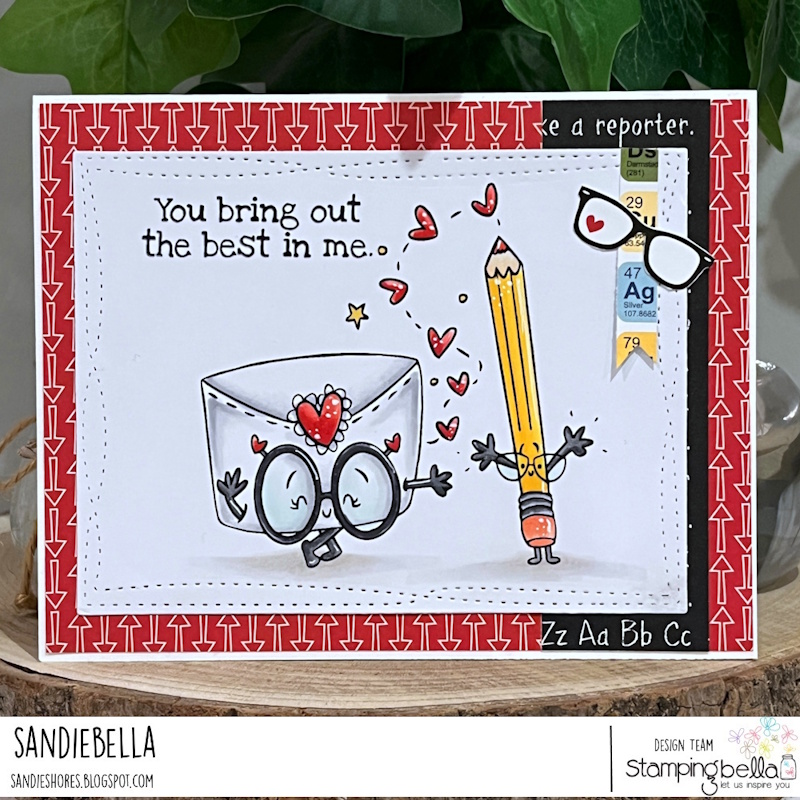
Another one of our adorable Spec-Tacular stamps has popped up on this fantastic card from Sandie!
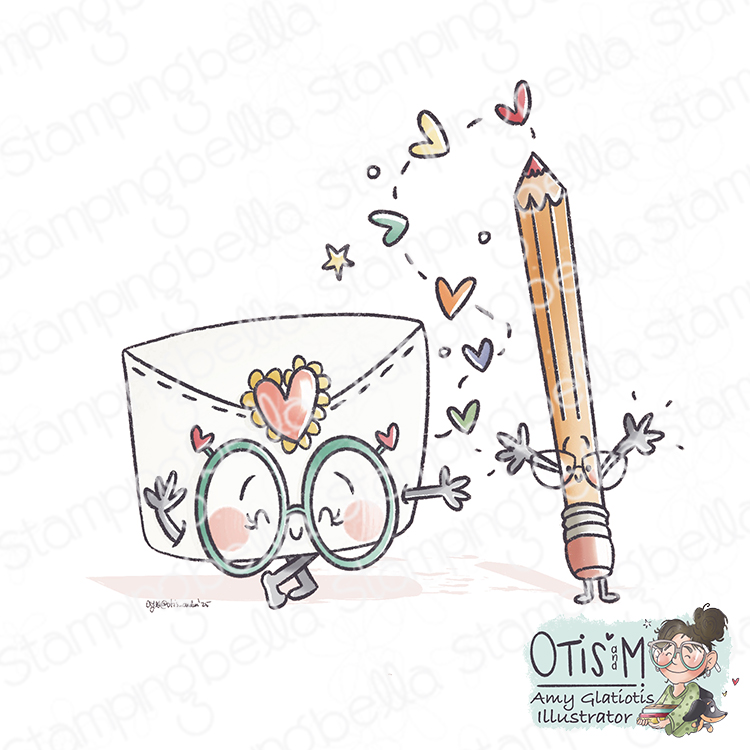

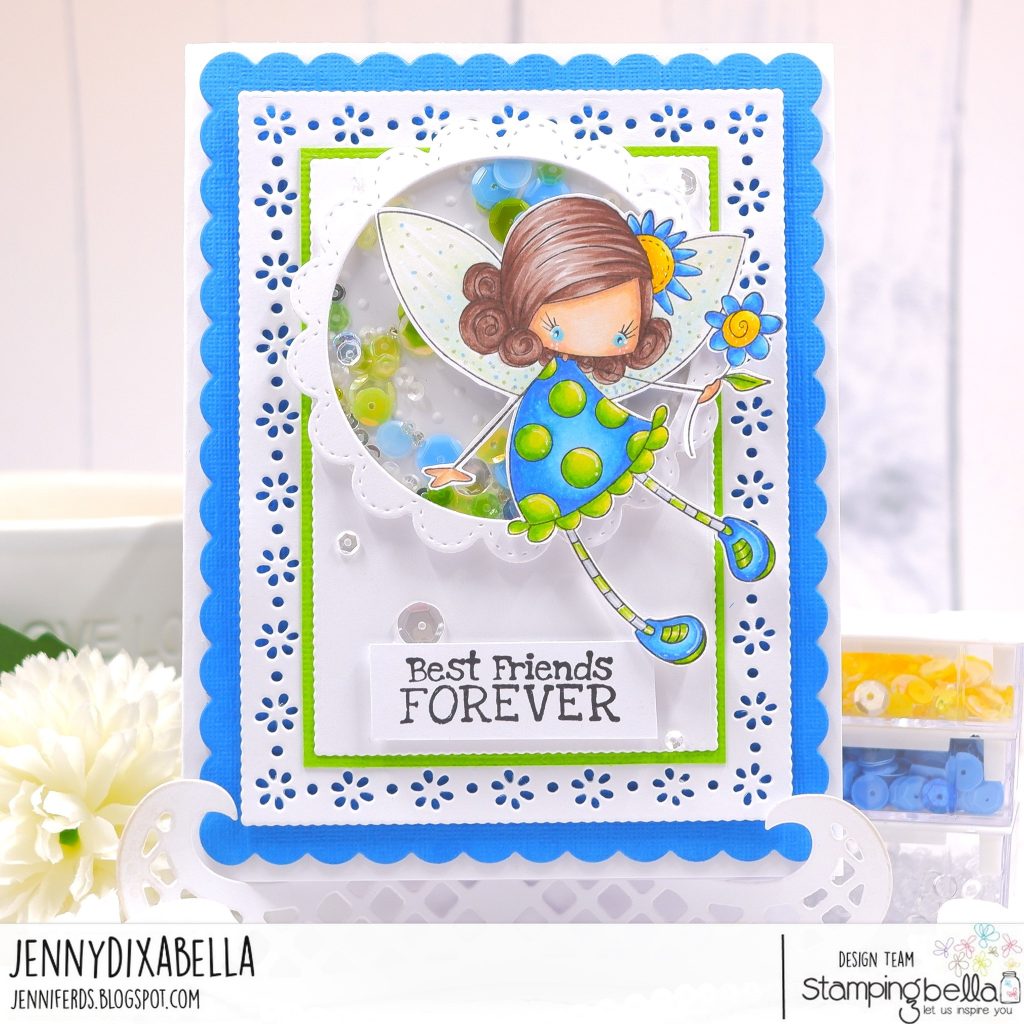
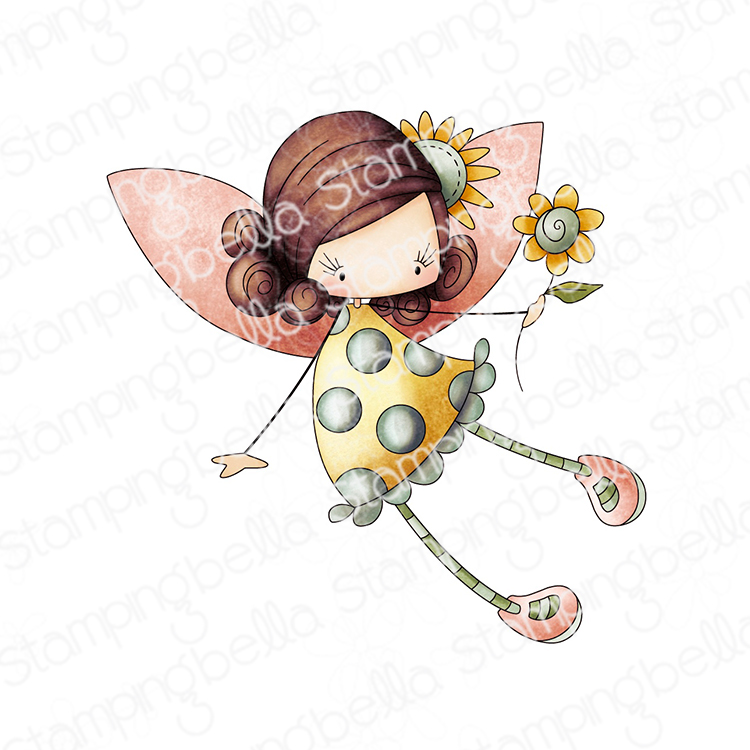
Jenny has created a gorgeous shaker card featuring one of our Whimsabella stamps. Loving the fresh and vibrant blue and green!

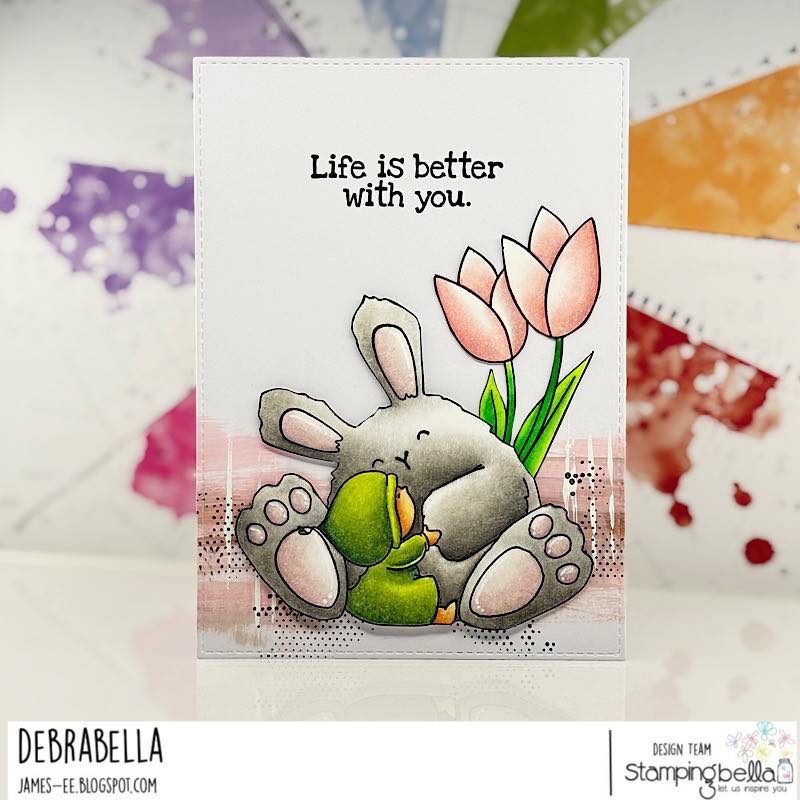
Debra also went with our gorgeous Bundle Girl stamp, and added in just a small part of the Spring Backdrop! So cute.


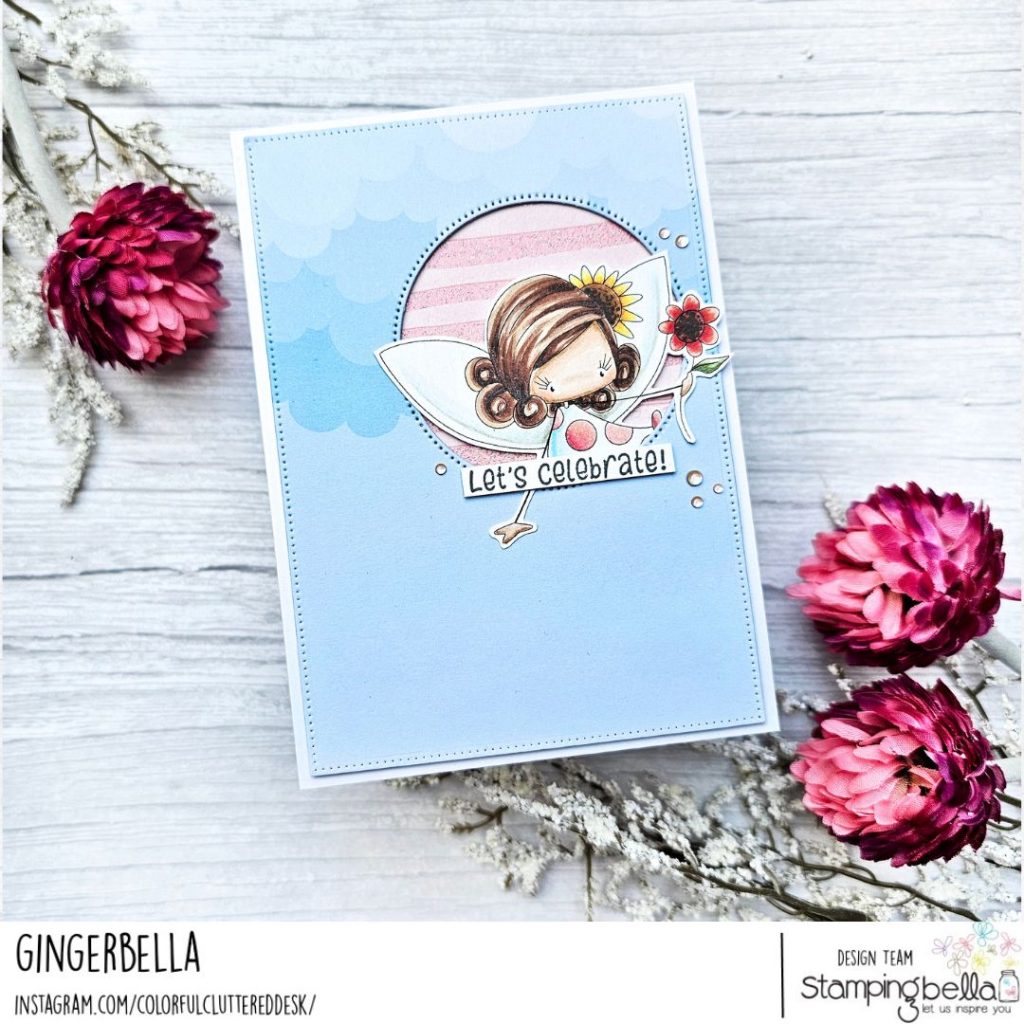
How cute does our Whimsabella fairy look, peeking out of the frame on Ginger’s card?

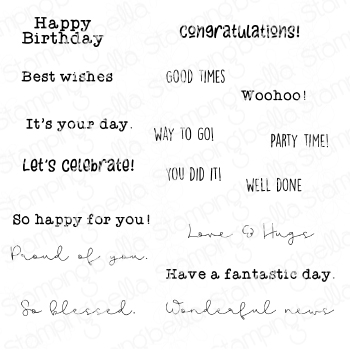
That’s it for today! Hopefully you’re feeling inspired to go and create. Don’t forget to leave us a comment below with some love for our Babes and all their hard work.
MWAH!
Elaineabella
The Spec-Tacular stamps are a lot of fun to create with, and who wouldn’t smile receiving a card featuring them?
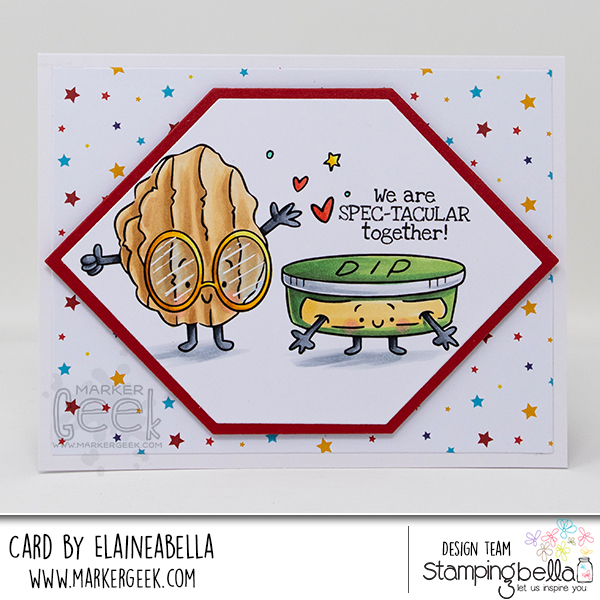
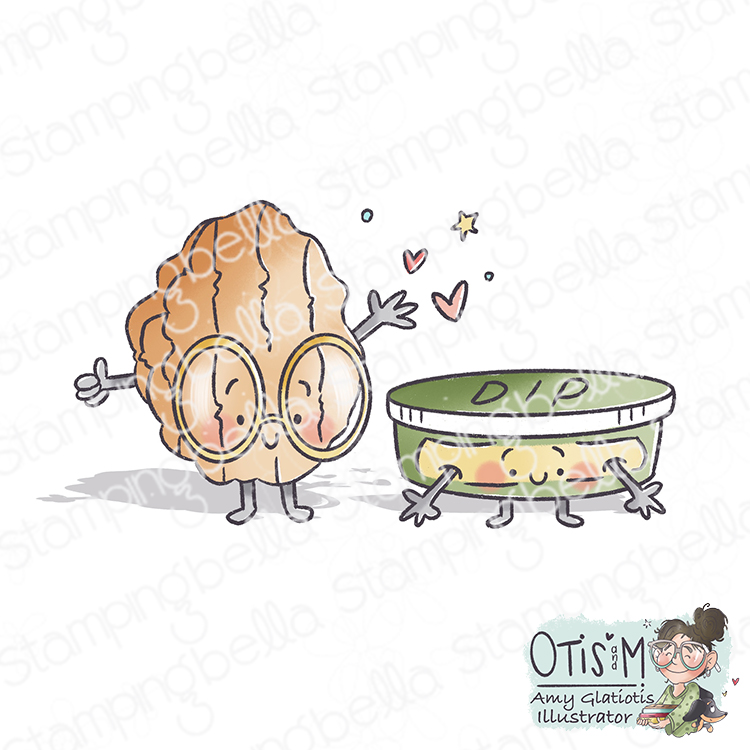

Watch me colour this stamp in the video below. If you enjoy watching please do like the video and subscribe over on my YouTube channel.
That’s it for today! Happy stamping and colouring.
MWAH!
Elaineabella
I’ve got a card and video featuring one of the gorgeous Whimsabella fairy stamps today!
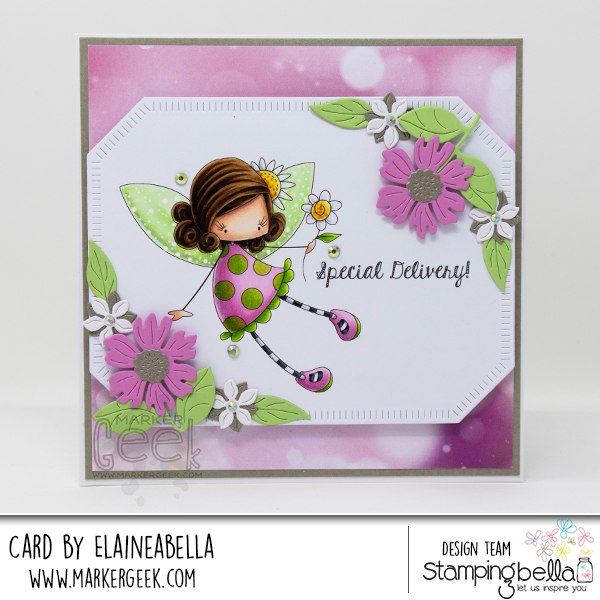


Watch me colour this stamp in the video below. If you enjoy watching please do like the video and subscribe over on my YouTube channel.
That’s it for today! I’ll be back on Wednesday with another colouring video and card featuring one of the new stamps.
MWAH!
Elaineabella
Hello friends!
Amy here with another Easter themed Scenic Saturday card to share here on the Blogabella. This time around I wanted to challenge myself to create an Easter card using stamps that are not designed with the holiday in mind. Stretching the uses for the stamps in my stash is always something I enjoy doing and this time around it was Tiny Townie Rae the Garden Helper who caught my eye.
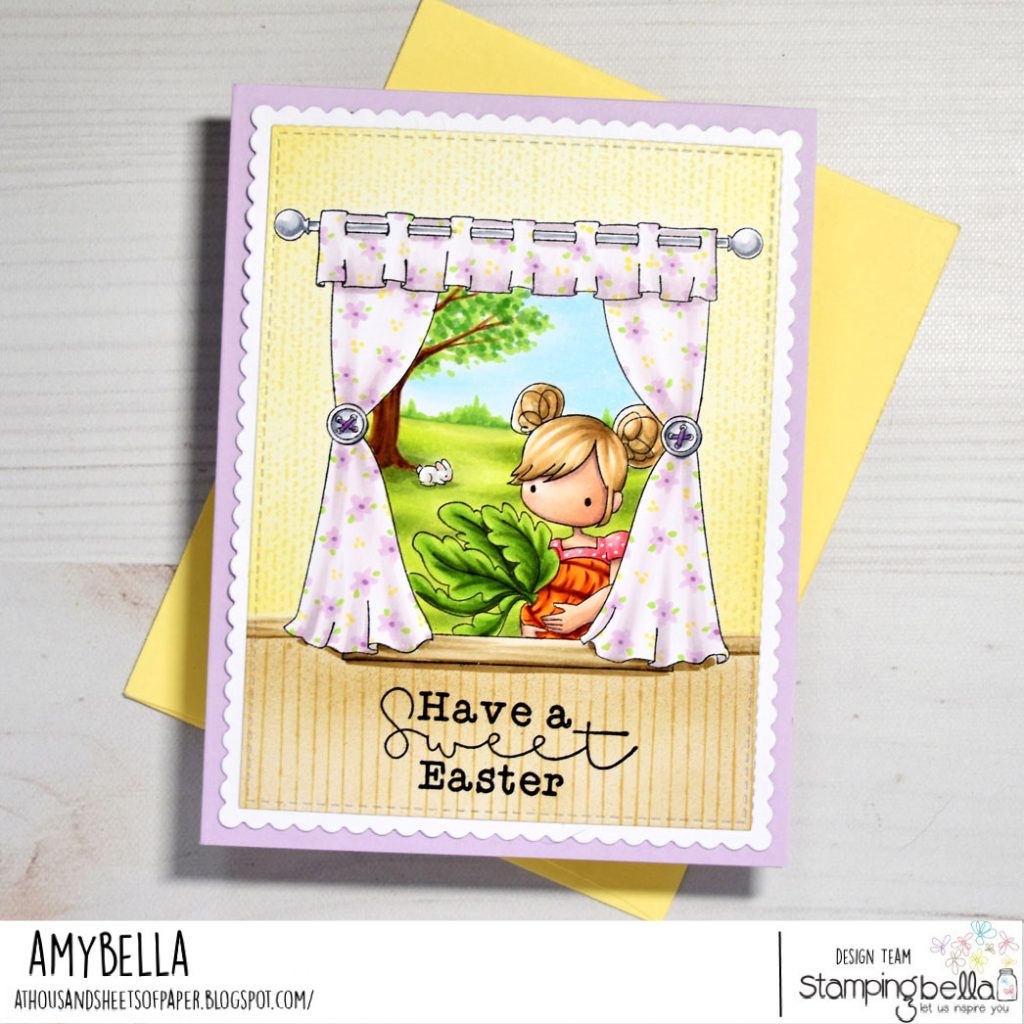
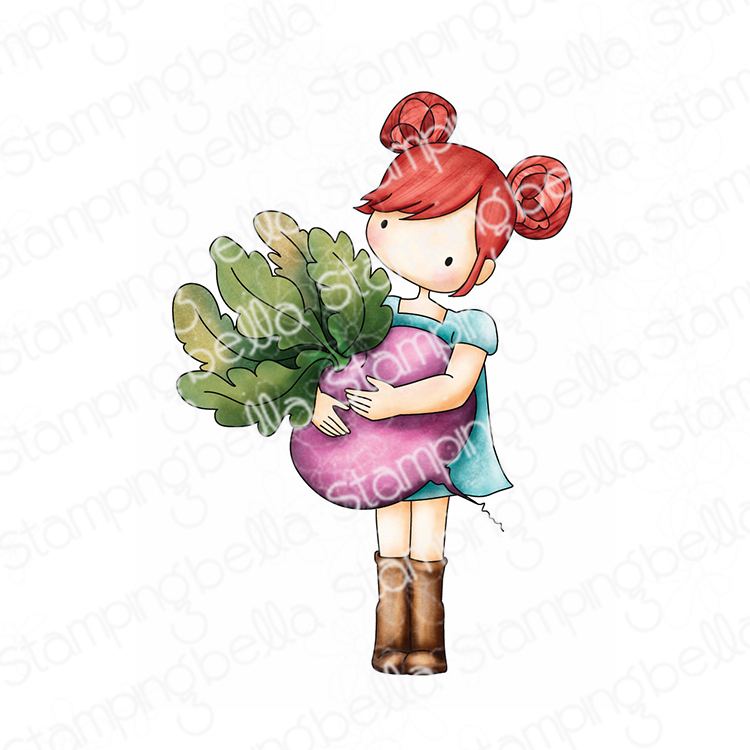
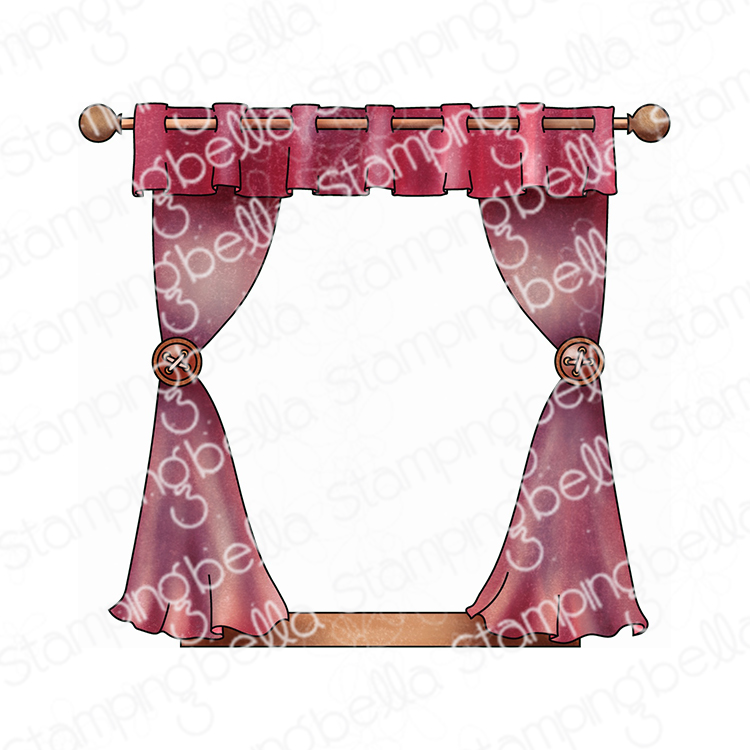

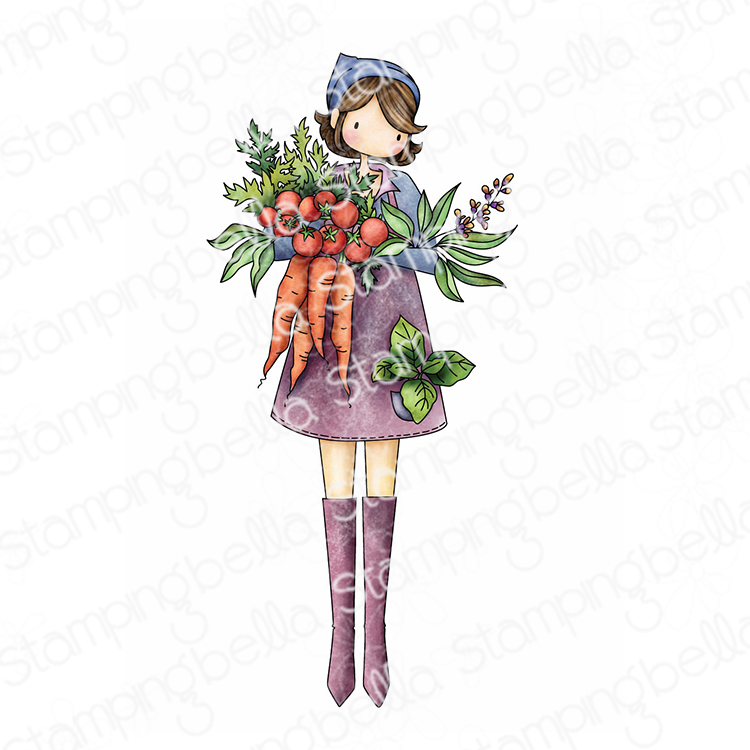
Tiny Townie Rae the Garden Helper is holding a prize winning turnip or beet in the original image but I figured that if I had her peeking through the new Window stamp it would hide the bottom half of the root veggie, making it easy for me to color it into a bunch of carrots instead. So, I stamped the Window first and cut a mask that left the middle open. From there it was easy stamping Rae into the bottom corner. To separate the beet into a bunch of carrots I used a dark brown marker and sketched in a few lines running down the length. I then blended it out with the orange markers and added the little marks for texture. Once I had her holding the perfect bunch of carrots, I still needed to take this scene into an Easter themed direction, which led me to sketch in a tiny bunny off in the distance. With the bunny in place, I could then color the rest of the landscape in behind. The choice of pretty pastel colors in the room surrounding the Window, as well as the floral print I added to the curtains, also contribute to the Easter look that I was going for. Finishing off the card is another sentiment from the Easter Sentiment set, stamped in black on the lower part of the wall. I think I would categorize this as a successful holiday transformation of these non-Easter stamps. 🙂
Stay crafty my friends!
Amybella
We have got some colourful card inspiration for you on this most Bellarific Friday! The Babes have been creating cards using stamps from across our collection, following some beautiful photo/colour inspiration.
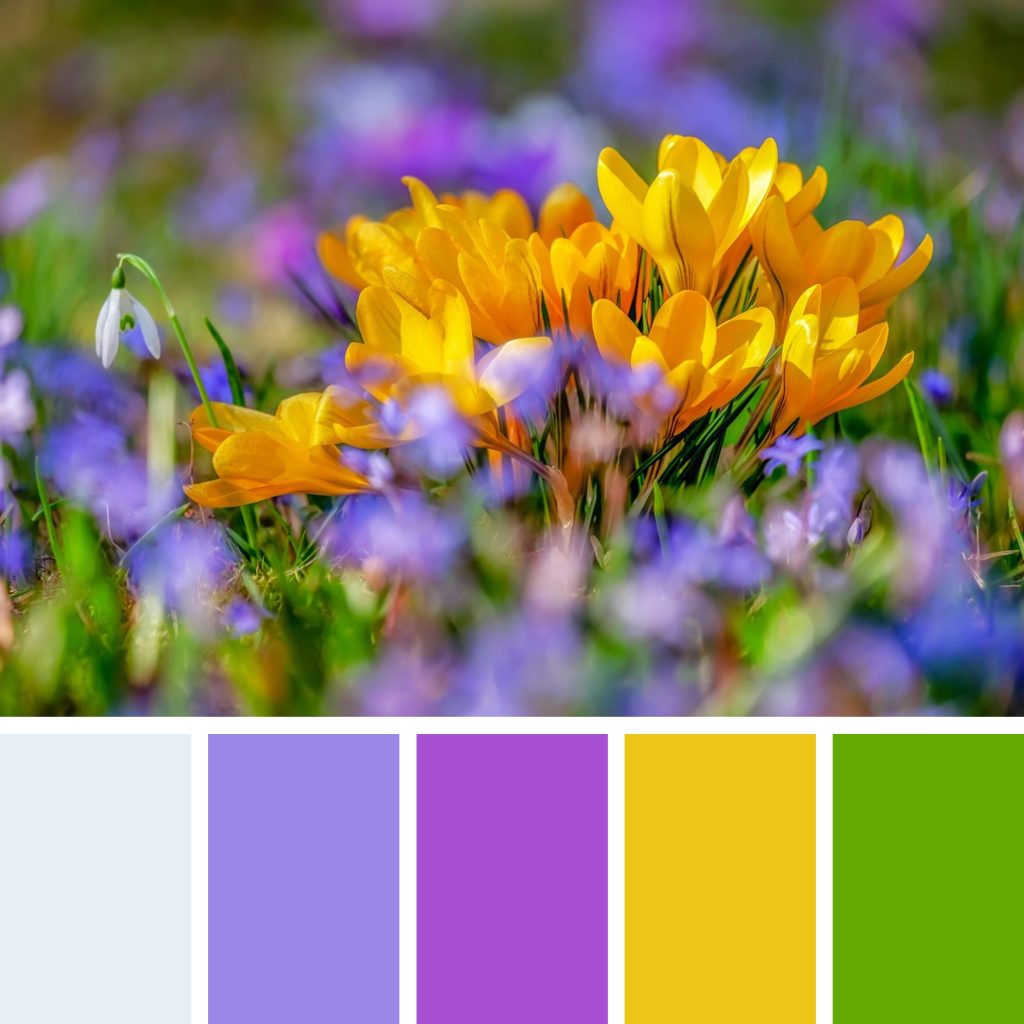
Here’s the image they were inspired by:
I haven’t made any cards for today myself, but I have clearly been feeling inspired by these colours, as here’s a little peek at the colouring I’ve been doing so far this week.
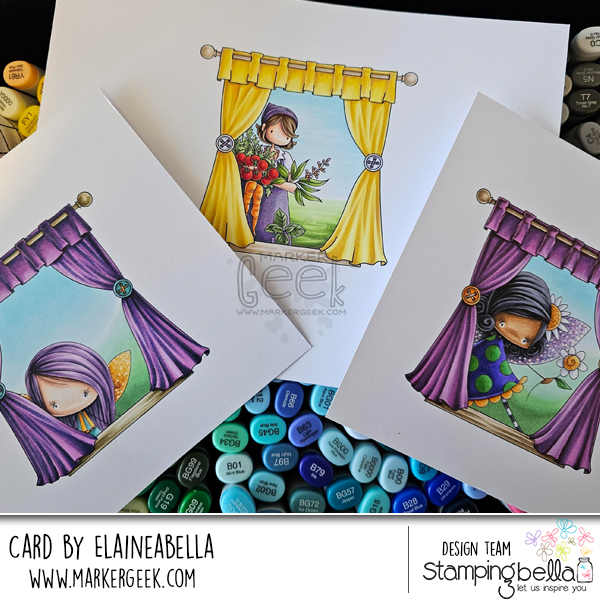
Loving colouring all of the purples and blue violets, and surprised myself by really enjoying some yellow.

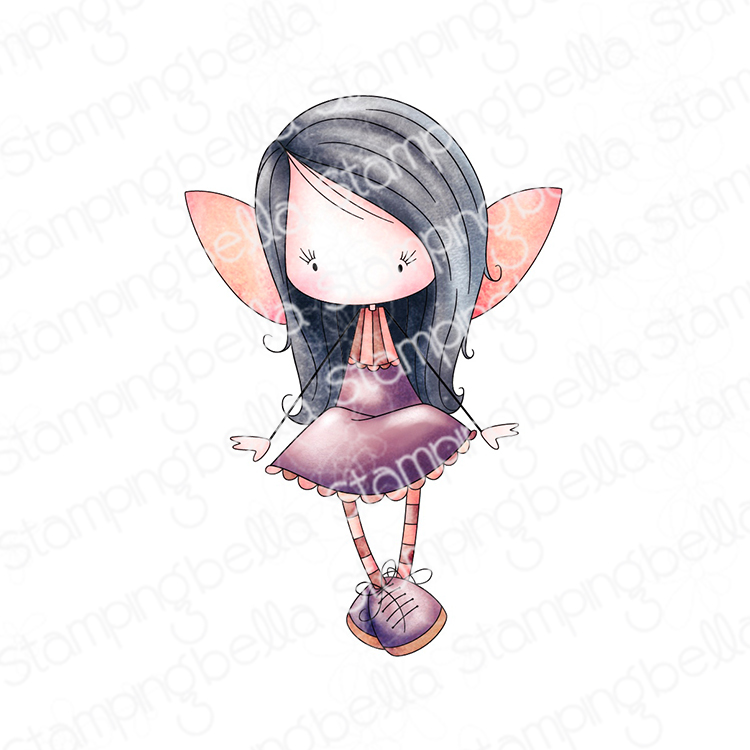

Now on to the cards from the Babes!
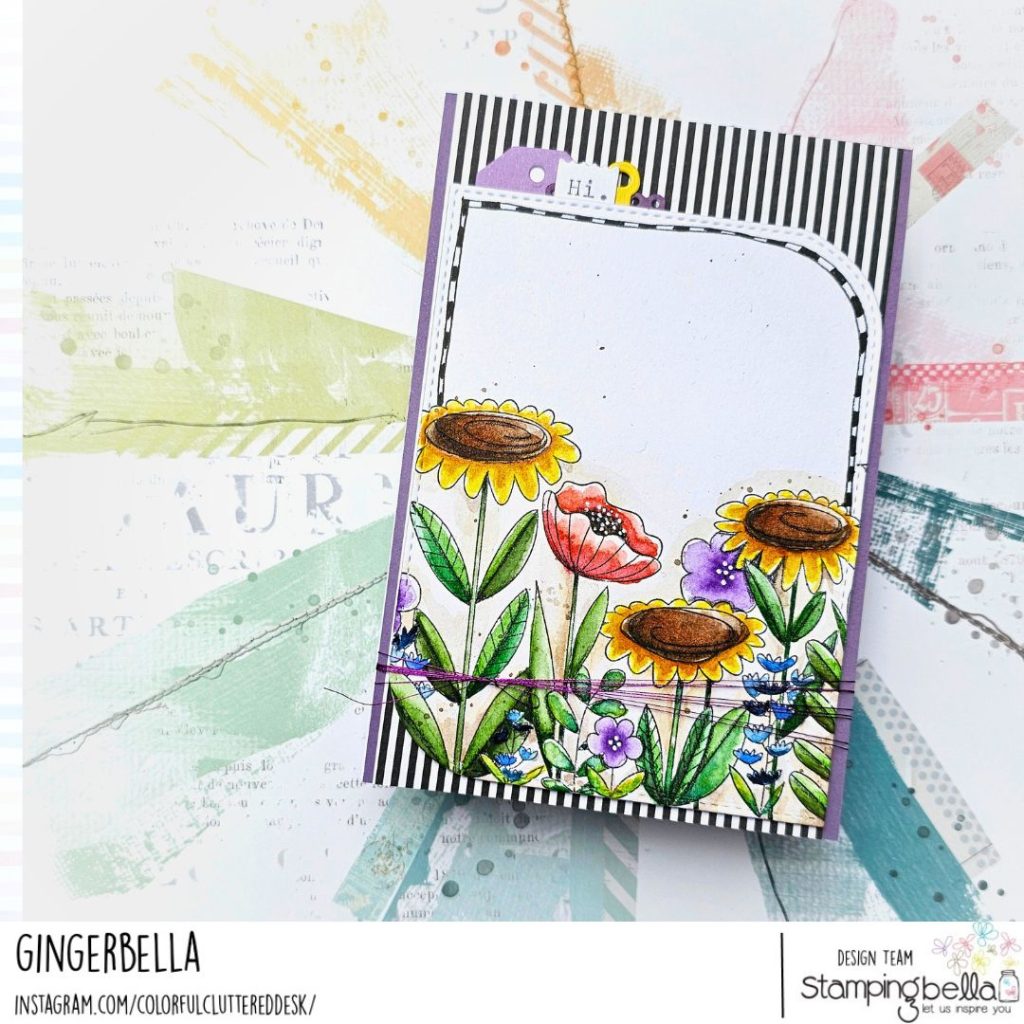
Love this gorgeous pop of floral colour from Ginger!
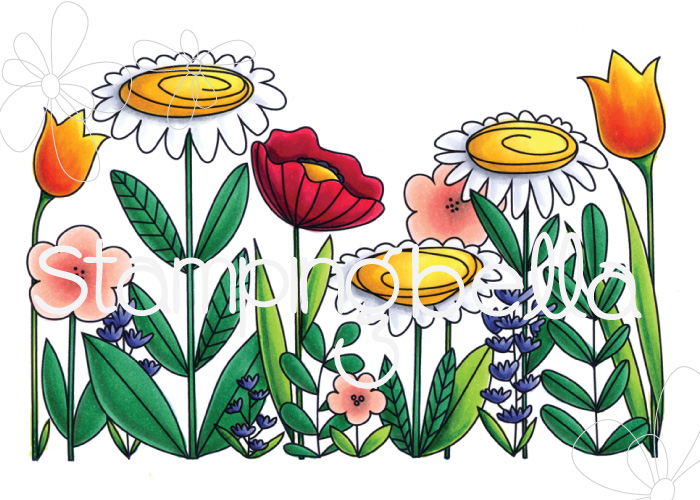
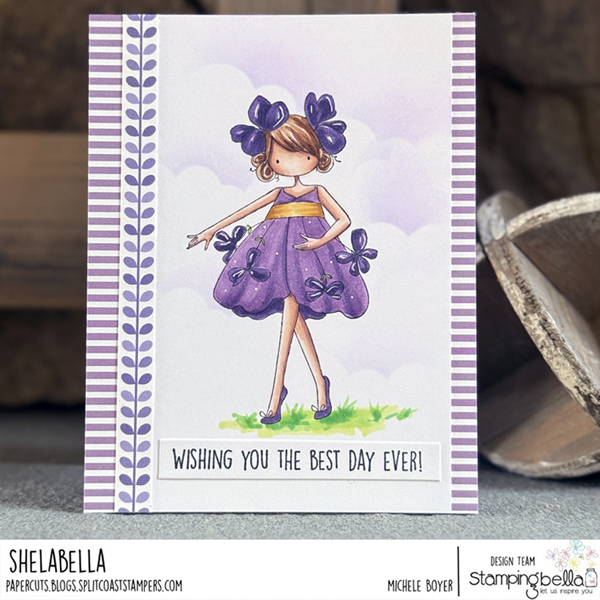
Michele went with a sweet card featuring one of our Tiny Townie Garden Girls.
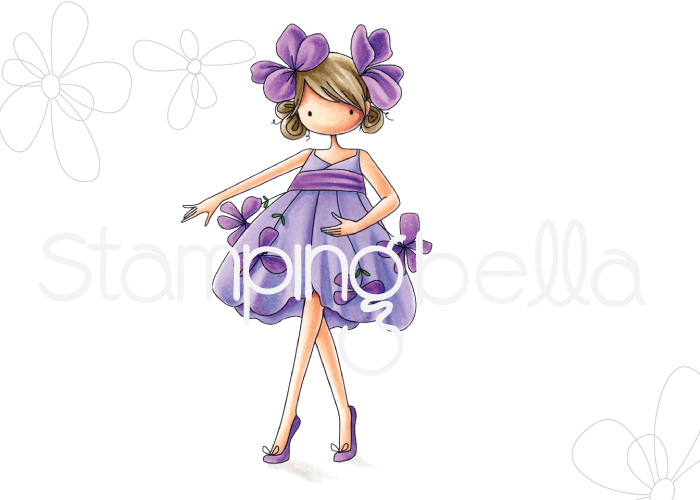

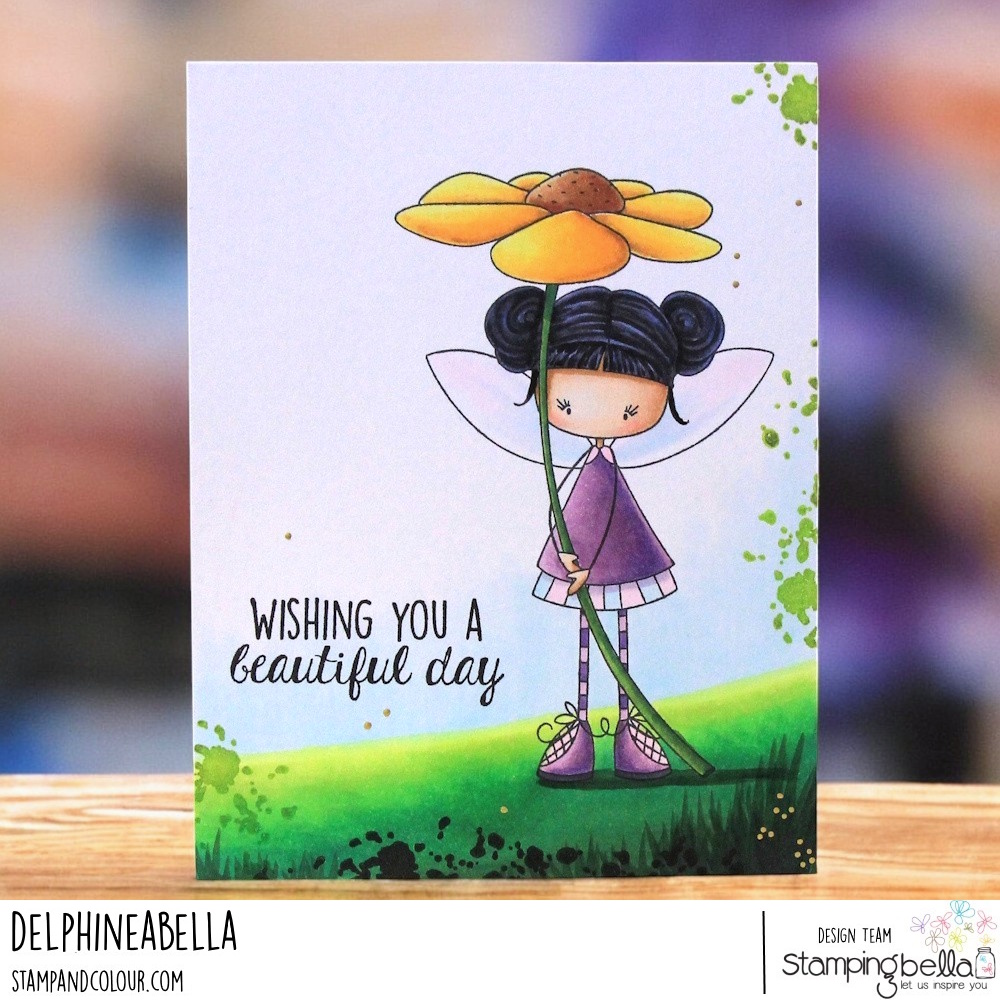
Delphine gave one of our Whimsabellas a simple but beautiful scene to stand in!


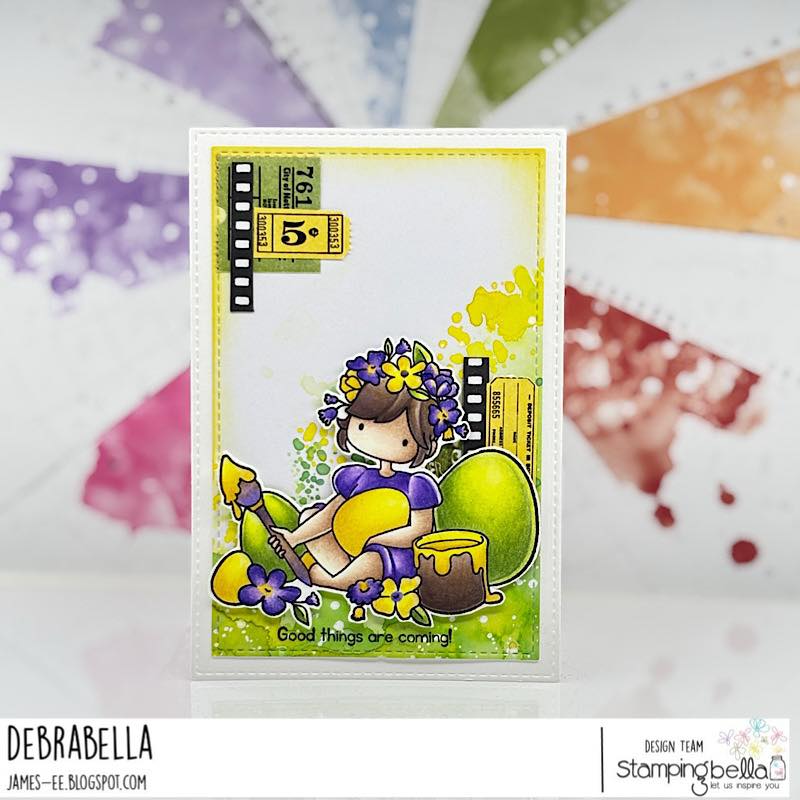
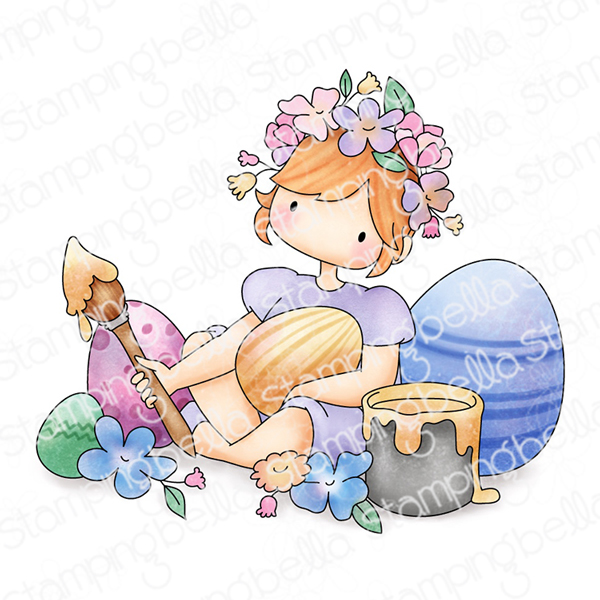
Debra has her sights on Easter with this fun card!
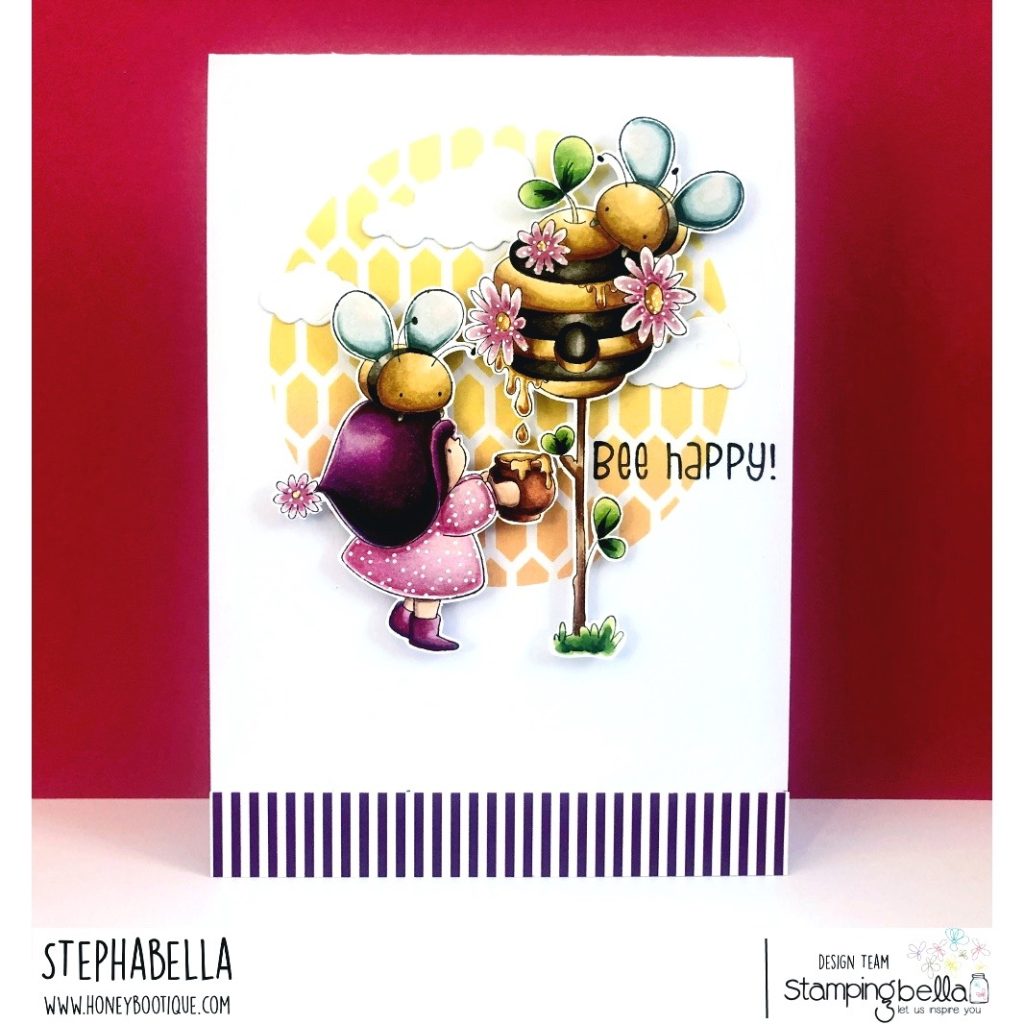
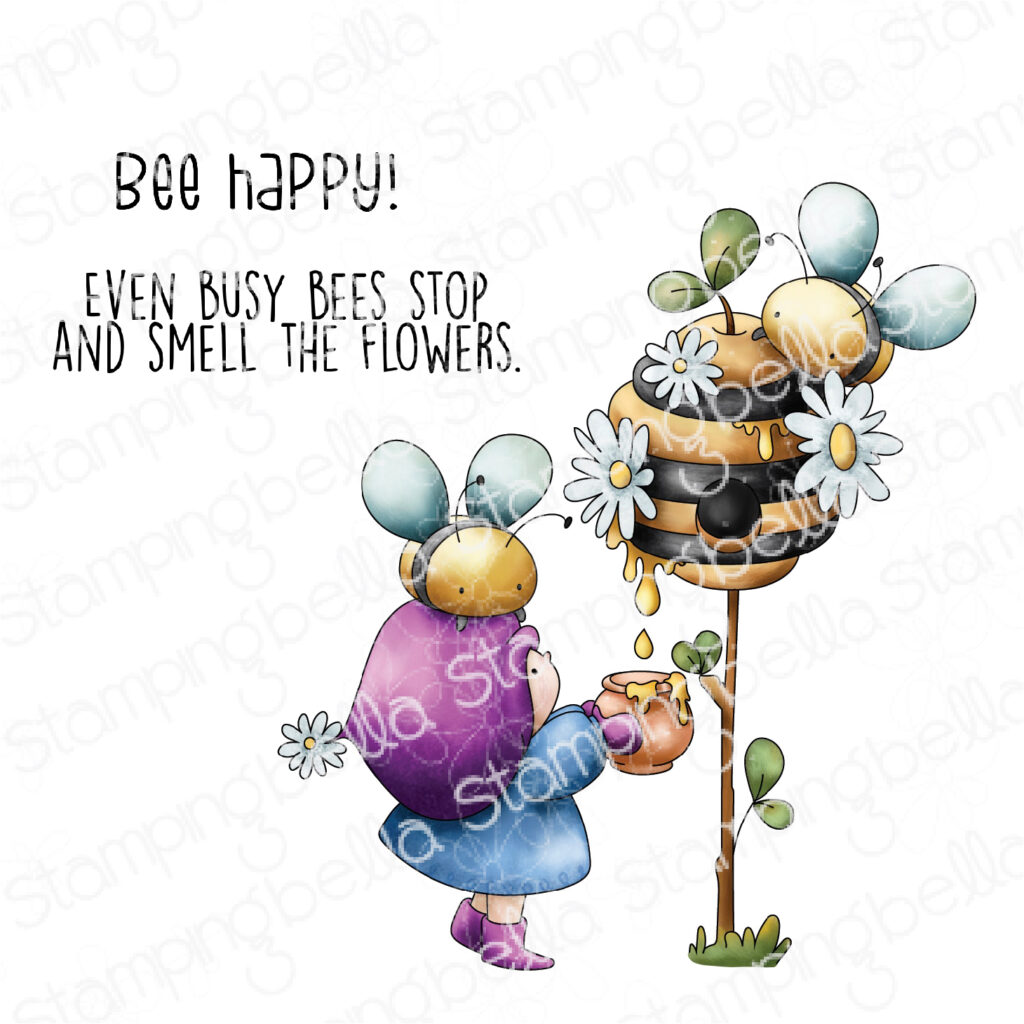
Steph spotlighted our Bundle Girl beautifully with the stencilled background!

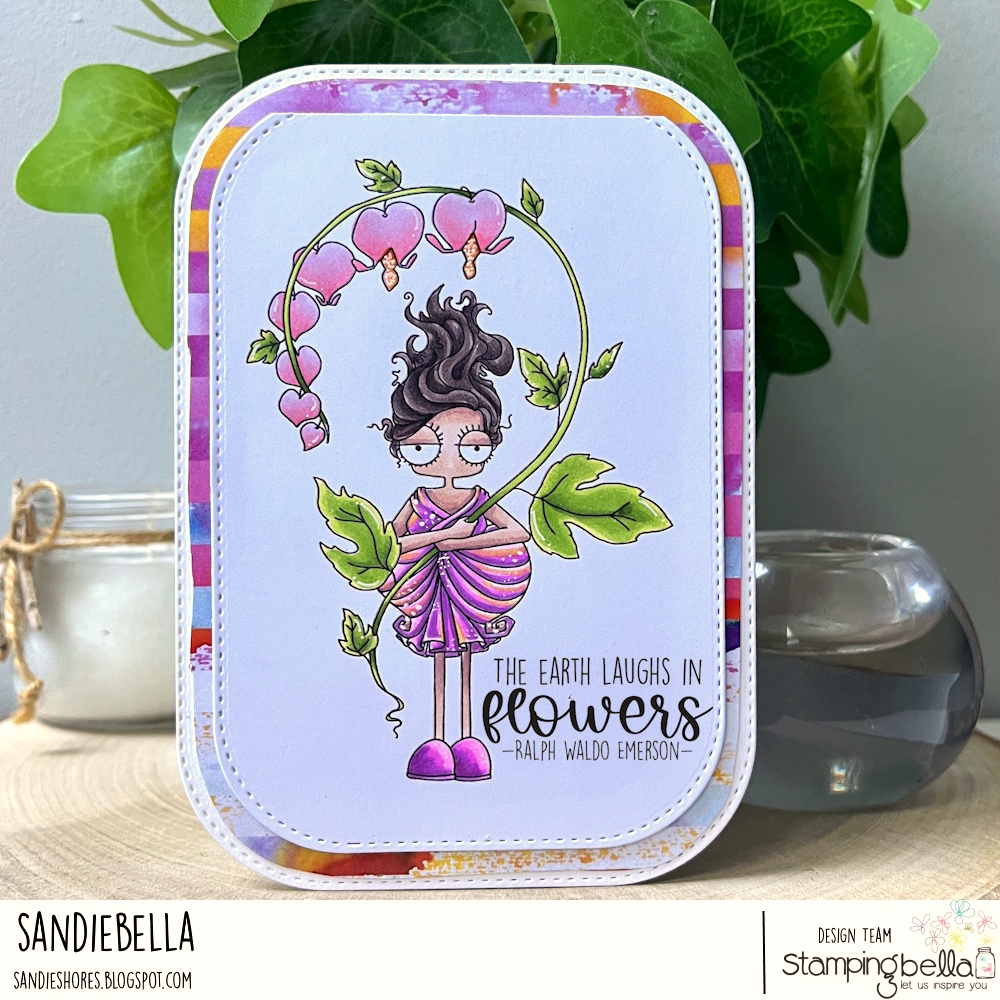
Love the colours Sandie chose for this Oddball!

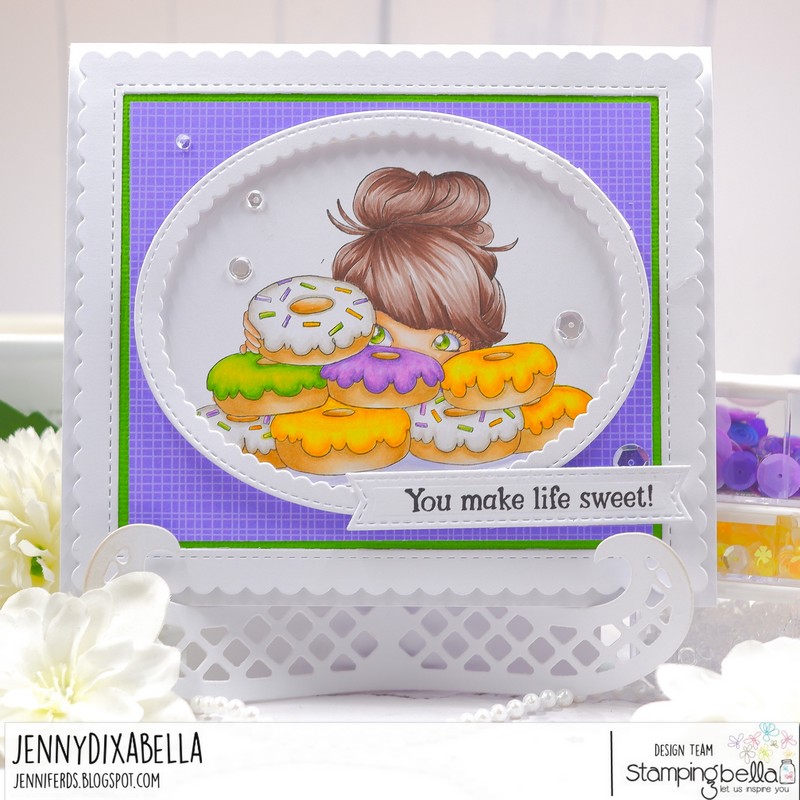
Jenny took the colour inspiration and created this fab card featuring one of our Mochi Girl stamps!
That’s it for today! Hopefully you’re feeling inspired to go and create. Don’t forget to leave us a comment below with some love for our Babes and all their hard work.
MWAH!
Elaineabella

Hi all,
Today I’m sharing how to make a one-sheet gift box using Oddball Hermes. Hermes is the Olympian deity known as the herald of the gods, and he is also regarded as the protector of travelers so the theme for today’s project is a travel gift box that can be filled with snacks, care items such as travel sized sun protection and lip balm, and even a gift card.
A good heavyweight double sided paper is essential to ensure the box is sturdy enough to support any sort of weighty gifts; however, the base can also be made with card and then decorated with designer paper for a more durable result.
Products needed:
Oddball Hermes rubber stamp
Heavy designer paper
Scoring board and bone folder
Adhesive
Selection of shaped Dies
How to:
Stamp Oddball Hermes onto blending card, colour and fussy cut around the outline.


Cut a piece of double sided paper measuring 11.75″ x 7.5″. Score on the long side at 1.25″, 5.25″, 6.5″ and 10.25″, and on the short side at 1.25″ and 6.25″


Fold on all the score lines and crease well with a bone folder.

Snip a wedge from each side of the centre 1.25″ tabs and the inner side of the four corner tabs.

Fold the centre tabs inward and apply adhesive. Bring up one side of the box and adhere at a right angle. Repeat on both sides.


Adhere the four corner tabs to the insides of the each end to form the box shape.

Fold down the lid of the box to ensure it doesn’t catch. Trim where necessary

Cut some layers using dies.

Stamp the sentiment from Encouragement Sentiments set onto one of the paper layers. Adhere all the layers down and then adhere the Oddball Hermes using foam tape or dots.
Fill the box with snacks and gift cards.
