Easter is on the way, time to start working on those cards and papercraft projects, and we have some adorable Easter themed rubber stamps to help you out, including this gorgeous new Bundle Girl stamp from the latest release.
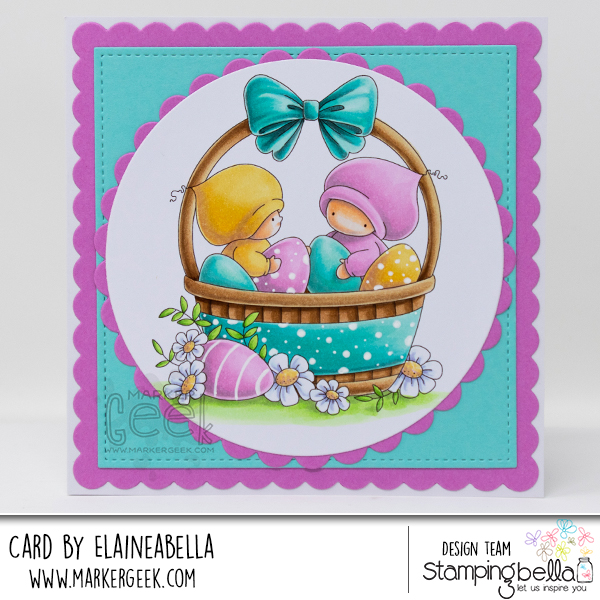
Just the sweetest, aren’t they?
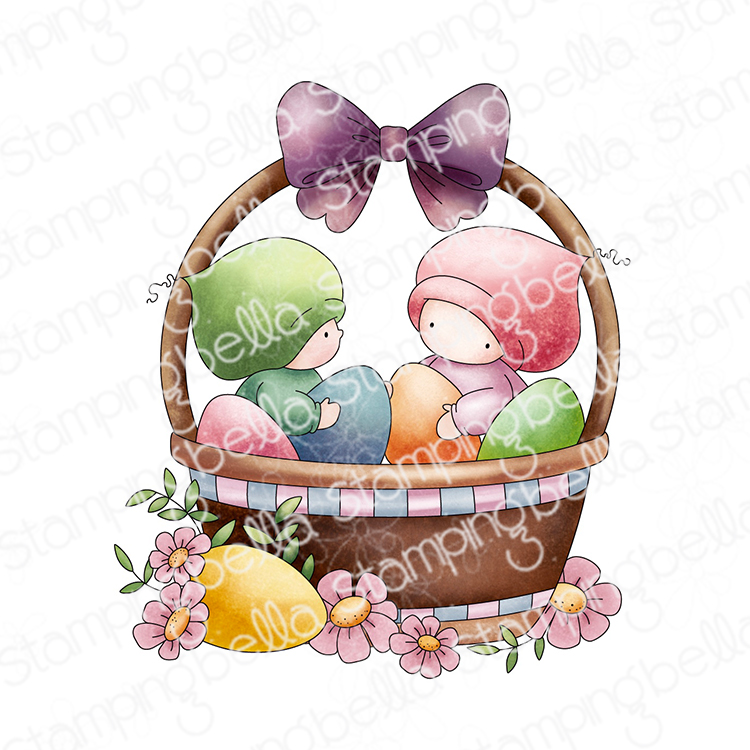
Watch me colour this stamp in the video below. If you enjoy watching please do like the video and subscribe over on my YouTube channel.
That’s it for today! I’ll be back on Wednesday with another colouring video and card featuring one of the new stamps.
MWAH!
Elaineabella
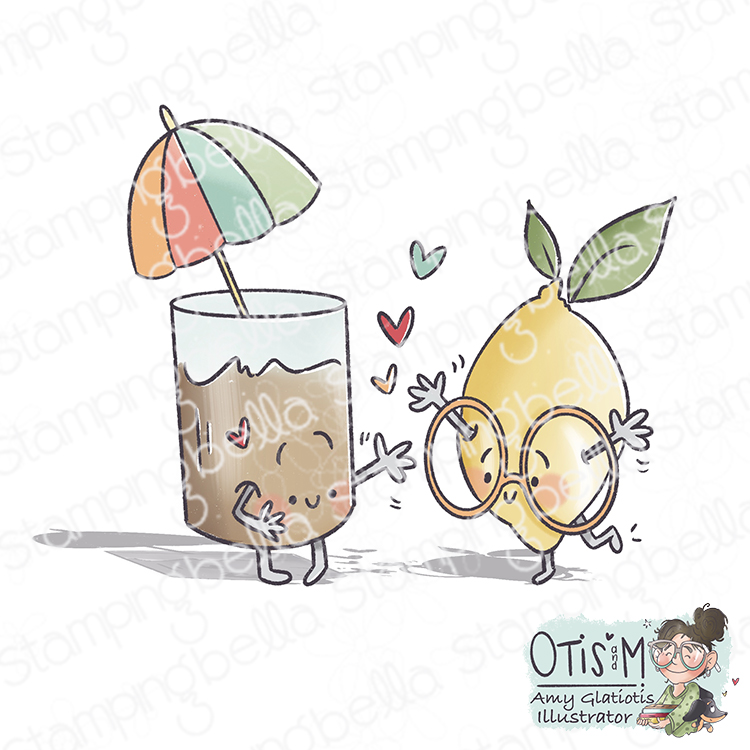
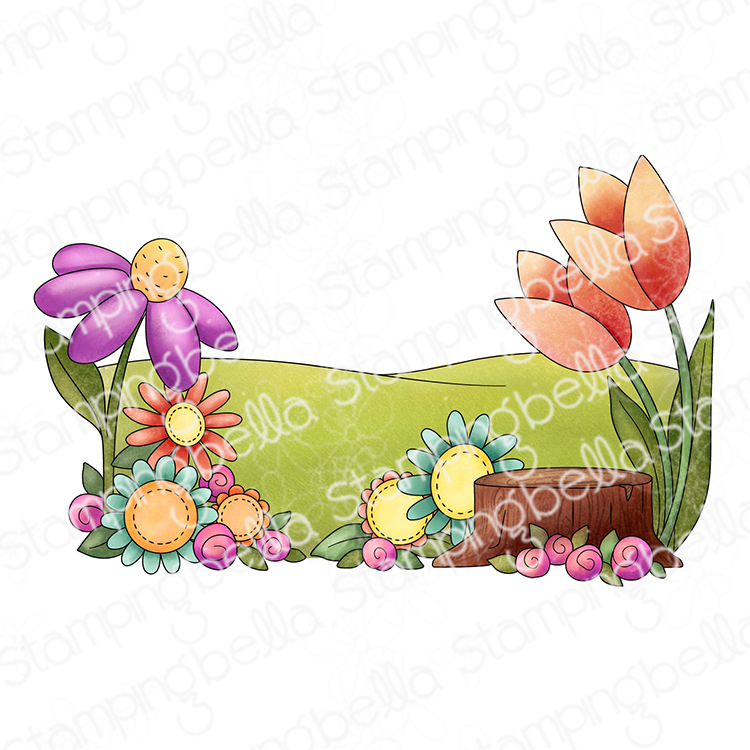
Hello everyone! It’s sunny and almost warm here so let’s go to the beach this weekend! I have decided to use the oh so cute Spec-tacular Iced Tea and Lemonade pair and combined that stamp with our Beach Backdrop to create a fun happy scene! I thought I would even colour the glasses into sunglasses, you know it’s so sunny 😉 !
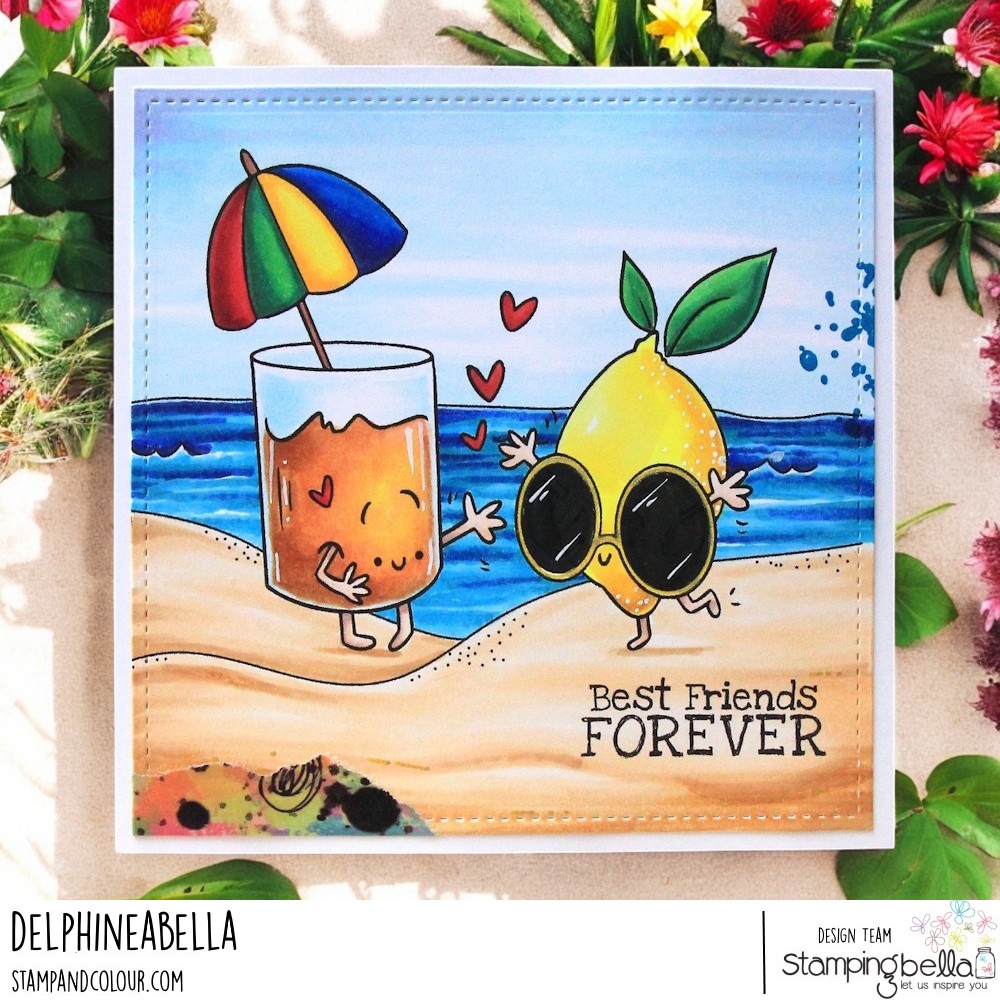
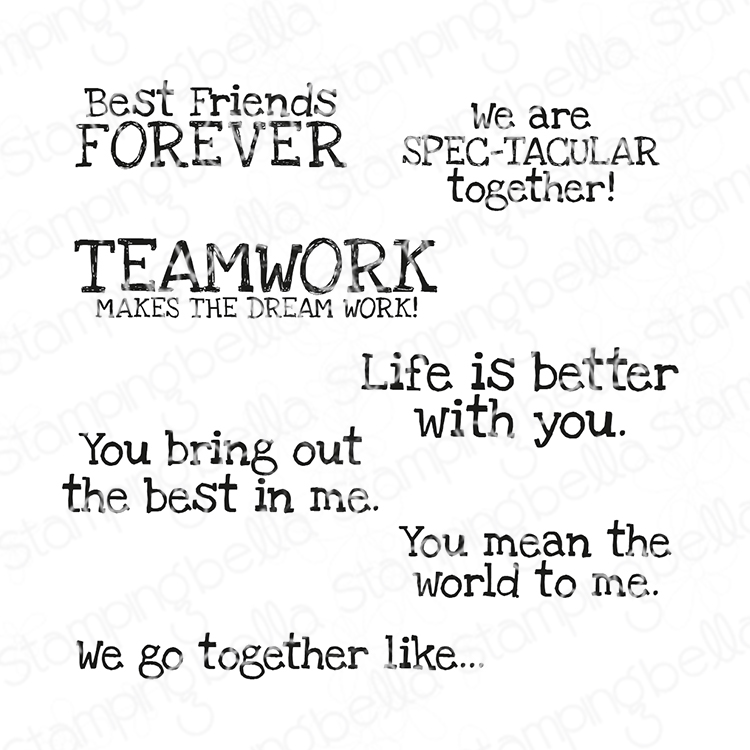
The sentiment I added is from the Spec-tacular Together Sentiment set and I only added a piece of washi tape and stamped a bit of texture as final touches, once all my Copic colouring was done.
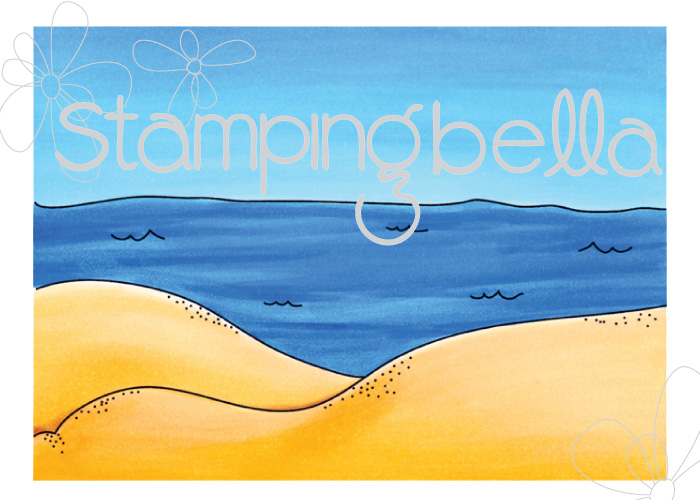
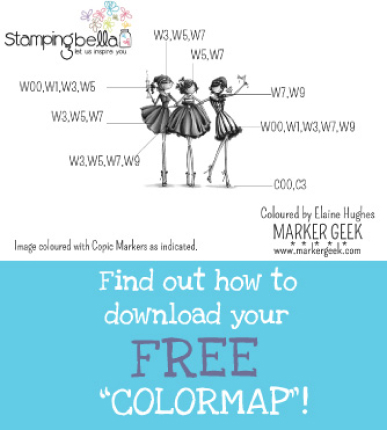
Sky: B000, 00, BV00
Sand: E50, 51, 53, 55
Sea: B18, 39, BG02, 05, 07
Arms & legs: E000, 11, 71
Lemon: E33, Y02, 06, 08, 15
Lemon leaves: G14, 17, 28
Iced tea glass: B000, E95, 97, 99, Y02
Cocktail umbrella: B06, 18, 39, G14, 17, 28, R35, 37, 59, Y02, 08, 17
Thanks for stopping by, have a lovely day! Hugs,
Delphineabella
Wishing you a happy and bellarific Friday! The Babes have been playing with the LATEST RELEASE again, and we’ve got some gorgeous cards to take a look at.

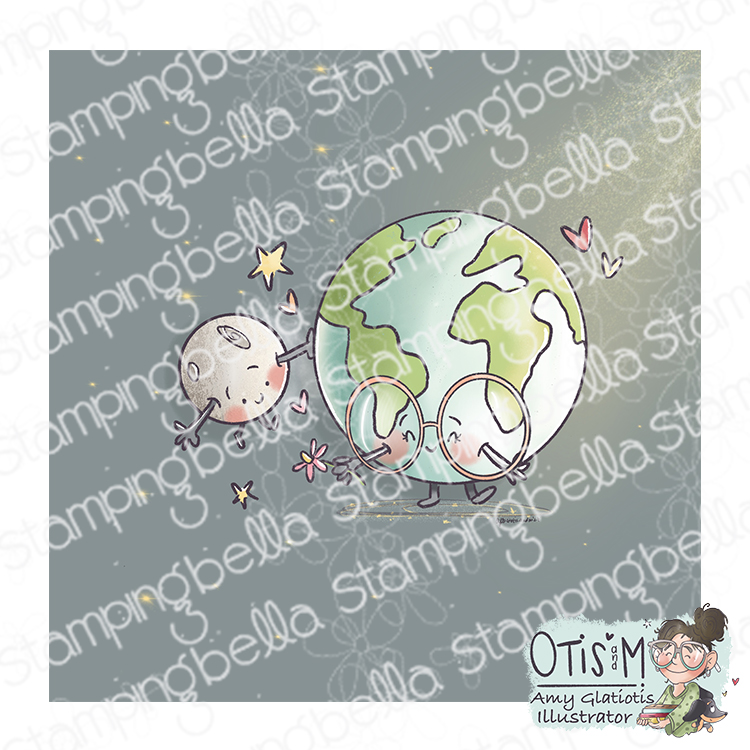
Delphine fussy cut our adorable Spec-Tacular Earth and Moon and popped them up on a stunning background!

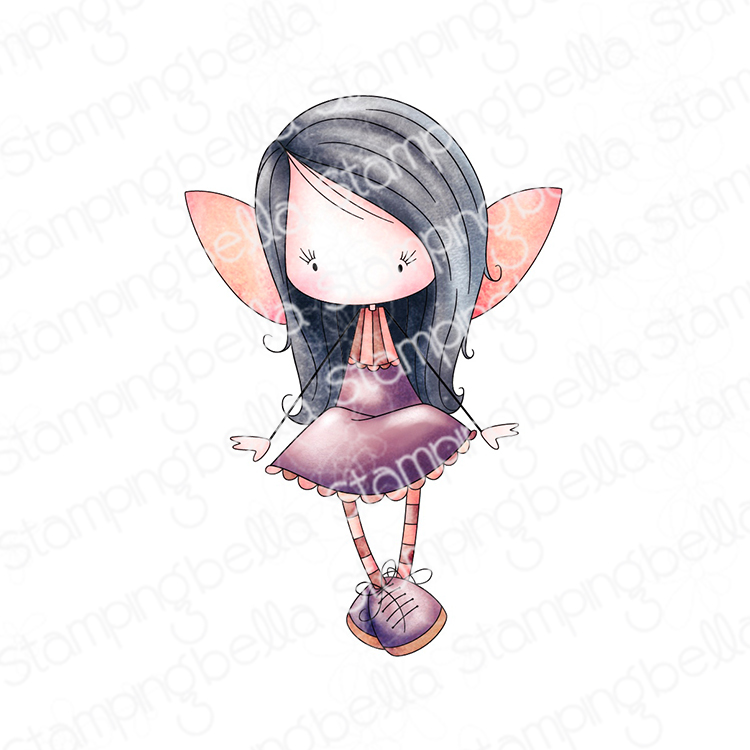
I love how Michele added some string to her card for the fairy to perch on! Such a great way to use this one.

Steph strayed away from the more typical pastels for this Easter card and it looks fabulous!


Such a cute card design from Ginger!
Fabulous colours and textures on this card from Debra!

Jenny’s card is full of pretty spring colours, instant mood lifter!

Love this cute little circle shaped baby card from Sandie!
That’s it for today! Hopefully you’re feeling inspired to go and create. Don’t forget to leave us a comment below with some love for our Babes and all their hard work.
MWAH!
Elaineabella


Stamp Bundle Girl Bunny onto blending card and fussy cut around the outline. Set aside to work on the box.


For the card base, cut one piece of card measuring 4″ x 9-5/8″. Score at 4″ and 5-5/8″ on the long side.
To make the boxes, cut four pieces of card measuring 6.5″ x 5″. Repeat the following for each box:


Take the 4″ x 9-5/8″ piece, scored at 4″ and 5-5/8″, and adhere a length of ribbon to the inside of each end, centered horizontally.

Cover the ribbon with mat layers of card and then designer paper. Cover the centre 1.5″ section with mat layers also.

Apply adhesive to the outside of the 0.5″ tab on the side. Fold over and adhere to the inside of the opposite end.


Fold into a box shape

On the bottom, fold in 3 of the tabs, apply adhesive to the inside of the last tab and adhere.


Apply adhesive to the bottom of each box, line it up on the inside of the card base, leaving approx 1/4″ from the sides.


Fold the top of the card base over the boxes and decorate with designer paper.

Tie the ribbon to secure it.

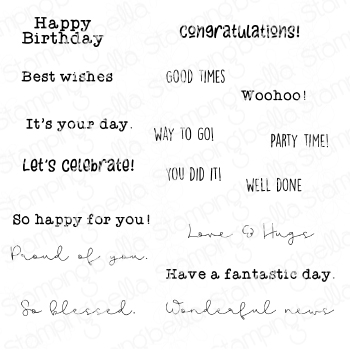
Stamp the sentiment from the Easter Sentiments set then cut out using a pennant or label die.

Create a mat for the image using a shaped die and paper layers.

Adhere the mat to the top of the card and then, using 3D foam tape, adhere the image to the centre. Position the sentiment beneath the image.

Add some enamel dots to finish
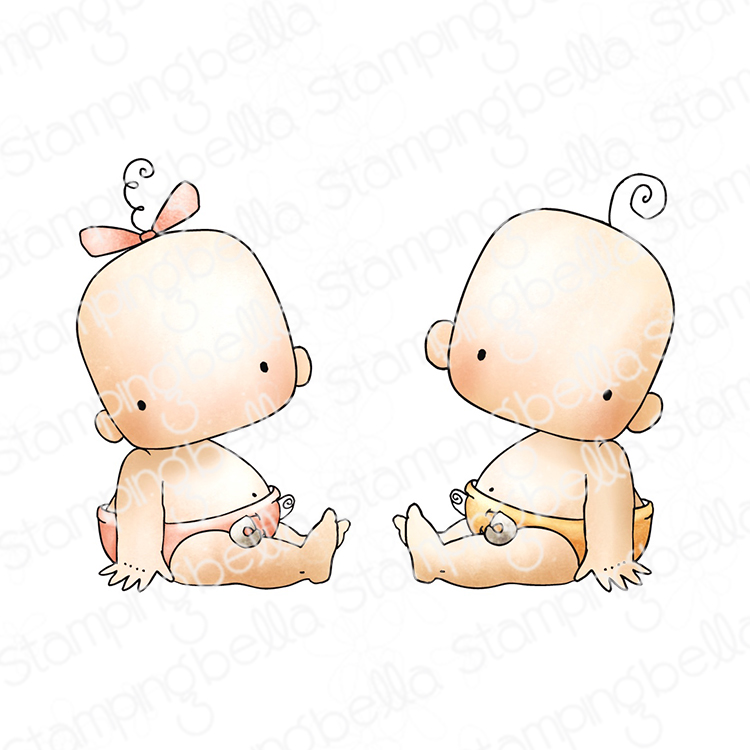
A matching pair of cards featuring both stamps from the Cabbage Patch Boy & Girl rubber stamp set! Plus a Copic marker colouring video showing how I coloured them.
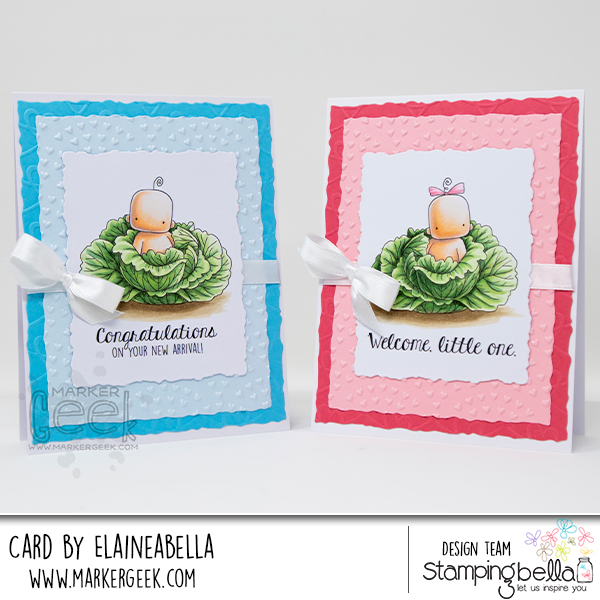
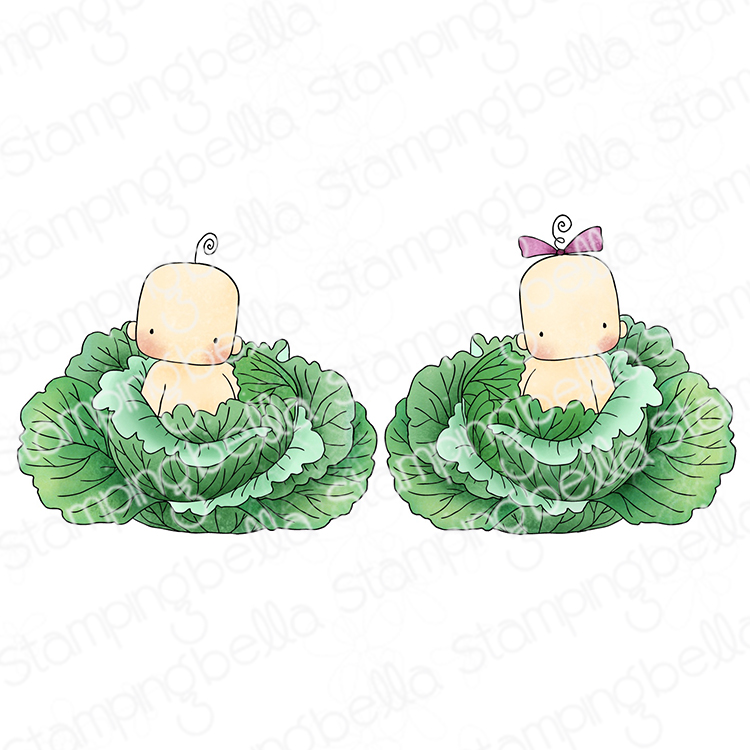
Watch me colour this stamp in the video below. If you enjoy watching please do like the video and subscribe over on my YouTube channel.
That’s it for today! Happy stamping and colouring.
MWAH!
Elaineabella
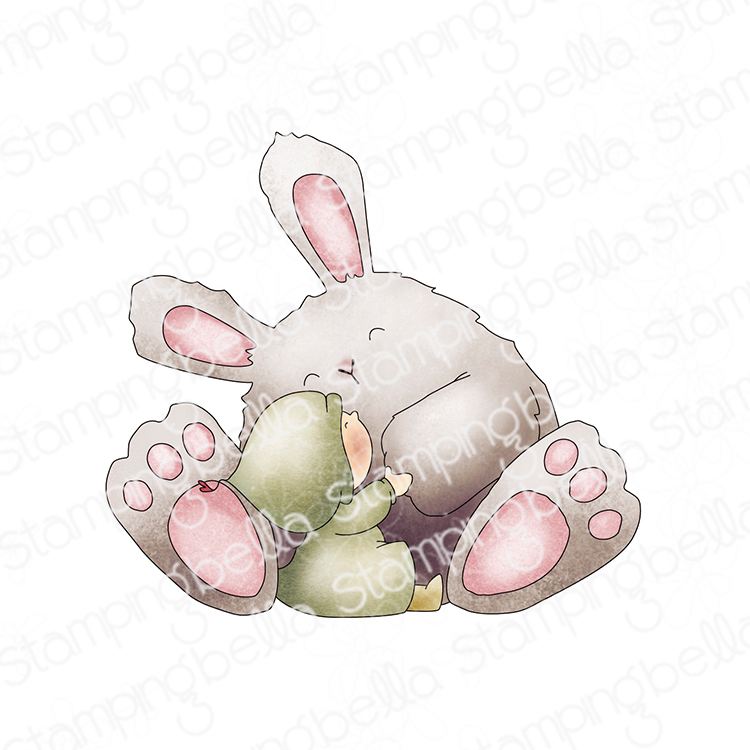
Starting the week with a great big hug!
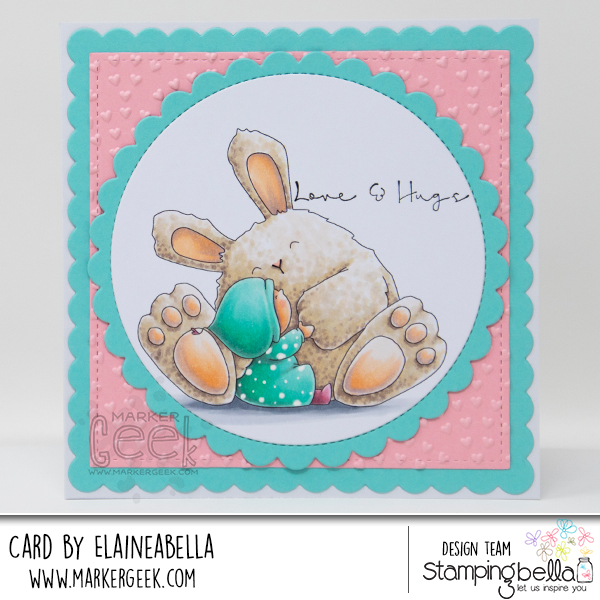
Such a great stamp for so many different occasions.
Watch me colour this stamp in the video below. If you enjoy watching please do like the video and subscribe over on my YouTube channel.
That’s it for today! I’ll be back on Wednesday with another colouring video and card featuring one of the new stamps.
MWAH!
Elaineabella